Photo Documentation in the Preservation Lab
By Jessica Ebert, Conservation Technician in the Preservation Lab
As the lead photographic documentation technician for the Preservation Lab, one of my primary responsibilities is creating visual representations of the conservation treatments performed, and housing created, in the Lab. This generally means capturing the condition of the object before treatment, anticipating how it will change once treatment is completed, and then capturing that transformation. We refer to this as before/after photography. The goal is to represent the object, with all its imperfections, accurately. Therefore, little modification is made to the captured before/after (and sometimes during) images. This allows the transition between the before image and its corresponding after image to appear seamless, allowing the viewer to focus more narrowly on the treatment.
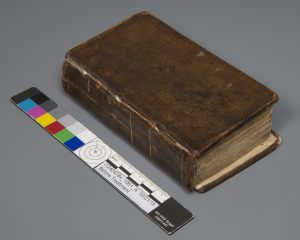
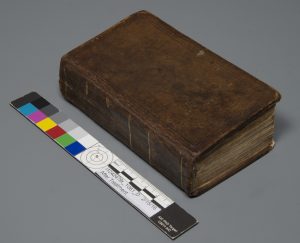
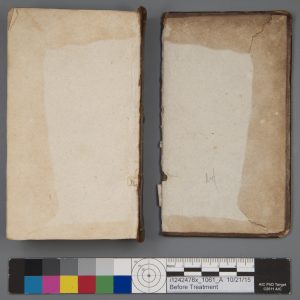
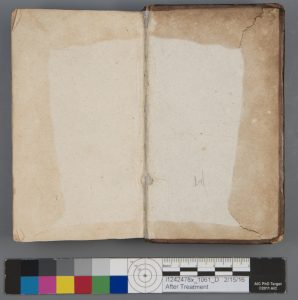
This is a treatment performed by our conservator, Ashleigh Schieszer, to remove a prior repair that consisted of a stiff adhesive in the joints that did not allow the upper and lower boards to flex properly thus forcing the lower board to detach completely. Once the adhesive was removed, Ashleigh reattached the boards and mended the spine. You can find the online treatment report and all the photographic documentation on the Lab’s Digital Resource Commons site: https://drc.libraries.uc.edu/handle/2374.UC/749840
Having a dedicated photographic documentation technician allows our lab to streamline its photographic documentation procedures. It provides us the opportunity to explore more fully the materiality of the items treated, which we might not otherwise have time to do. Conservation photography employs a variety of lighting techniques to capture various condition issues, such as staining, prior repairs, tears, cockling and losses. Conservation photography is also used to delve more deeply into the materiality of the objects, highlighting or surfacing features such as watermarks and faded pigments/ink.
This additional layer of information about the materiality of the item can often help inform the conservator when evaluating for treatment. Watermarks, which can be captured with transmitted illumination or light from below a page/map, are clues into when and where a book might have been printed and bound, which often clues the conservator into whether the current binding is the original or not. Fading pigments and inks are not only problematic for the researcher when it comes to legibility, but knowing and understanding the composition of these inks and pigments can be very important when decisions regarding treatment, housing, digitization and exhibition are being made.
 Raking illumination (light from one side of the object that rakes across the surface of the object and casts shadows) highlights deformations in the object’s surface. This lighting technique is often used to show cockling, deformation and tears in parchment, paper and even leather. The above image shows a parchment diploma from UC Libraries’ Henry R. Winkler Center for the History of the Health Professions before treatment.
 Transmitted illumination is a great technique for illustrating losses, previous repairs, and watermarks, all of which are present in the above image.
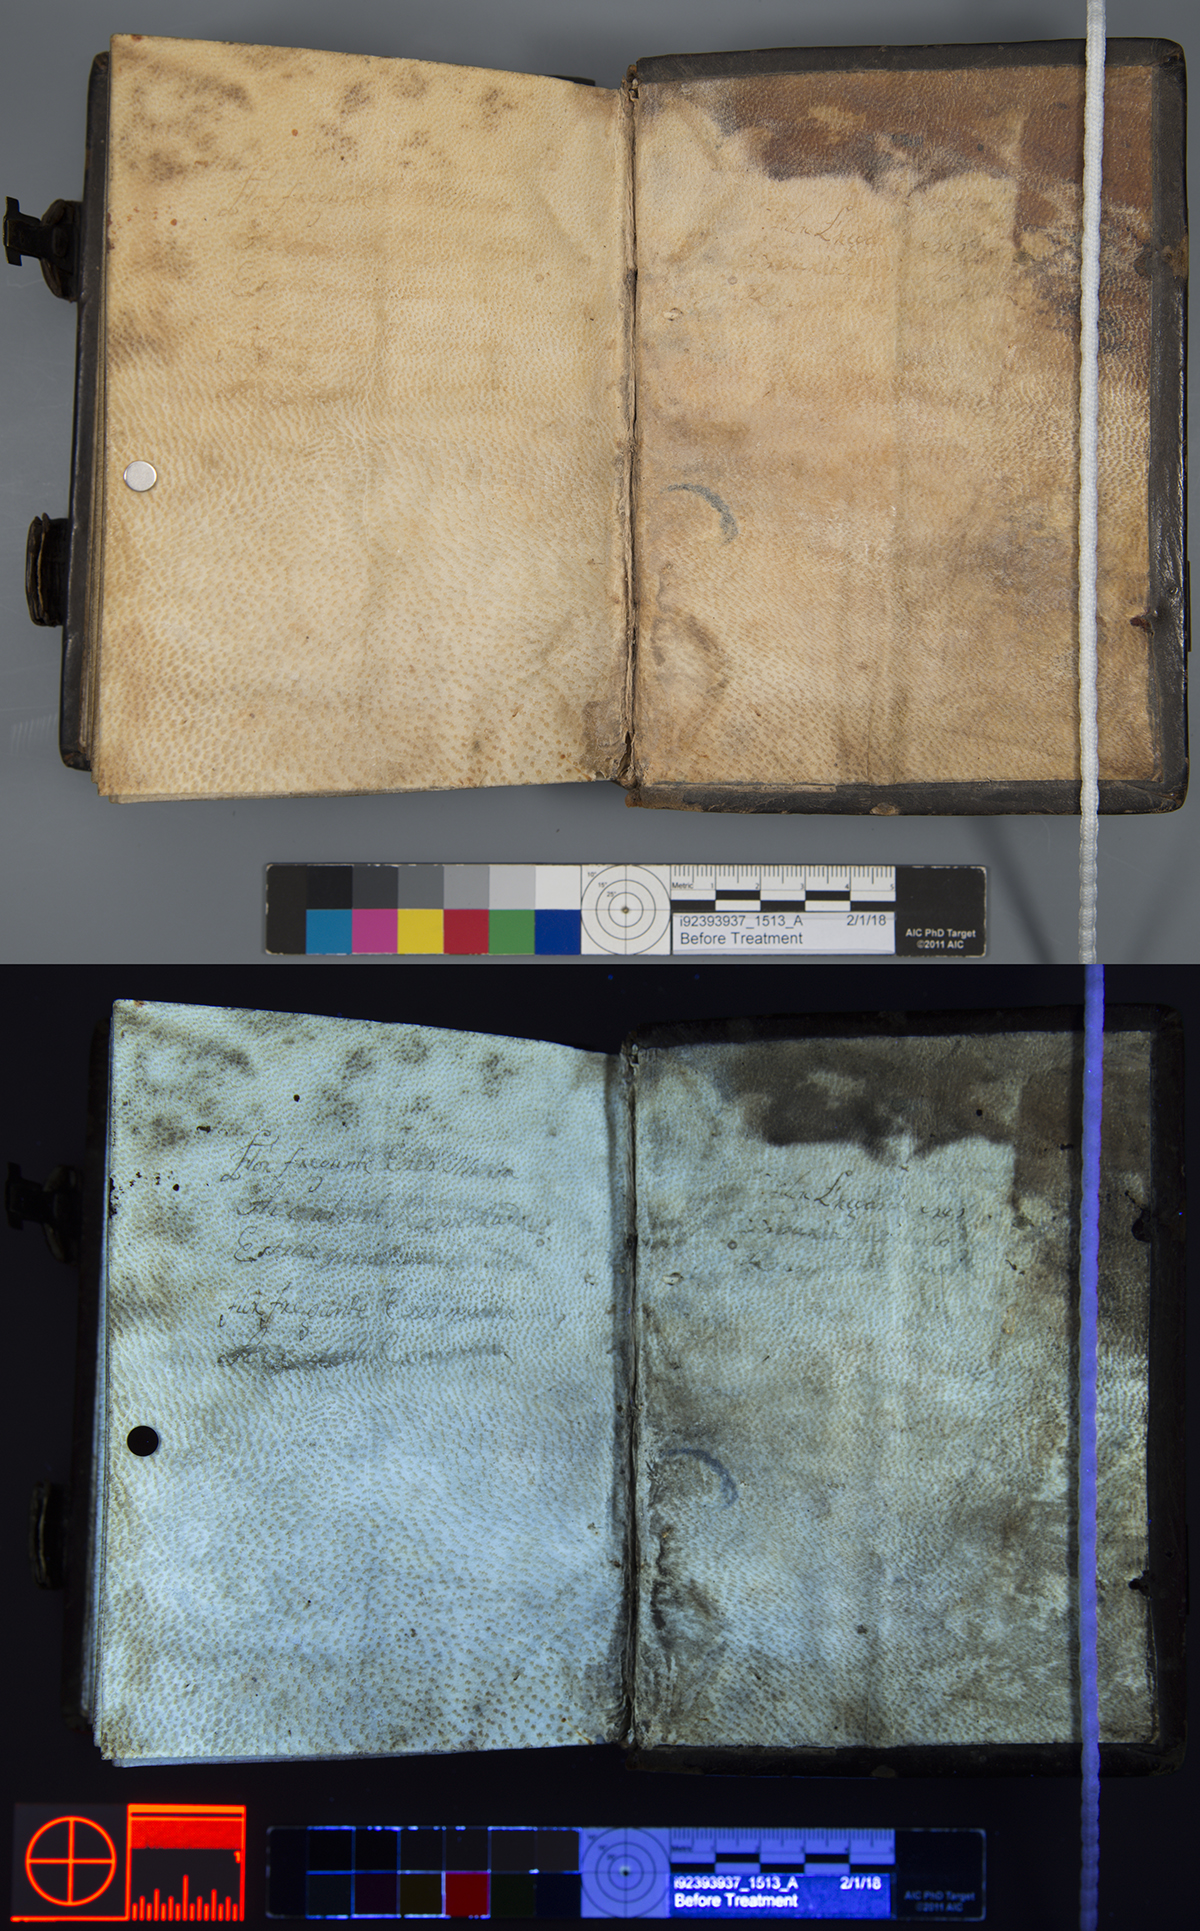 UV radiation is not only great for capturing staining and prior repairs, but it can also be used to capture faded inks that fluoresce under UVA radiation, as with the inscription in this undated Latin music manuscript from the Public Library of Cincinnati and Hamilton County.
We know the materiality of the items we treat in the Lab is extremely important, not just to our conservation colleagues and to us, but to researchers, bibliographers and curators. By utilizing photographic technologies and techniques in the conservation photography toolkit, the Lab can add value and illuminate hidden information to heighten a researcher’s overall experience with the books and objects in our collections. As the lead photographic documentation technician, I feel a deep sense of satisfaction when I can use my conservation photography skills to provide a fuller, richer and more nuanced representation of the objects in the collections of our two partner institutions. It is fortunate that many of my recent staff development opportunities have been geared towards expanding the level and quality of the visual documentation we are doing in the Preservation Lab, as well as developing my own skills. In the last year and a half, we have added two new techniques to our PhotoDoc toolkit, Reflectance Transformation Imaging (RTI) and Near Infrared photography (IR).
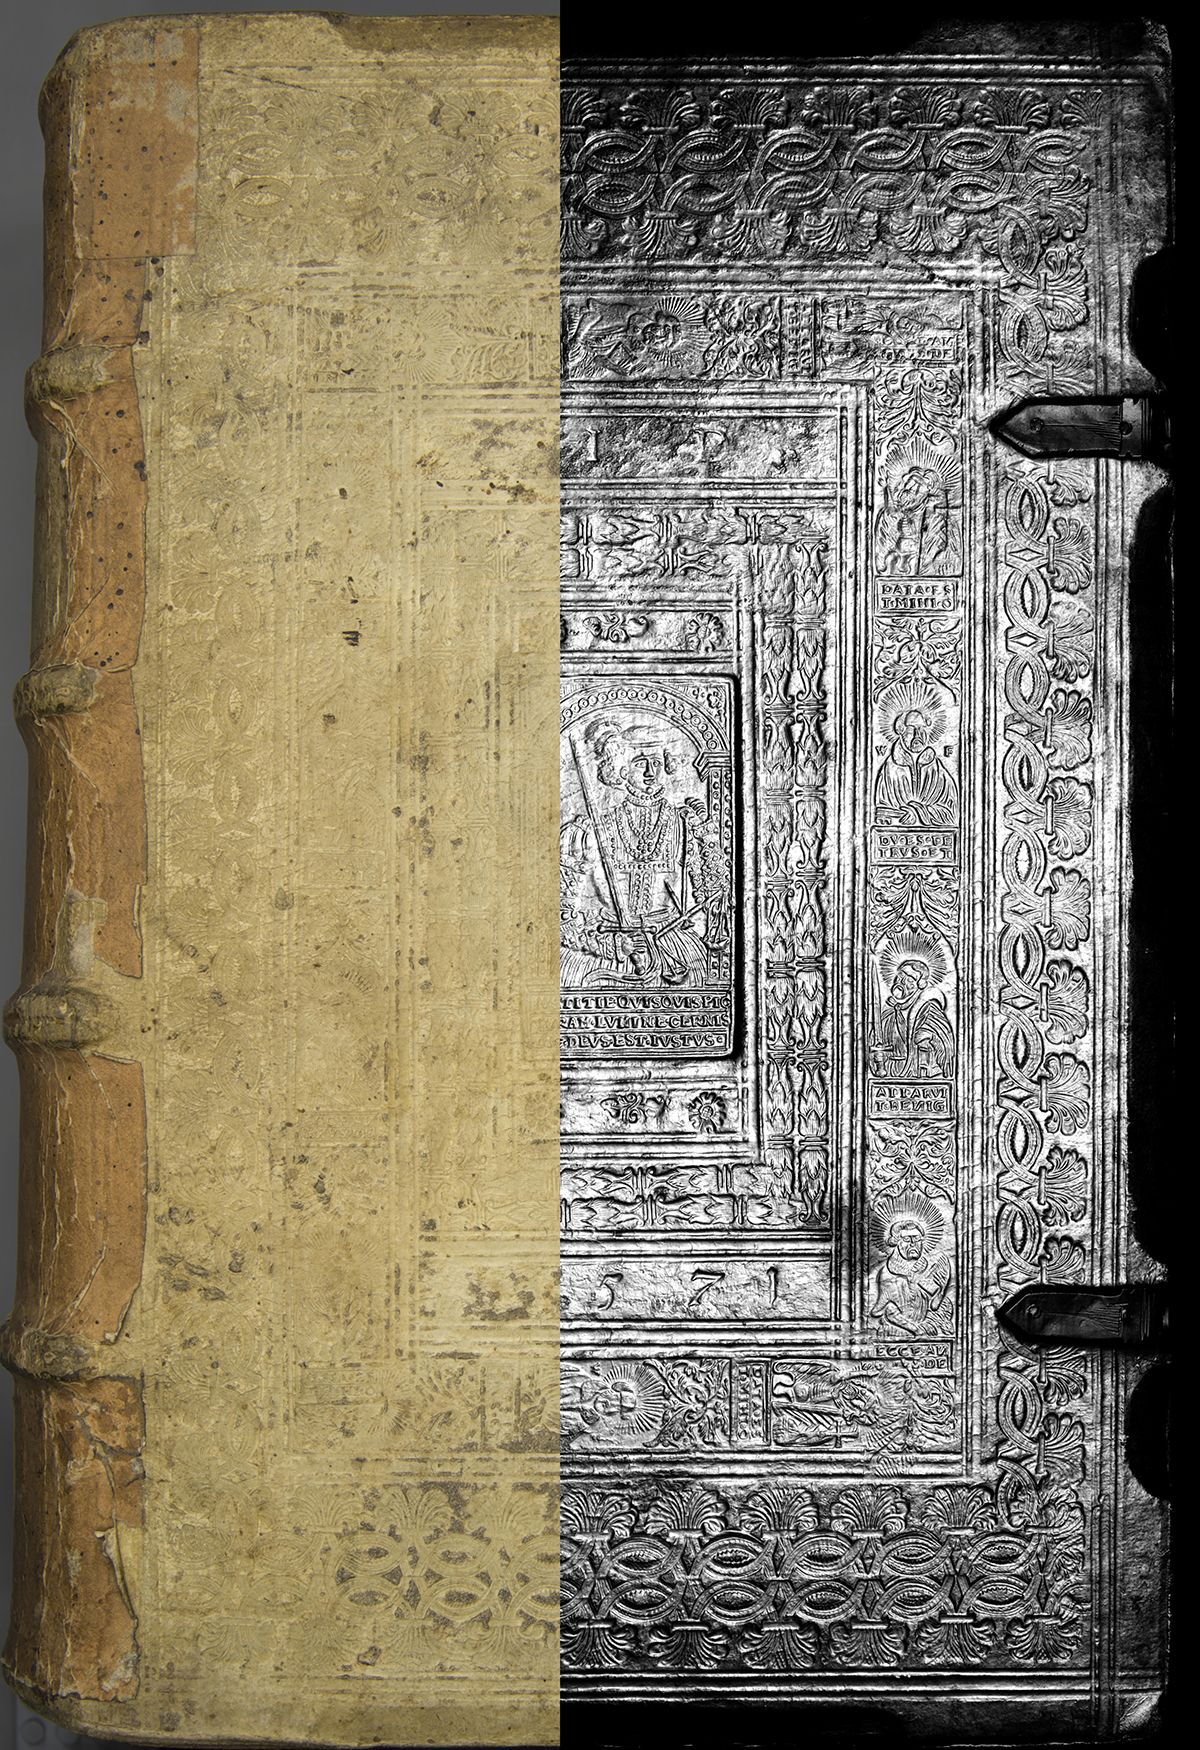 In April of 2017, I attended a Cultural Heritage Imaging workshop at Yale University on Reflectance Transformation Imaging (RTI). This is a composite image to represent the wonders of RTI. The left portion of the image shows the upper cover of this 1568 volume on Martin Luther’s writings under normal illumination, while the right portion consists of an image created using RTI’s specular enhancement mode, highlighting the intricate embossed design work on this volume. You can read more information about RTI on the Lab’s blog: http://blog.thepreservationlab.org/2017/04/fun-with-photodoc-rti-edition-5/
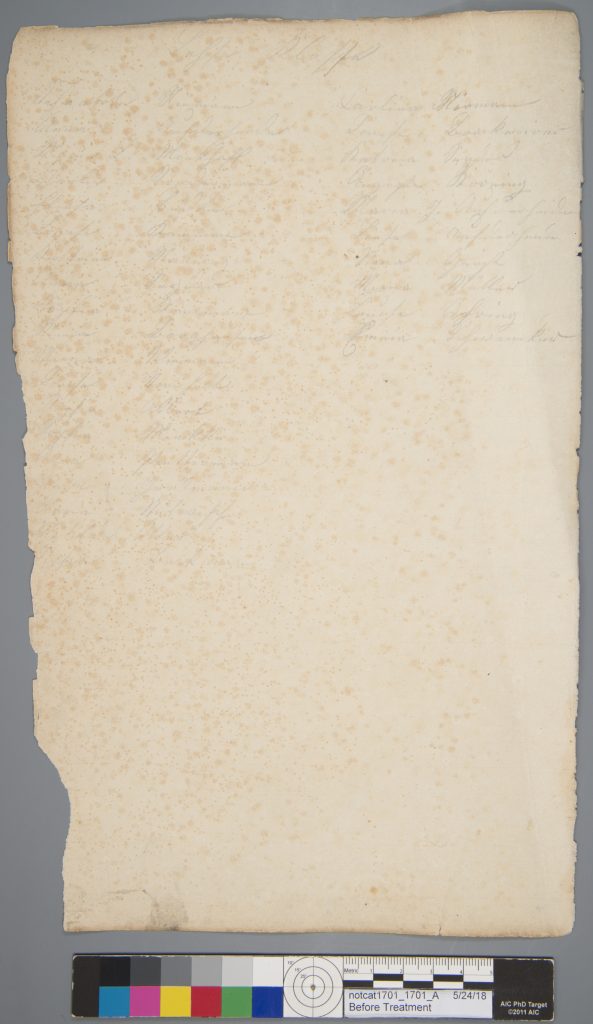
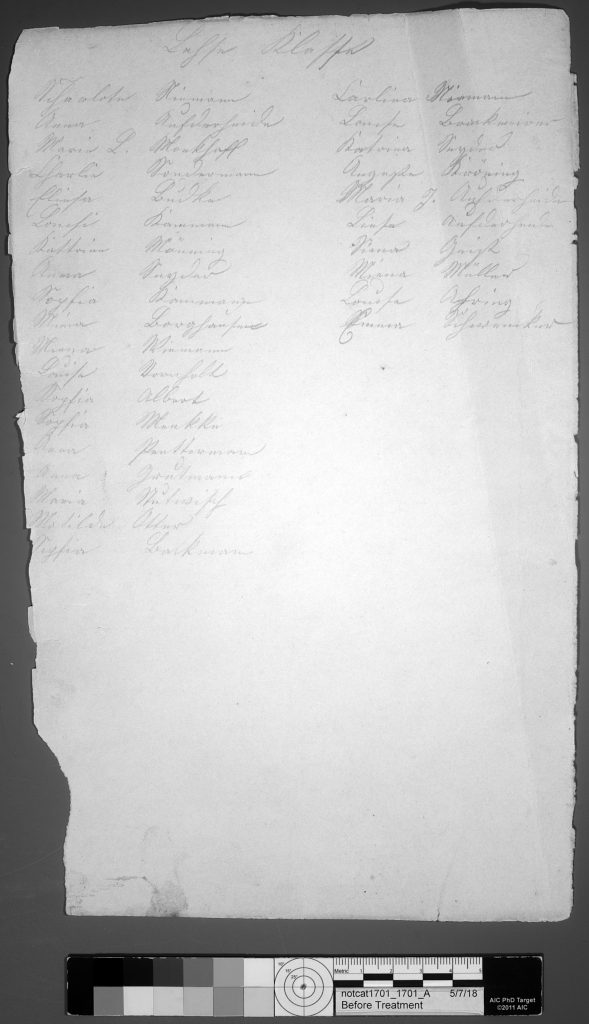
This is a representation of how near infrared can be used to make hard-to-read inscriptions more legible. In this case, the faint graphite inscriptions on this Third German Church record from UC’s Archives and Rare Books Library are difficult to read because of the heavy foxing caused by degradation in the paper, but IR allows the foxing to disappear so that you are able to focus on the graphite inscriptions. You can read more about IR on our blog: http://blog.thepreservationlab.org/2018/06/fun-with-photodoc-infrared-again-edition-8/
My latest staff development experience led me to Duke University for a workshop sponsored by AIC (American Institure for Conservation of Historic and Artistic Works) on UV/visible fluorescence documentation. Although the Lab already had a workflow for UV photography, we recognized a need to improve our workflow and equipment. In the workshop we discussed what makes some UVA lamps better than others (hint: visible light leakage) and how to better standardize UV documentation workflow. Our instructor, Jennifer McGlinchey Sexton, a paper and photograph conservator, showed participants an improved workflow based on the conservation photography ethics of image standardization using the Target UV. While the Lab has always used a conservation target in our normal illumination photography, to standardize our images and achieve accurate color representation, we did not have this level of standardization for our UV documentation.
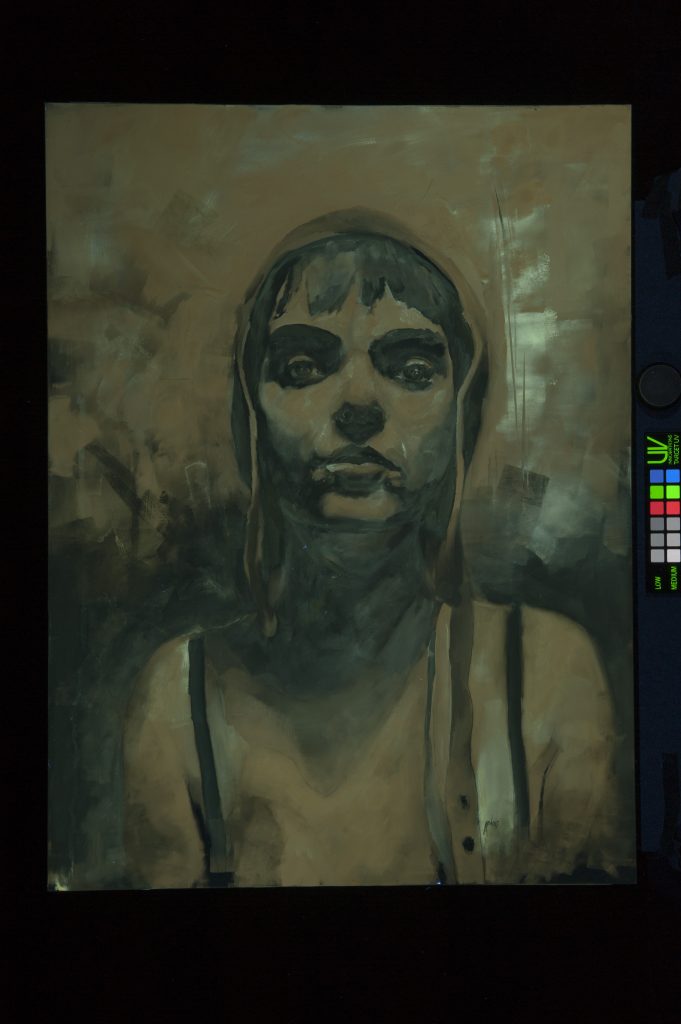
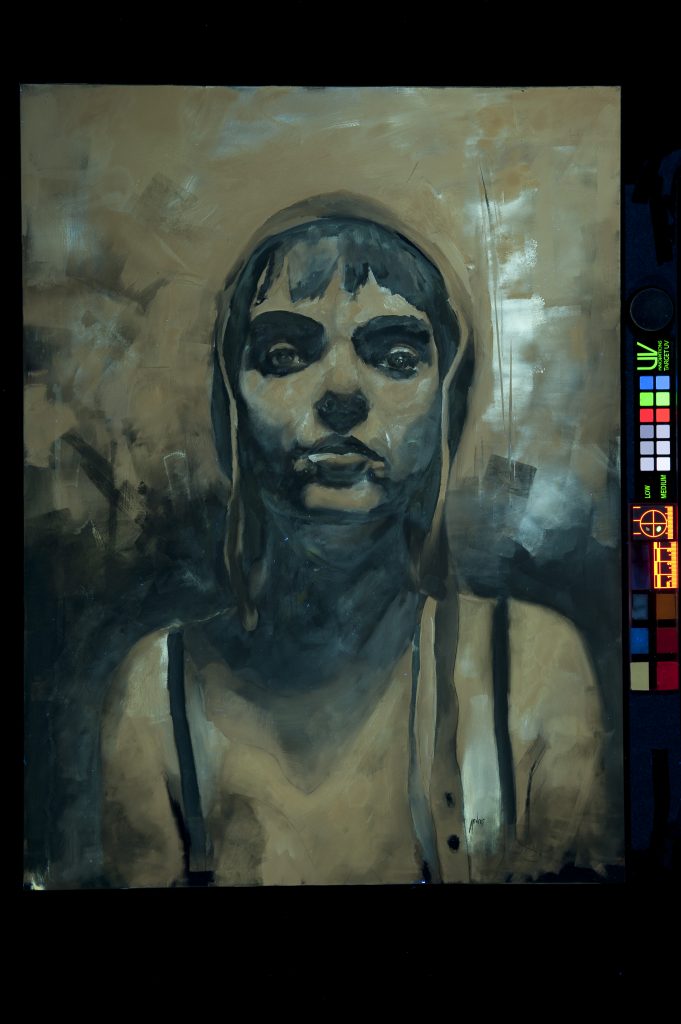
These are two images taken during the UV workshop at Duke. (Left) An example of UV fluorescence using the workflow established in The AIC Guide to Digital Photography and Conservation Documentation, which is the workflow we have been using in the Lab. (Right) The same painting documented using the Target UV workflow we were taught during the workshop. The images on the right more accurately represents what the participants saw when we viewed the painting under UV radiation.
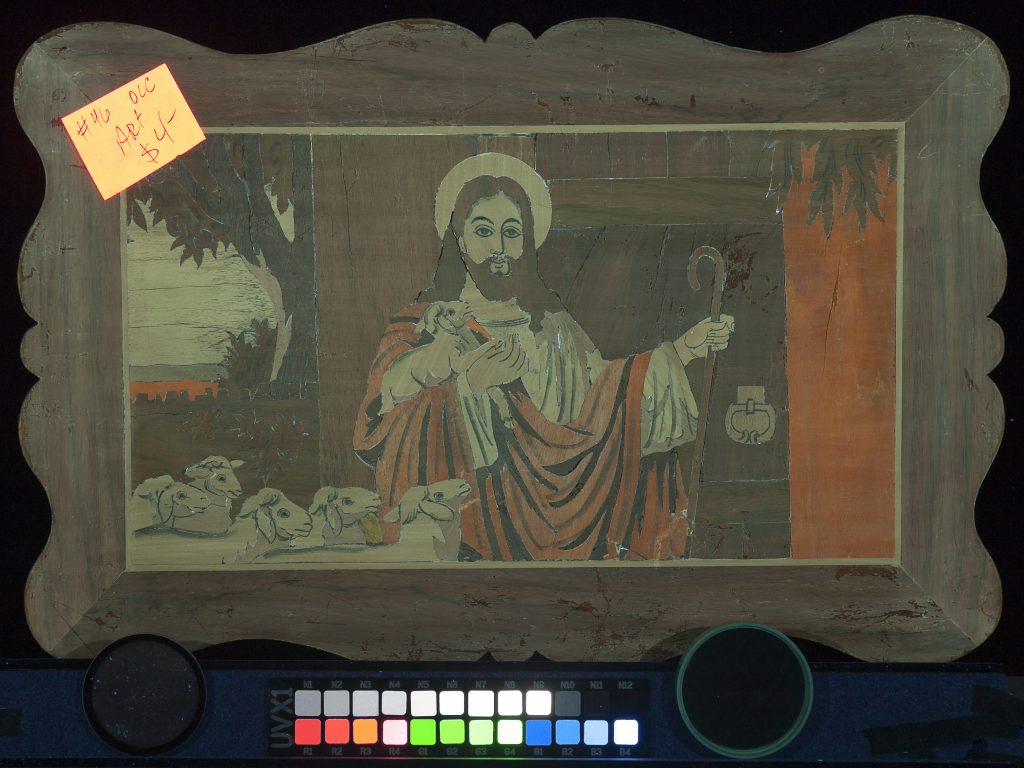
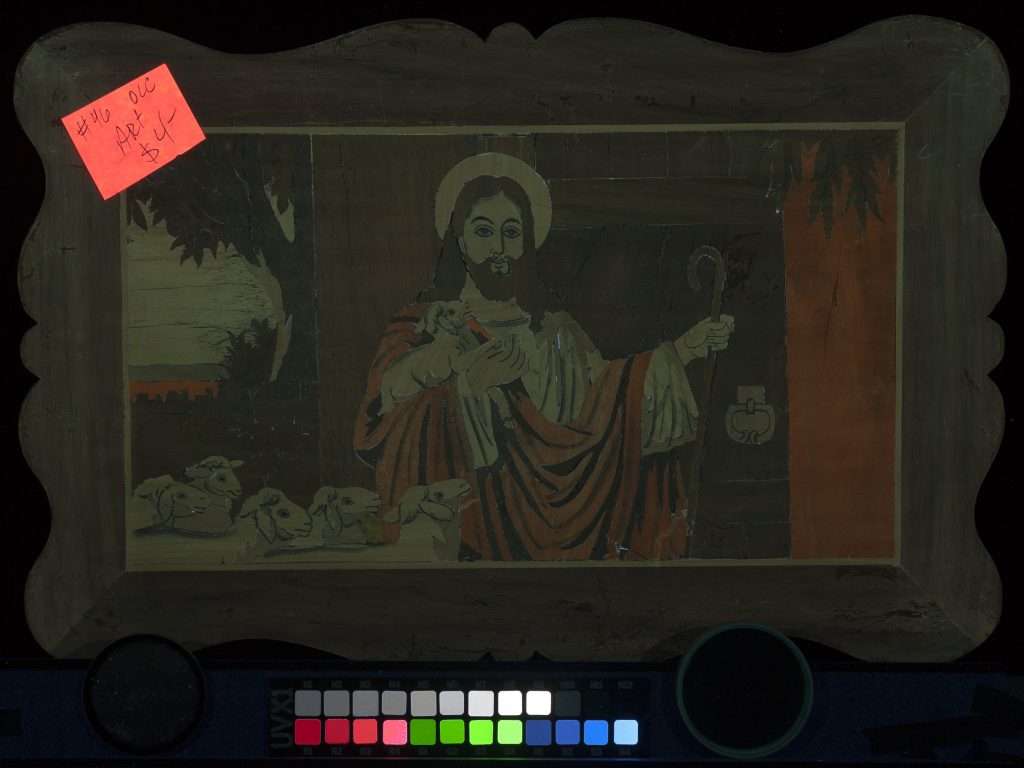
Another advantage is that the Target UV allows you to capture multiple materials that are fluorescing at different intensities. This is another example from the workshop, where the fluorescence of the artwork could best be captured in two separate images at different exposures. (Left) This image, captured using a higher exposure, highlights the fluorescence of the coating on the artwork. However, because the sticky note (which we pretended was a part of the artwork and of importance when documenting this item) has a higher intensity of fluorescence than the surface coating it gets blown on at this exposure. (Right) The second image was taken at a lower exposure, and while it gives us a better representation of the sticky note it does not give us the information we need about the fluorescence of the artwork’s surface and coating. Hence, two images are needed to accurately represent the artwork.
I am excited to bring this new information and workflow back to the Lab, where we are planning to improve our equipment and standardize our UVA documentation workflow. I am grateful to the Preservation Lab for all that I have learned in the nearly 11 years I have worked here and for allowing me to be part of this exciting team. A huge “thank you” to my supervisor, Holly Prochaska, head of preservation services, who constantly advocates for my personal development as a staff member and sees the benefit of my personal growth and the impact it can have on the Lab and our collections. To our conservator, Ashleigh Schieszer, who set-up our photographic documentation studio and trained me as a photographic documentation technician in the Lab. To my colleague, Catarina Figueirinhas, who is always willing to lend a hand, or crawl around on the floor holding a light, and help me with special photography projects like RTI.
The Preservation Lab is a collaborative, hybrid lab that serves both the Public Library of Cincinnati and Hamilton County and the University of Cincinnati Libraries collections. To find out more about the lab and our collaboration, visit:
Website: http://thepreservationlab.org/
Blog: http://blog.thepreservationlab.org/
Digital Treatment Documentation: http://digital.libraries.uc.edu/collections/preservation/
Follow us on Instagram https://www.instagram.com/thepreservationlab