Tuxedo boxes are fantastic, accessible enclosures. Sadly, they do have their limitations, as anything does. If you’re working with a piece that is a larger or heavier (or both!), a piece that is a bit more delicate and in need of more protection, or a piece that isn’t all in one piece, you may want to look at a corrugated clamshell.
The corrugated clamshell is a slightly more complex, yet infinitely versatile addition to a good basic preservation enclosure arsenal. Developed by Andrea Krupp in 1988, it’s great for pieces that are awaiting treatment but need stabilization in the meantime. It also works beautifully for boxing sets of items that don’t quite merit the time commitment that a cloth-covered clamshell might. I have also found a corrugated clamshell to be perfect for things like experimental music scores (which may include cards, CDs, or any number of other unexpected items) that need to be shelf-ready in a hurry.
So let’s make one. The material list for this is actually surprisingly small:
- A cutting implement, such as a scalpel or X-acto or Olfa knife
- At least one ruler. I generally use two – a meter rule for laying down lines, and a 12-inch rule for most cuts.
- A bone folder. This should have at least one end that is fully rounded. You don’t want to push through your board!
- PVA; archival quality, of course. While there are a few ways to make a non-adhesive box that I won’t get into with this entry, the method we use here in the Lab does require it.
- A way to secure the adhered portions of the box. In the Lab, this would be done with large bulldog or binders clips with board scraps to prevent marring, but if you’re at home without something like those, some strategically-placed weights will do nicely.
- And of course, your corrugated board. Again, archival quality. For most projects, we use B flute (3mm thickness), but we do use E flute (1.6mm thickness) as well. E flute is used for my example photographs, throughout the entry.
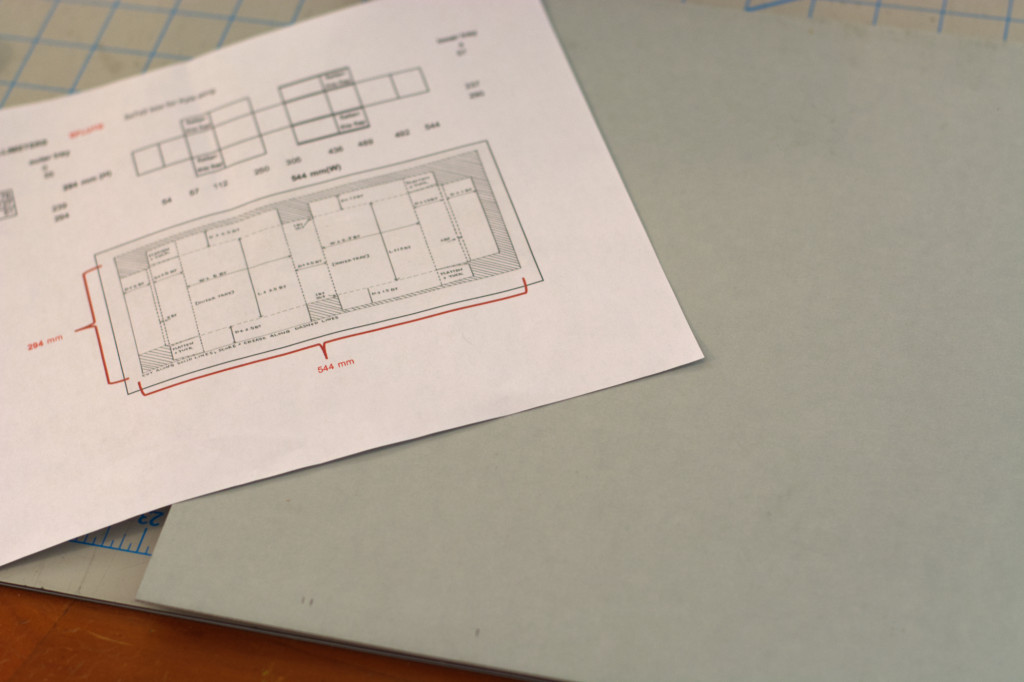
In the Lab, planning for our corrugated boxes begins with an Excel spreadsheet. Brought to us by Ashleigh via UCLA, this greatly shortens our box making time by automating the measurements needed for each project. With just the height, width, and thickness of your piece, the sheet maps out every measurement you need for a snug, custom enclosure. As you can imagine, in a production lab like ours, this is a huge boon. I highly recommend it, and I would be happy to send it to you! (Feel free to email me any time at hyacinth.tucker@uc.edu or check out this link to past OPC workshop handouts!)
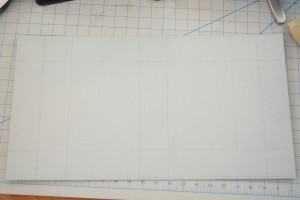
Once we have our measurements secured, it’s time to cut our board down to size and lay down our guide-lines. Two things to remember: 1) be sure to make all your markings on the side of the board with visible corrugated lines, this way the guide-lines and the less aesthetically pleasing side of the box are on the inside of the enclosure (with the exception of fragile items that might rub against the corrugation such as red rotted leather); and 2) do your best to orient the grain in the proper direction. When the box is finished, the visible corrugated lines should run in the same direction as the spine of the book. The overall board sizing can be done with your larger ruler, rather than a board shear or oversized paper cutter, if you’re very careful. That same ruler can then be used to measure out the cutting and scoring lines.

Next, let’s make our box cuts. If you have one, the smaller ruler is great here. Again, the spreadsheet makes this part simple. Cut on the solid lines, score and fold on the dashed lines. One thing that the sheet doesn’t mention is that the inner corners of each box wall need to be cut. Not much; you don’t want to expose your materials to the elements. Just a little corner to keep them from catching on each other when you close your completed box.
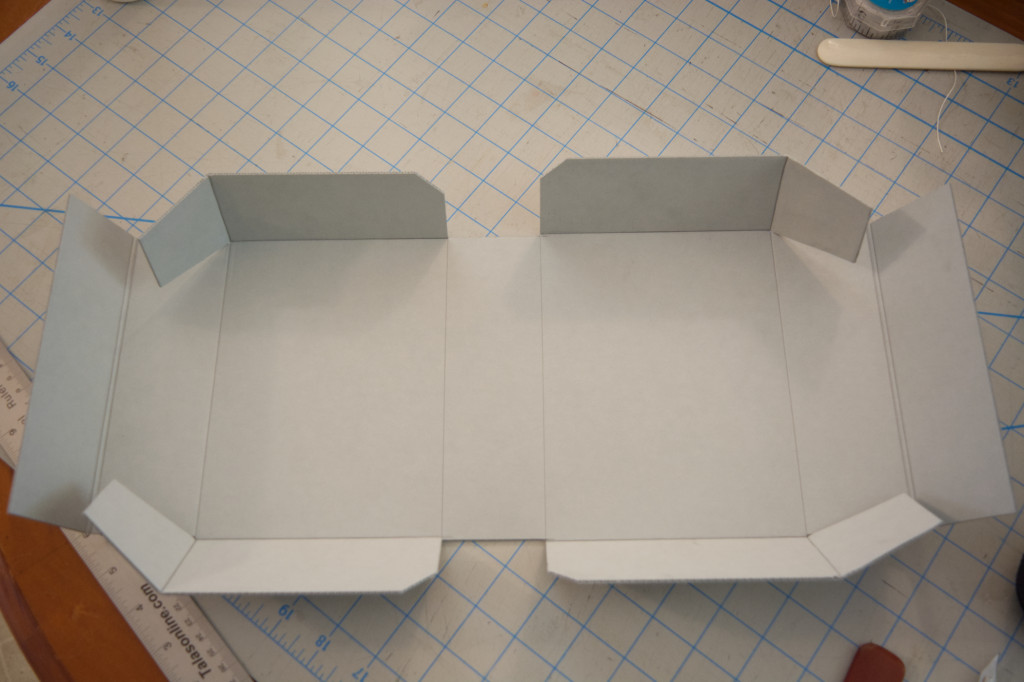
Now that all of the cuts are done, we move on to the scoring and creasing. In the Lab, all of the creasing across the width of the box is done with a large crimper, and the lengthwise work is done by hand. Fortunately, if you don’t have access to a crimper, it’s pretty easy to score with one of your rulers and the rounded bone folder. Just take your time, and don’t press too hard; you don’t want to break through the board.
can help hold everything together while the adhesive dries.
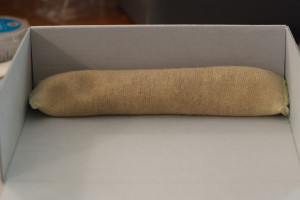
Next, let’s pull it all together. First, fold up the sides of your box, to define your inner trays. If you are using 3mm board, this is a great time to use your bone folder to flatten the flaps, in order to prevent bulk when pasted down. Next, tuck the flaps into the fold over portions at each end. This is where the PVA comes in. Put it on the flaps and the interior of the fold-overs. Be generous, but not too generous; we don’t want it to gush out when we make the folds. Secure the fold-overs with the clips/weights, and leave it all to dry. I aim for overnight, if I can, so that the PVA can off-gas a bit before I put the piece inside. If you can leave it for longer, that’s even better.
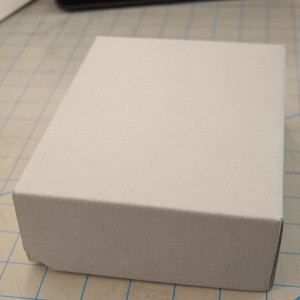
And there you have it, a lovely custom corrugated clamshell that’s perfect for your needs. In my next post we’ll look at some non-adhesive solutions, and a great way to customize them.
Until next time!
Hyacinth Tucker (UCL) — Bindery and Conservation Technician