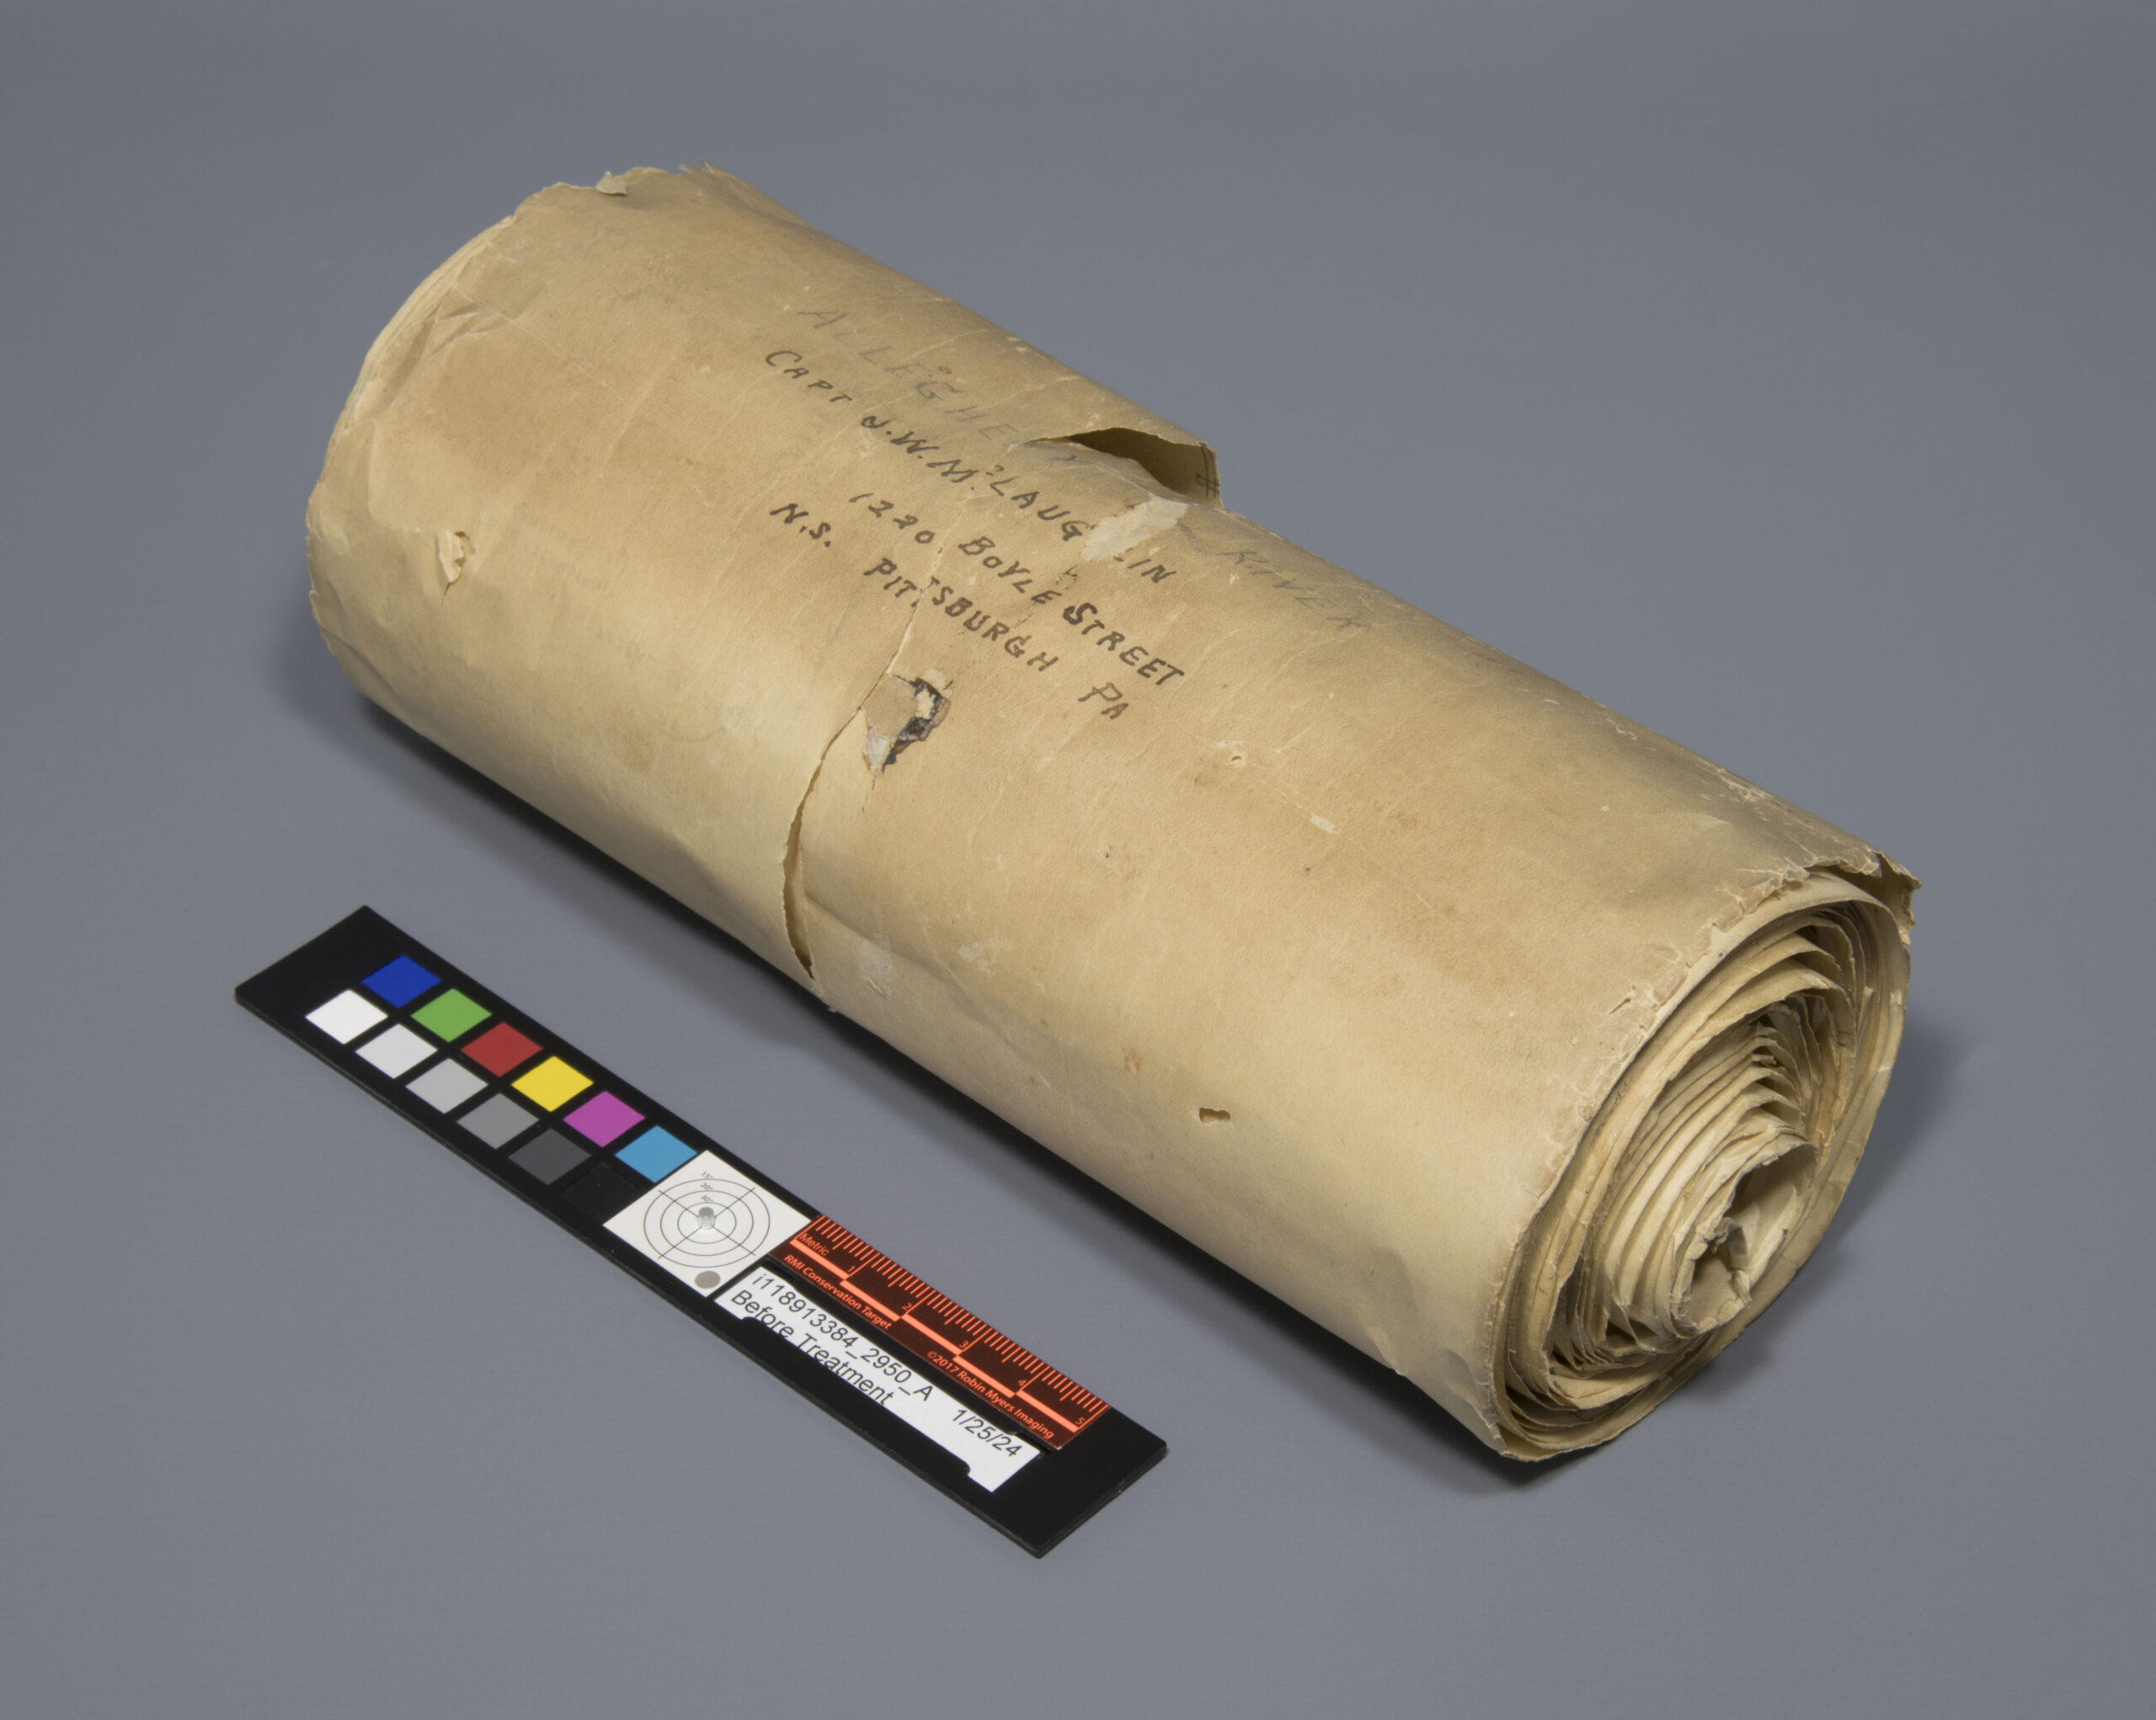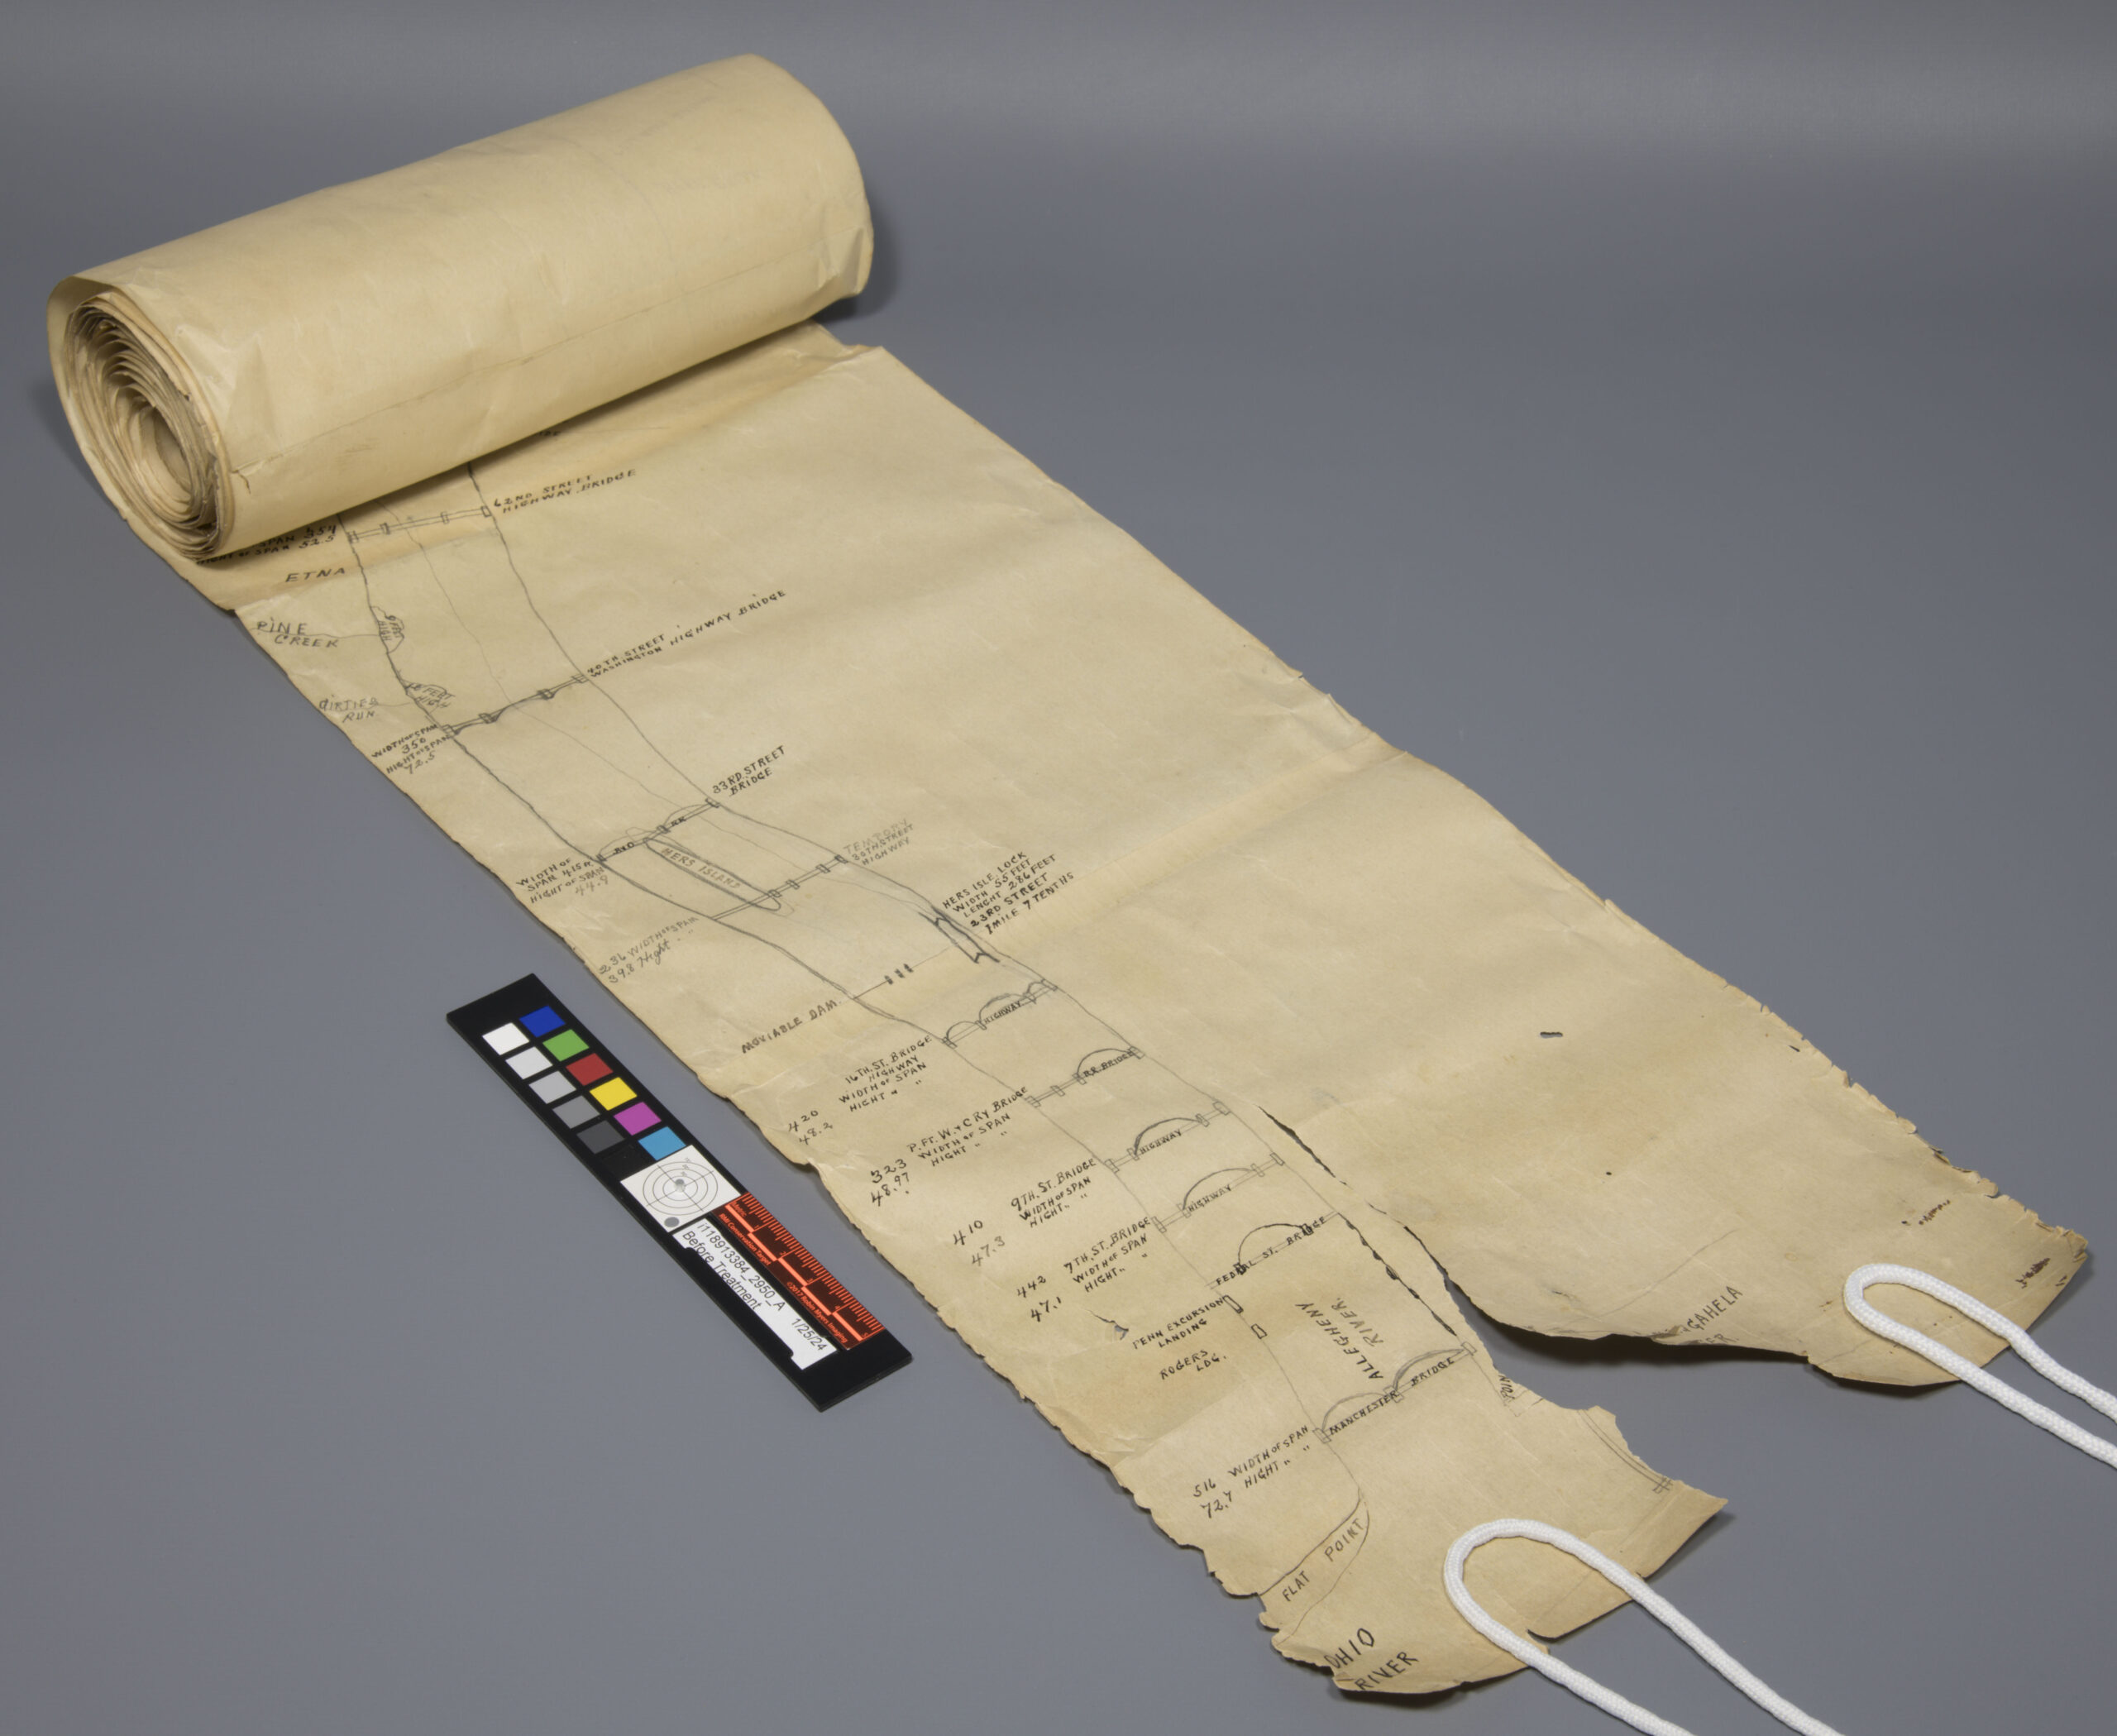
When a group of four folded parchment deeds arrived at the Preservation Lab, I was immediately excited about the project. It is not often that we work with parchment, particularly on “flat” items such as parchment deeds. I use “flat” in quotation marks because these were anything but flat once unfolded.

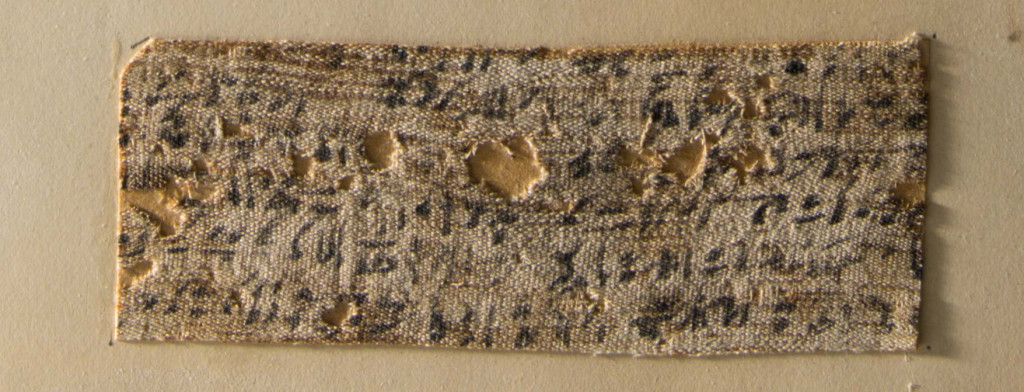
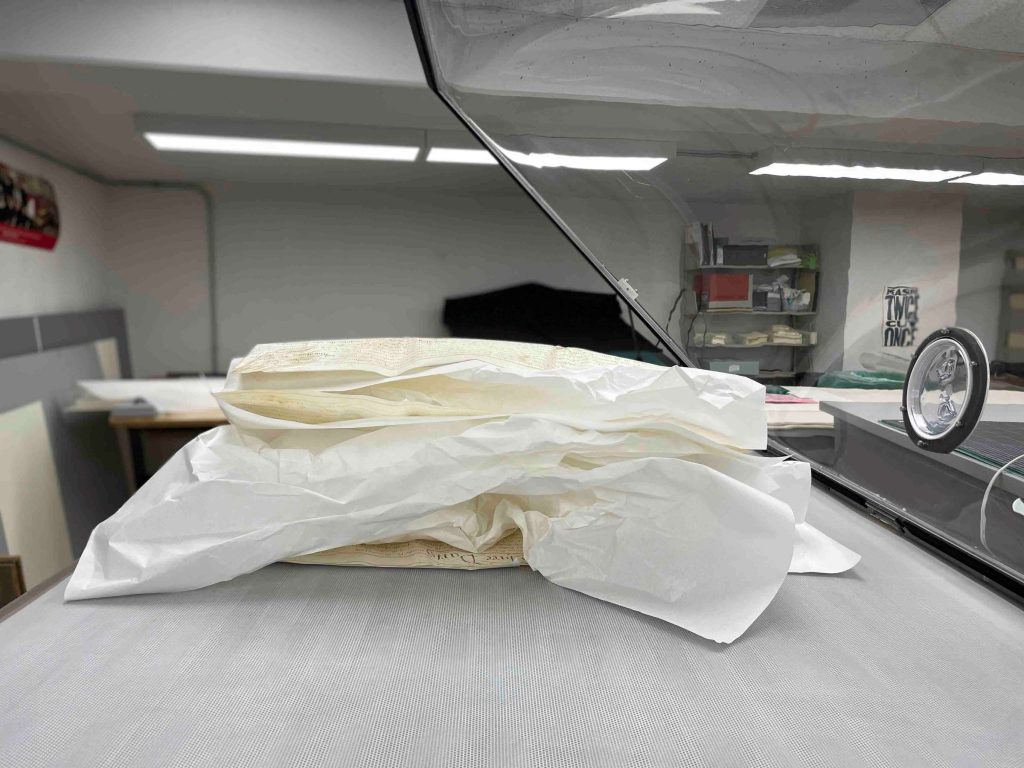
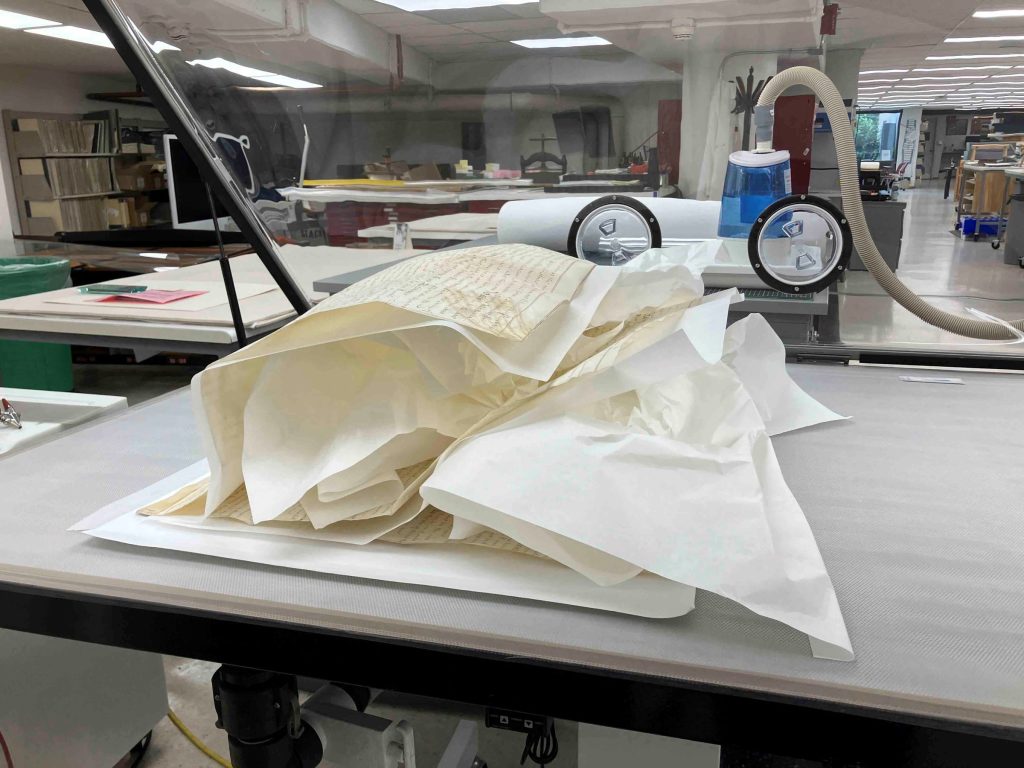
At first glance, they looked deceptively simple: compact, neatly folded, and quite small. Once opened, however, they revealed large, creased, and cockled sheets of animal skin, some with fragile wax seals and one composed of multiple leaves stitched together along the bottom edge. (Prior to treatment, each document was photographed as they were received in the Lab):


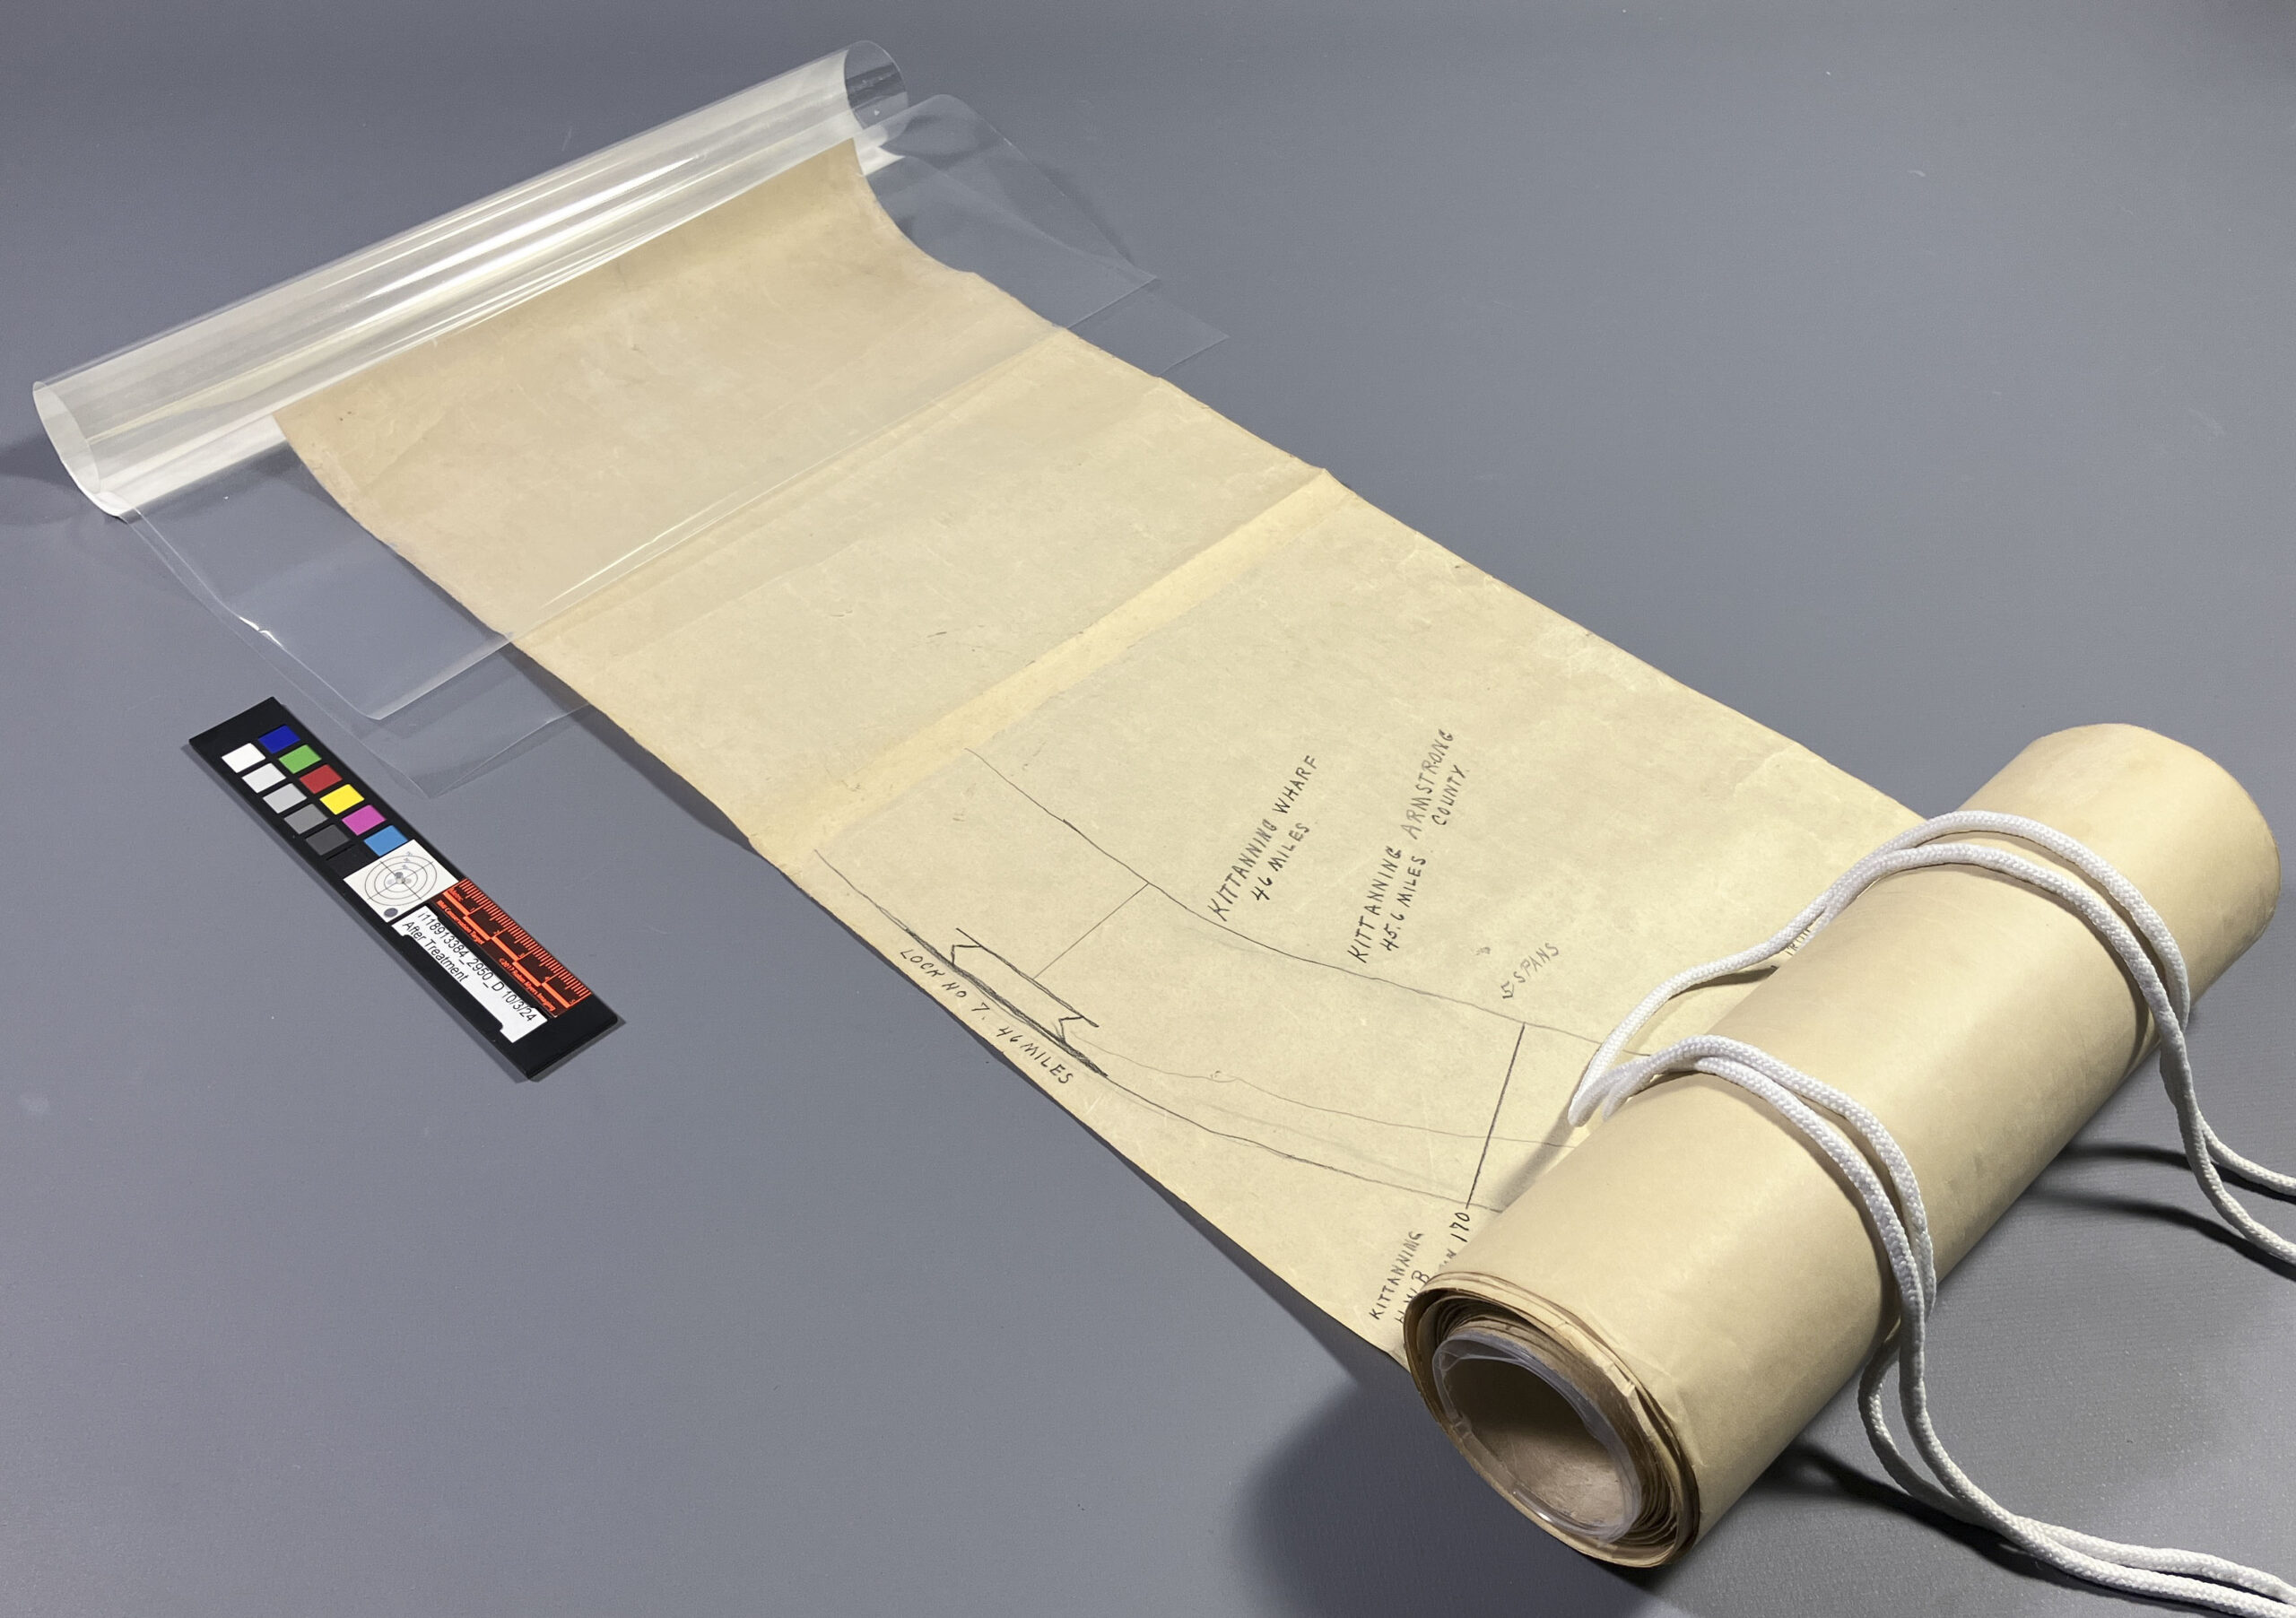
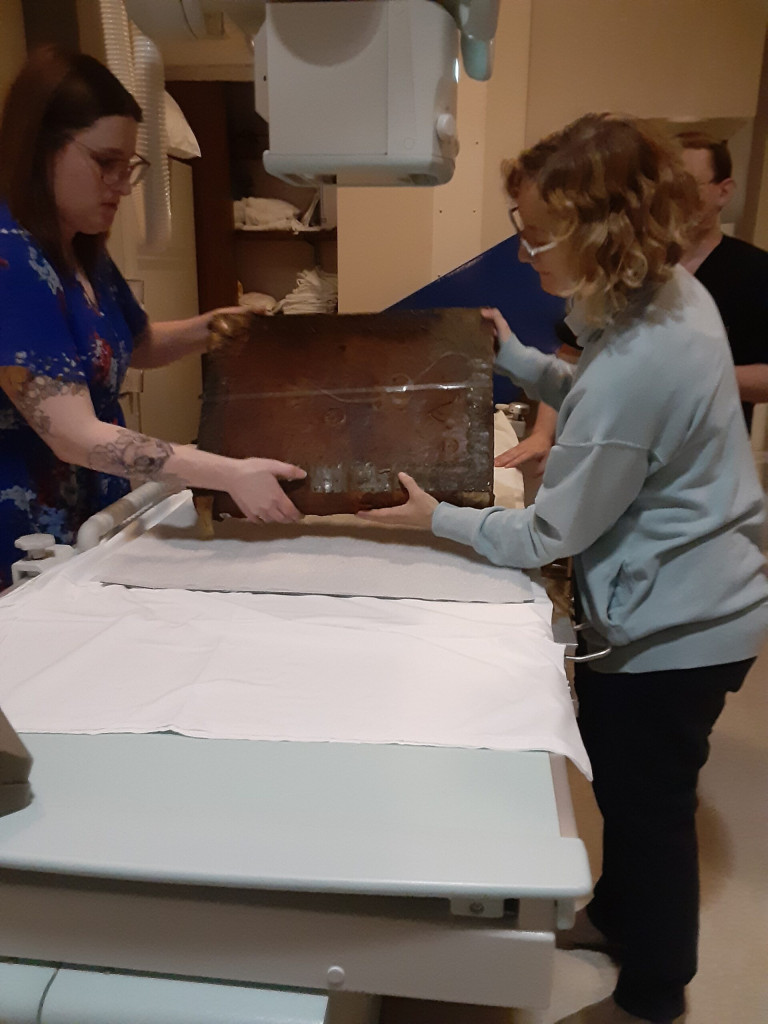
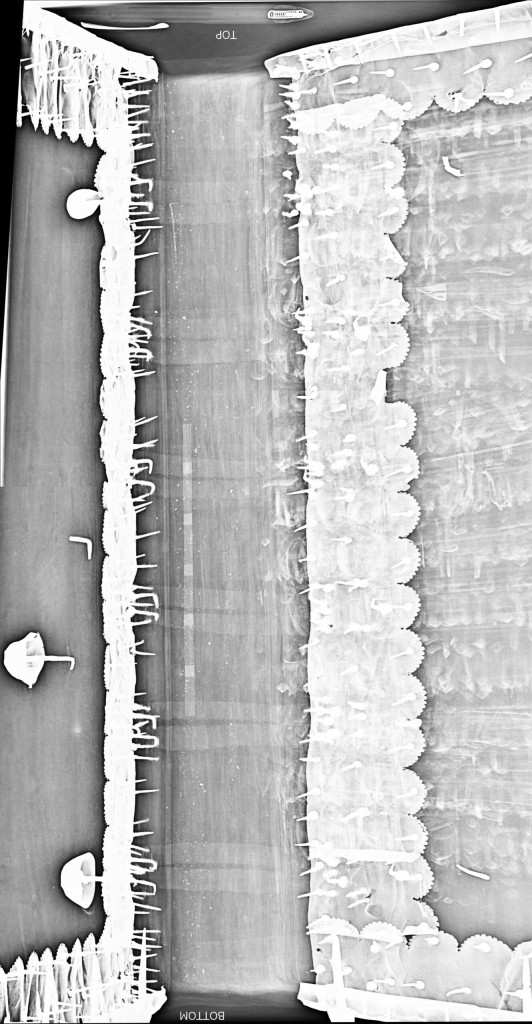
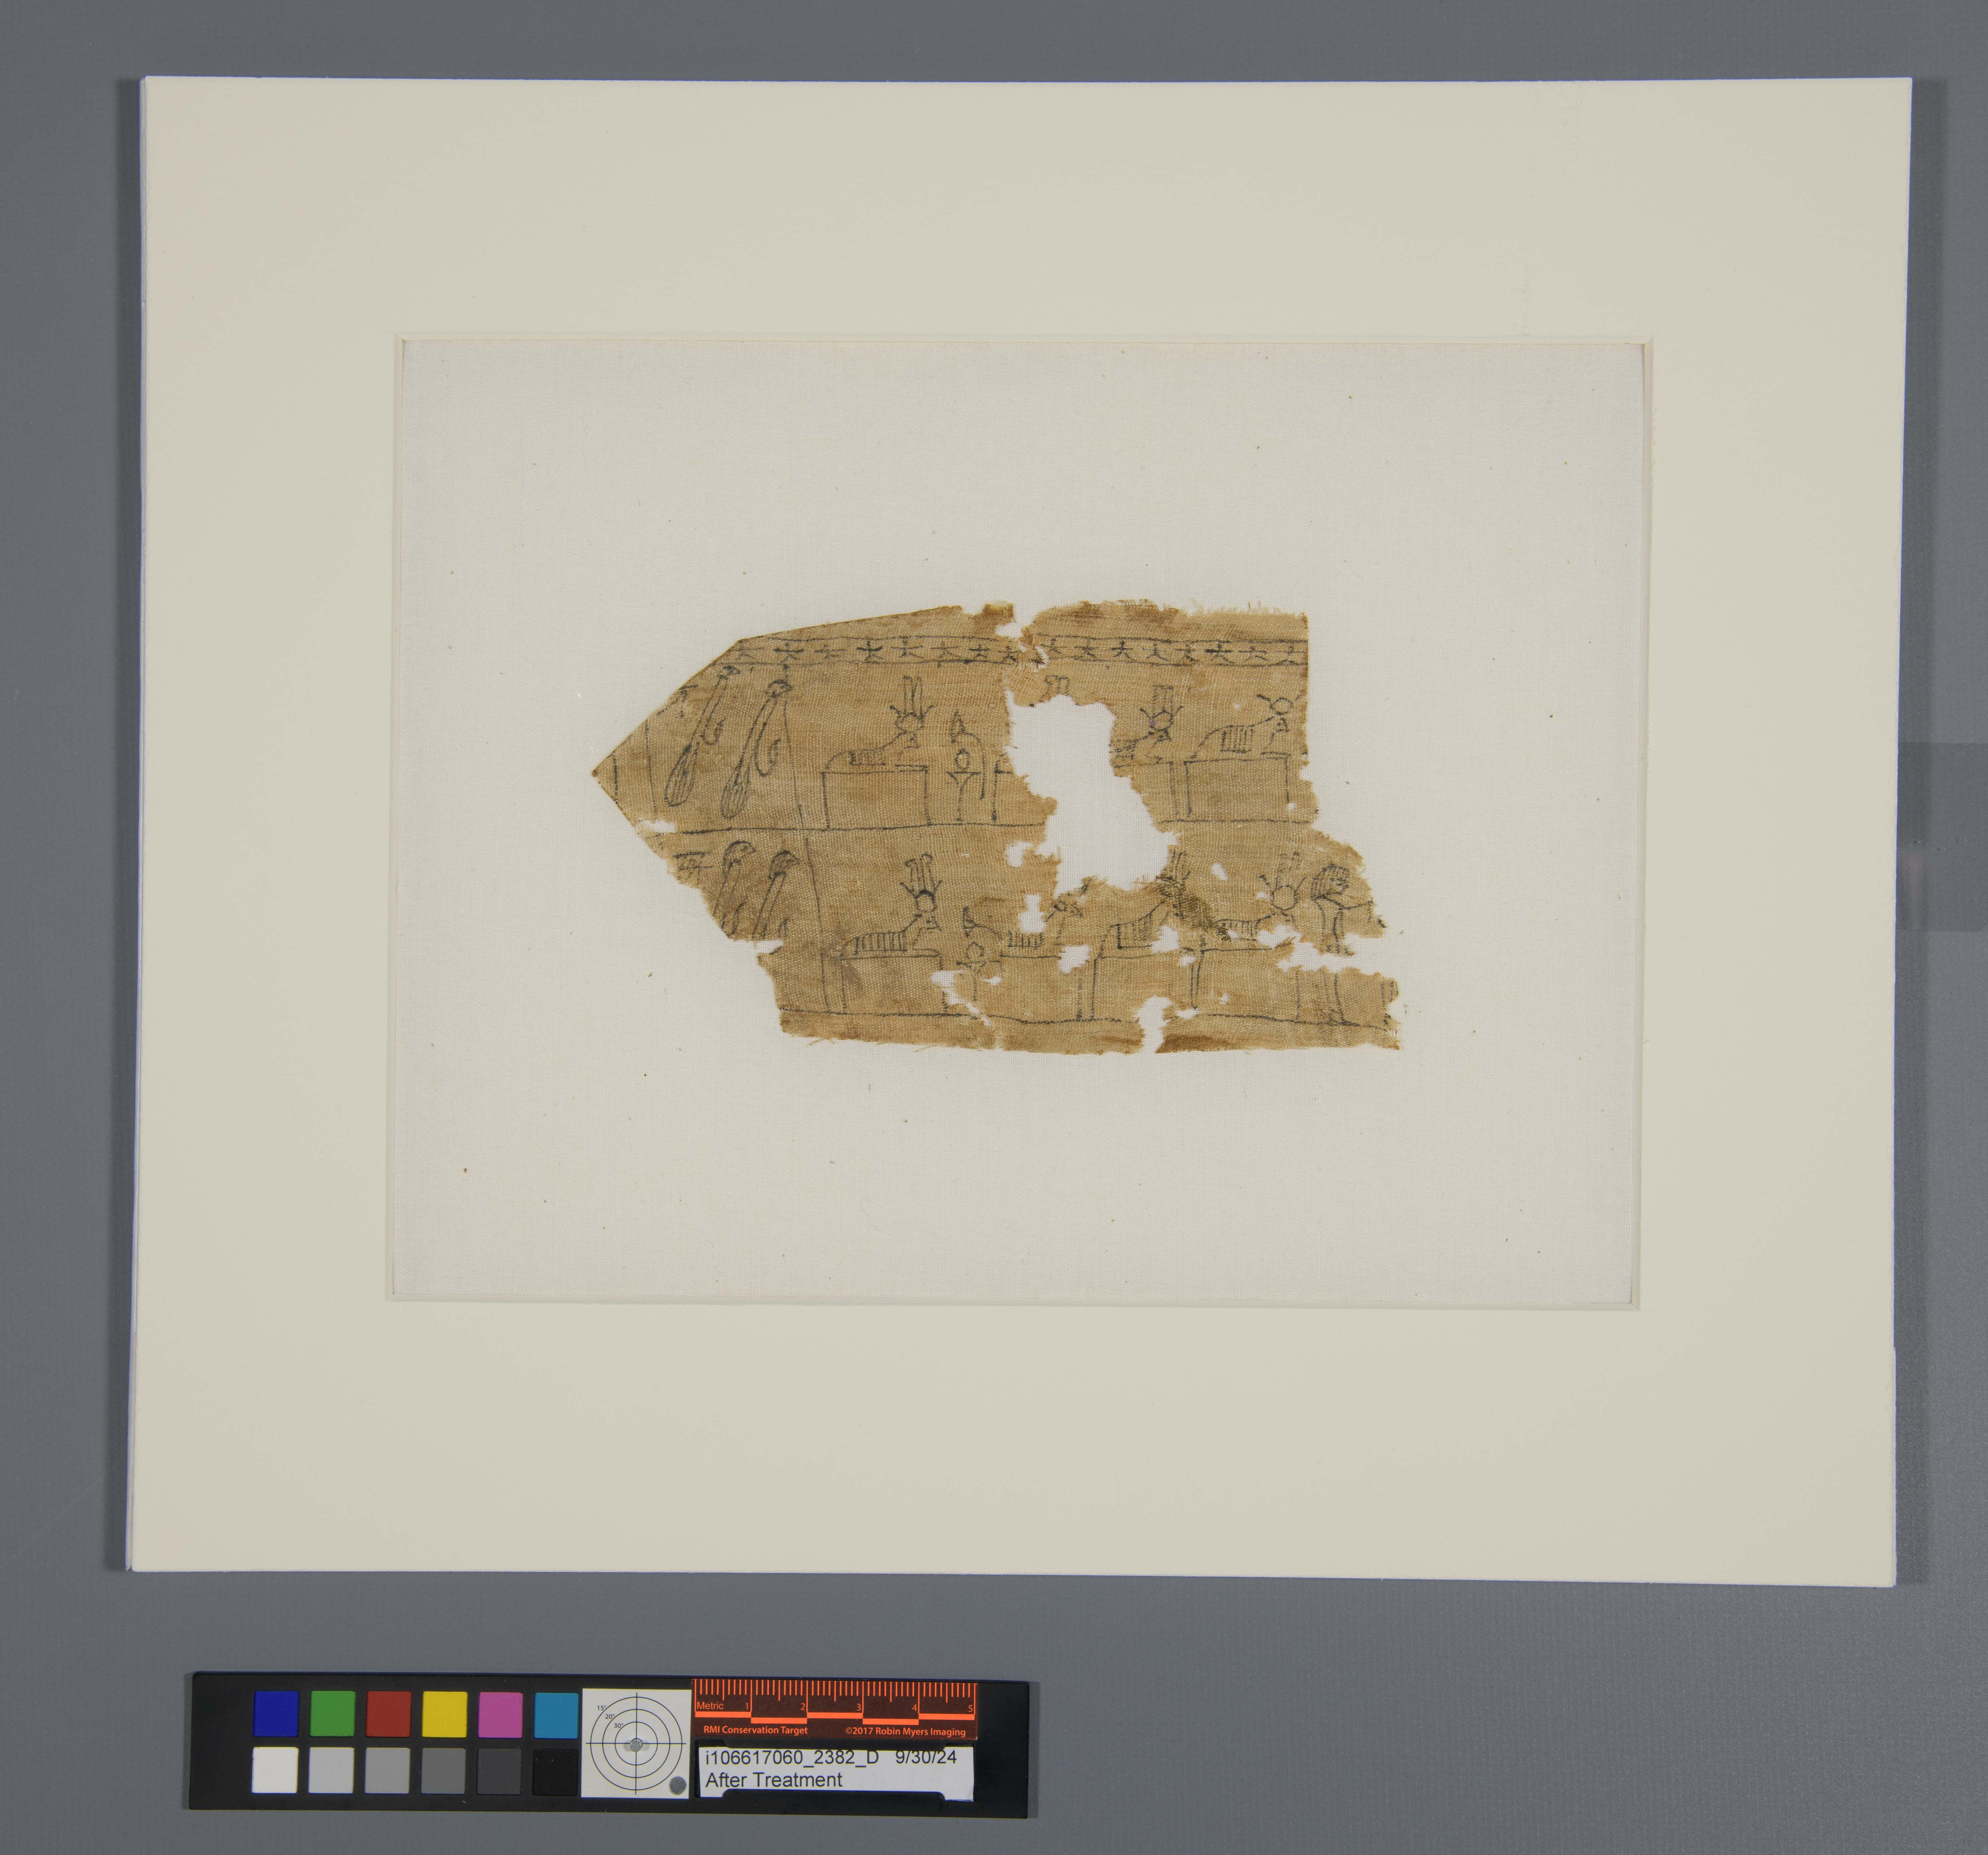
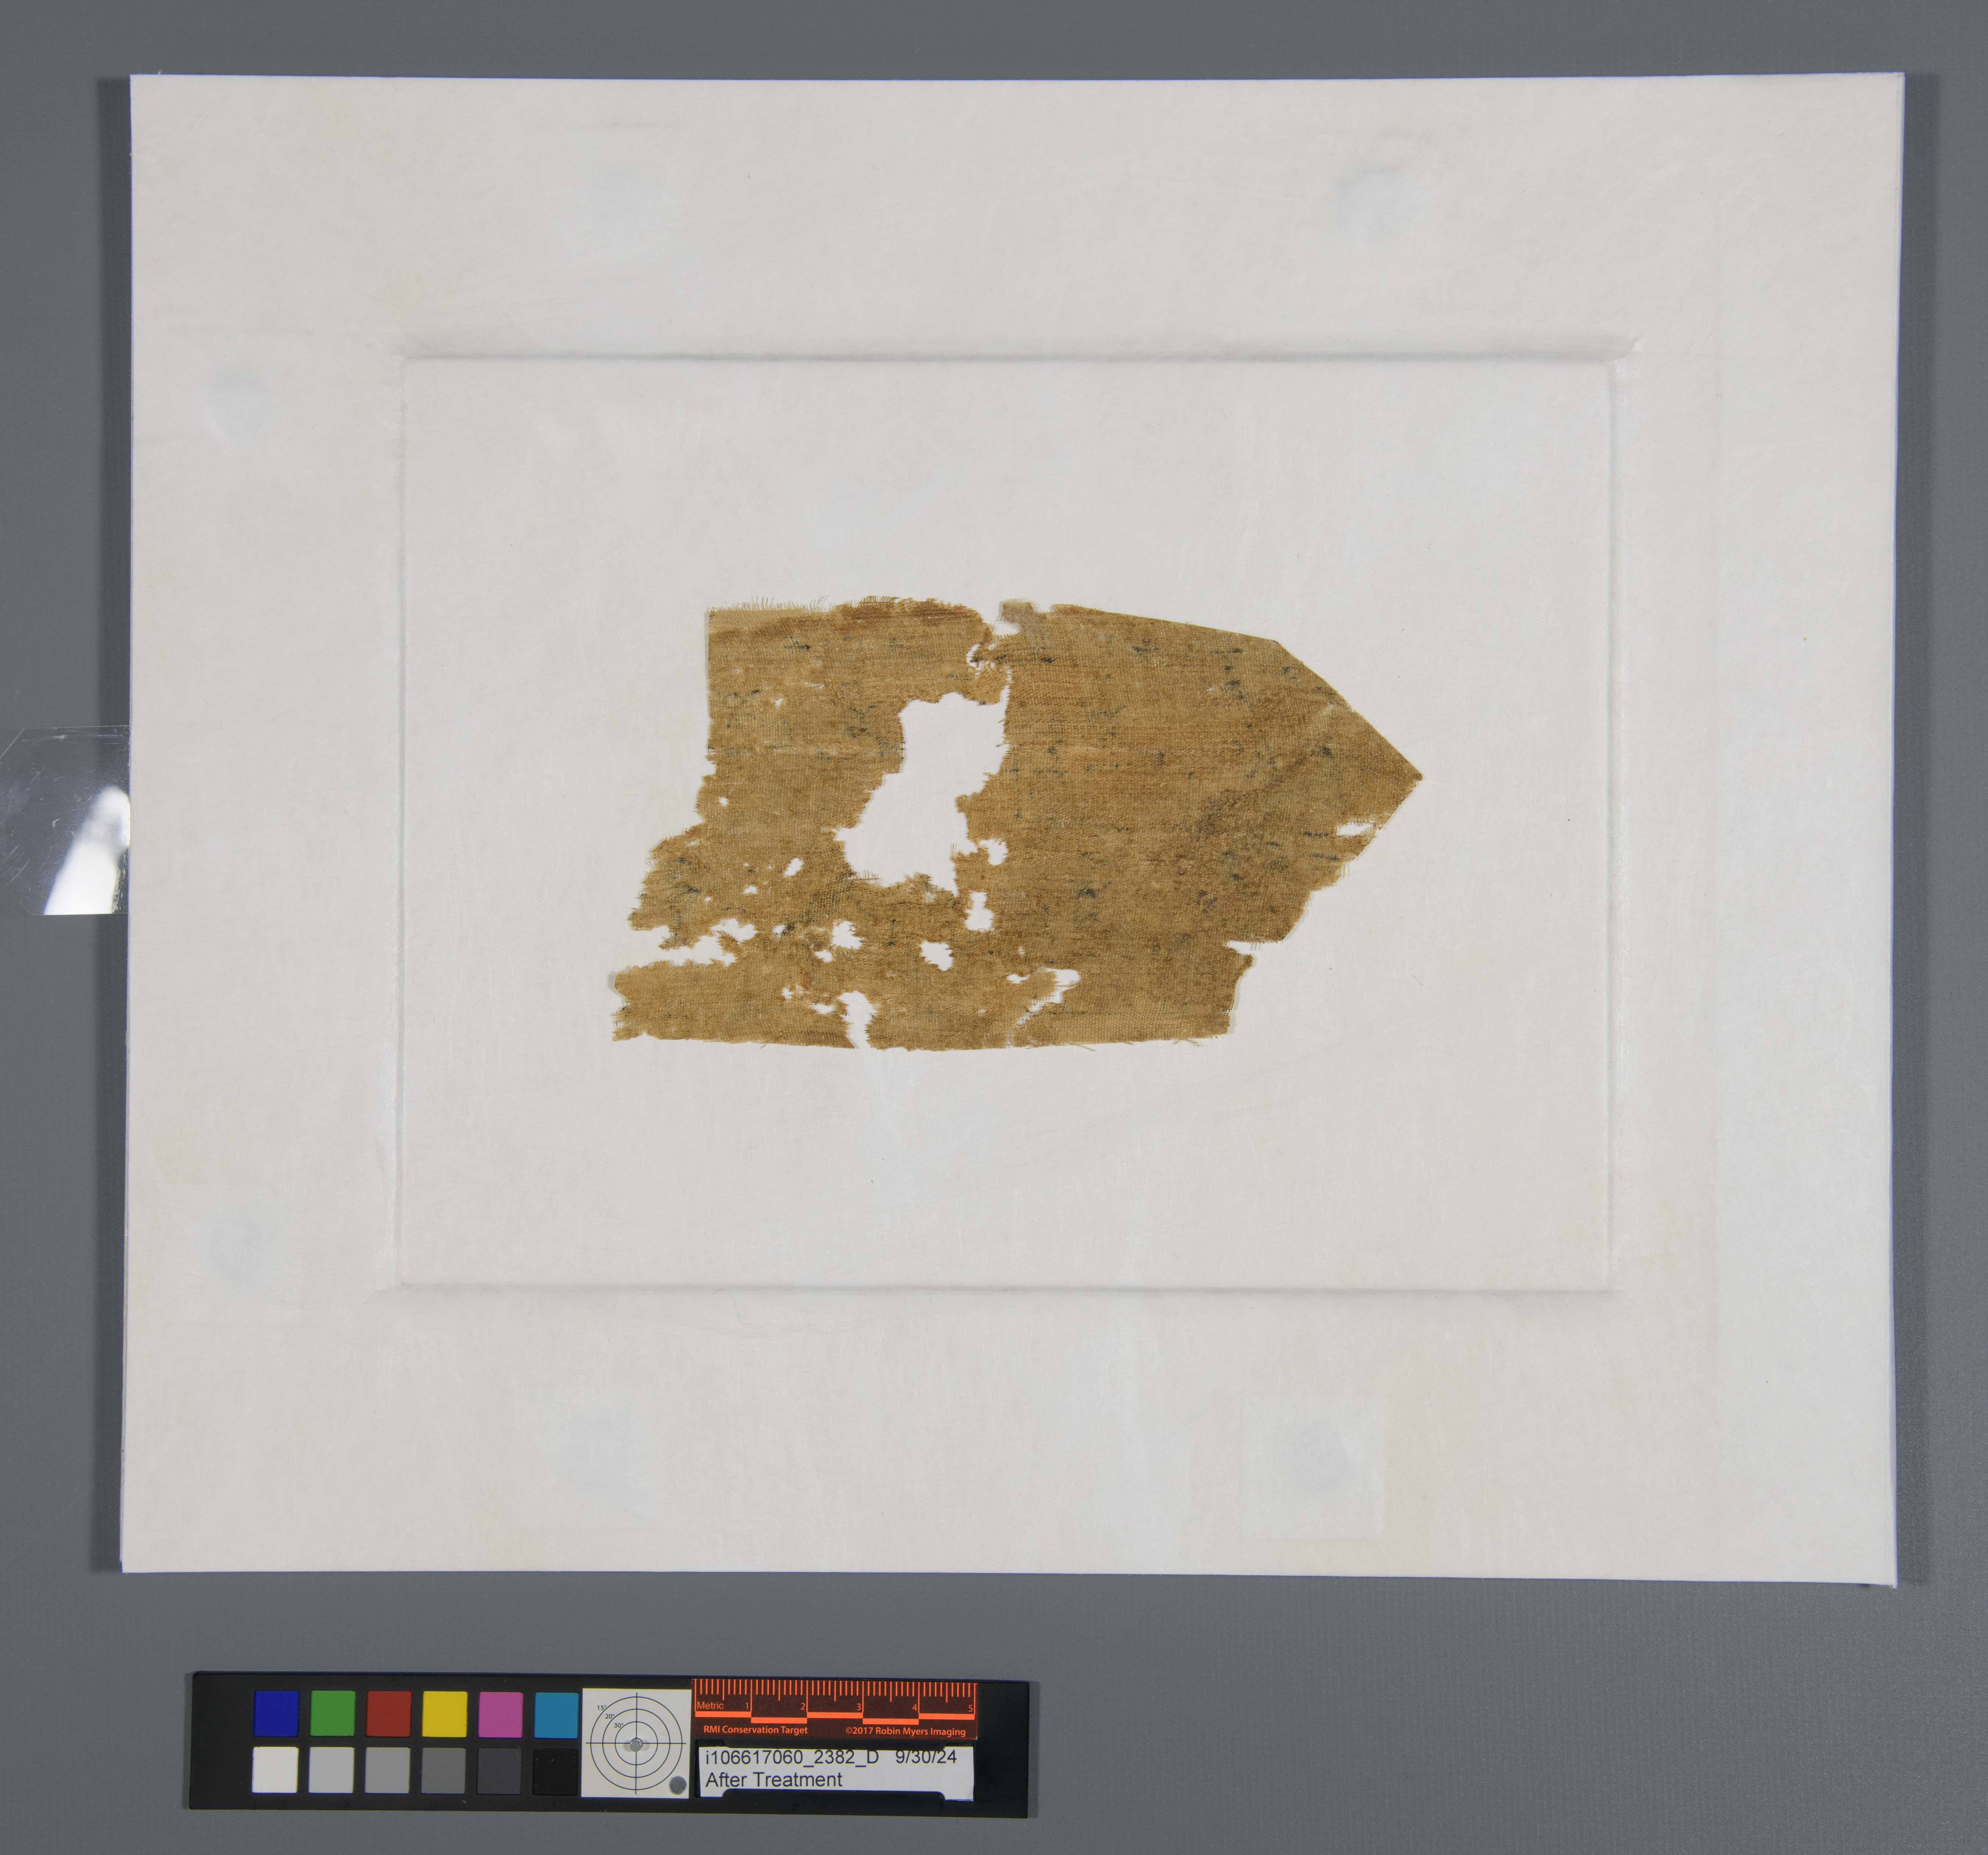
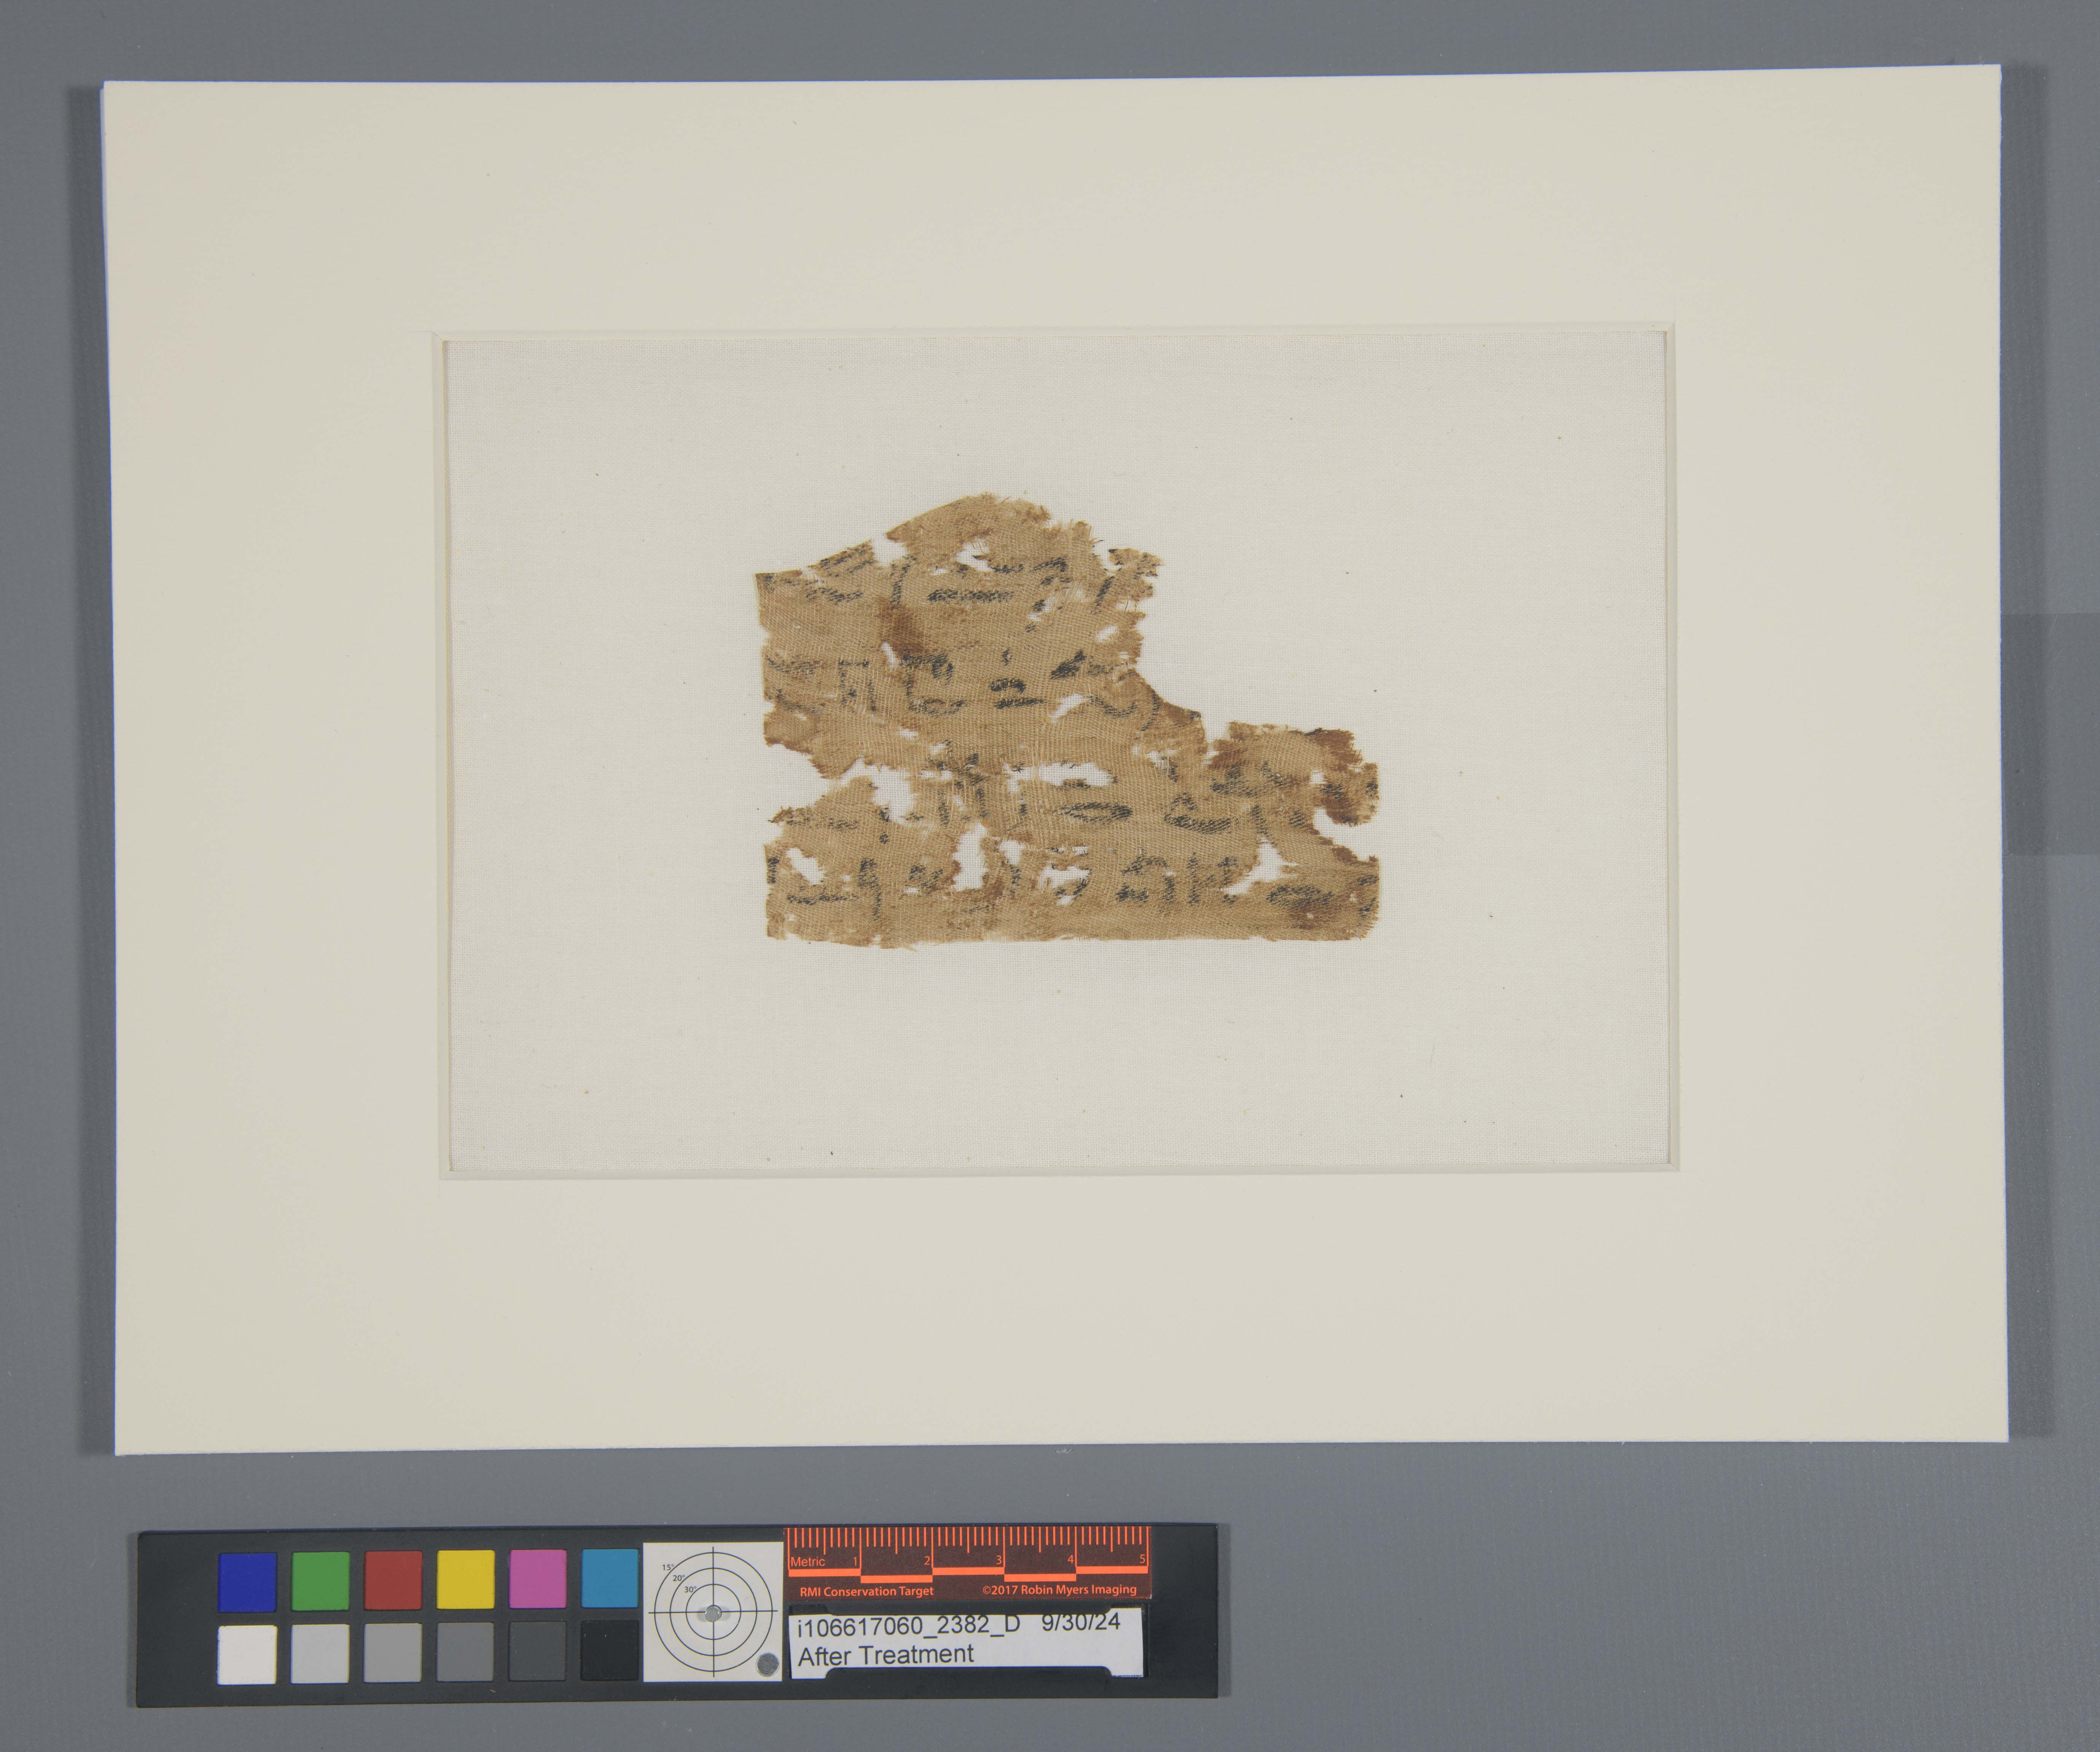
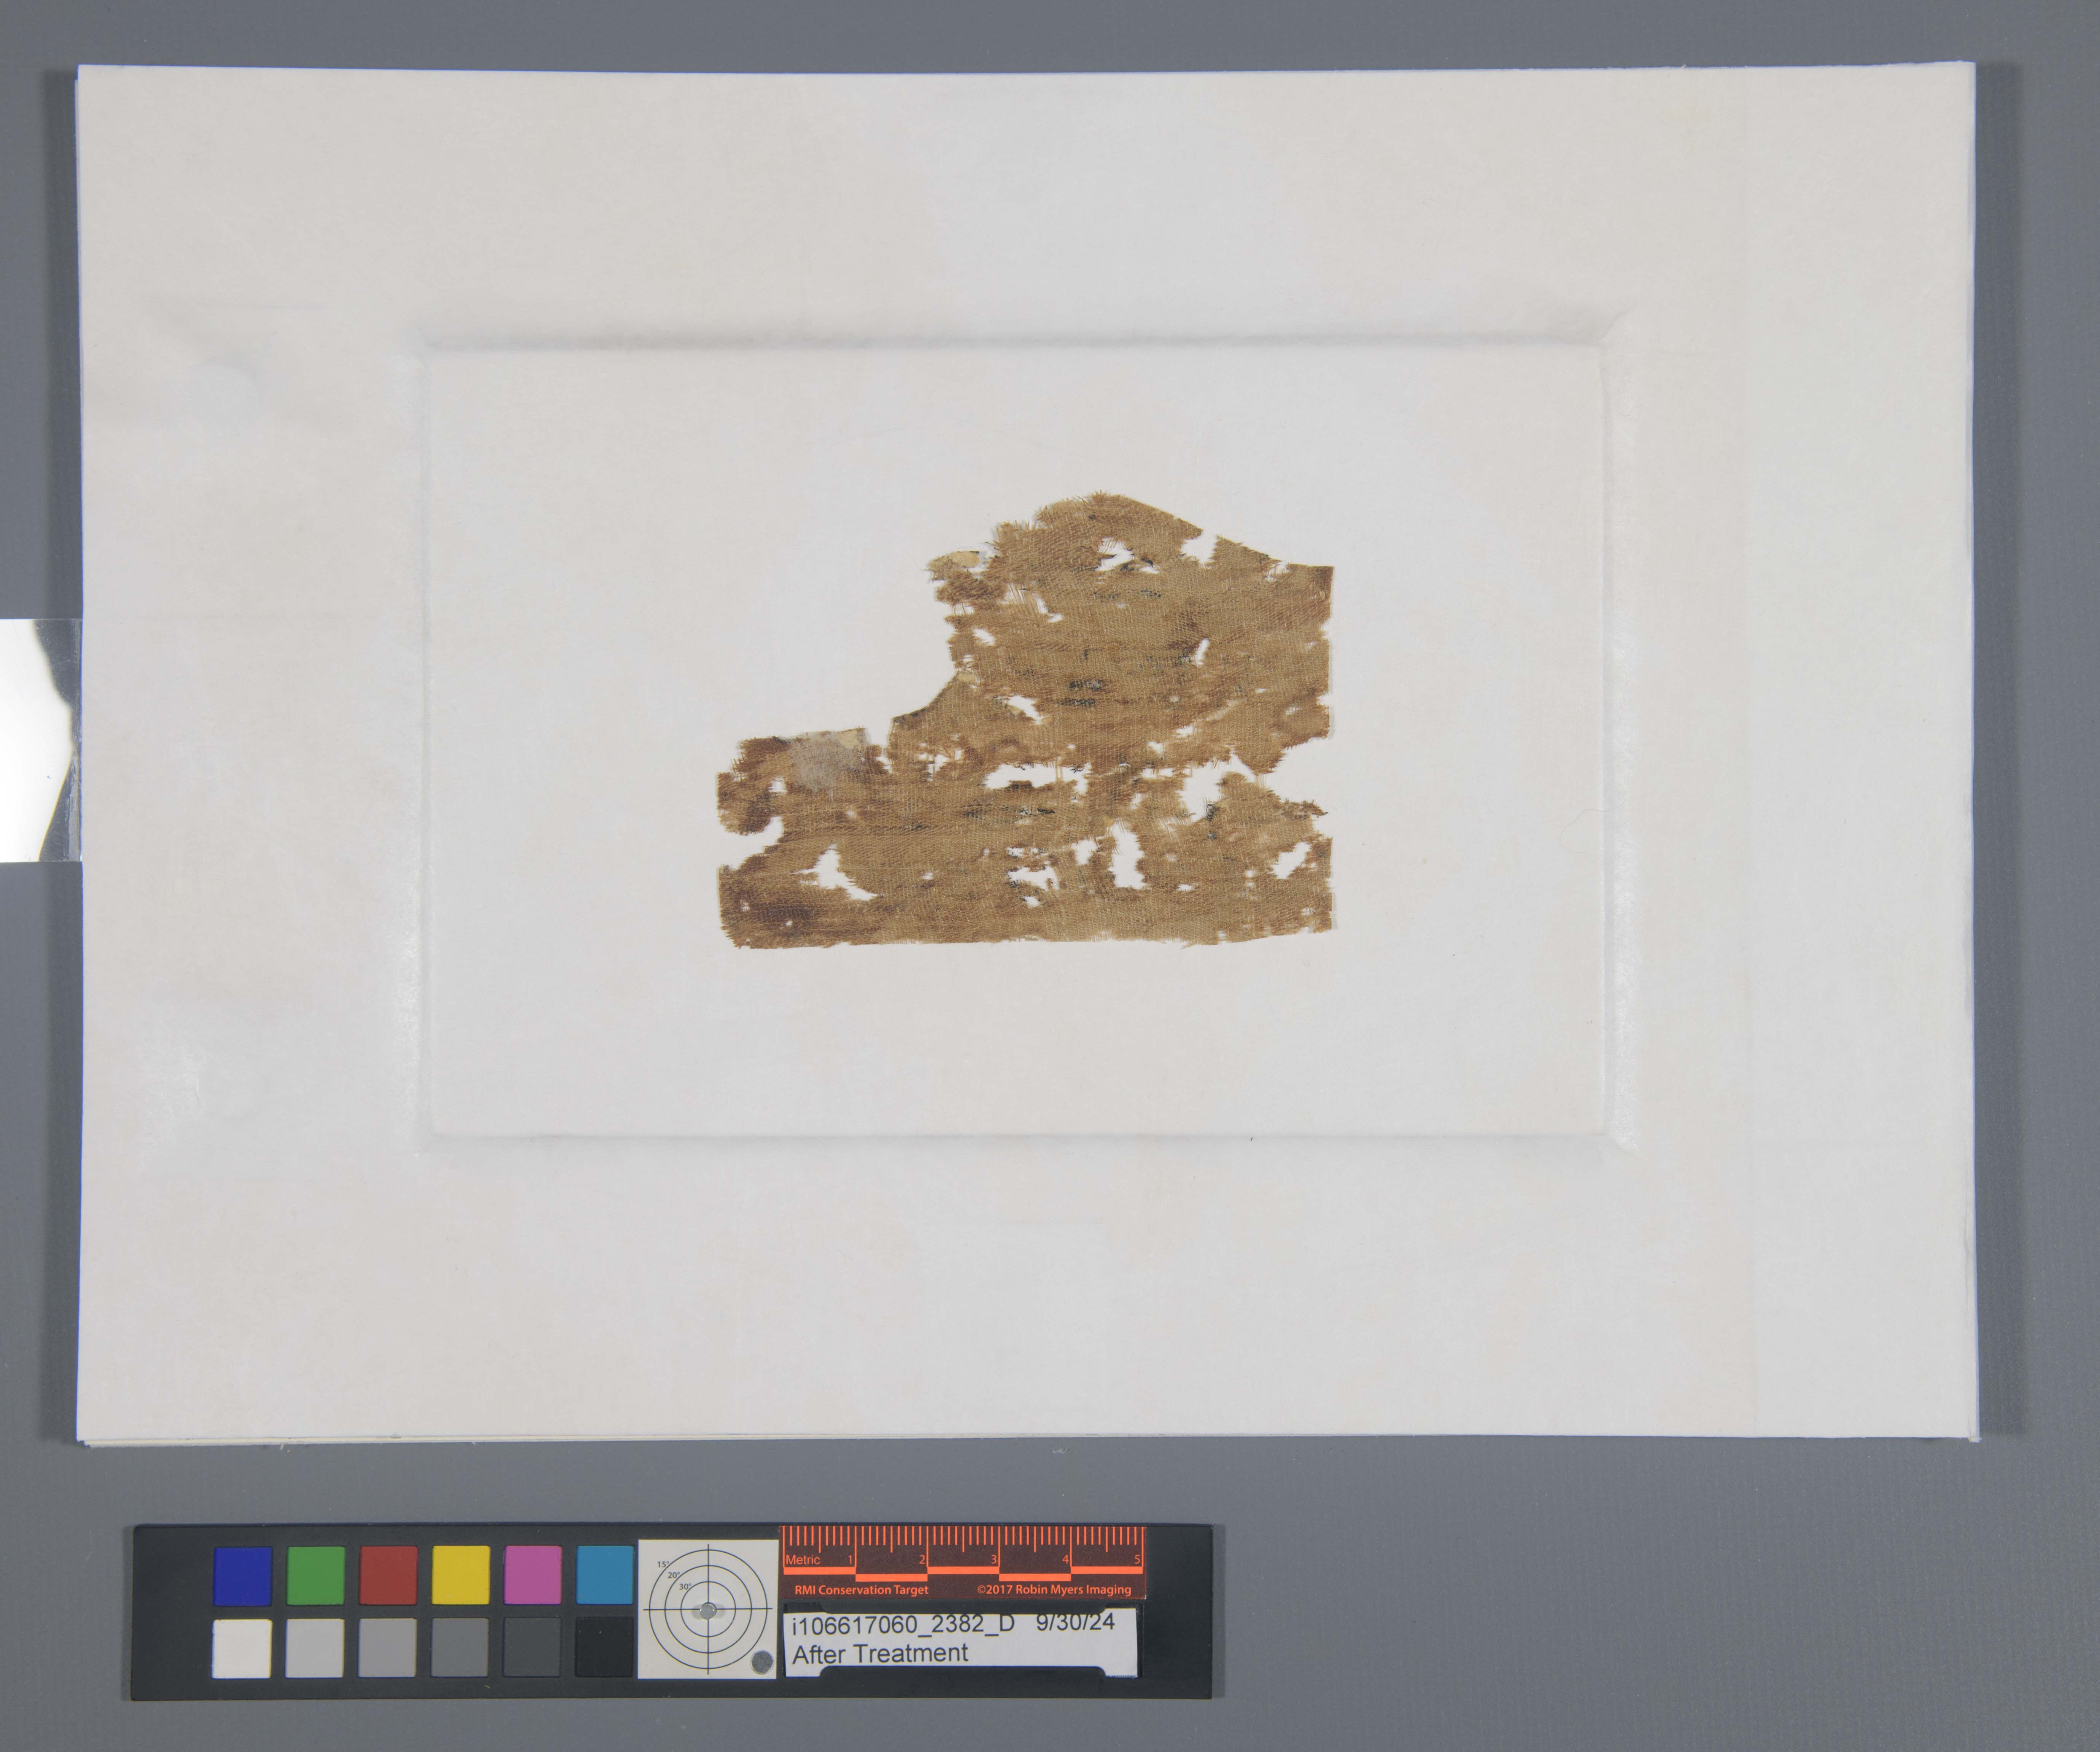
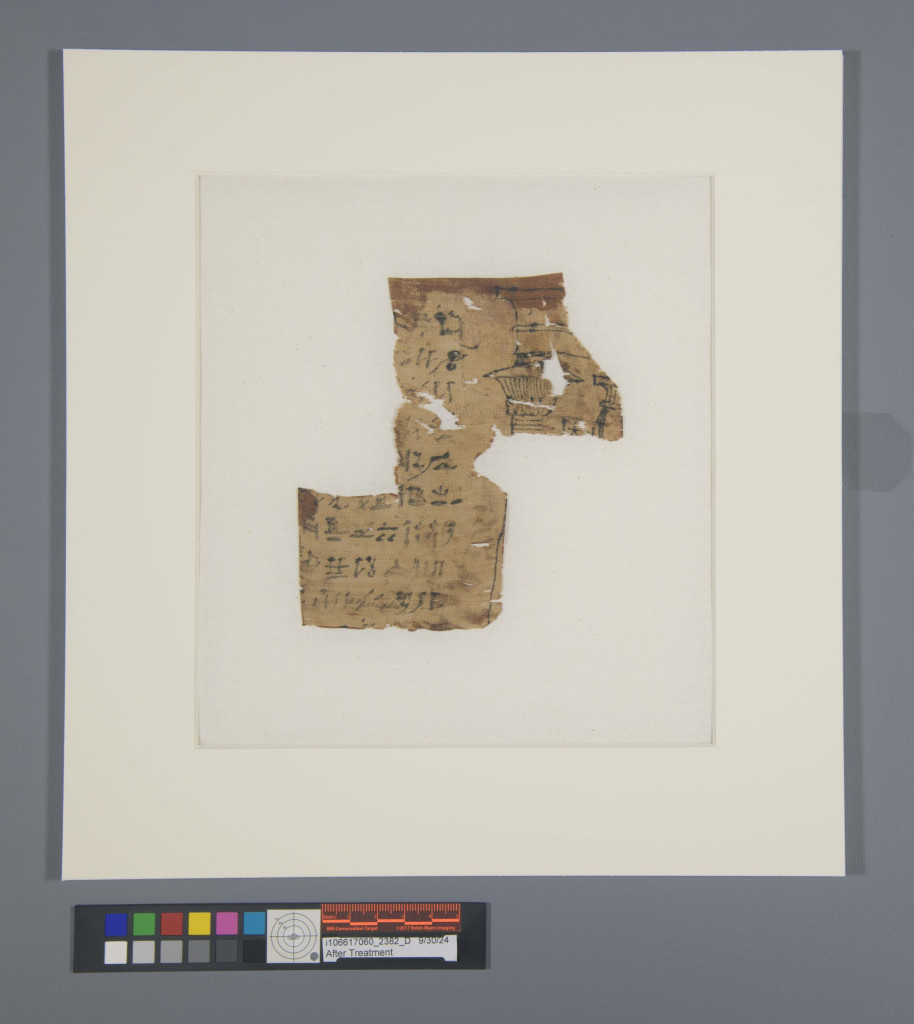
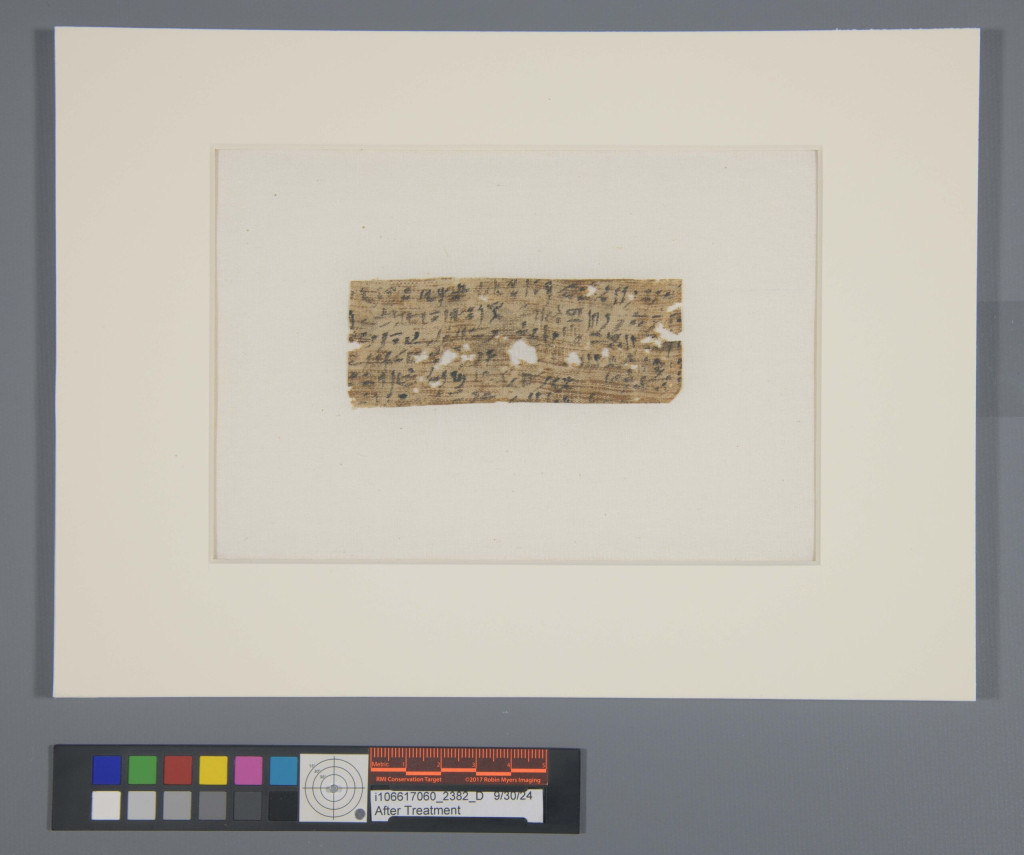
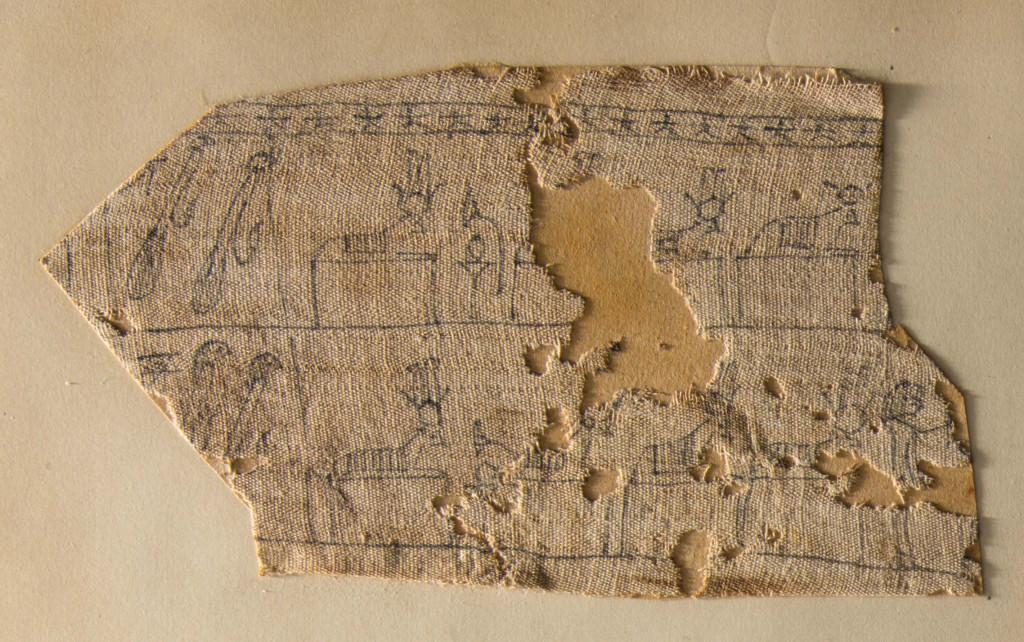
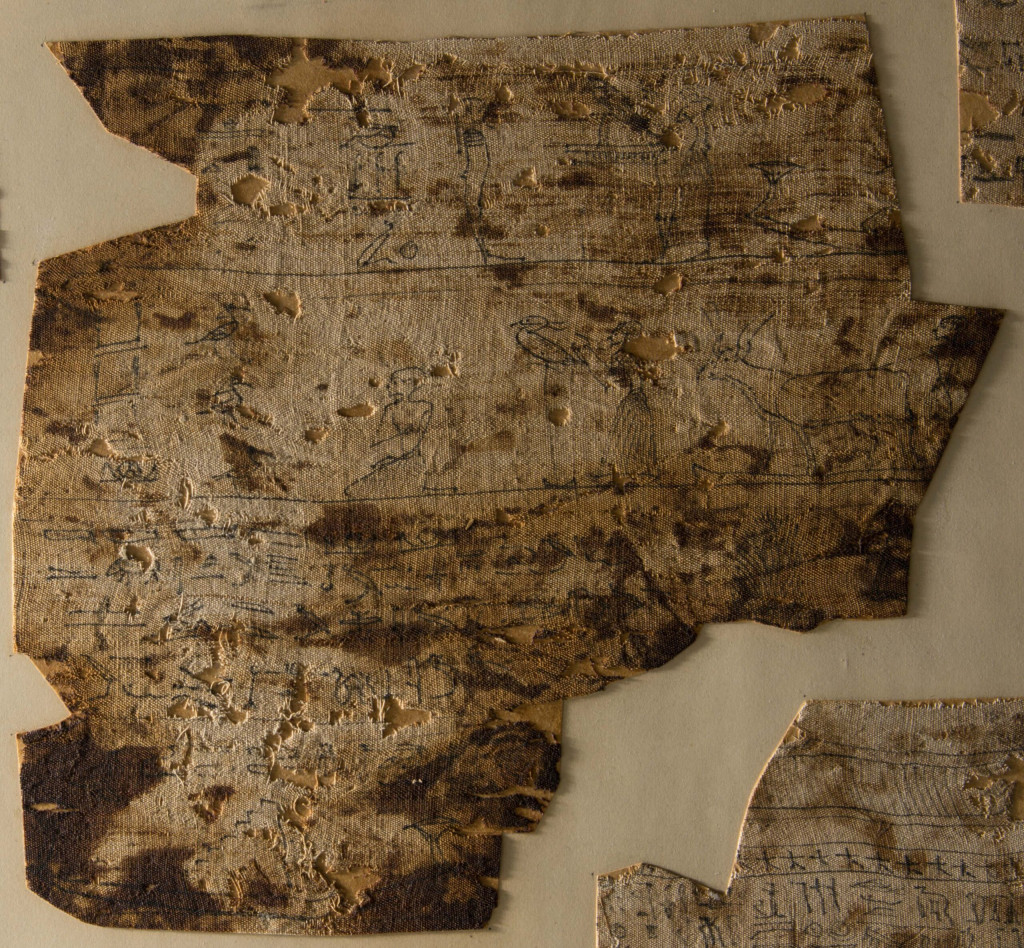
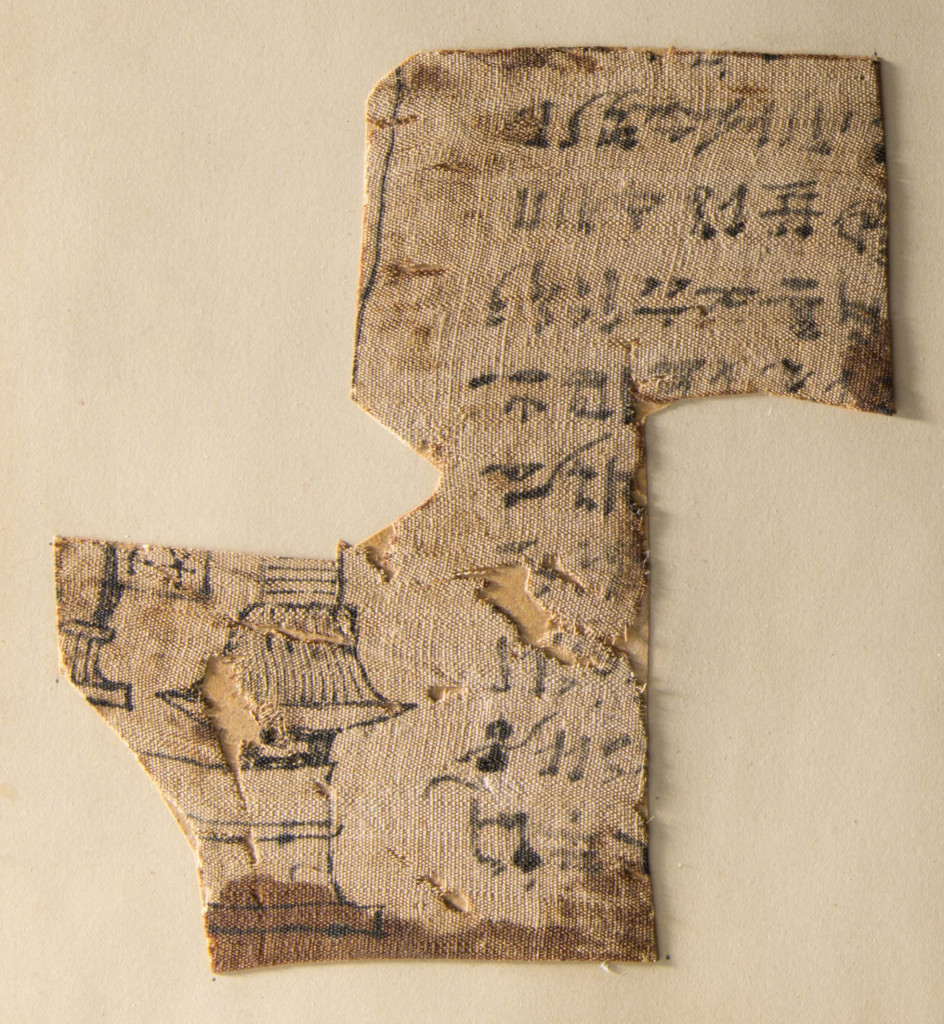
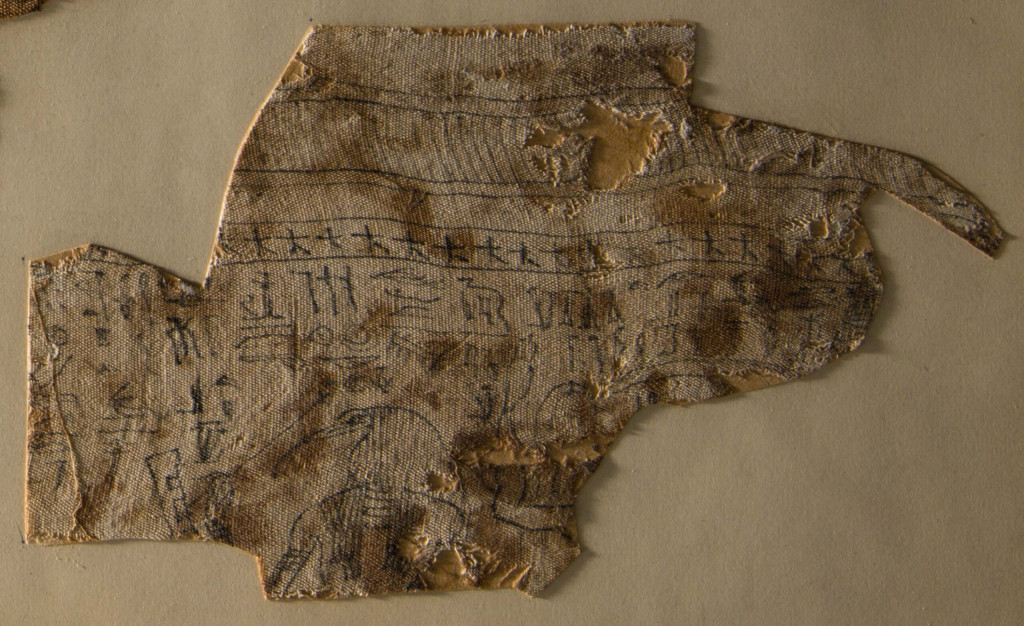
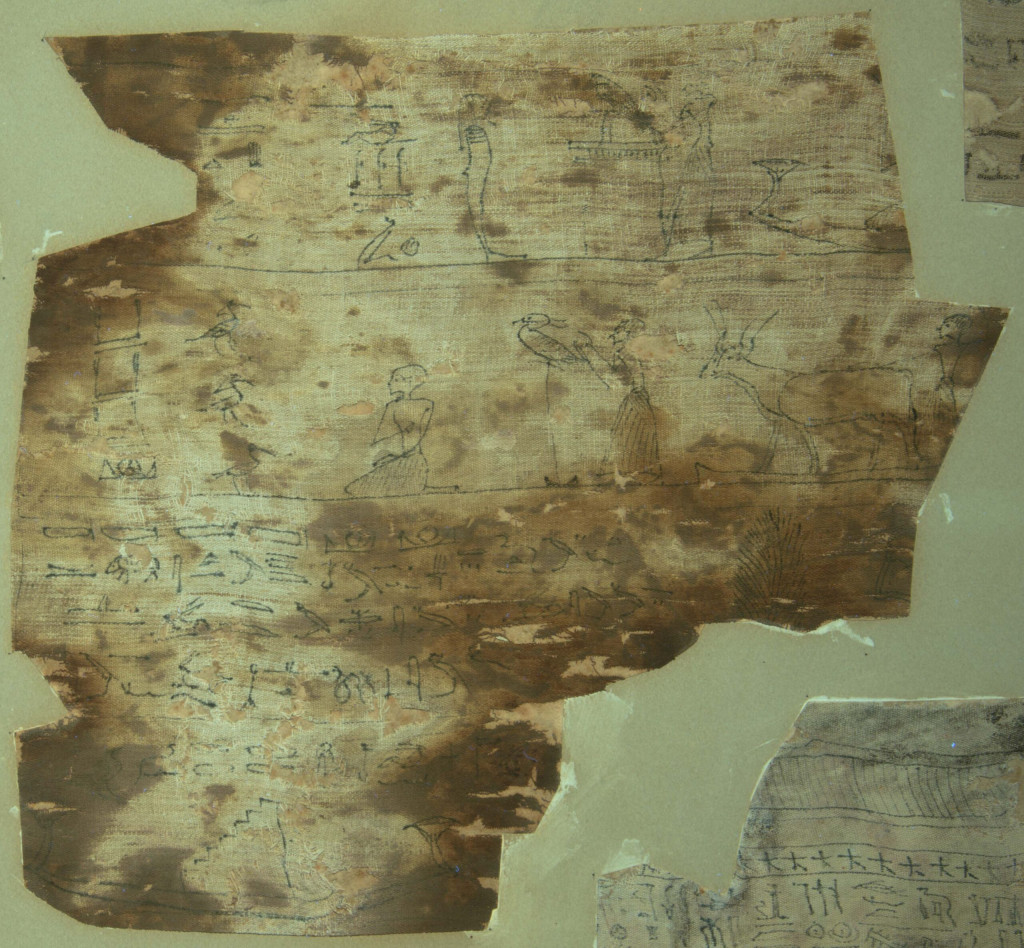
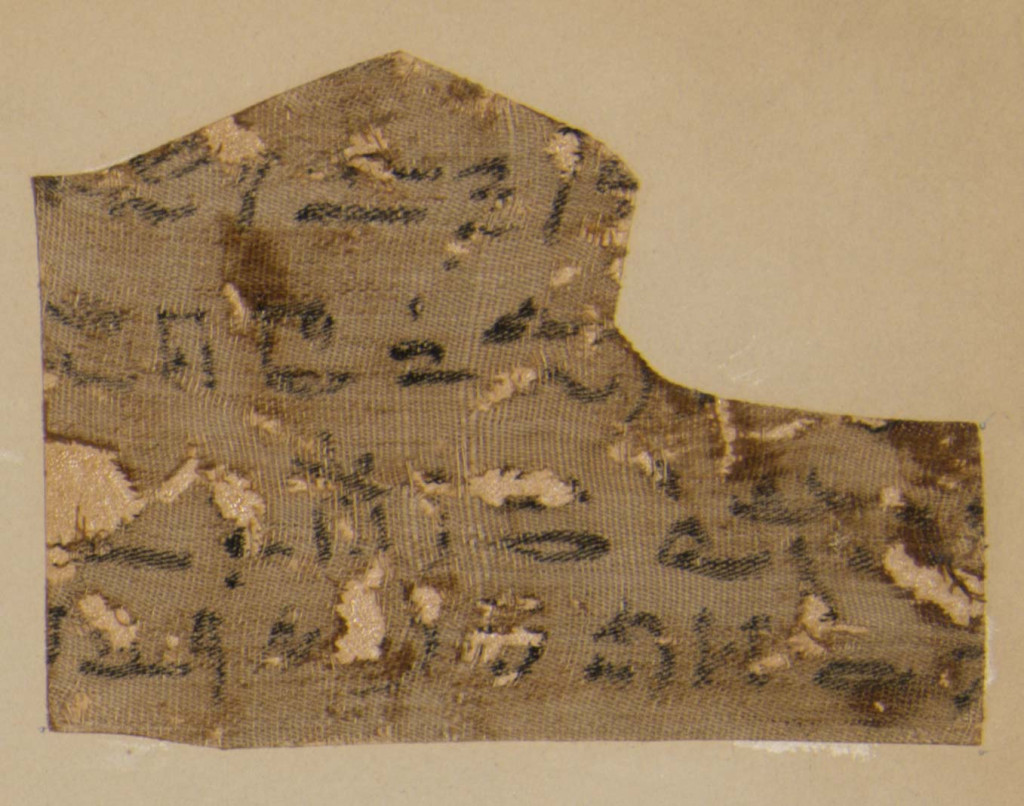
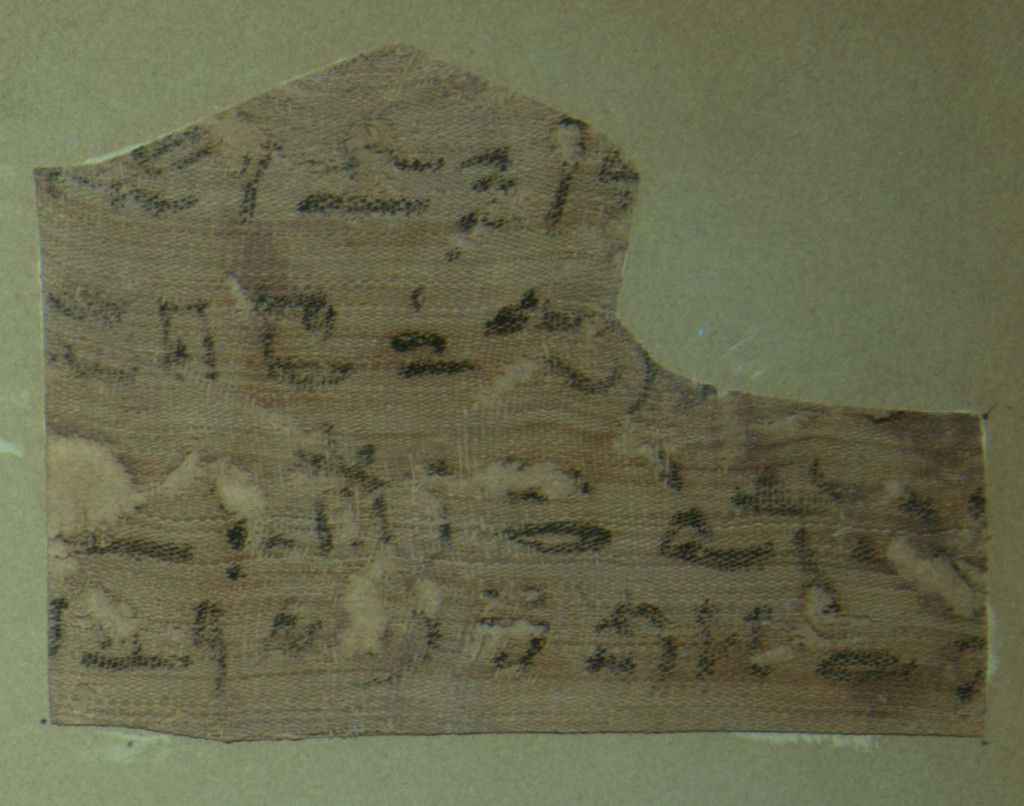
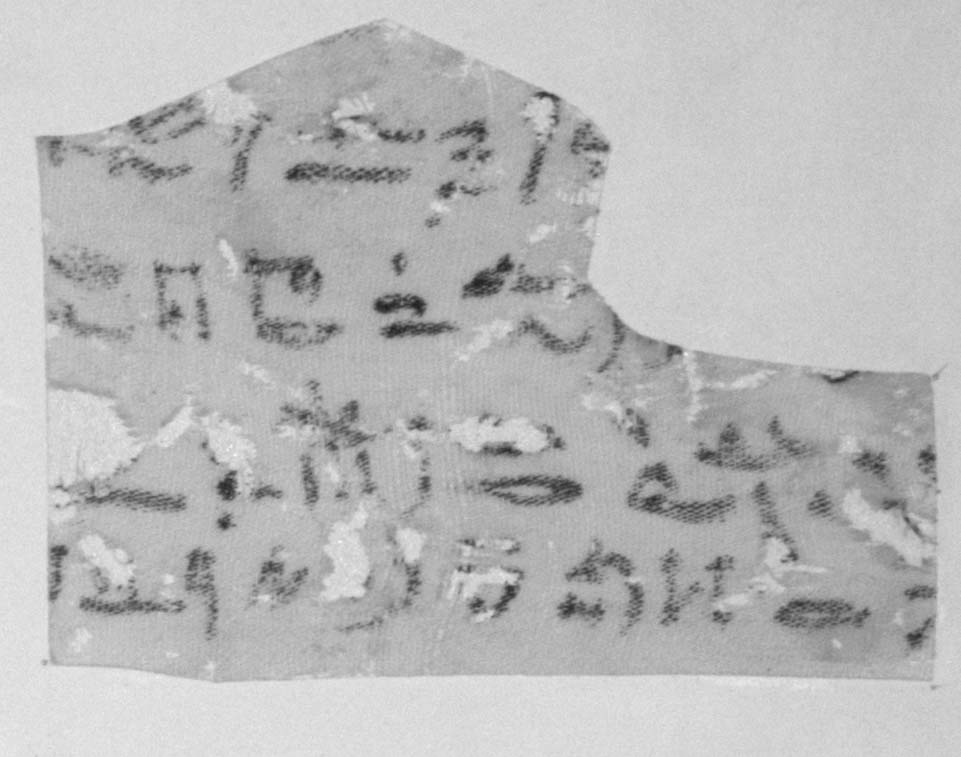
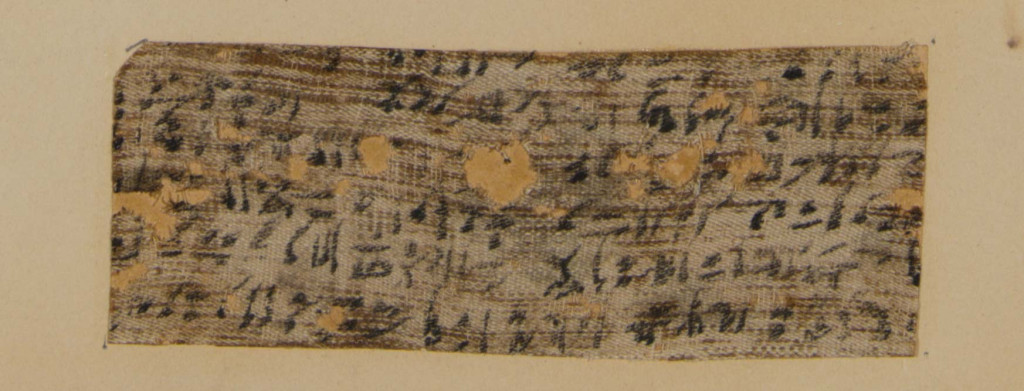
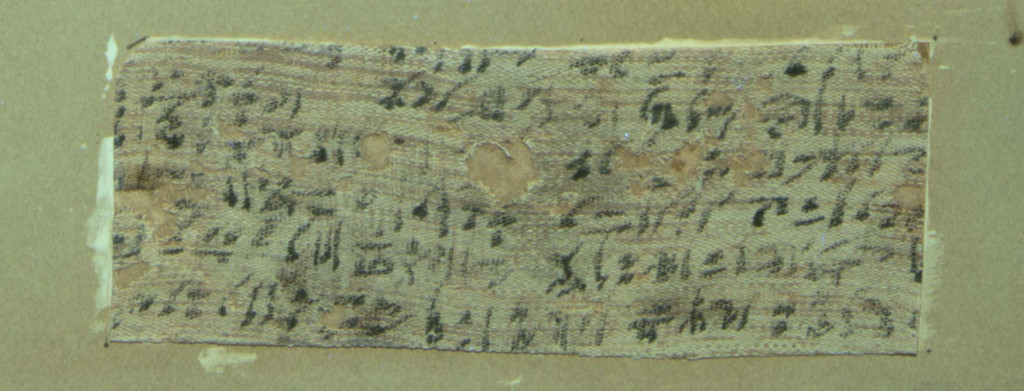
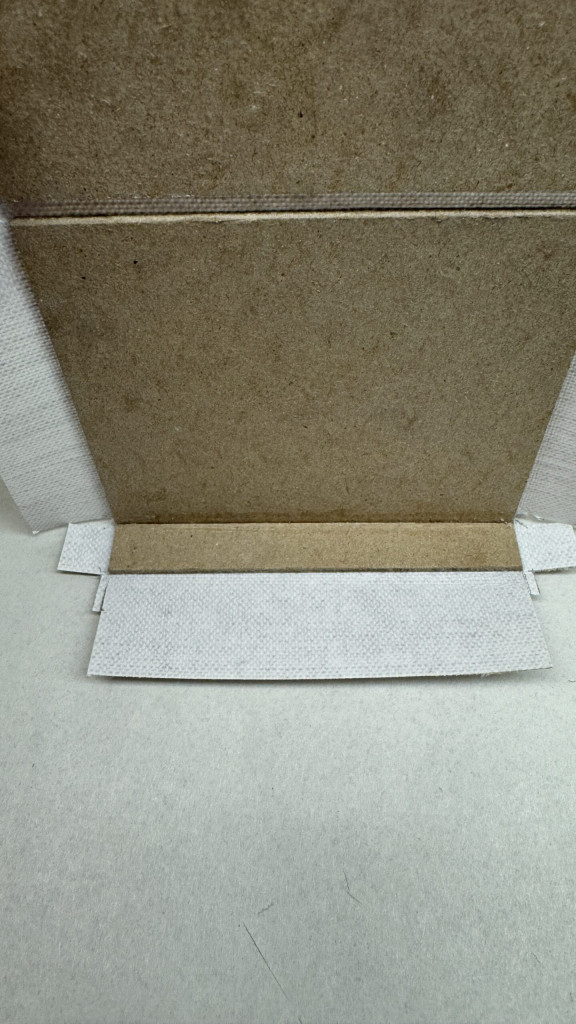
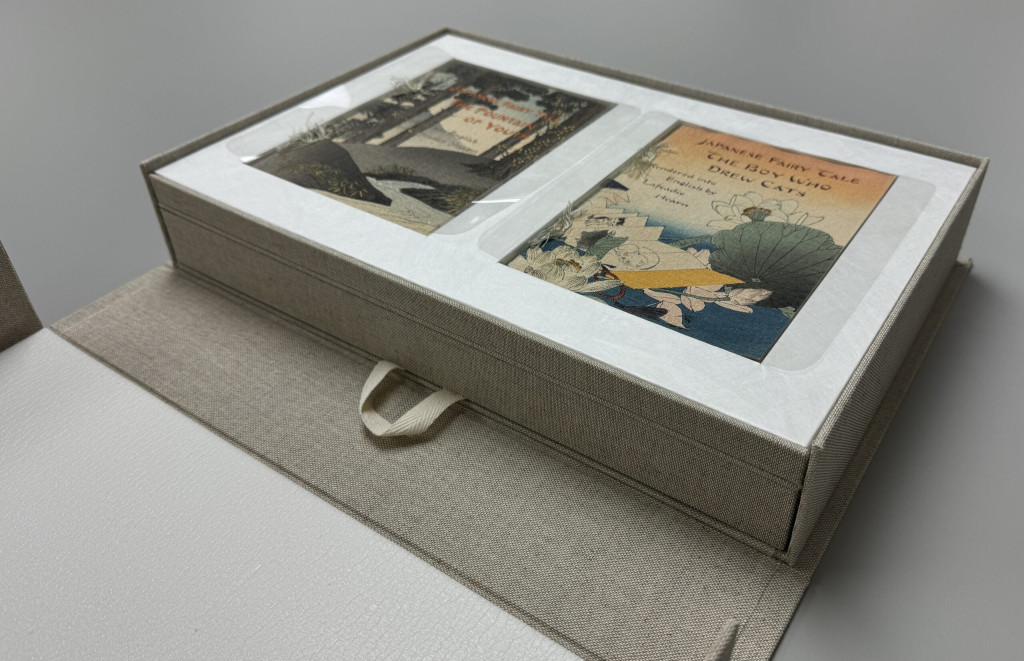
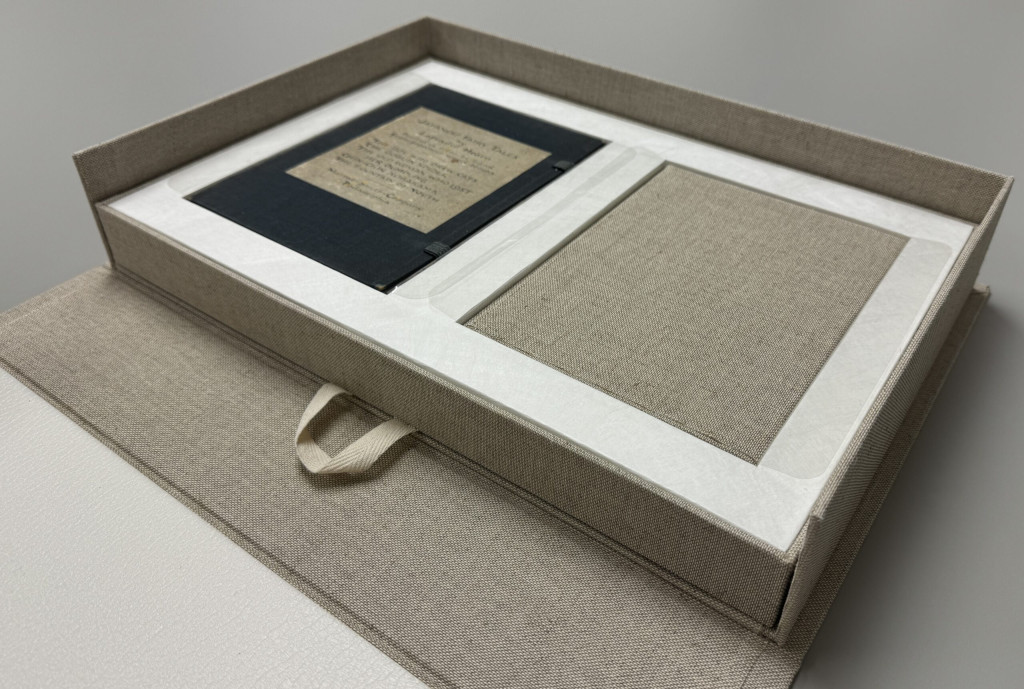
These 18th-century documents, part of the Archives and Rare Books Library, include three indentures consisting of single parchment leaves, and one composed of three parchment leaves secured with wax seals and parchment stays along the lower edge. They record land leases and property transactions.
The documents were brought to the lab for stabilization and improved access for teaching and research. In their folded state, they were difficult to handle, especially the multi-leaf example, which could not be fully examined as stored. Centuries of folded storage had clearly left their mark.


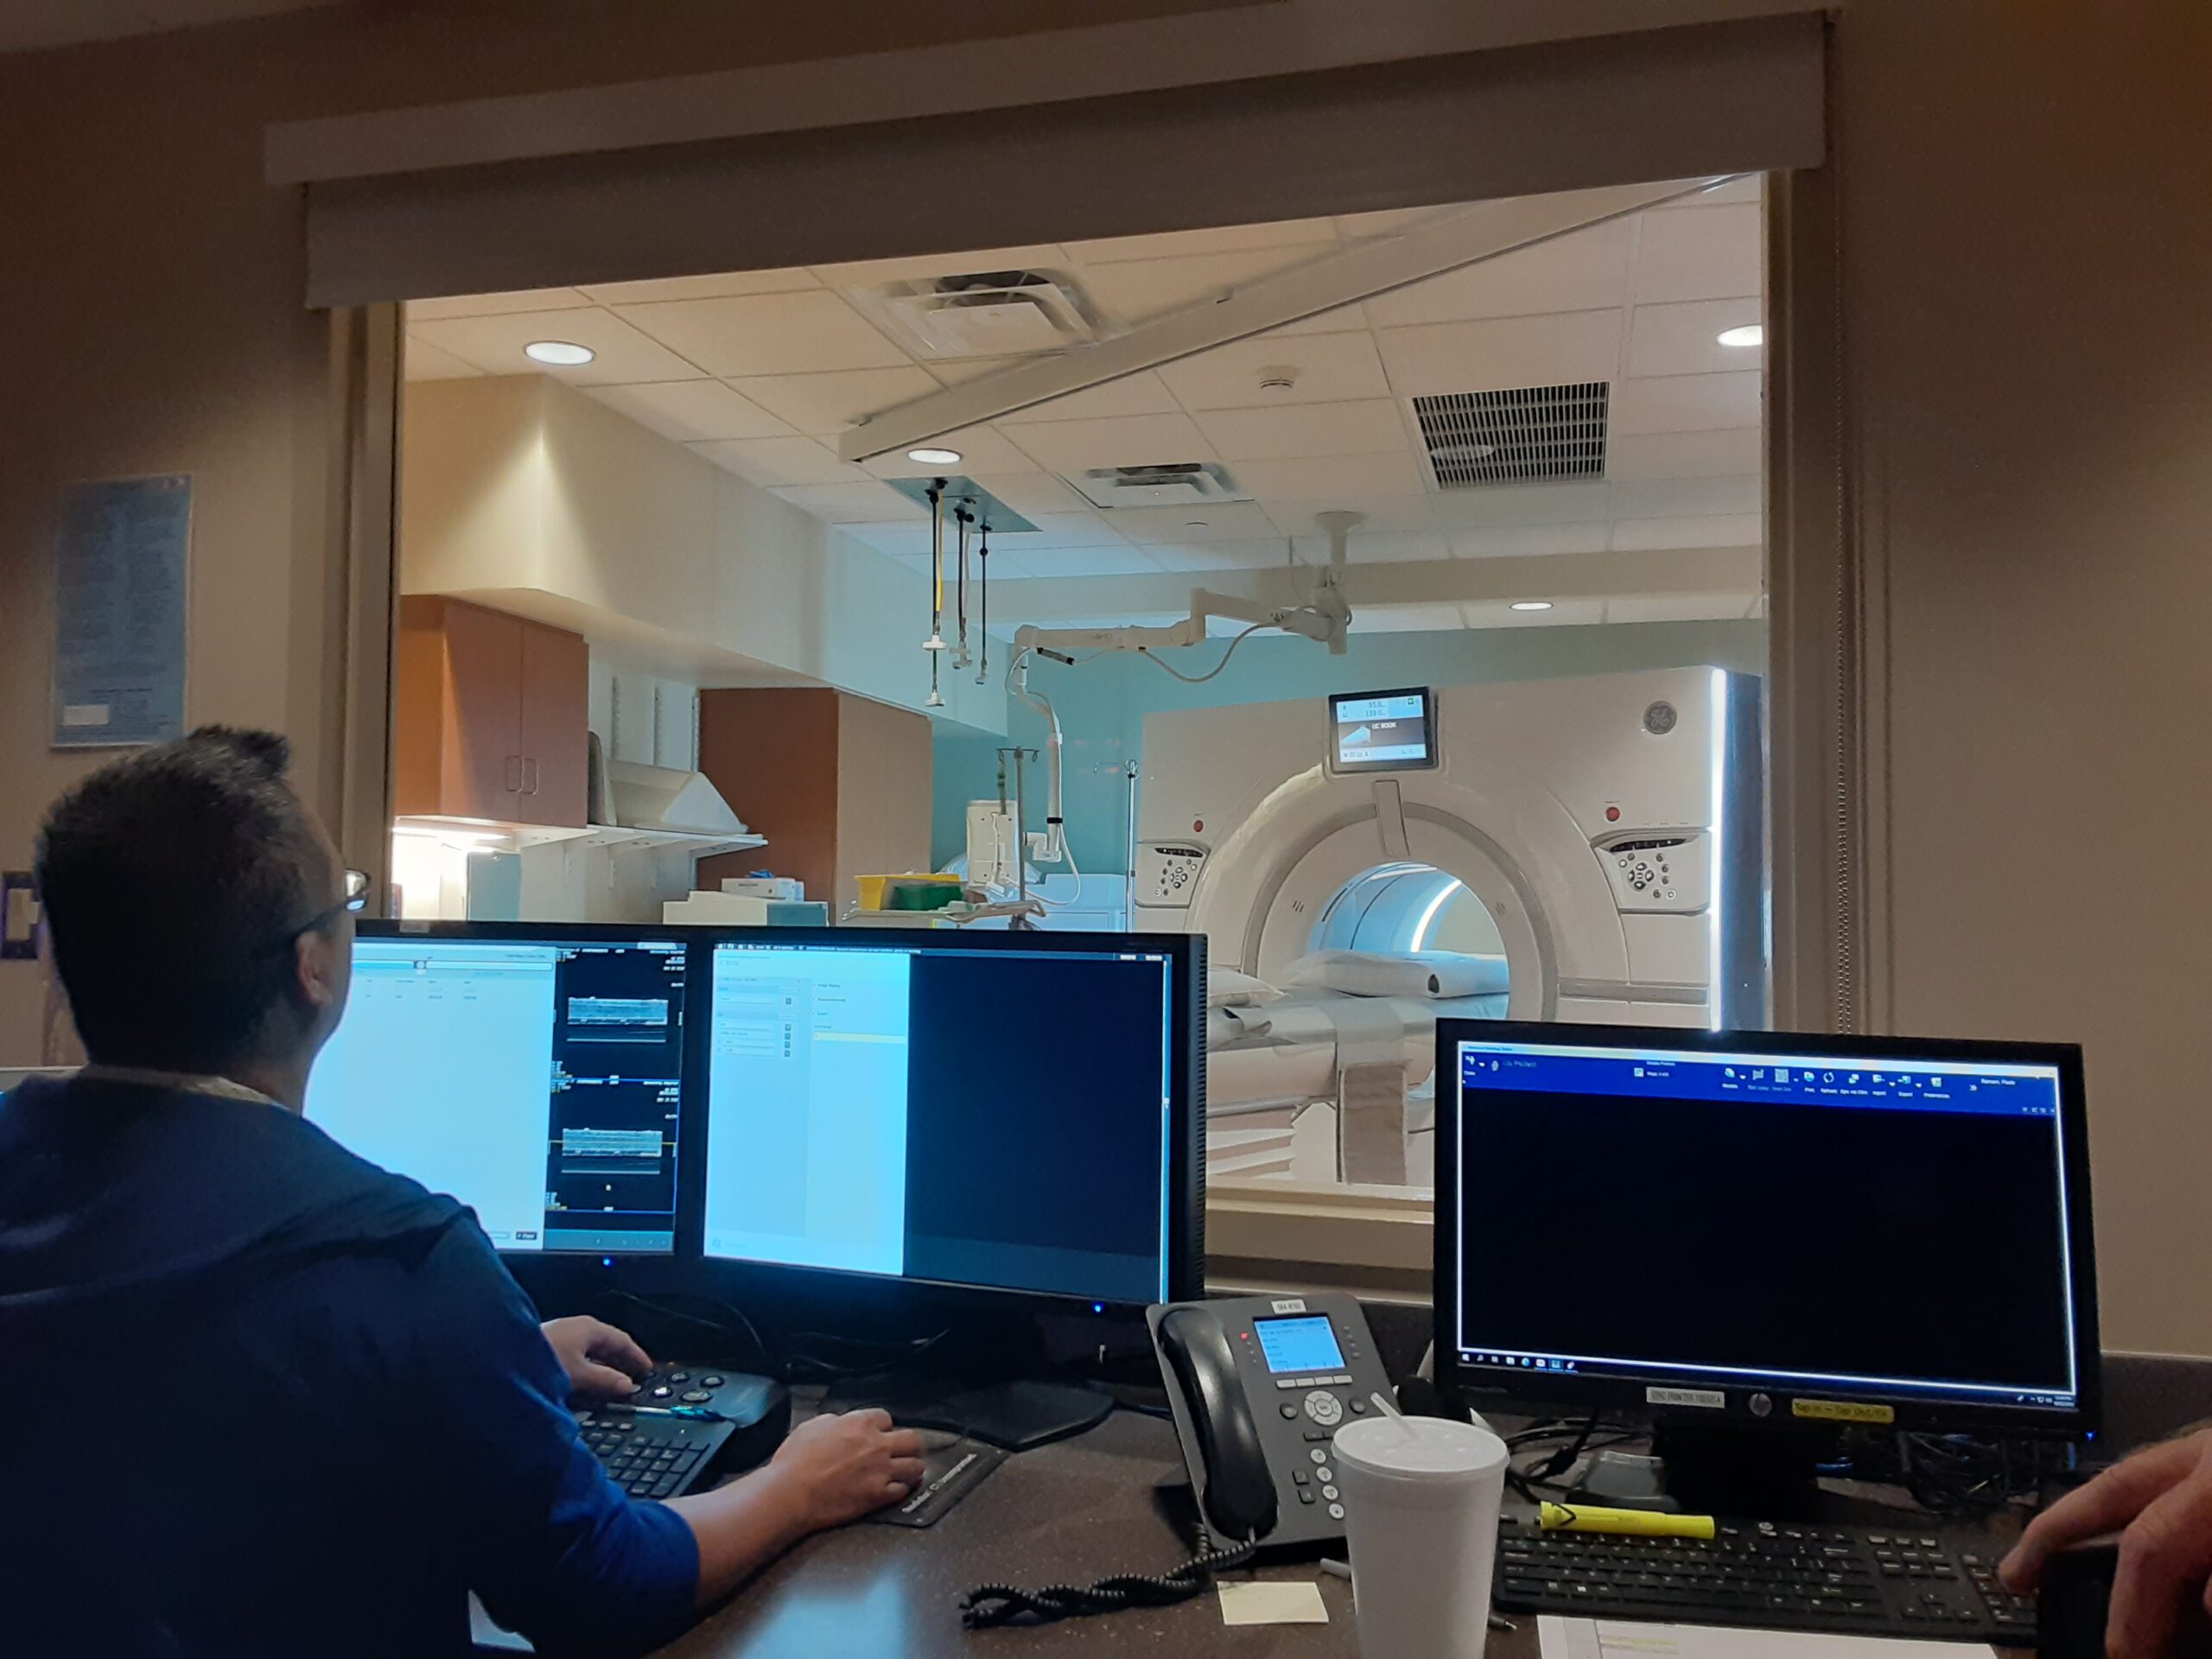
So how do we safely unfold and stabilize these items for handling, teaching, and research?
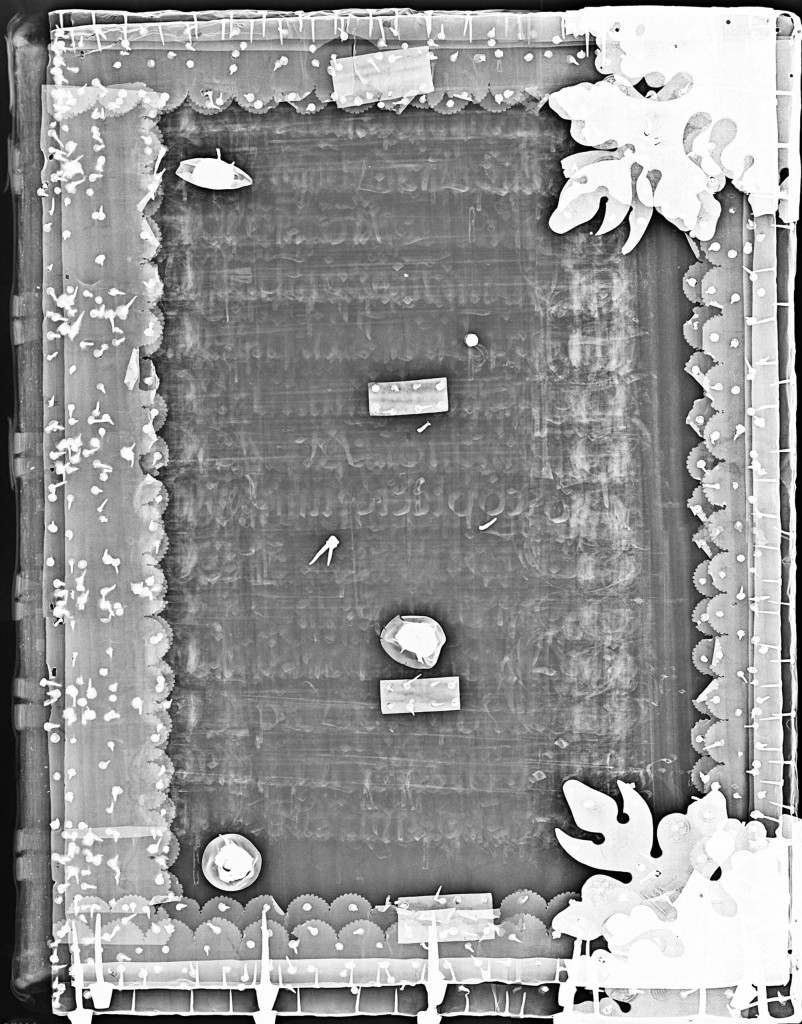
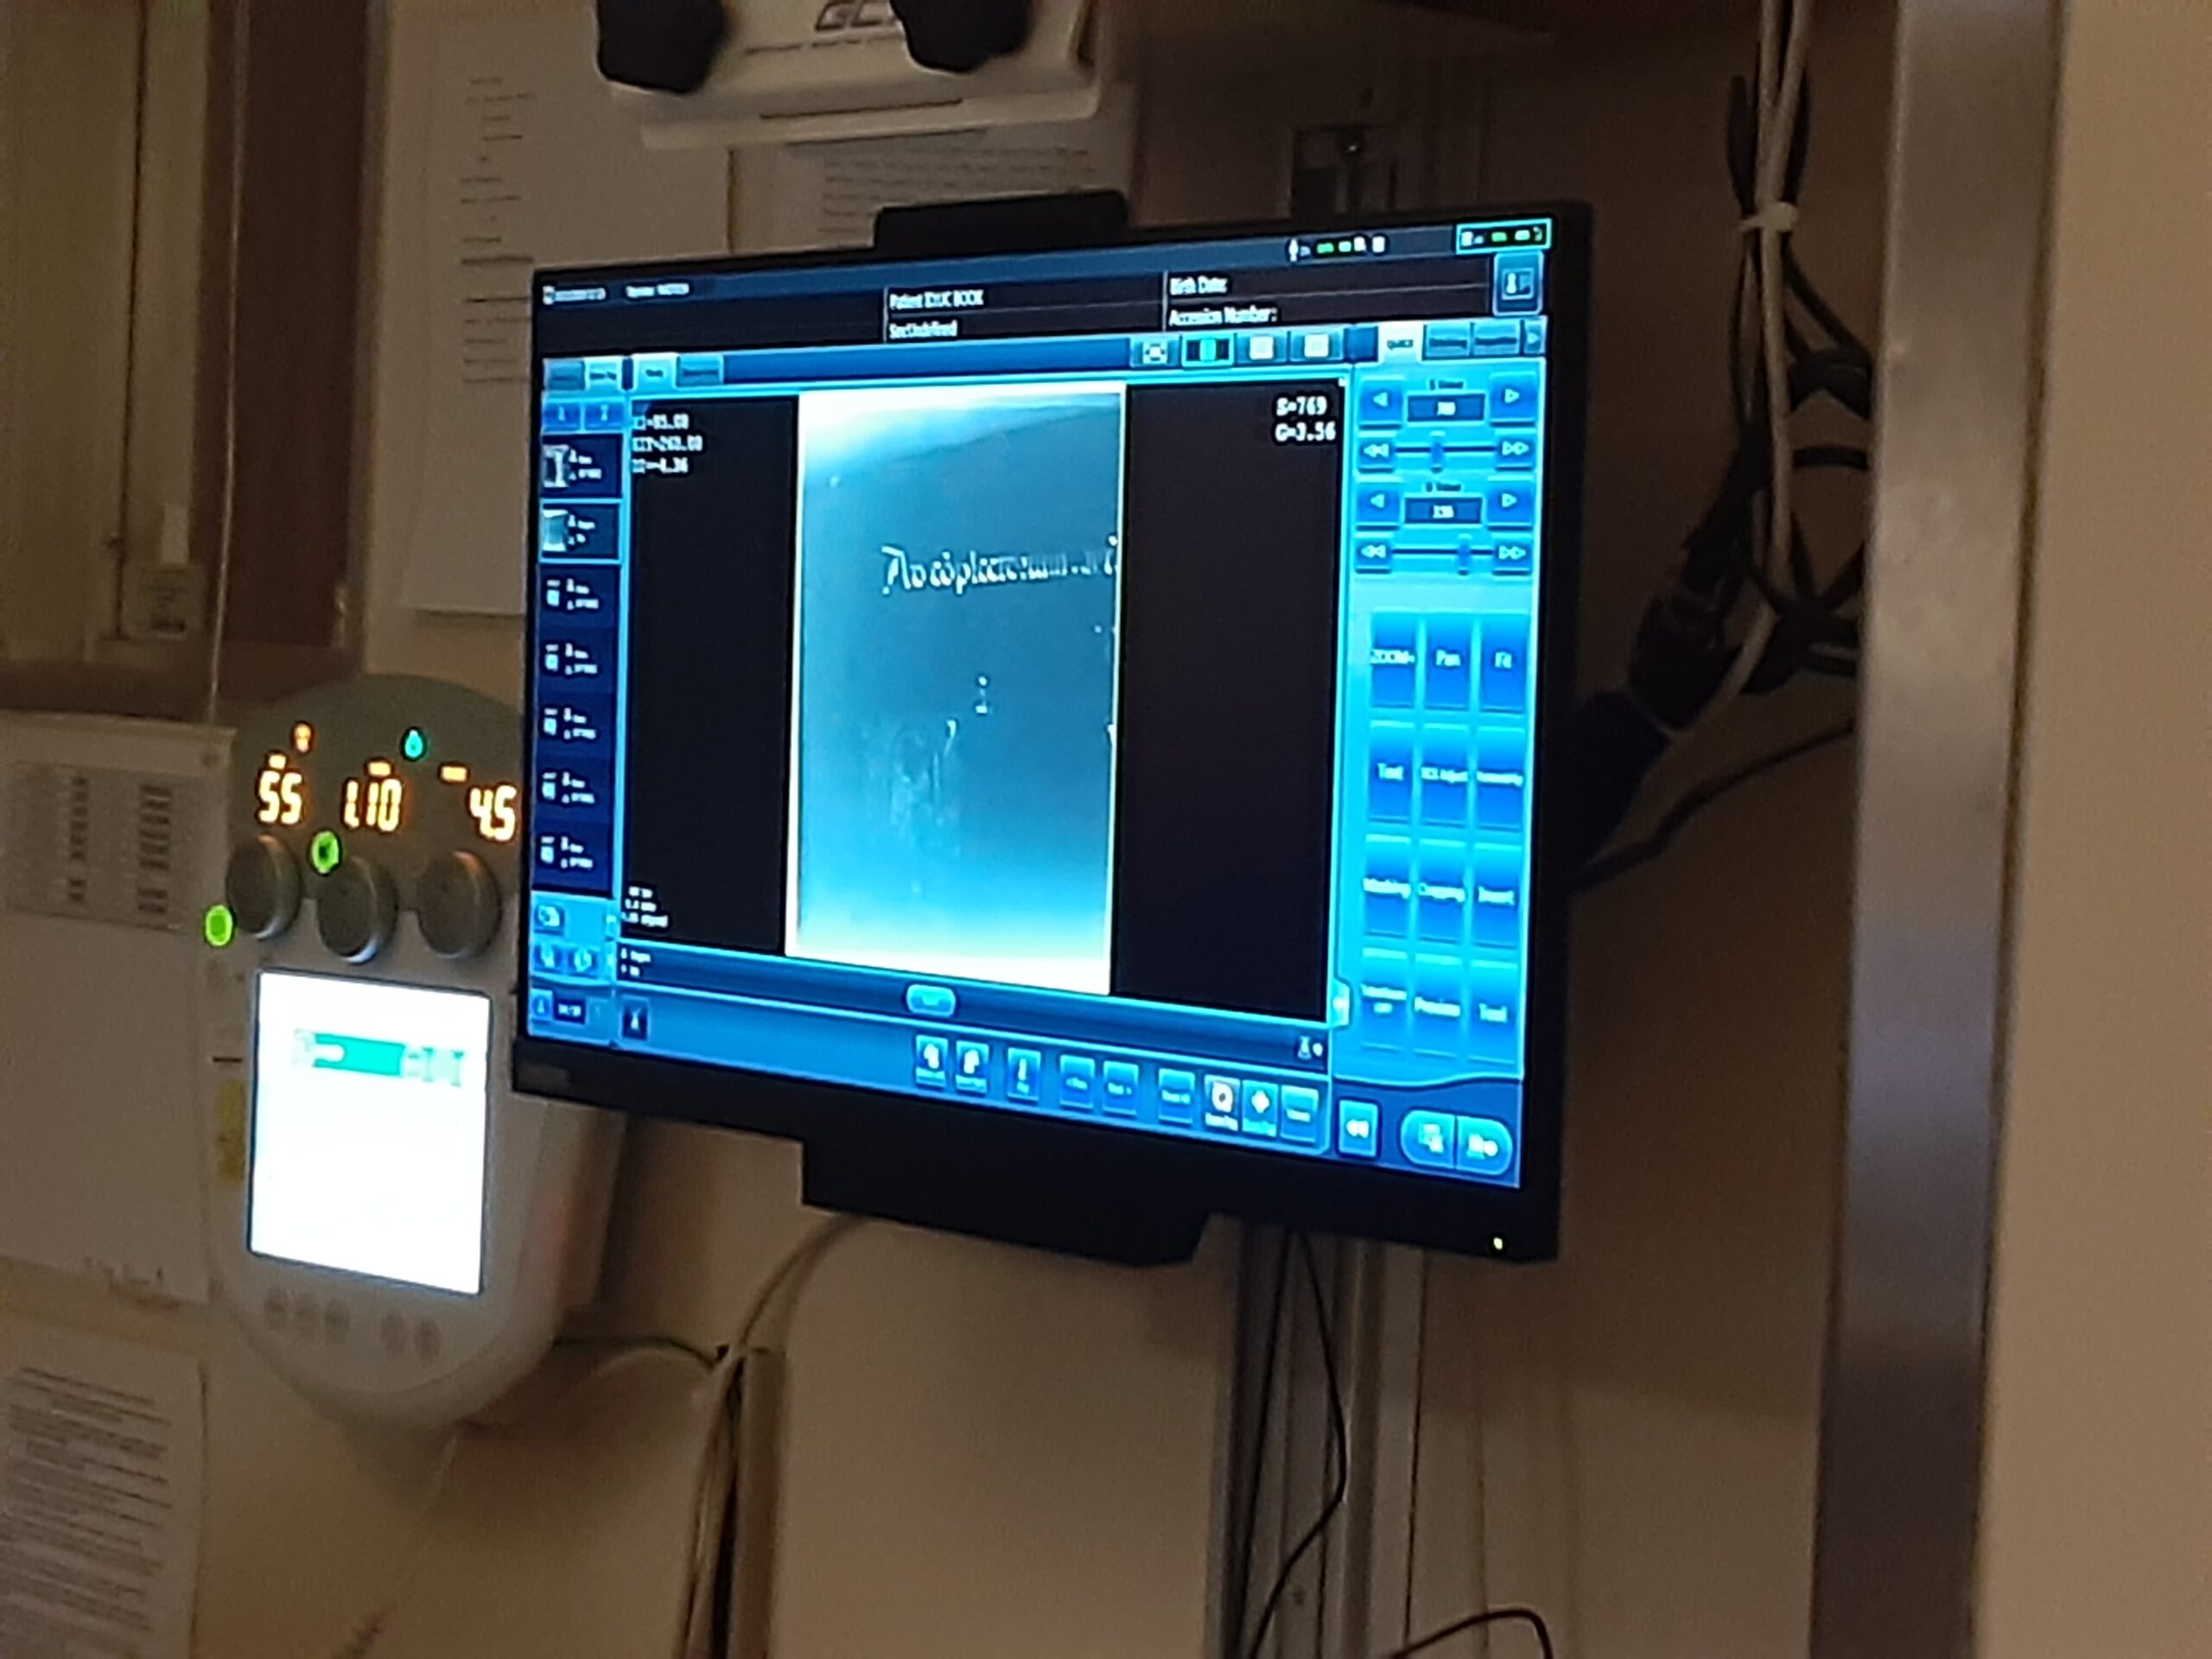
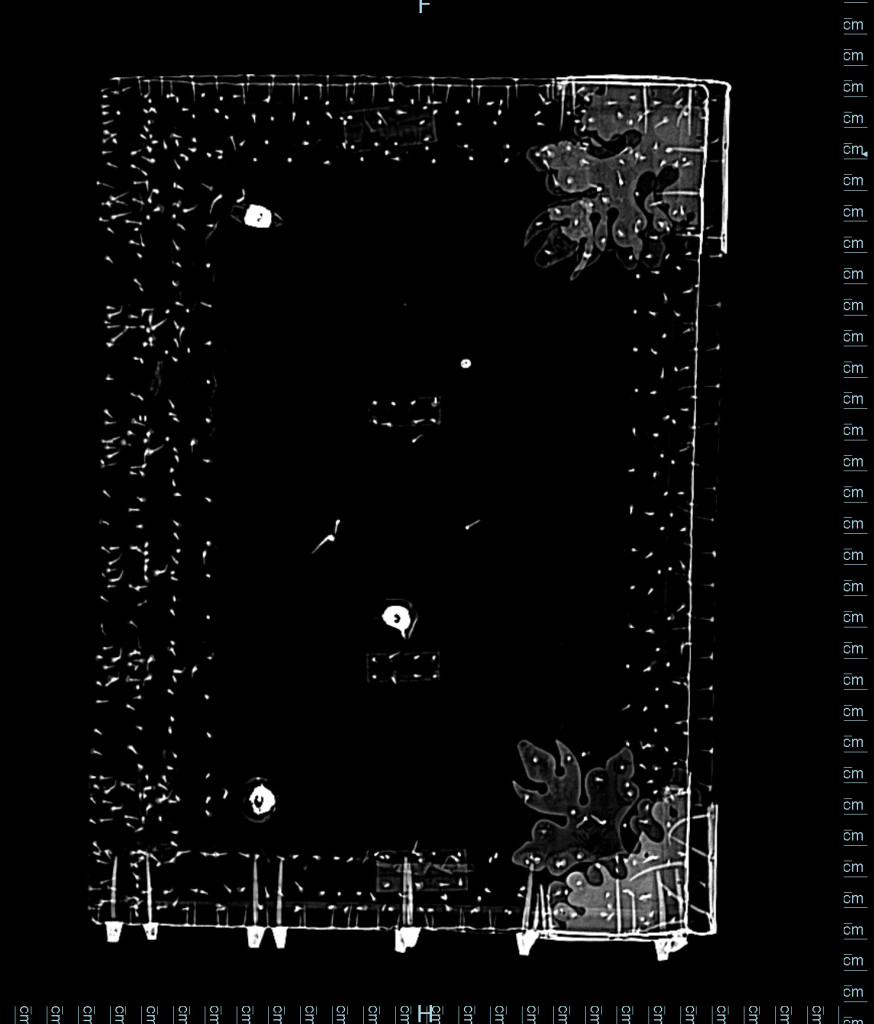
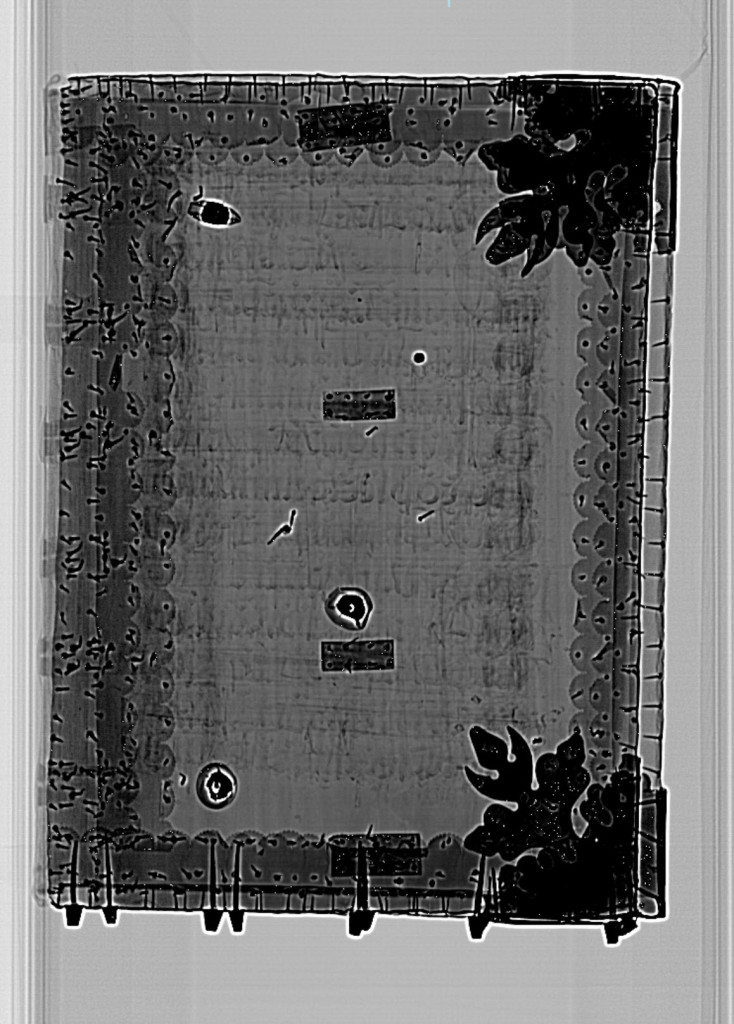
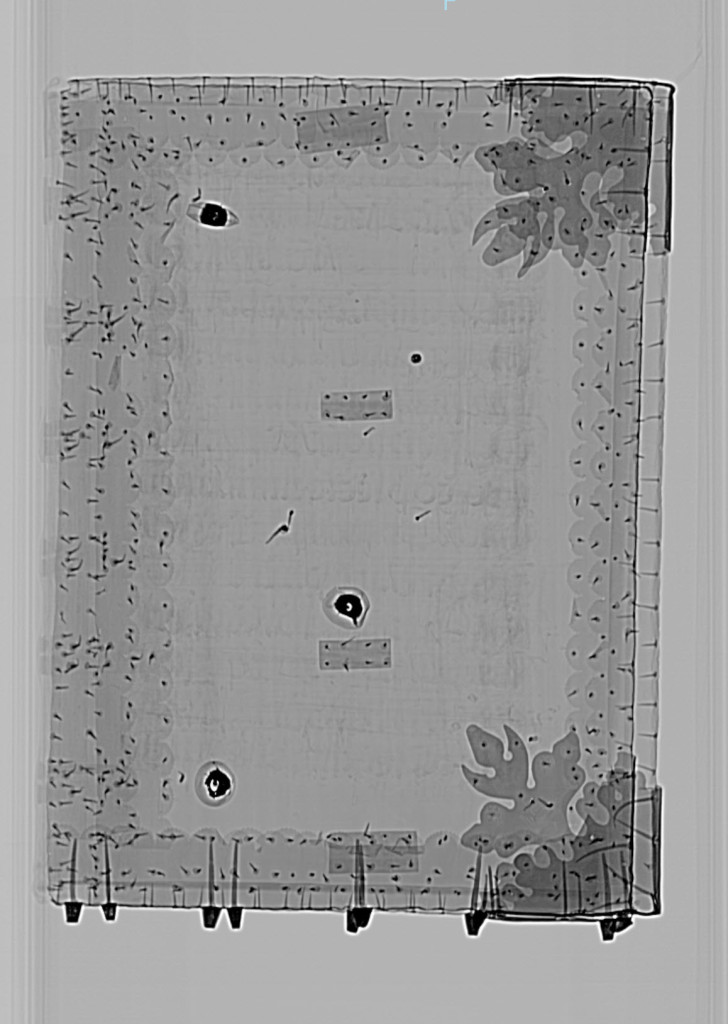
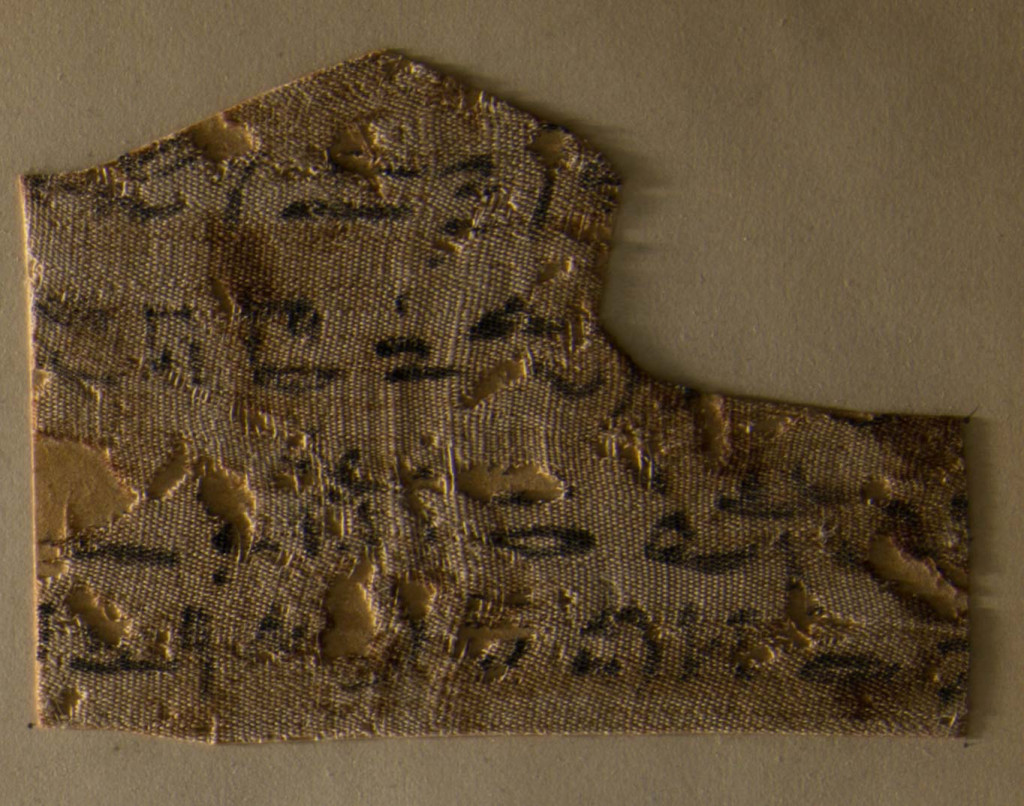
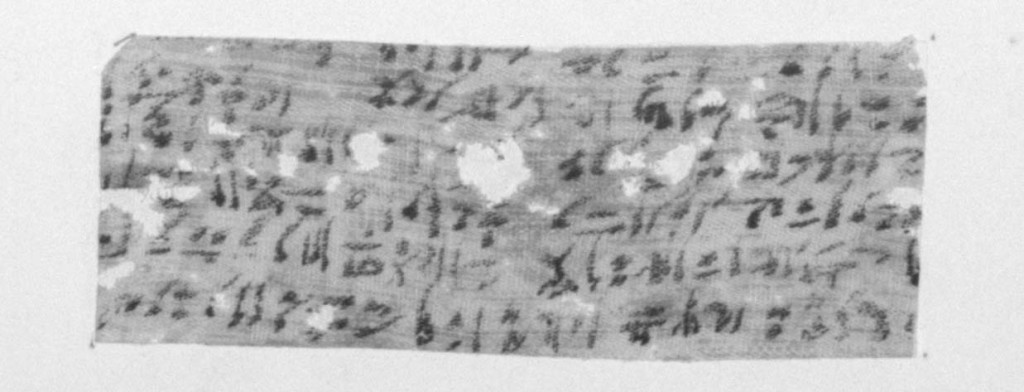
Parchment is highly responsive to humidity. It expands, contracts, cockles, and stiffens depending on environmental conditions. Long-term folded storage had left deep set creases, and exposed areas showed noticeable darkening. These distortions became even more apparent under raking light photography.


Treatment Approach
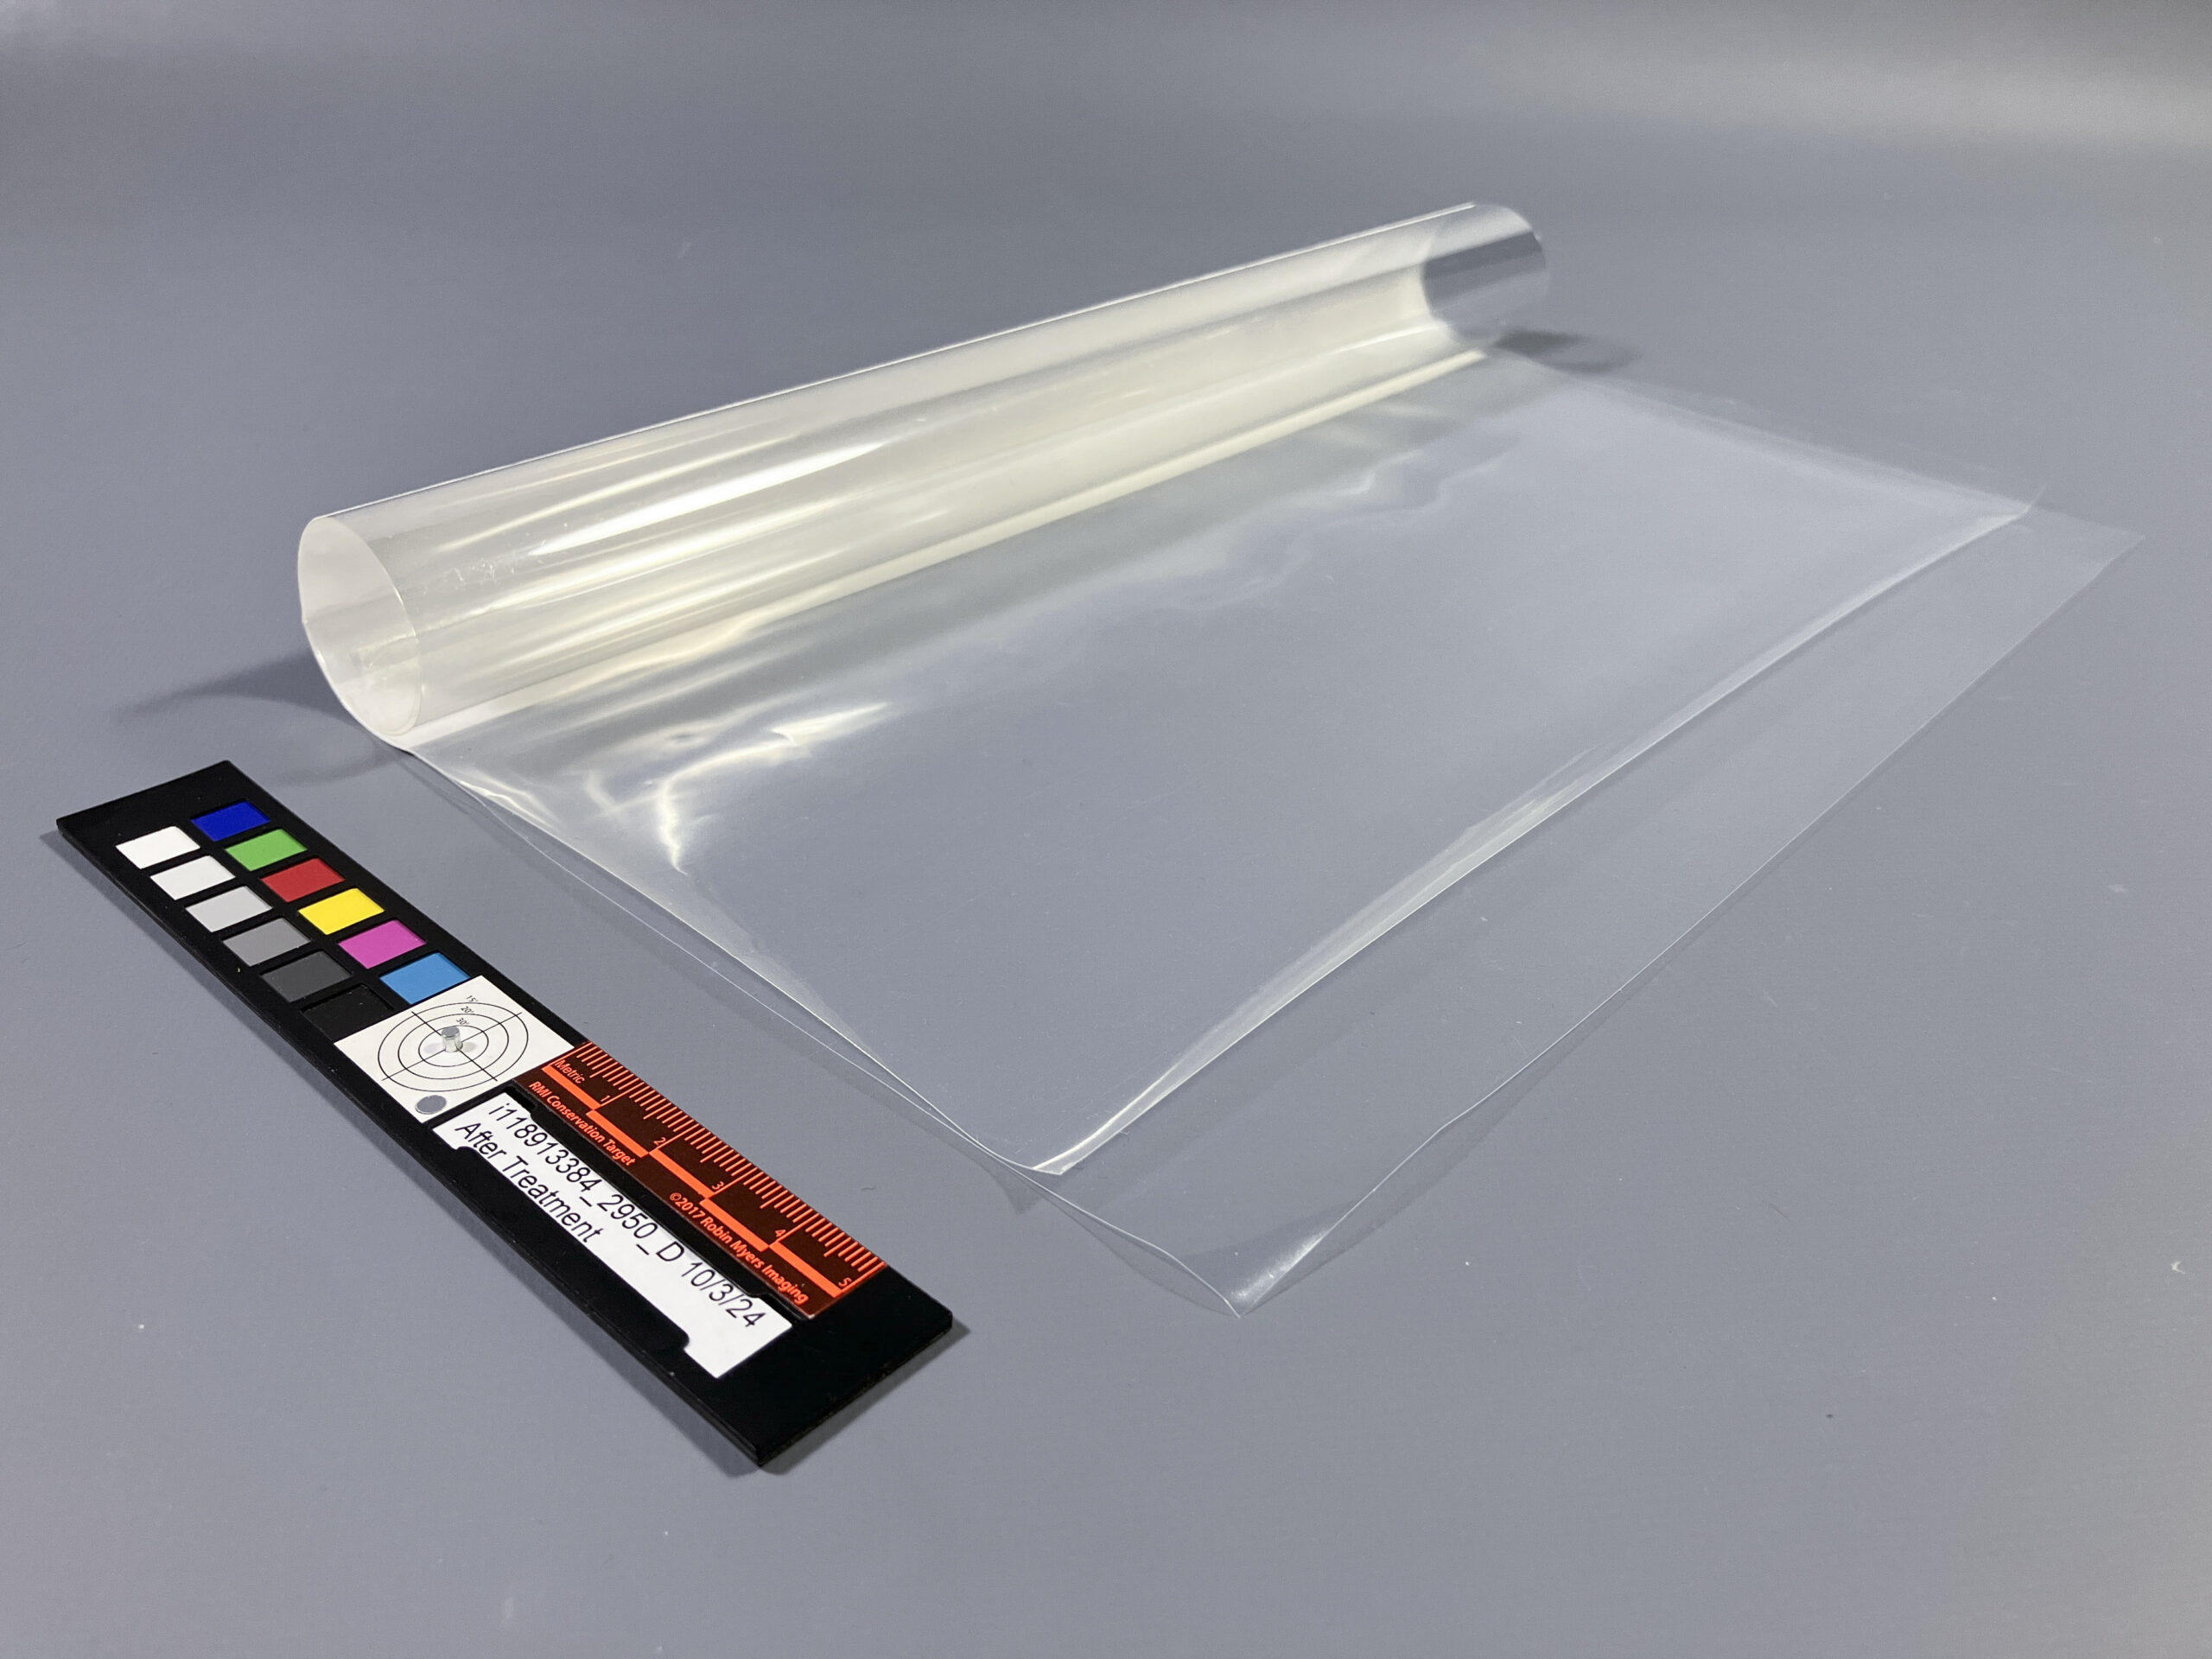
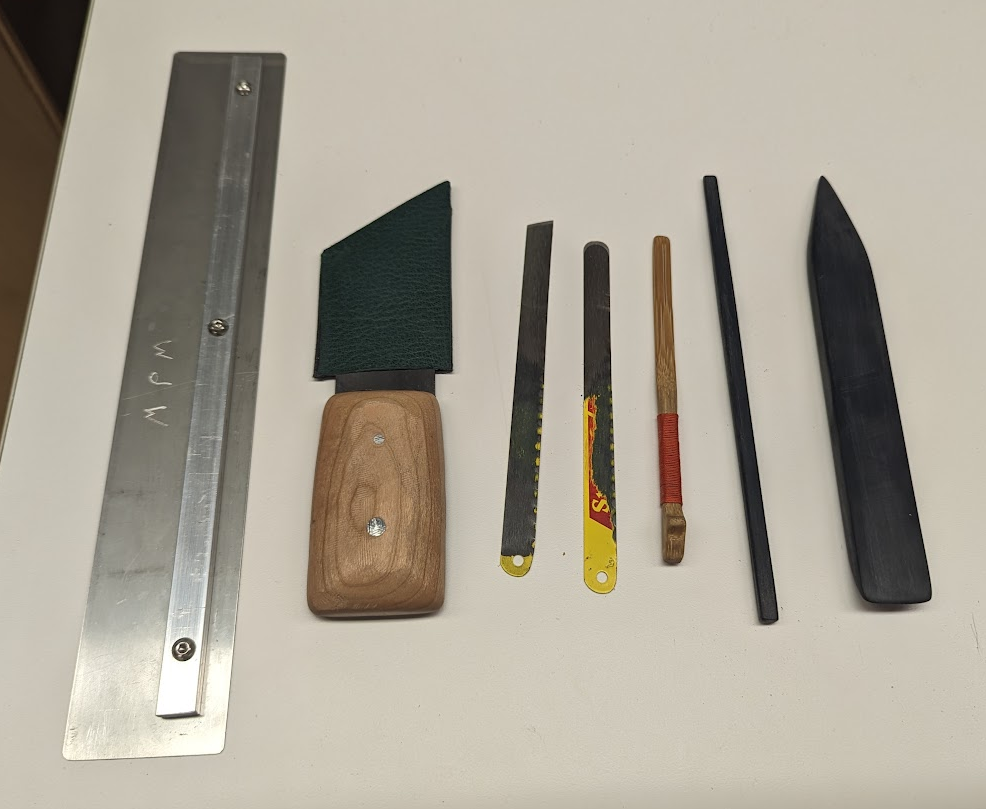
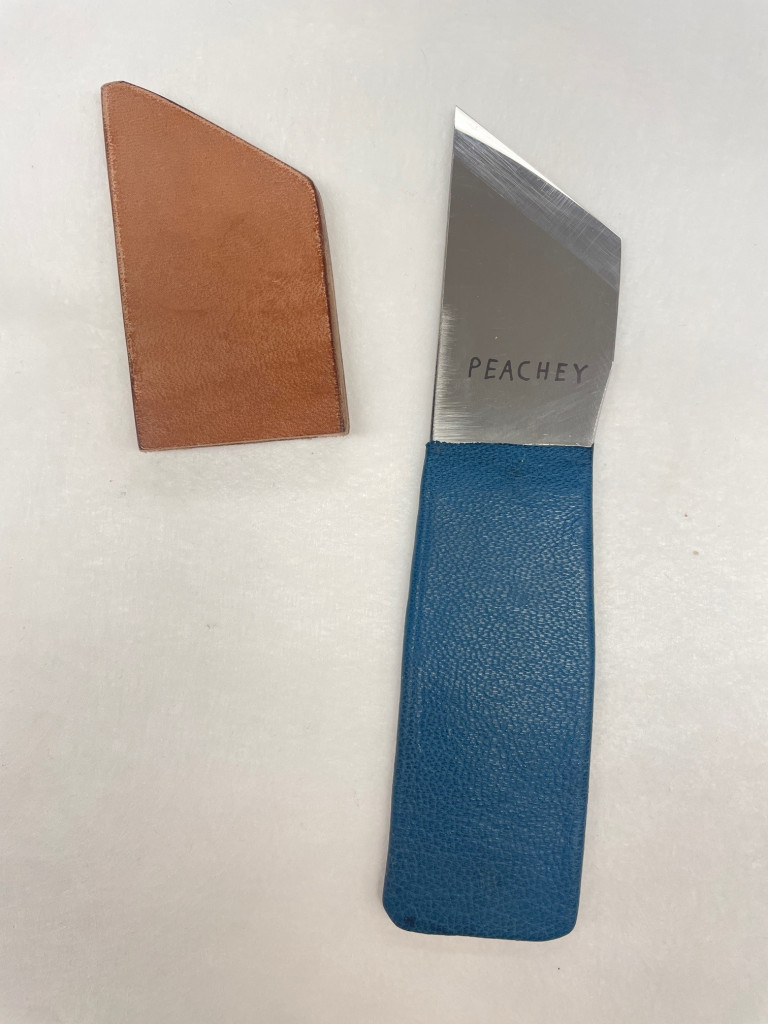
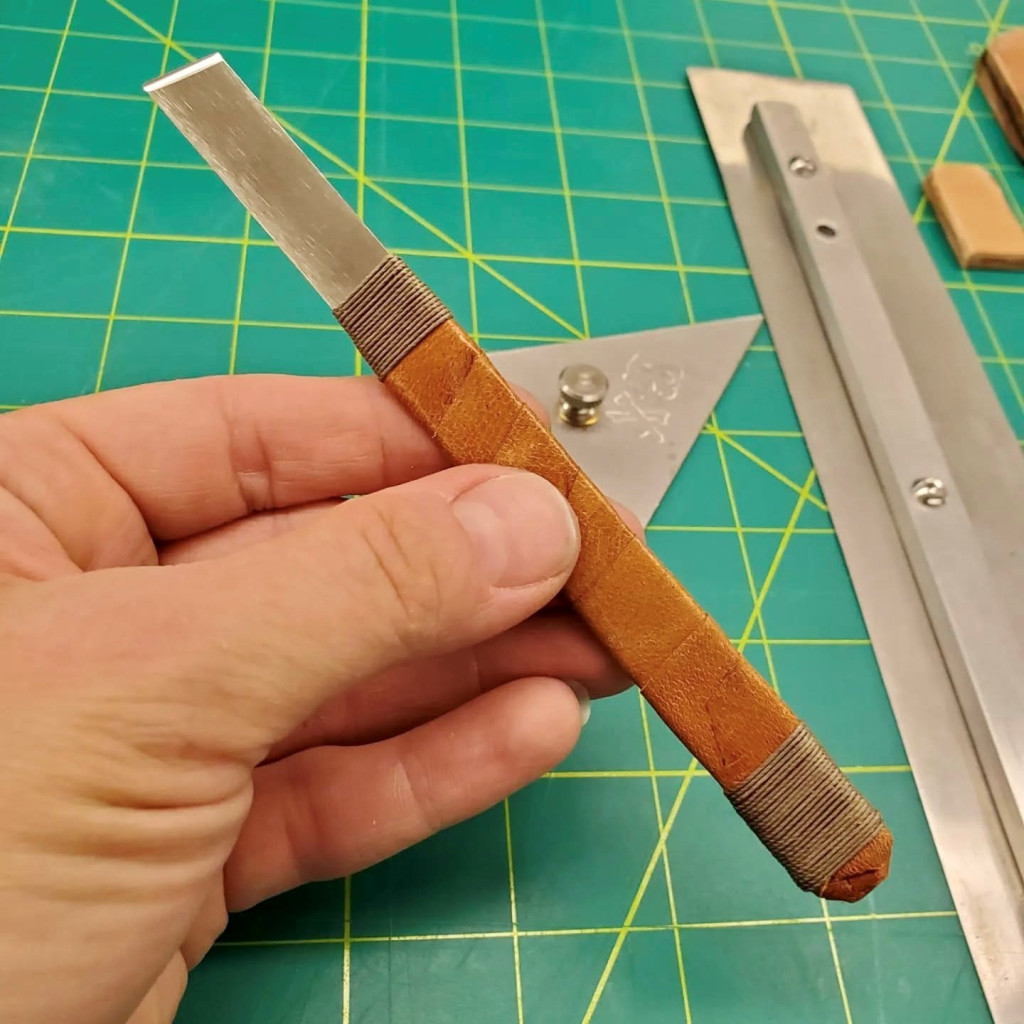
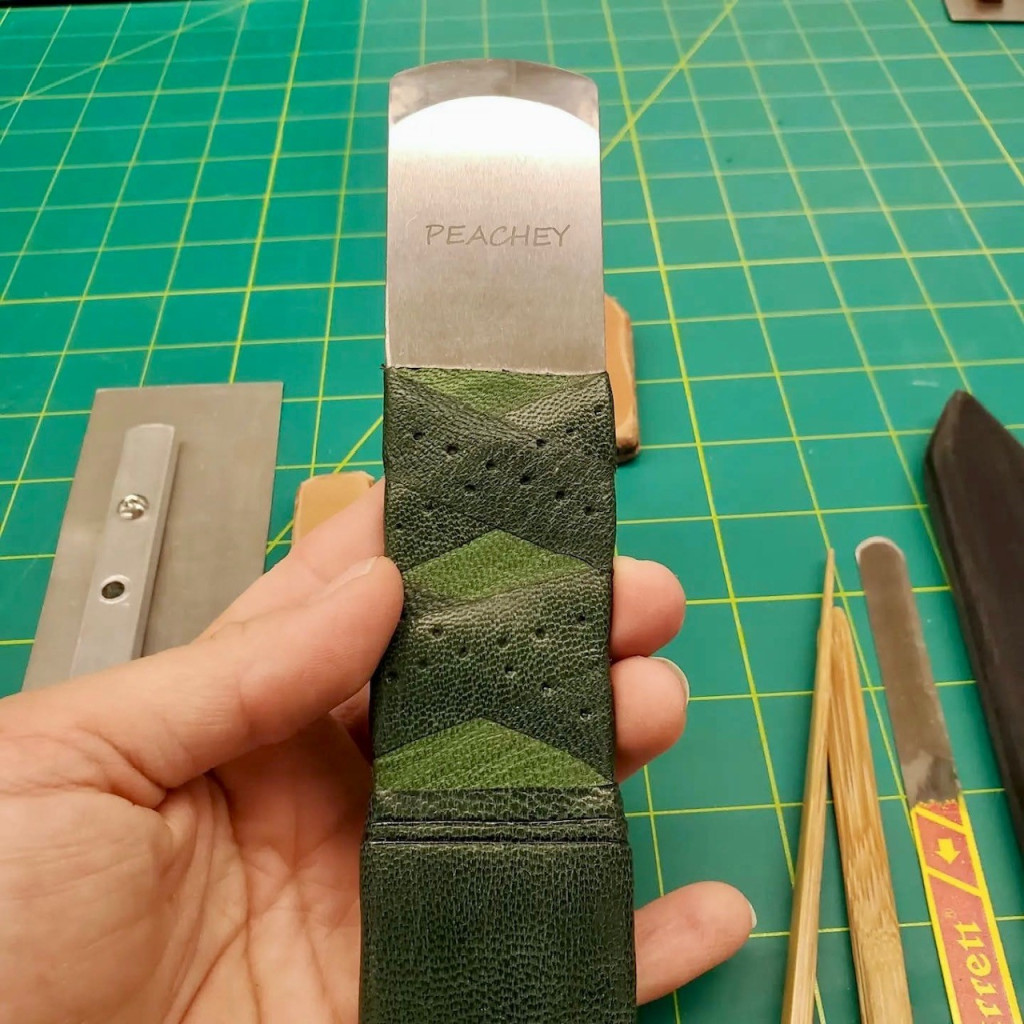
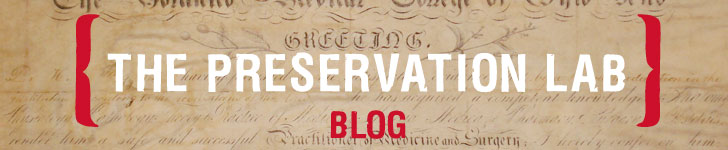
Flattening parchment is never as simple as adding moisture and pressing. Too much humidity risks gelatinization, while too little leaves folds unchanged. Wax seals add another layer of complexity since they are brittle, protruding, and highly sensitive to pressure. To begin conservation treatment, each document was first surface cleaned using a hydrophilic sponge to remove surface grime. Ink testing followed to ensure stability before any humidification. All inks tested were stable, and no iron gall ink was detected. With testing complete, humidification could begin.
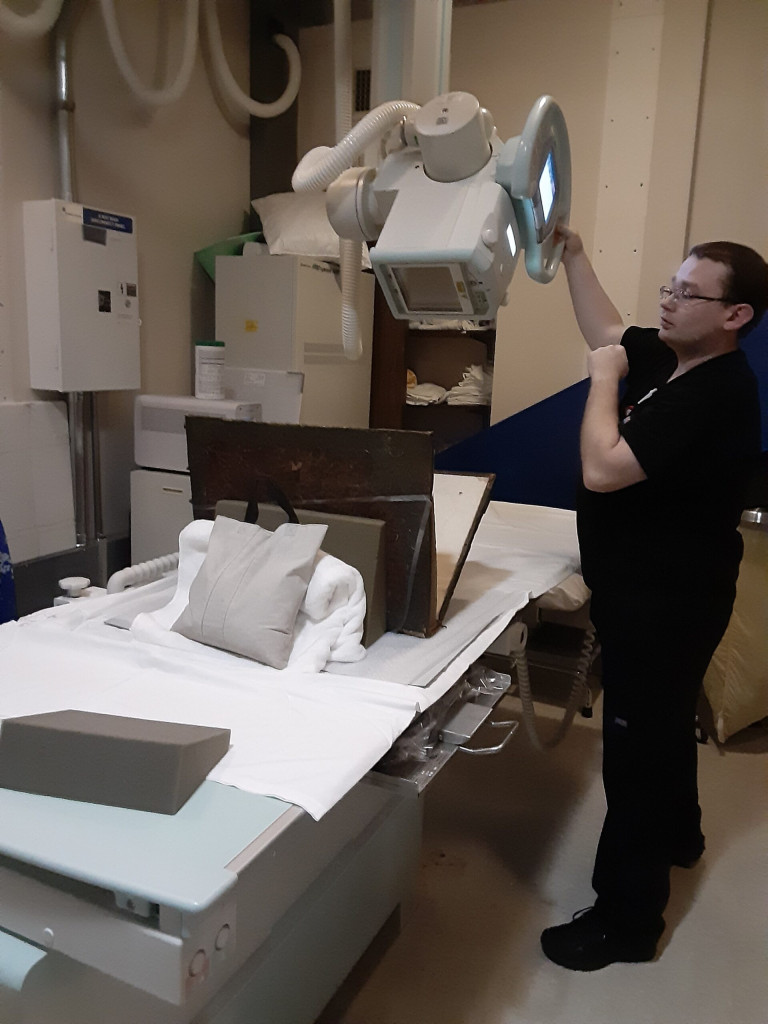
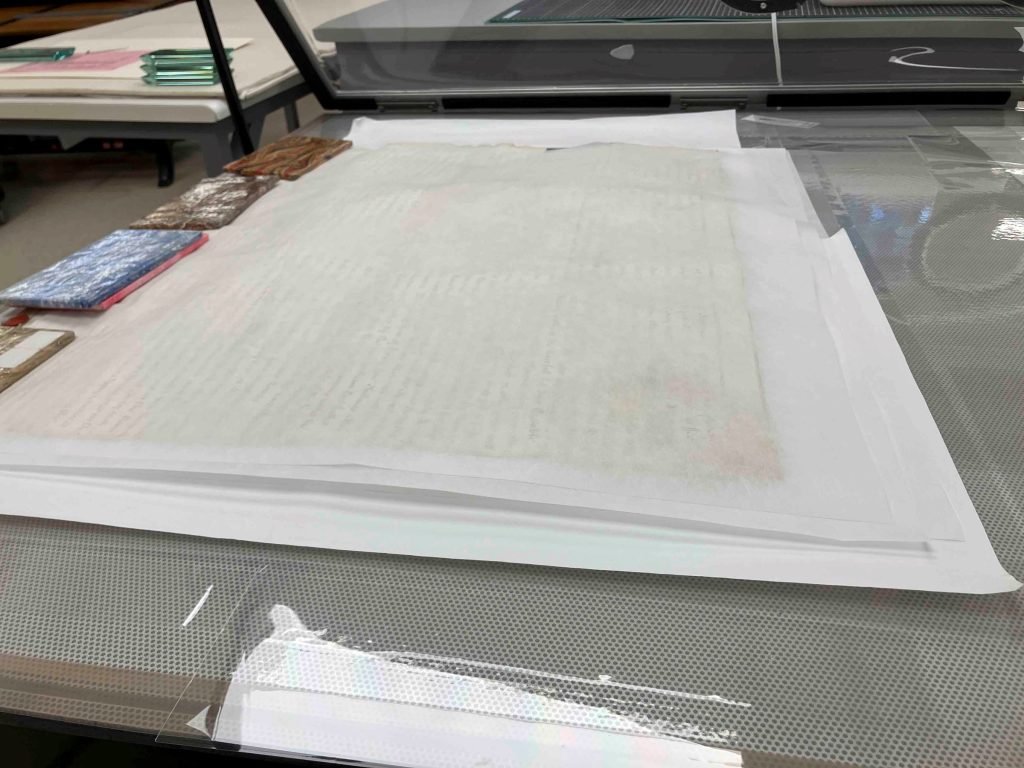
The single-leaf documents were humidified in short cycles within a cold humidity chamber. After each cycle, they were dried gradually under felts, with pressure slowly increased and carefully kept away from seal areas. Drying methods were adapted depending on structure and condition. One single-leaf document without seals was dried under tension on the suction table, while the others were dried under felts and weights, again avoiding direct pressure on wax seals.
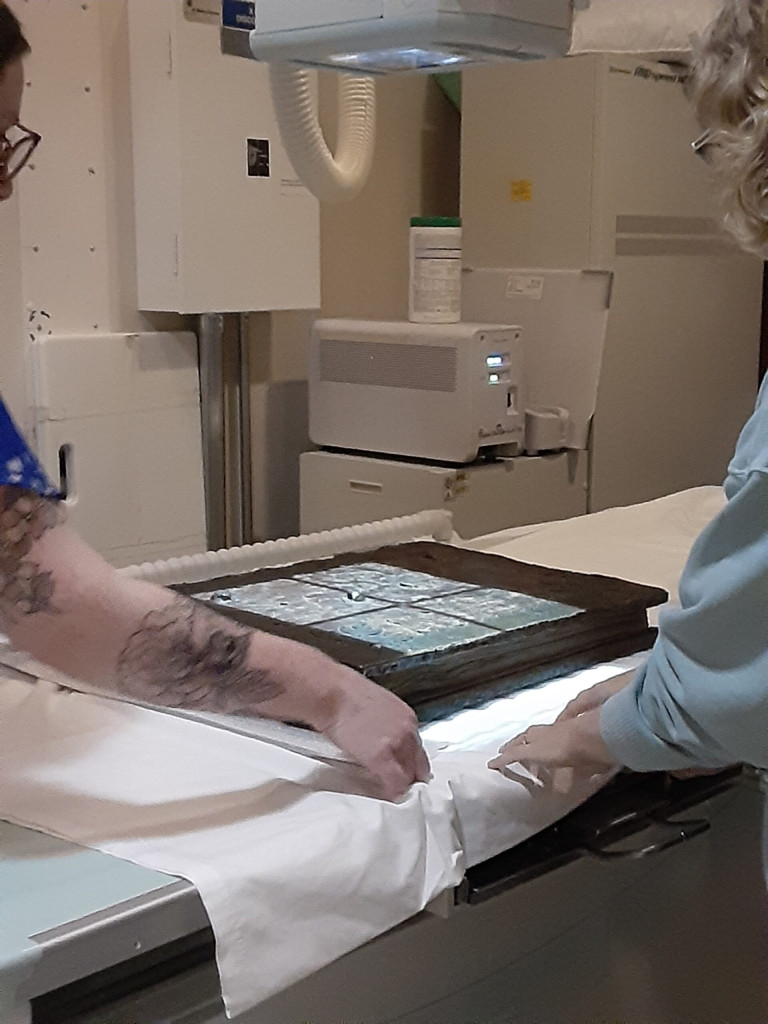
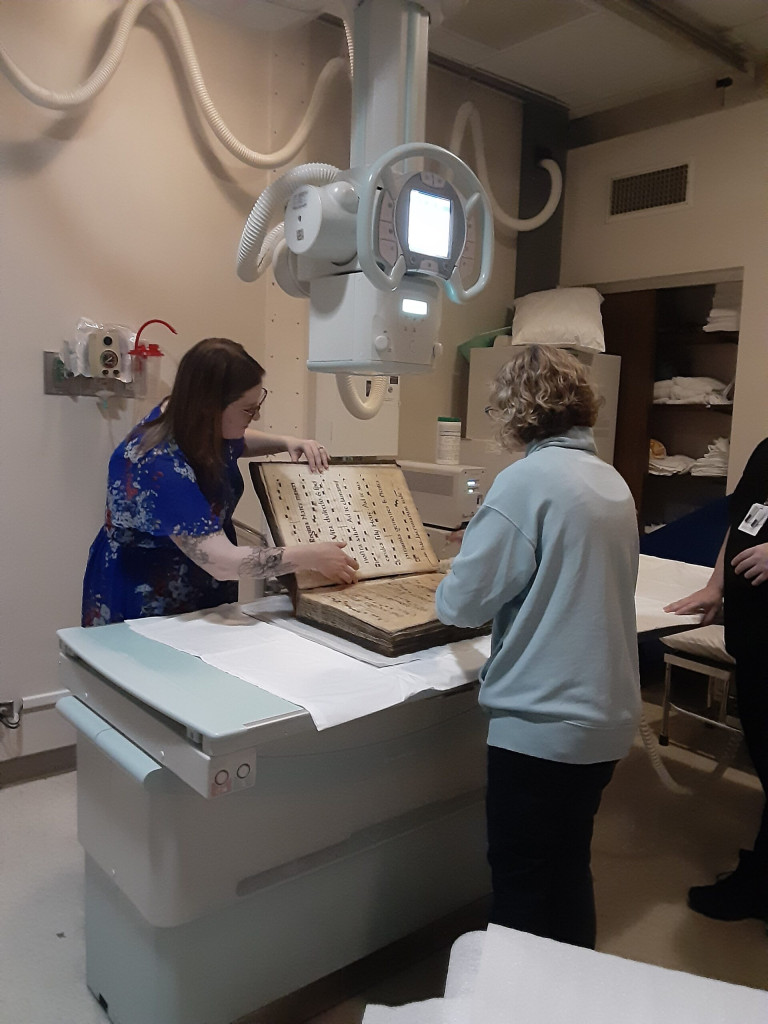
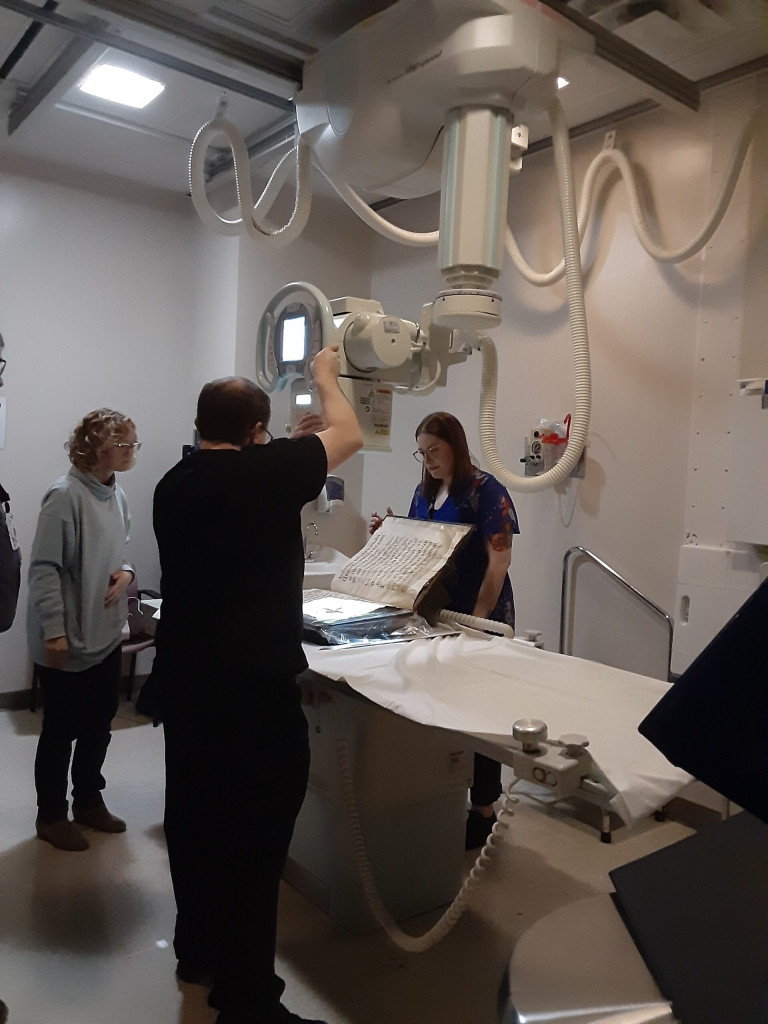
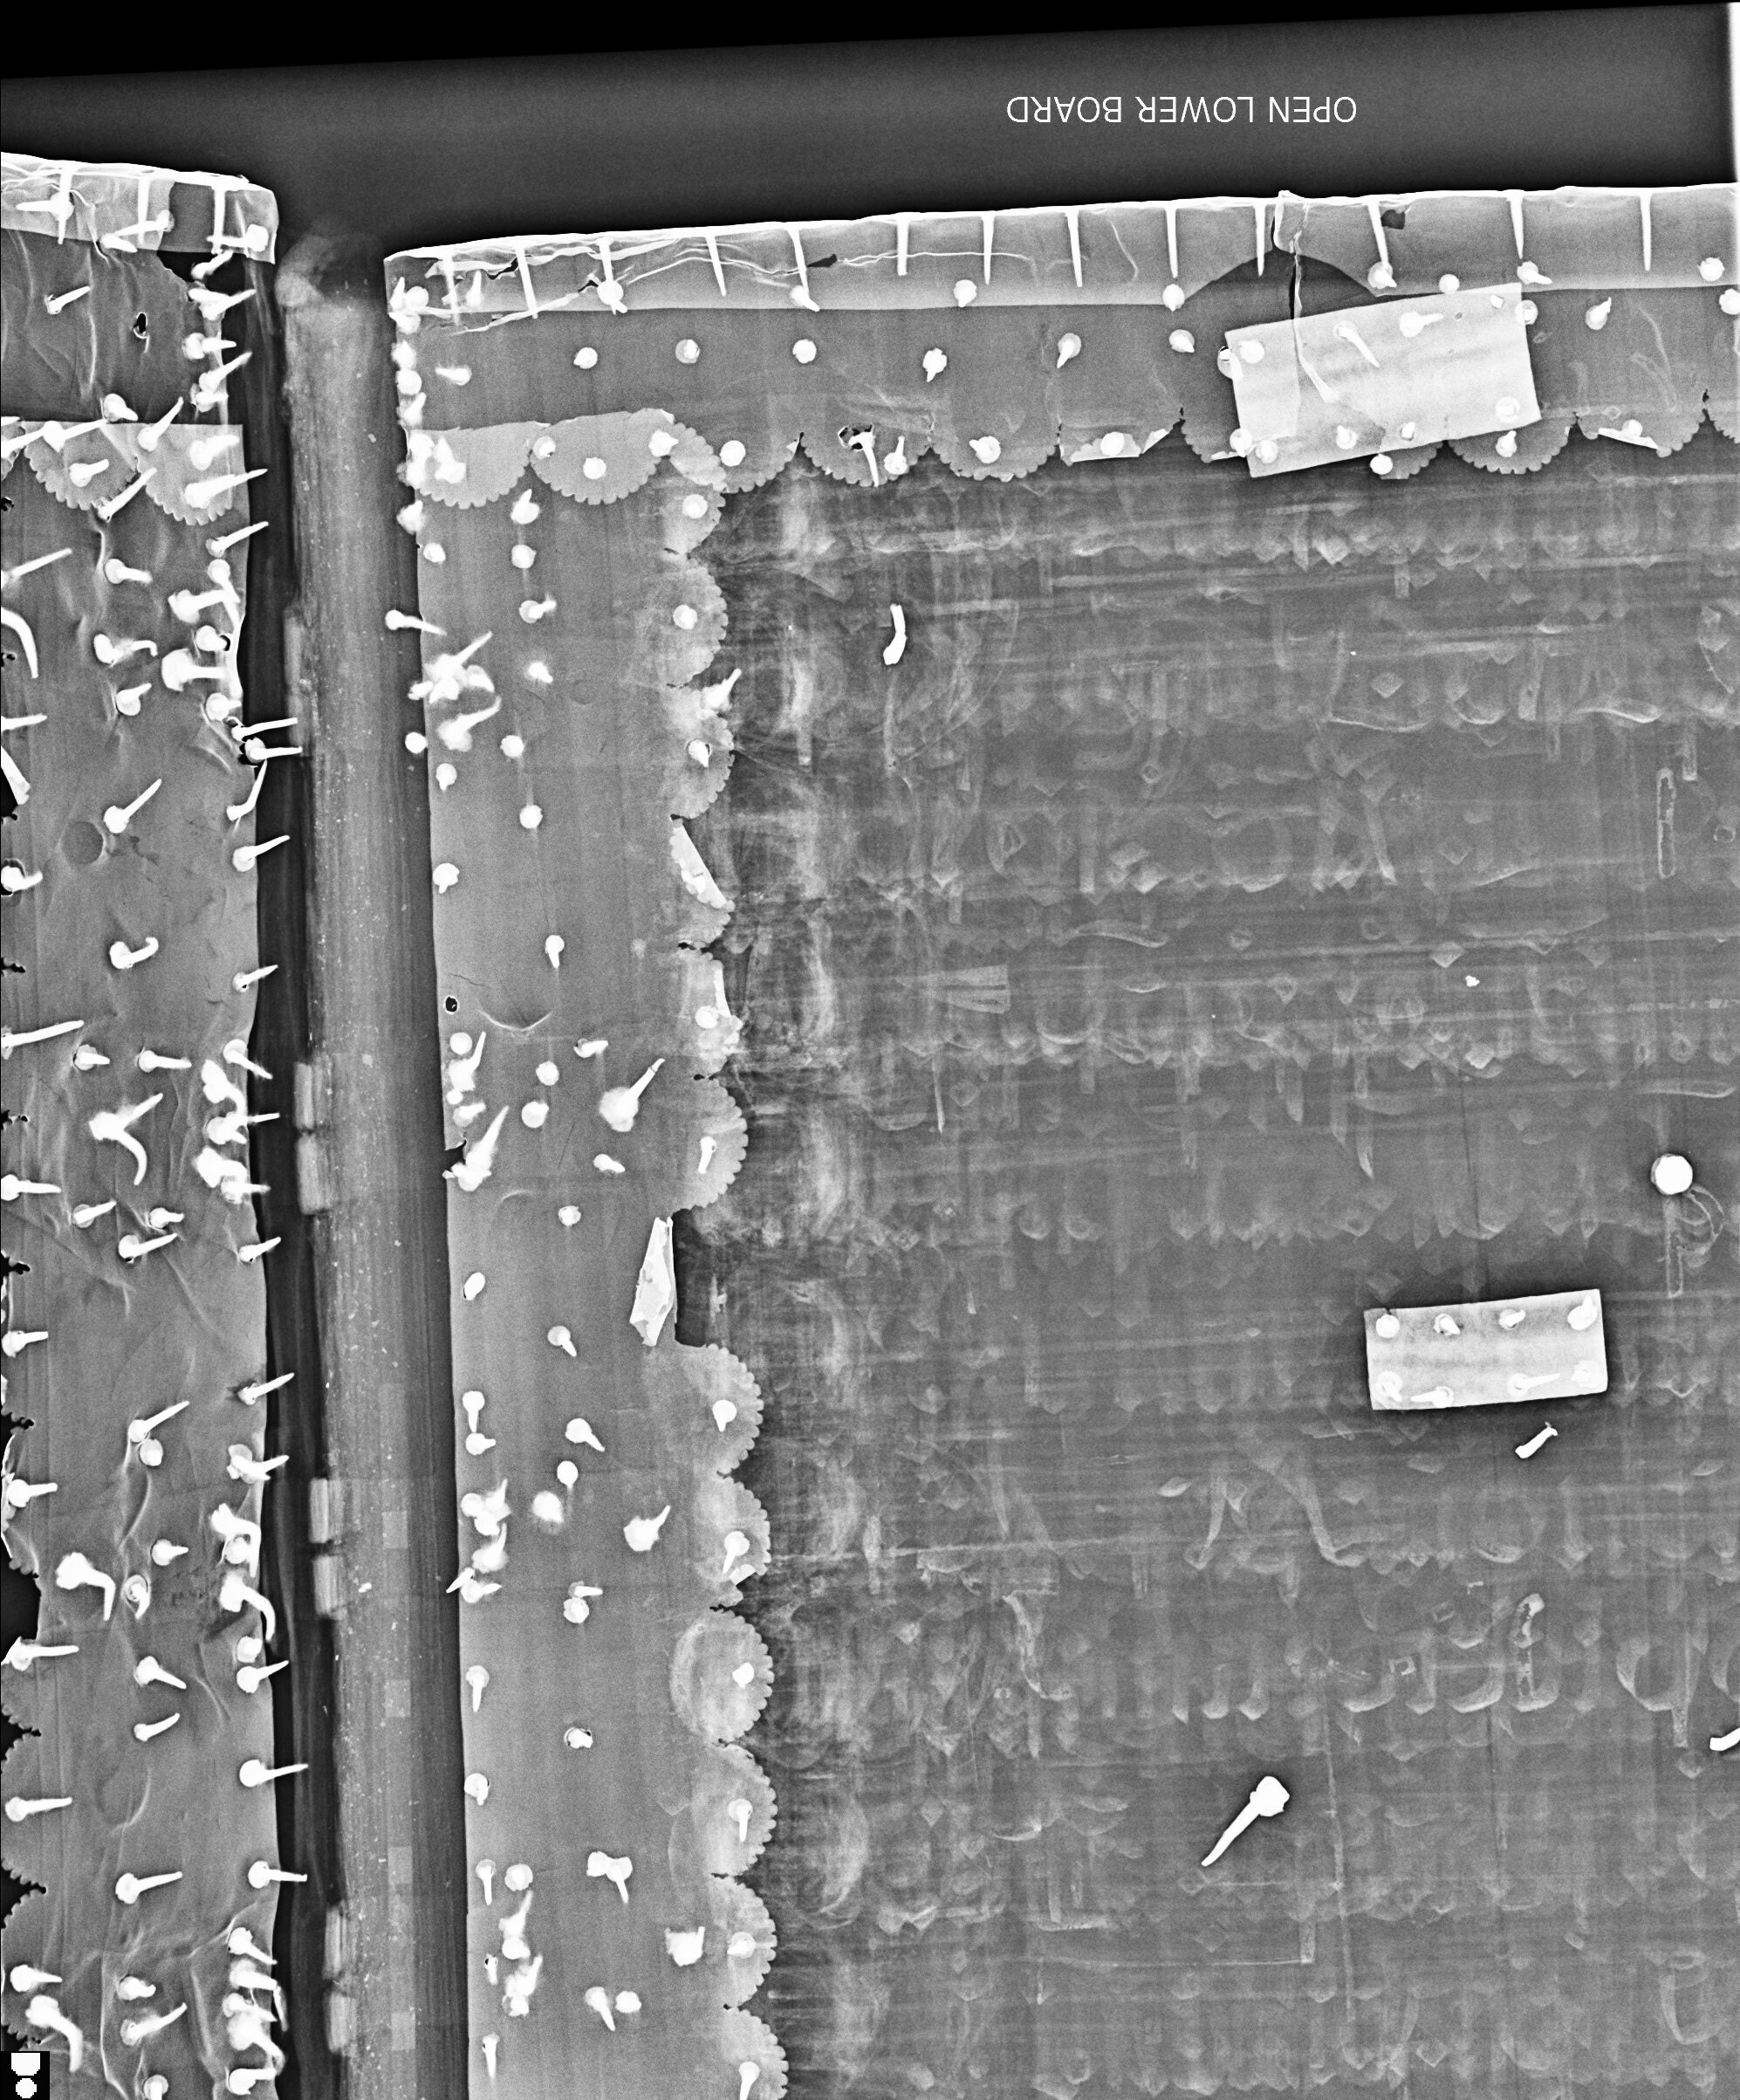
The Multi-Leaf Document
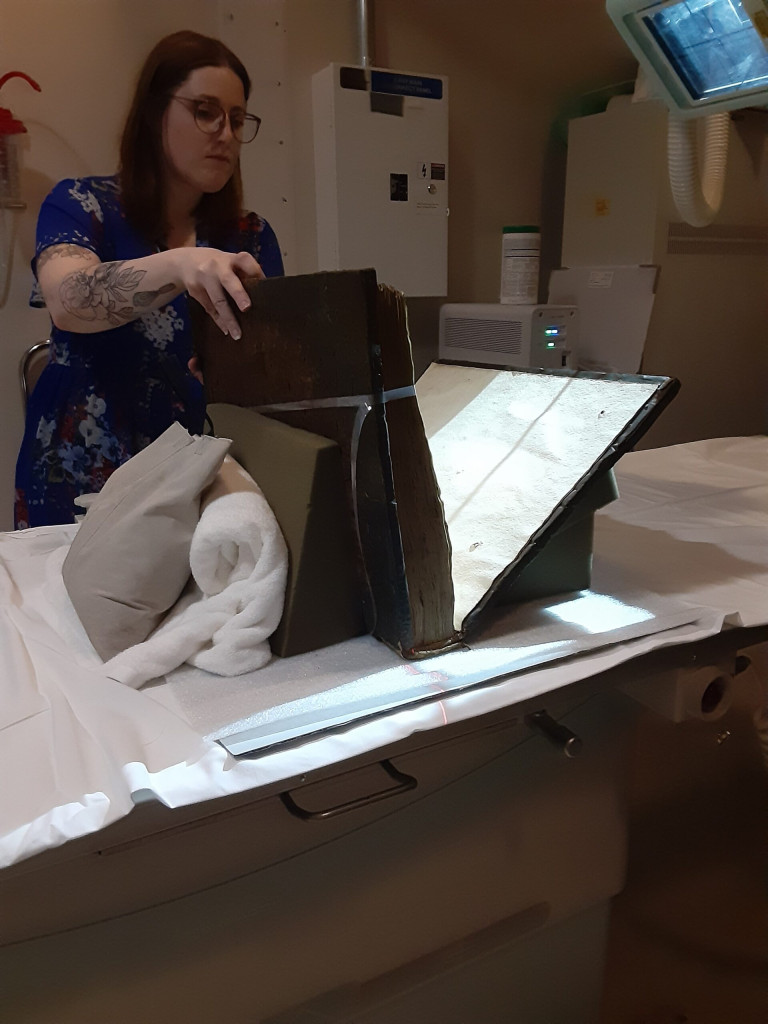
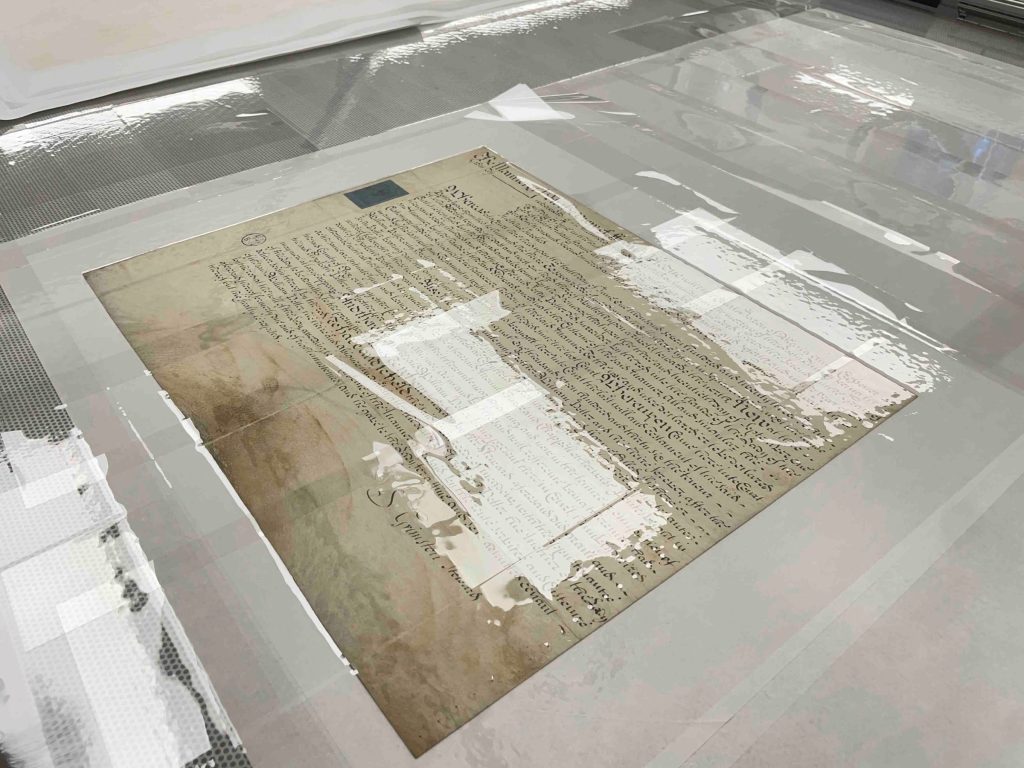
The multi-leaf deed required a more complex and iterative approach. It consists of three parchment leaves attached together, each responding differently to moisture. Initial humidification was carried out using an ultrasonic dome with a Gore-Tex barrier supporting the lower leaf. The upper leaf responded well, but the middle leaf remained resistant. To improve moisture distribution, unbuffered interleaving paper was placed between the leaves. Even so, the middle sheet required additional targeted treatment.
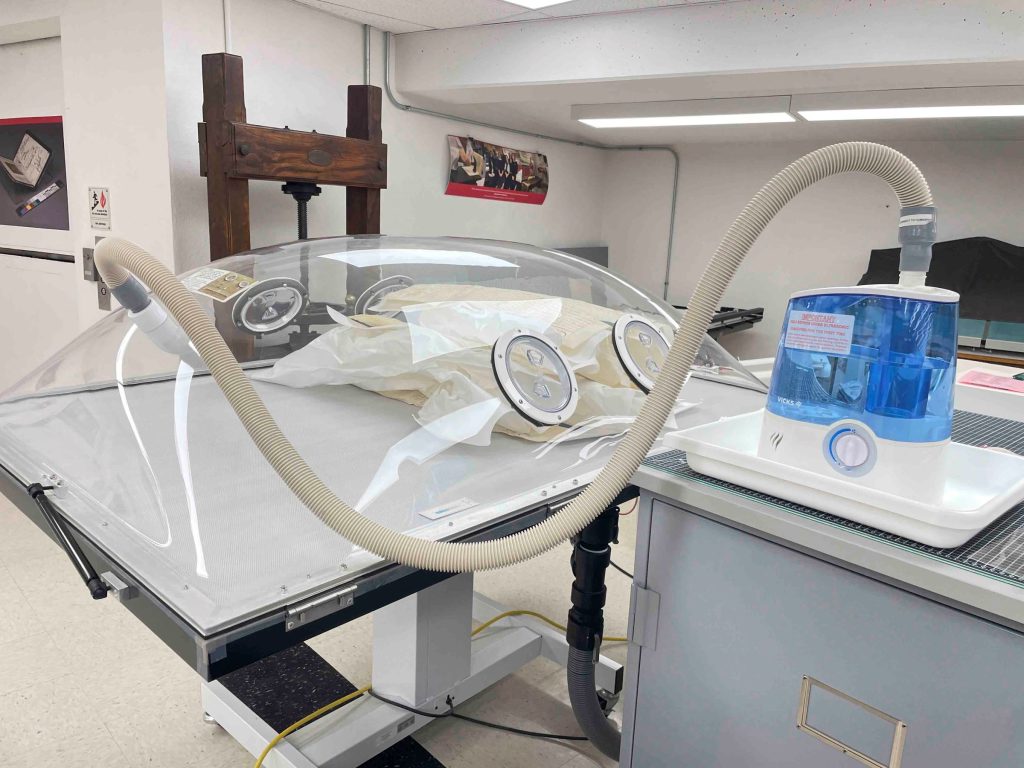
The most effective approach combined localized humidification with staged flattening. Each leaf was treated individually while the others were protected with polyester film and weighted mat board to prevent unwanted moisture transfer or movement. Stubborn folds were gently humidified using a localized ultrasonic humidifier and immediately set under pressing stacks of blotter and Hollytex, followed by gradual weighting. This allowed controlled relaxation of specific areas without over-treating the entire object.
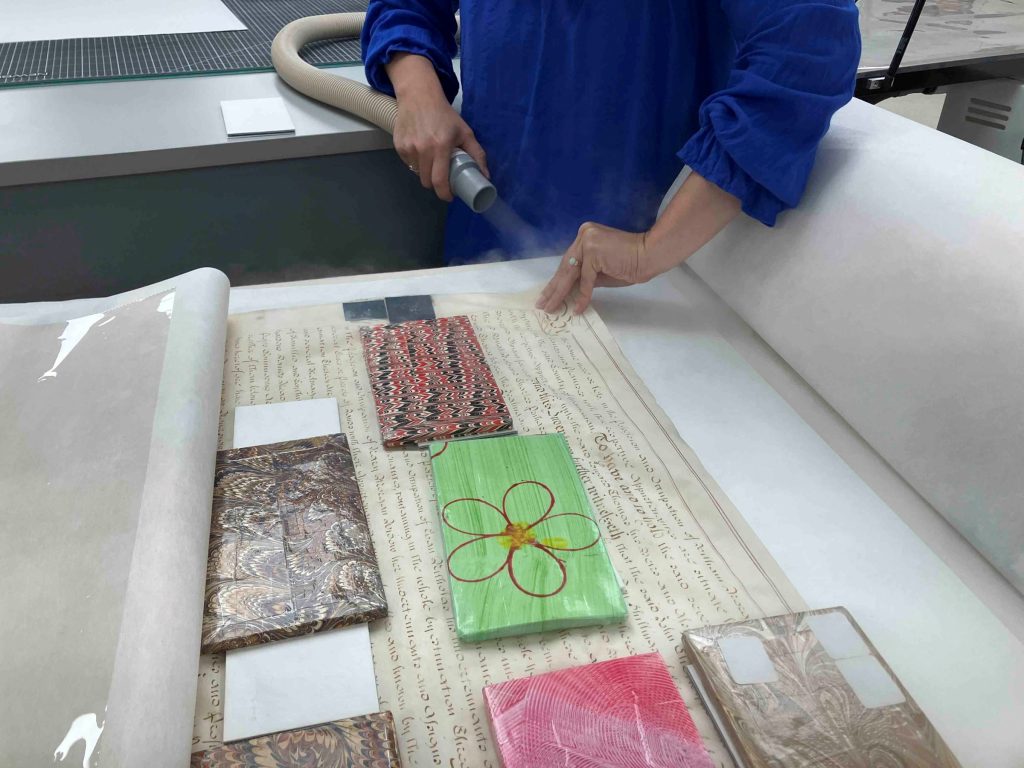
The process was highly collaborative, often requiring two or three people working at once. One person applied moisture and guided the parchment while another adjusted weights and pressing materials in real time. Throughout treatment, wax seals were carefully protected using mat board barriers and spacing systems to ensure they remained free from pressure. Once fully relaxed, the document was dried under felts with weights in place, while polyester sheeting remained between the leaves to prevent adhesion or distortion.
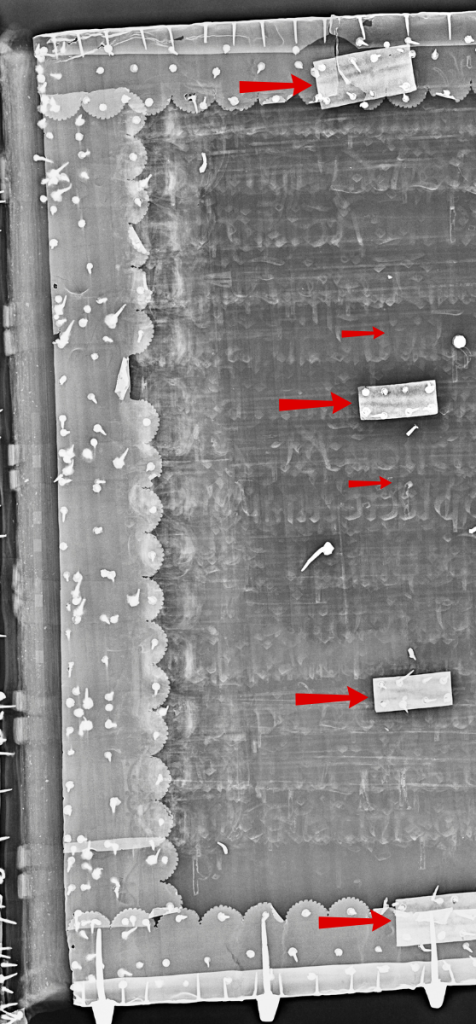
Wax seals
Three of the four documents retain wax seals along their lower edges. These seals were structurally fragile and were consolidated using fish gelatin applied with a fine brush. During treatment and flattening, they were carefully isolated so that no direct pressure was applied.
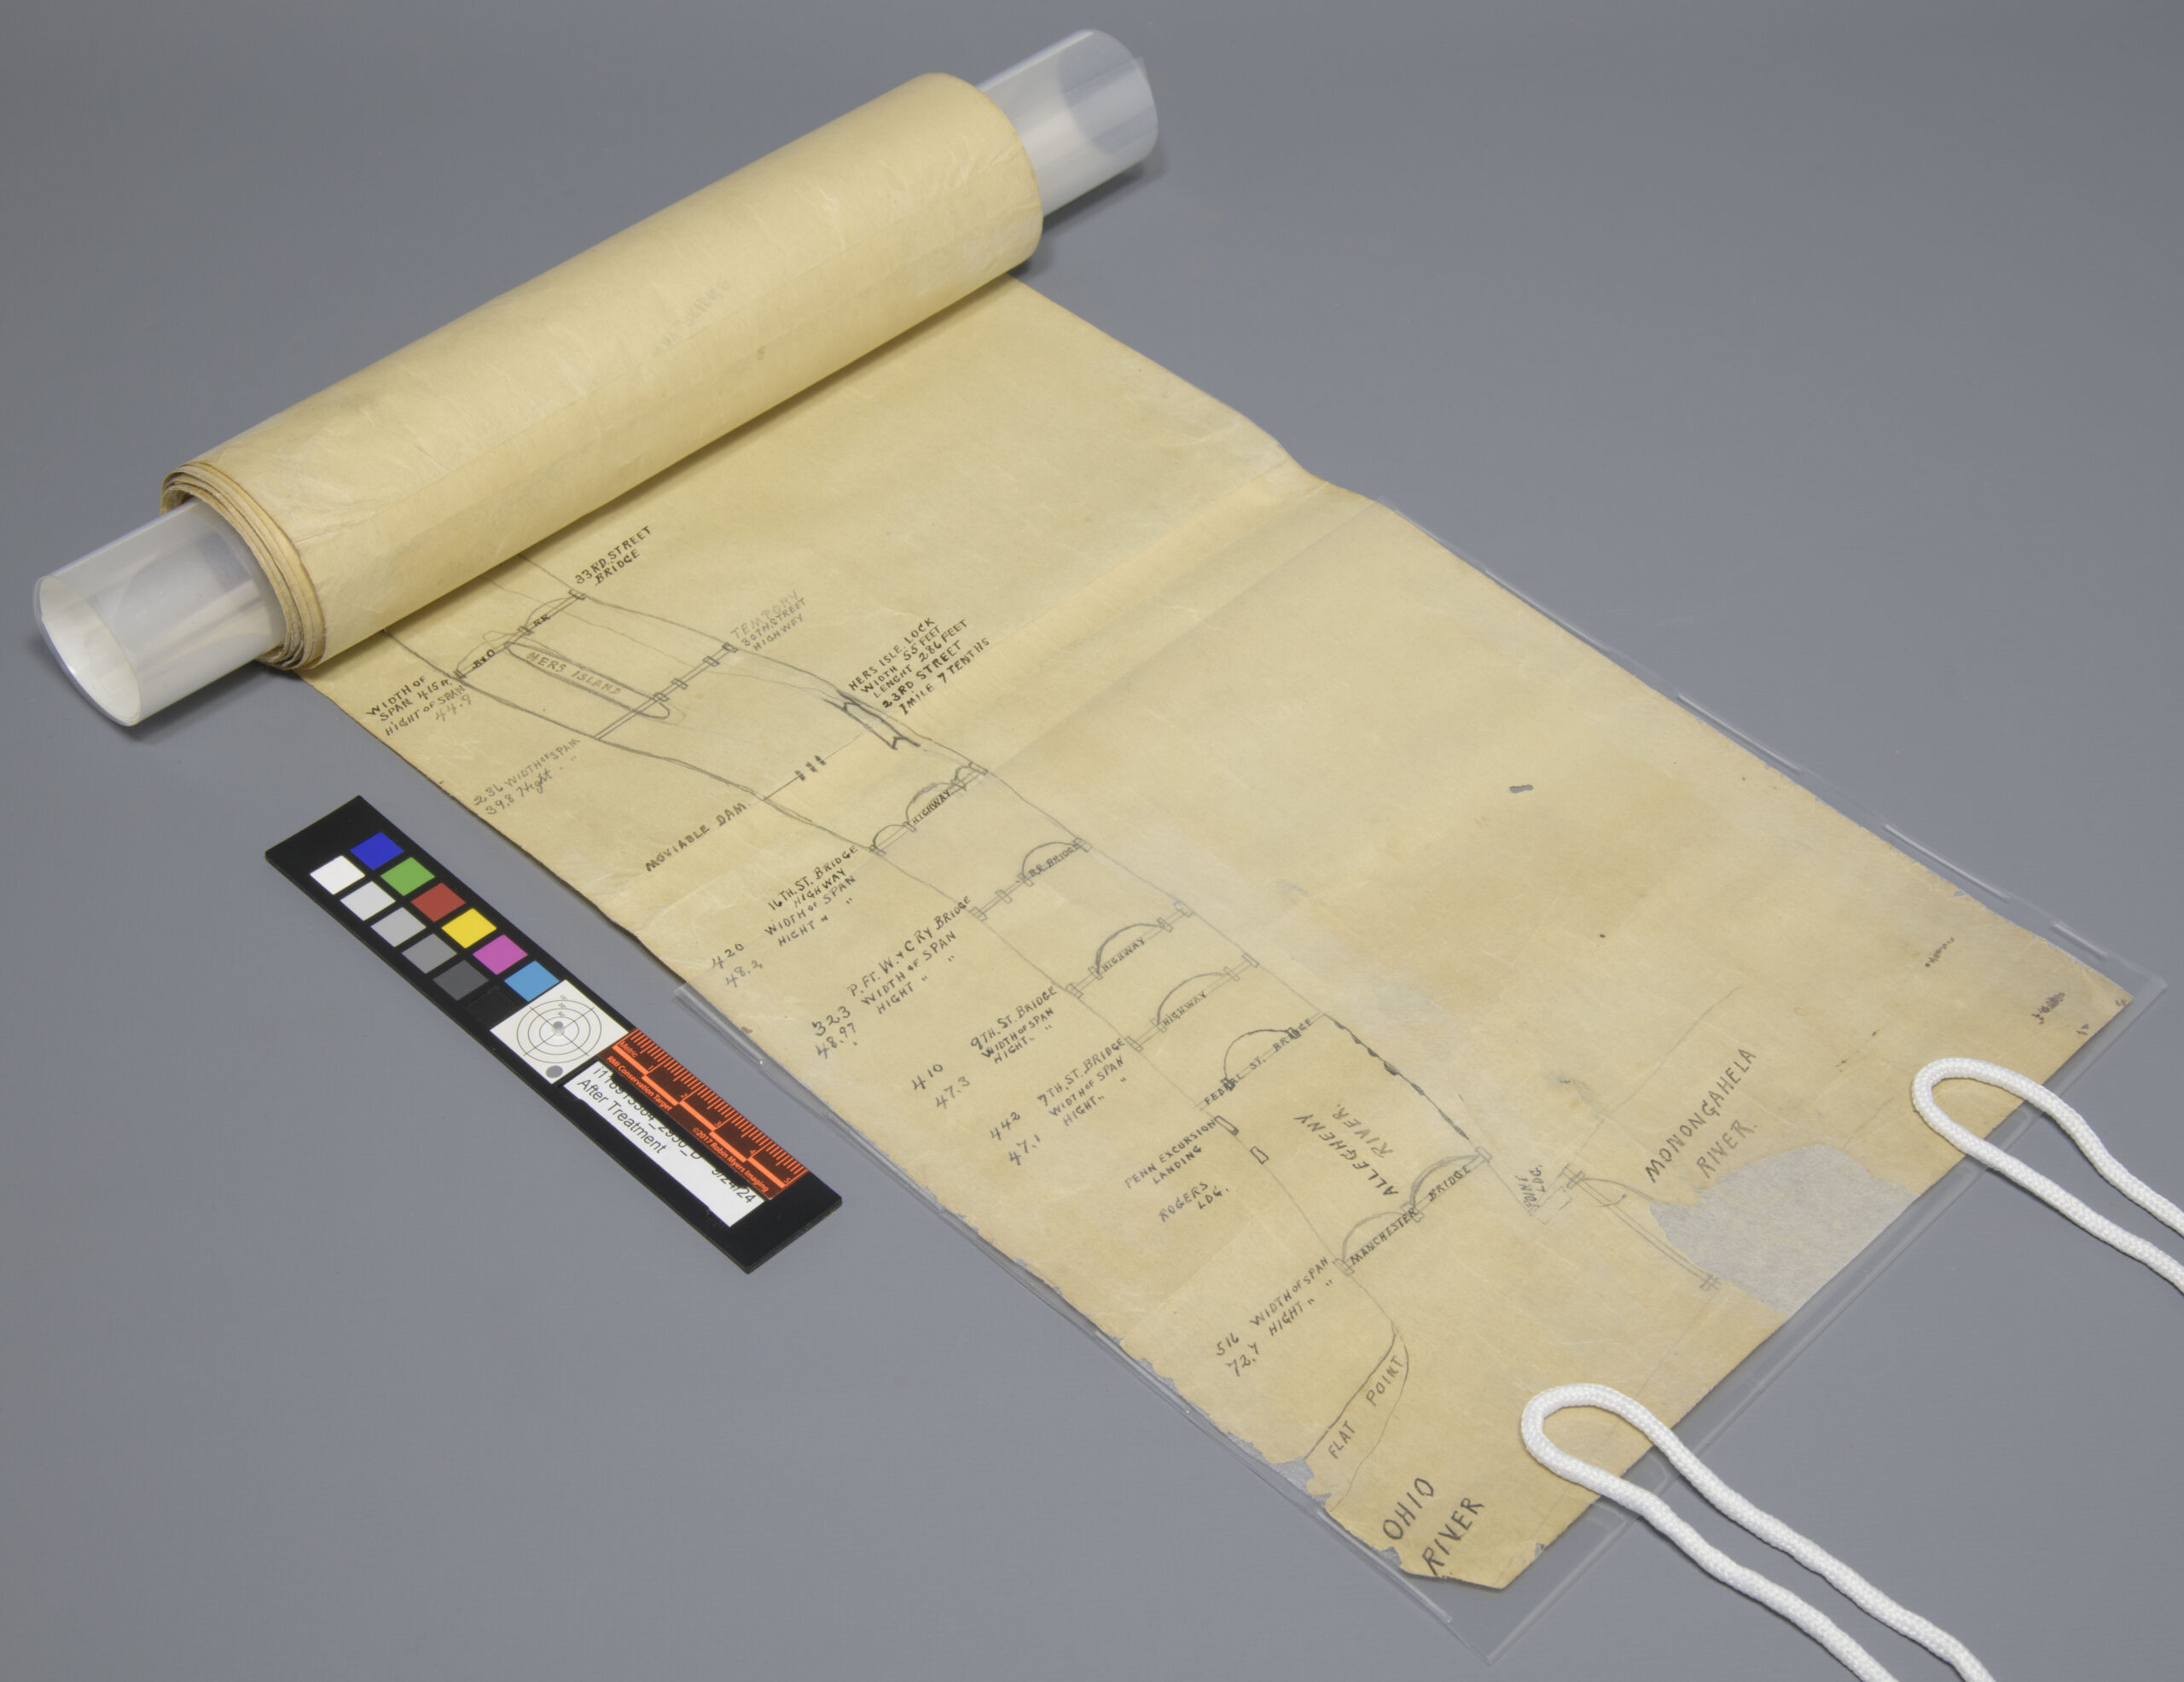
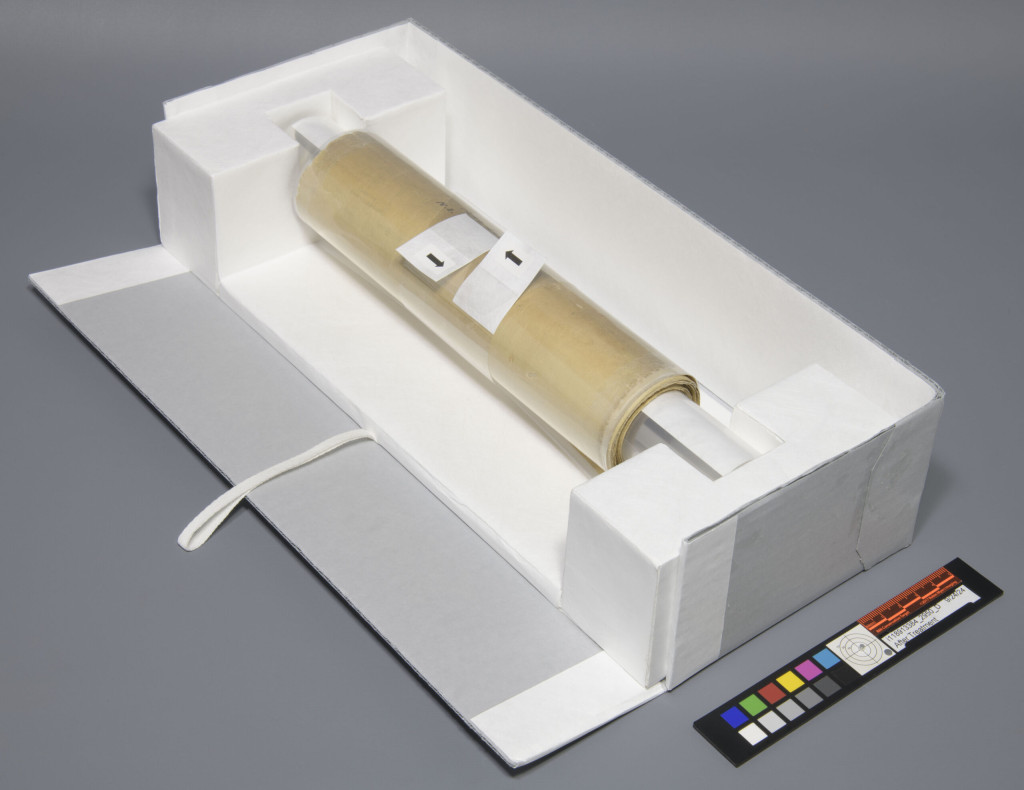
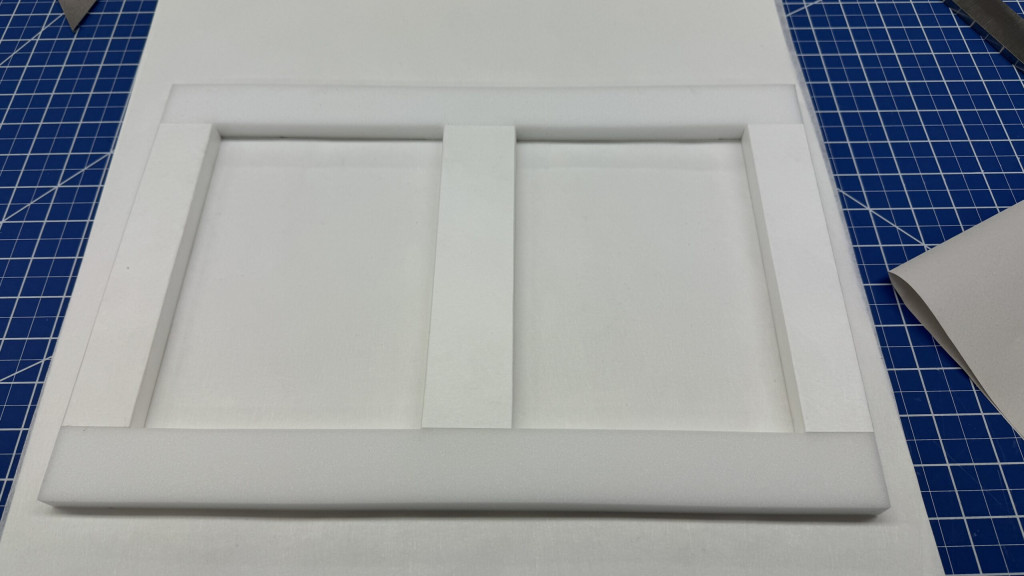
Housing for Support and Access
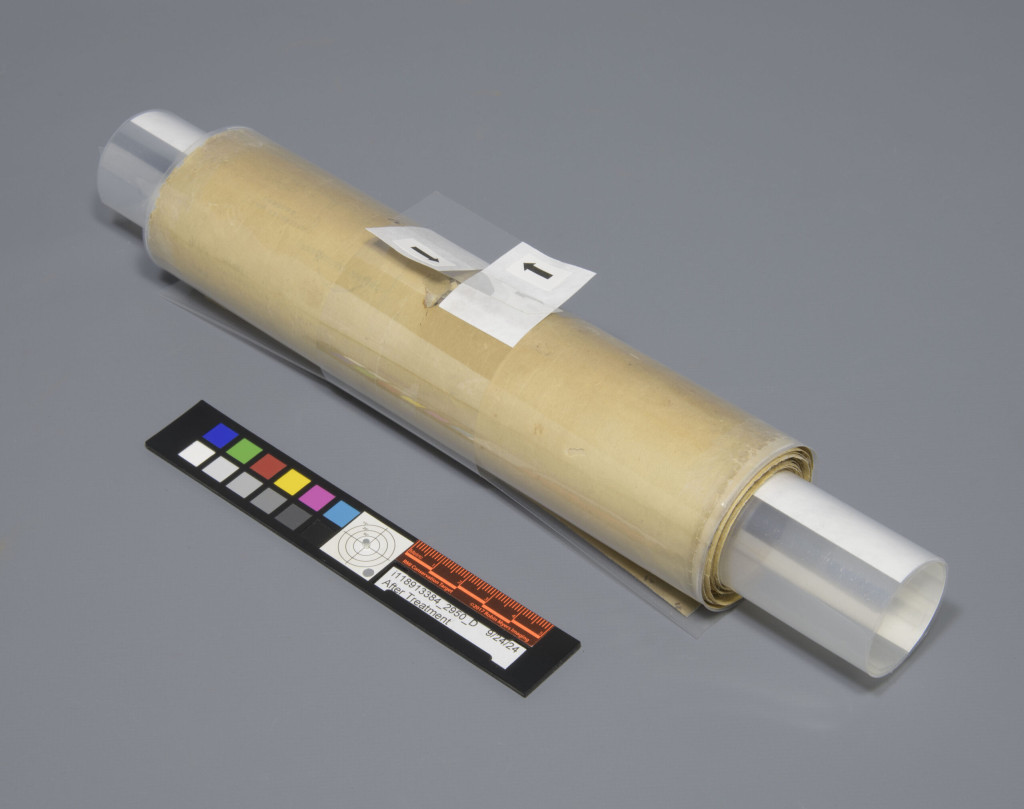
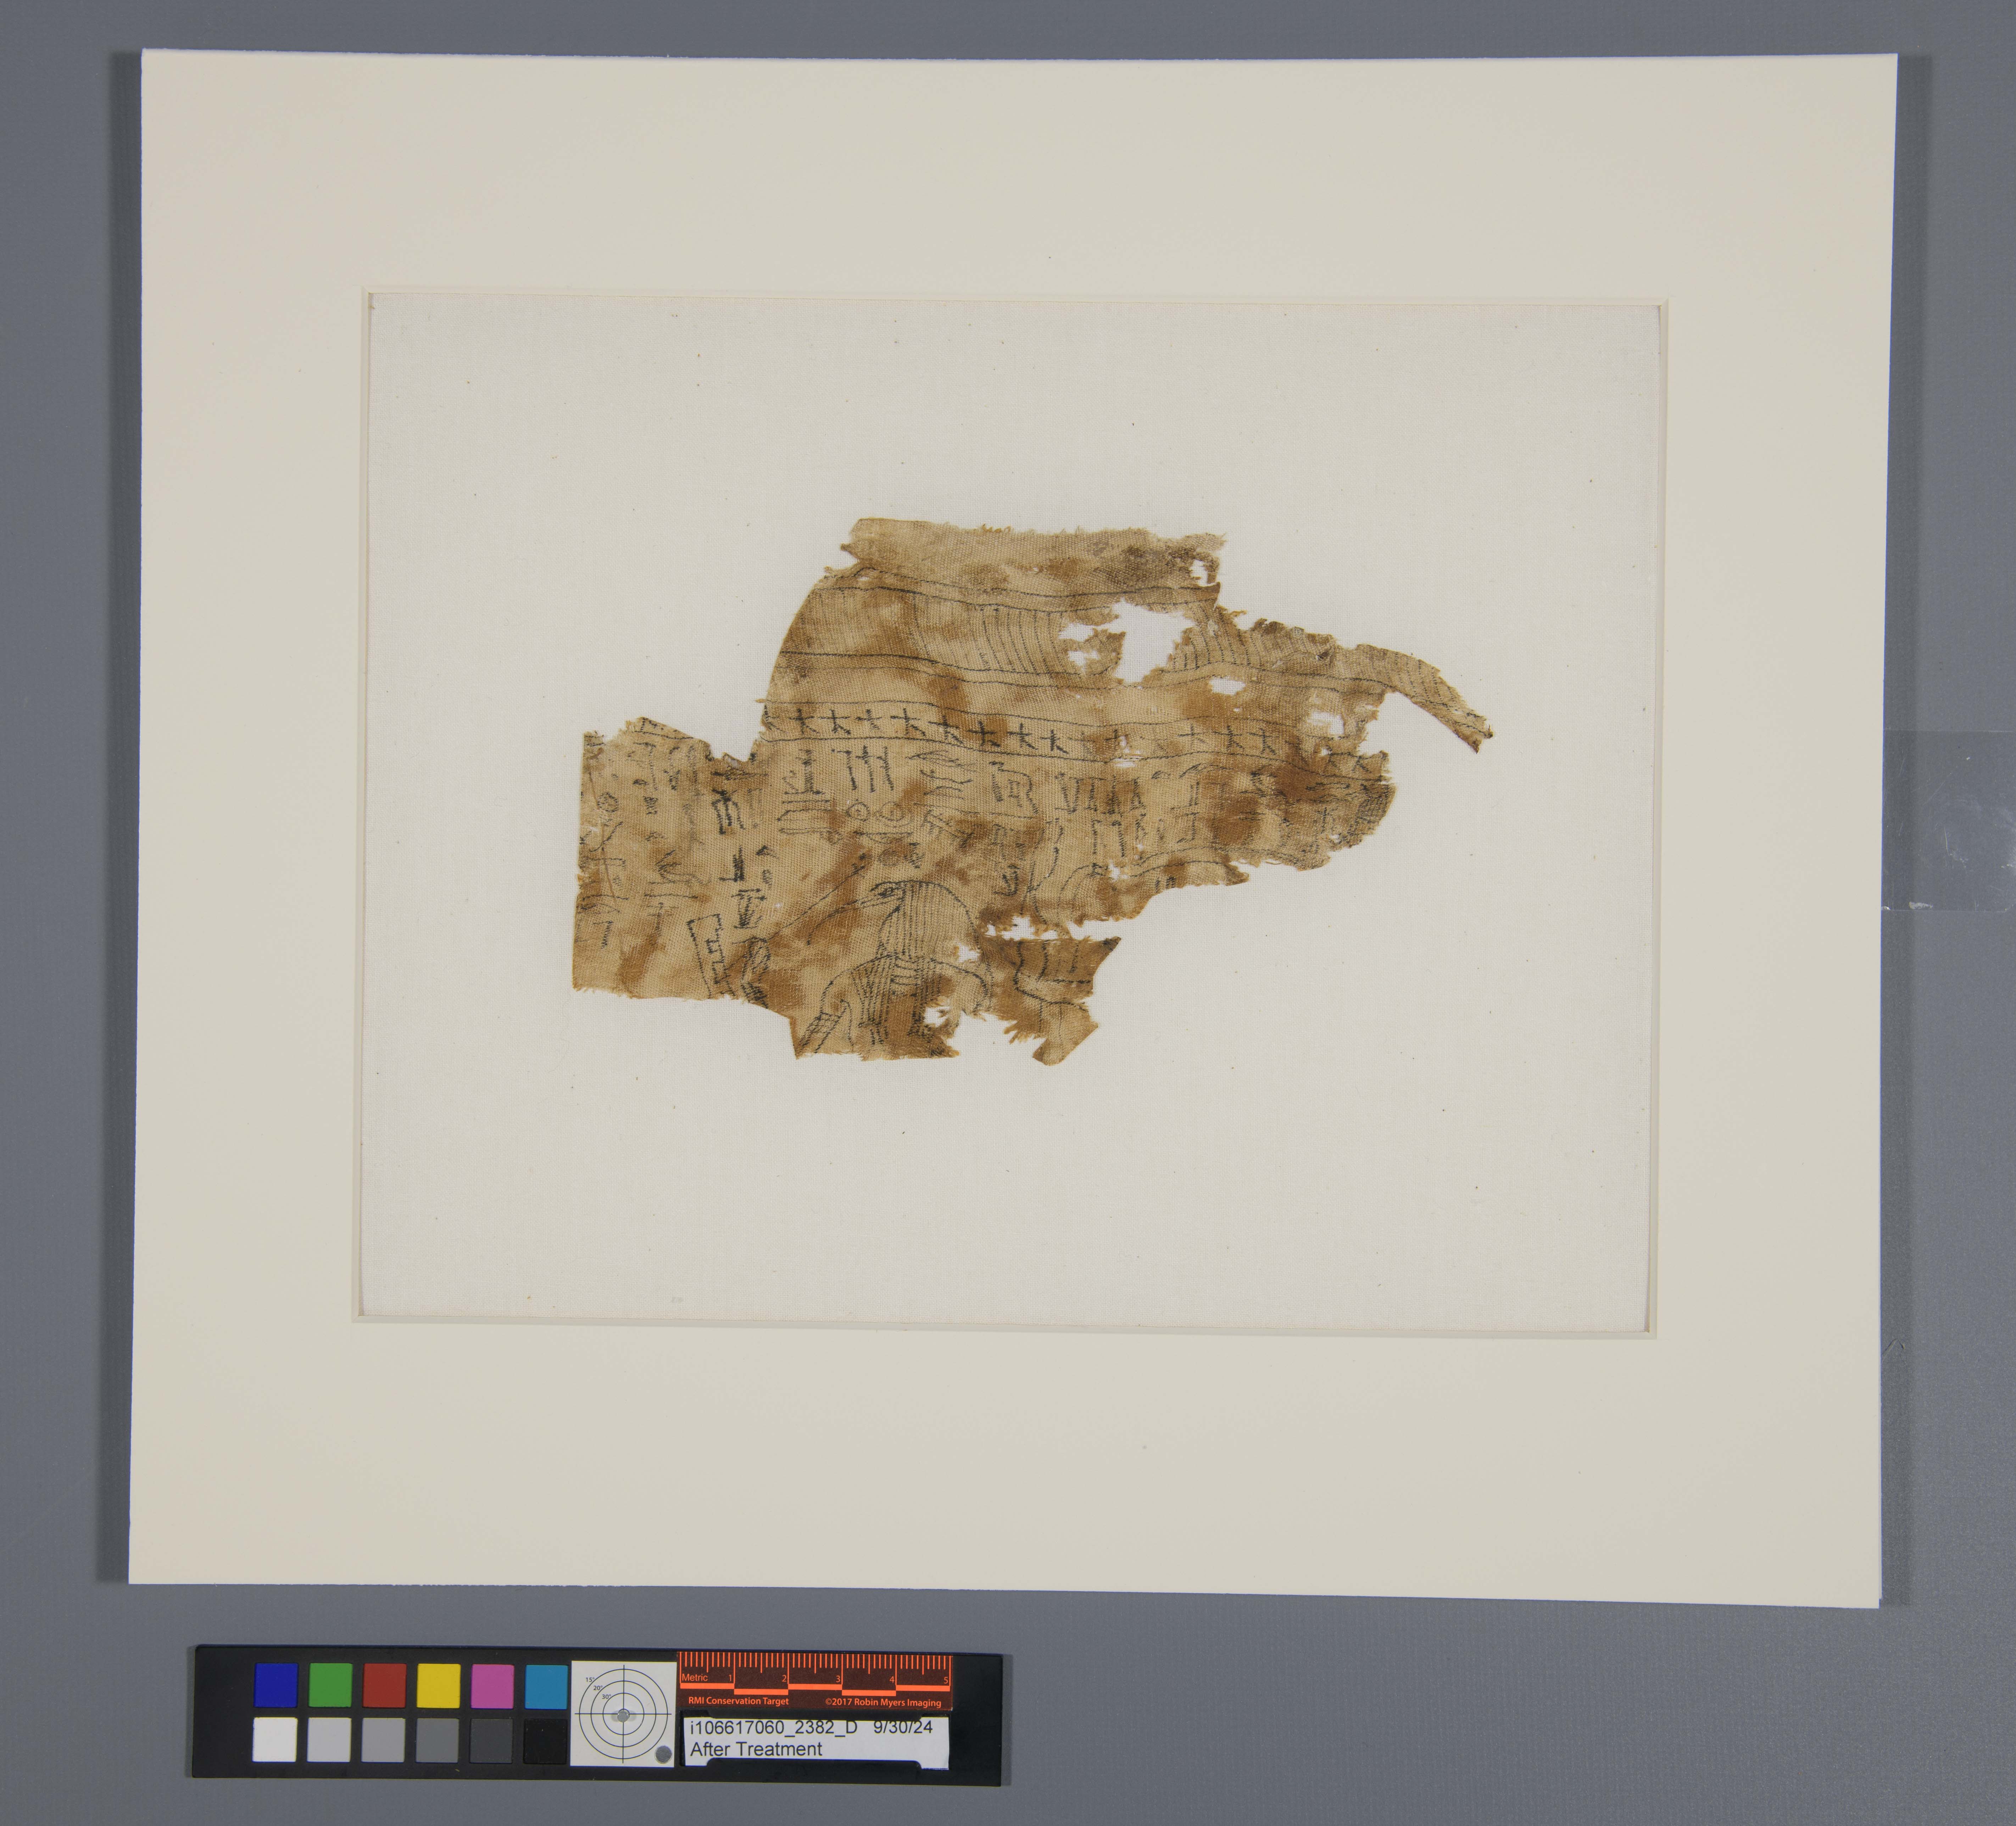
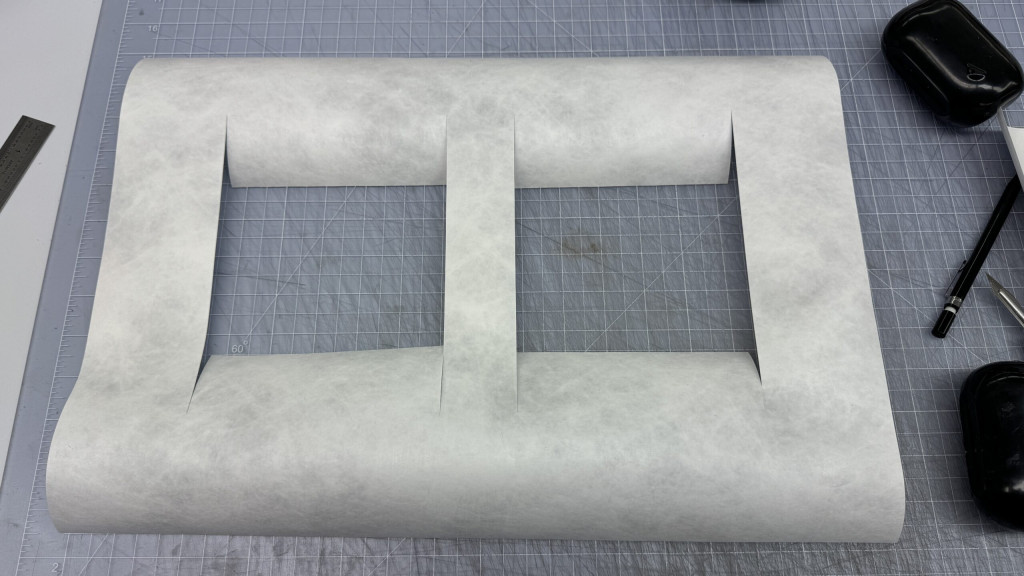
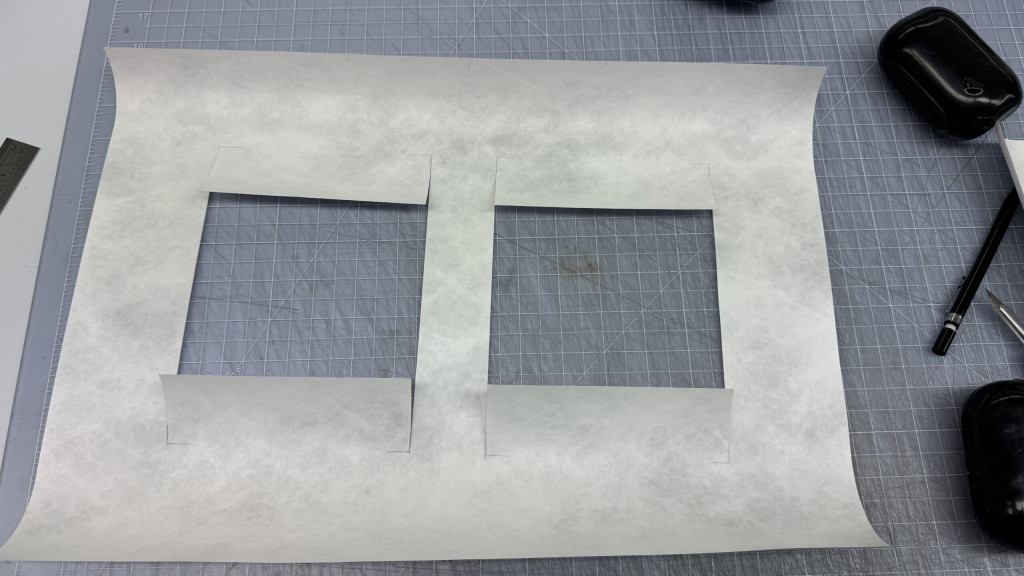
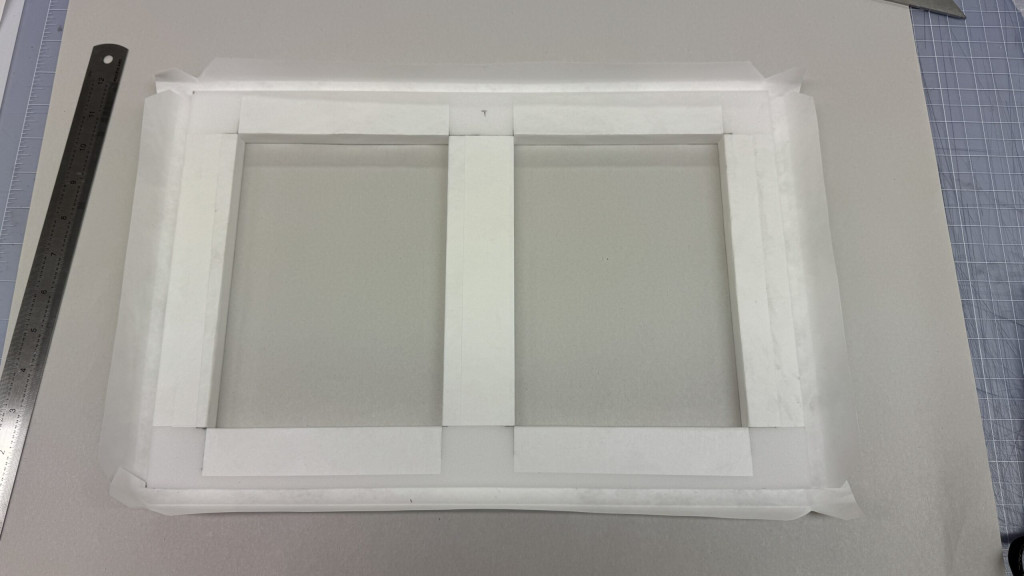
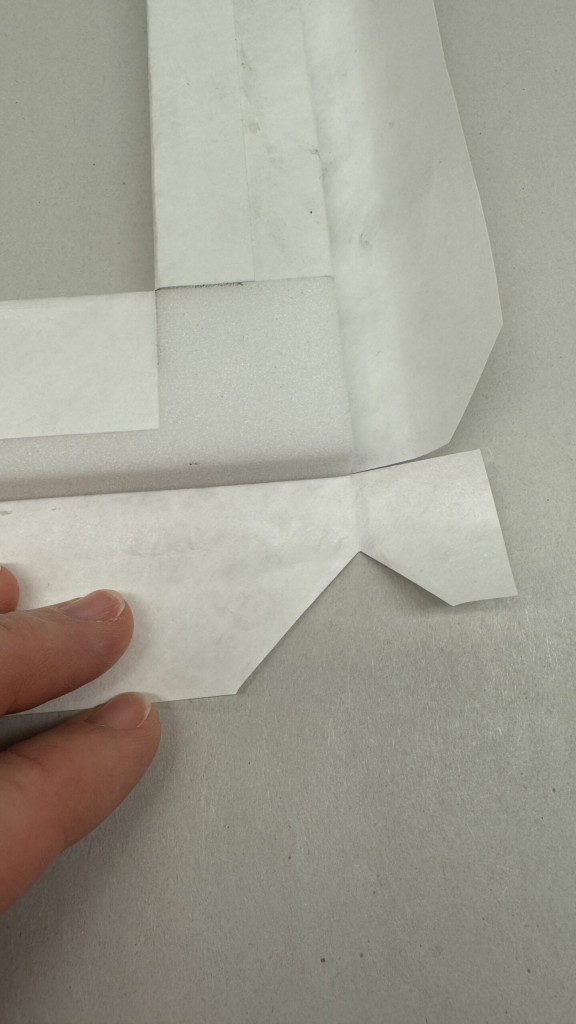
Following treatment, each document was rehoused in a custom sink mat system. Before constructing the full-sized enclosures, I made a small working model using a scrap piece of parchment to ensure that what I had in mind would actually function for these large documents in practice.
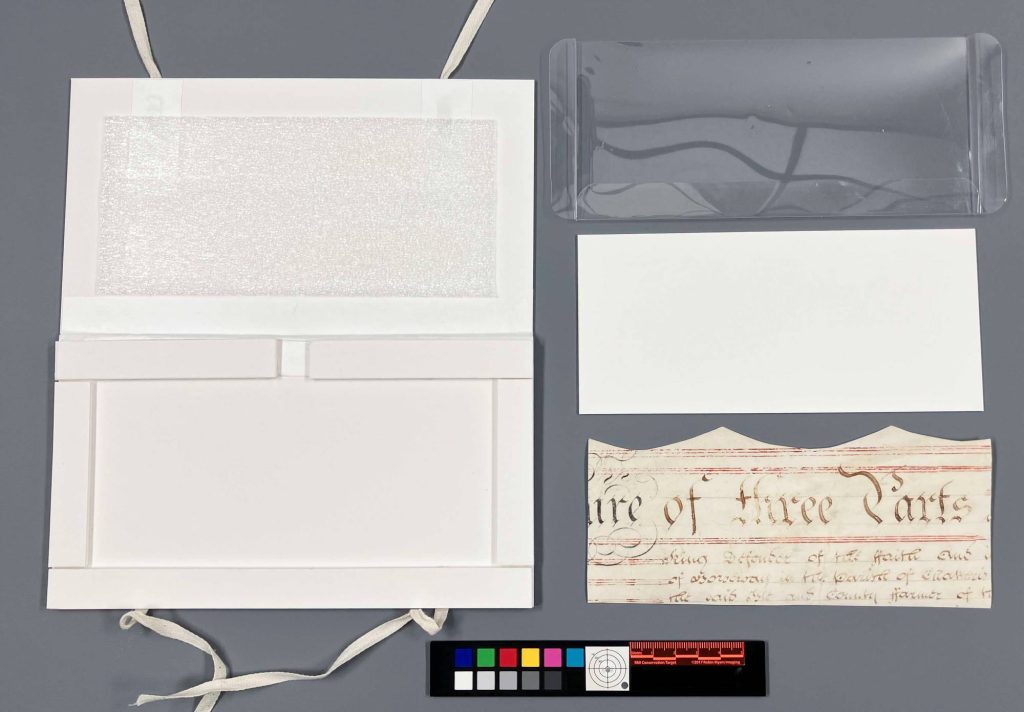
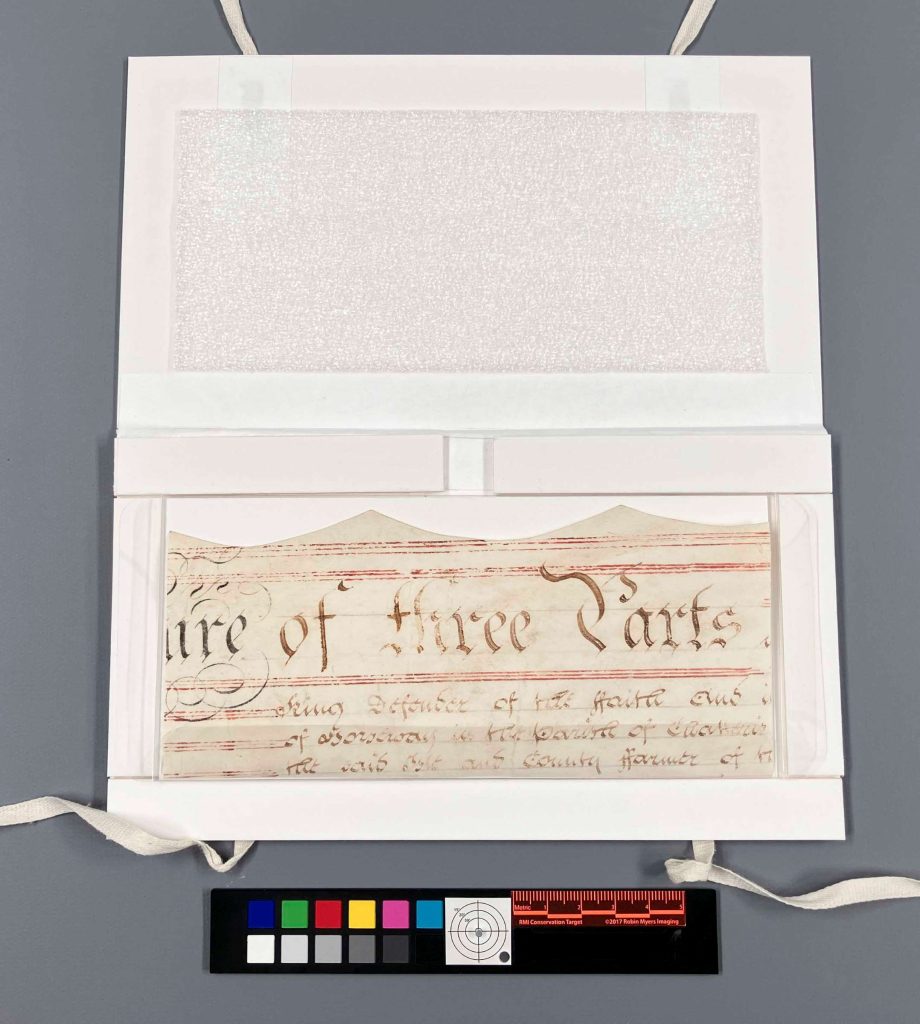
The documents rest on polyester slings secured within sink mats and are held in place with cloth ties. The interior lids are lined with Ethafoam, providing gentle compression and helping to minimize movement caused by environmental fluctuations. The multi-leaf document required additional structural support through reinforced mat board construction. The three smaller documents were housed together in a corrugated clamshell enclosure. This housing balances long-term preservation with accessibility, allowing the documents to be safely handled for teaching and research.


Final results
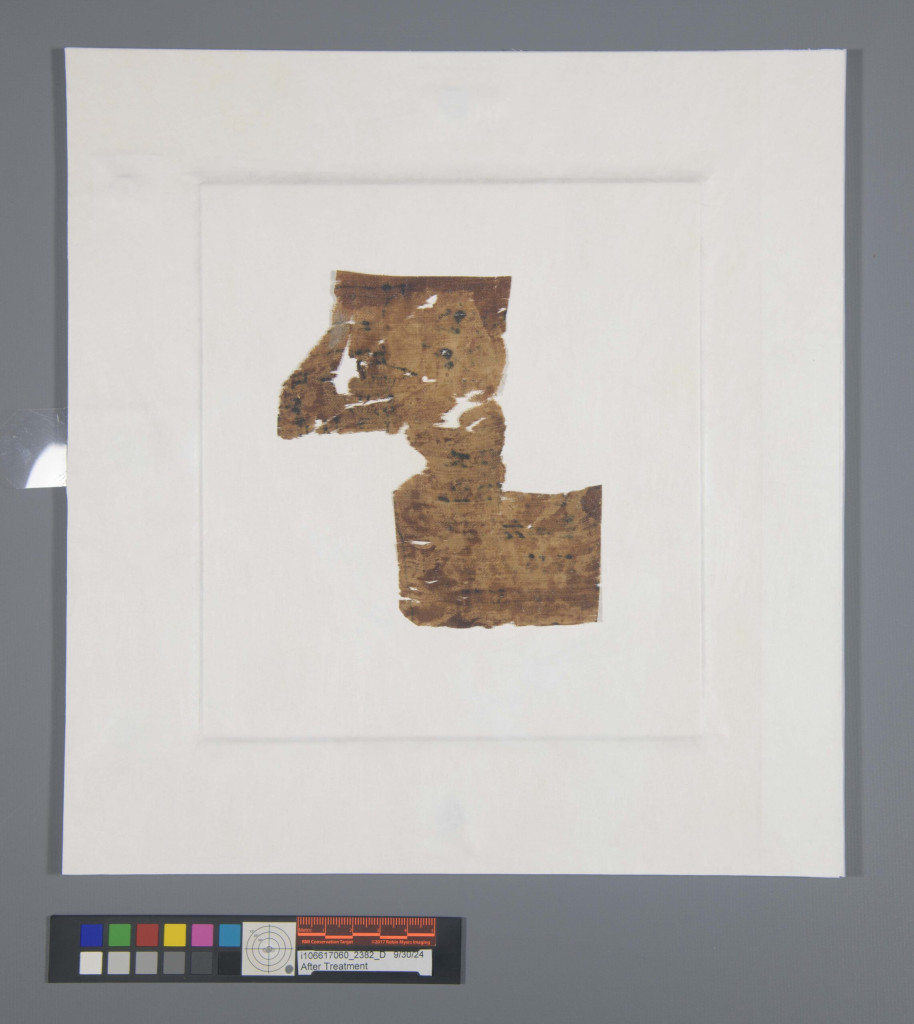
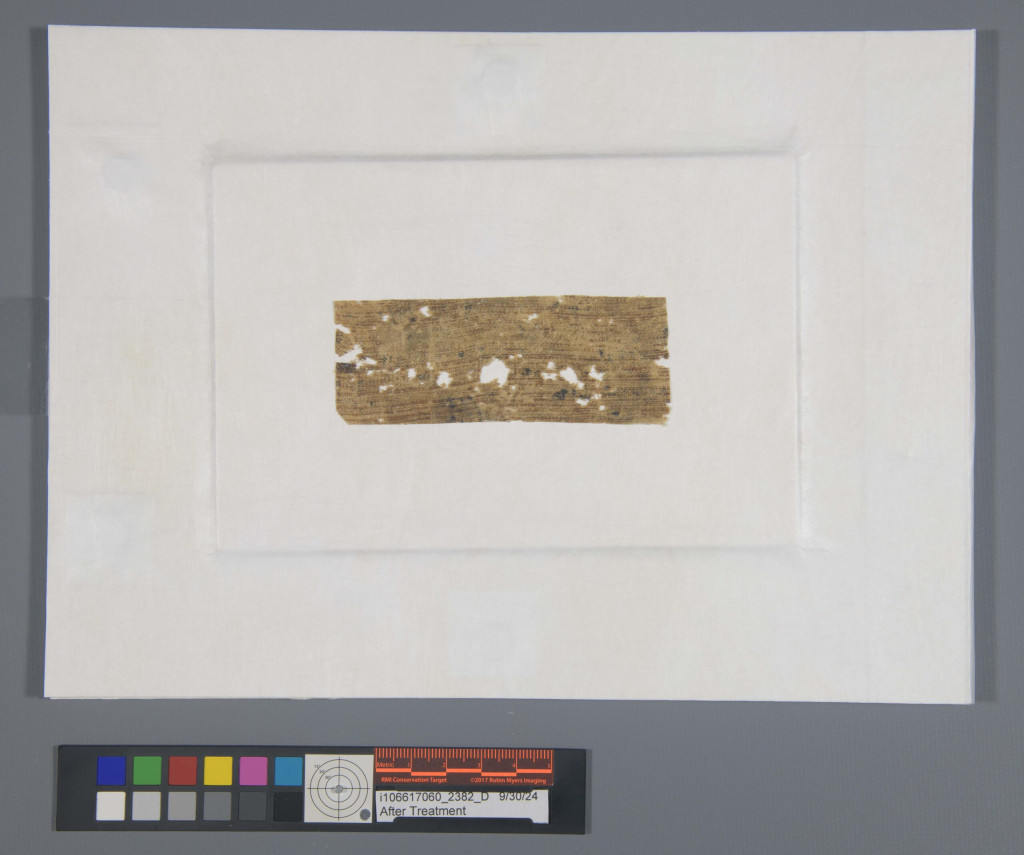
Raking light photography after treatment shows a clear reduction in creasing, along with a noticeable shift in how the documents behave physically. The parchment still carries evidence of its long folded history, as these materials tend to do, but it is no longer locked into those distortions. While not perfectly flat, the material is now stable, supported, and significantly less stressed along its former fold lines. Under raking light, what once appeared as sharp ridges and tension lines now reads as a softer, more coherent surface. It feels as though the parchment has settled back into itself after a long period of compression.

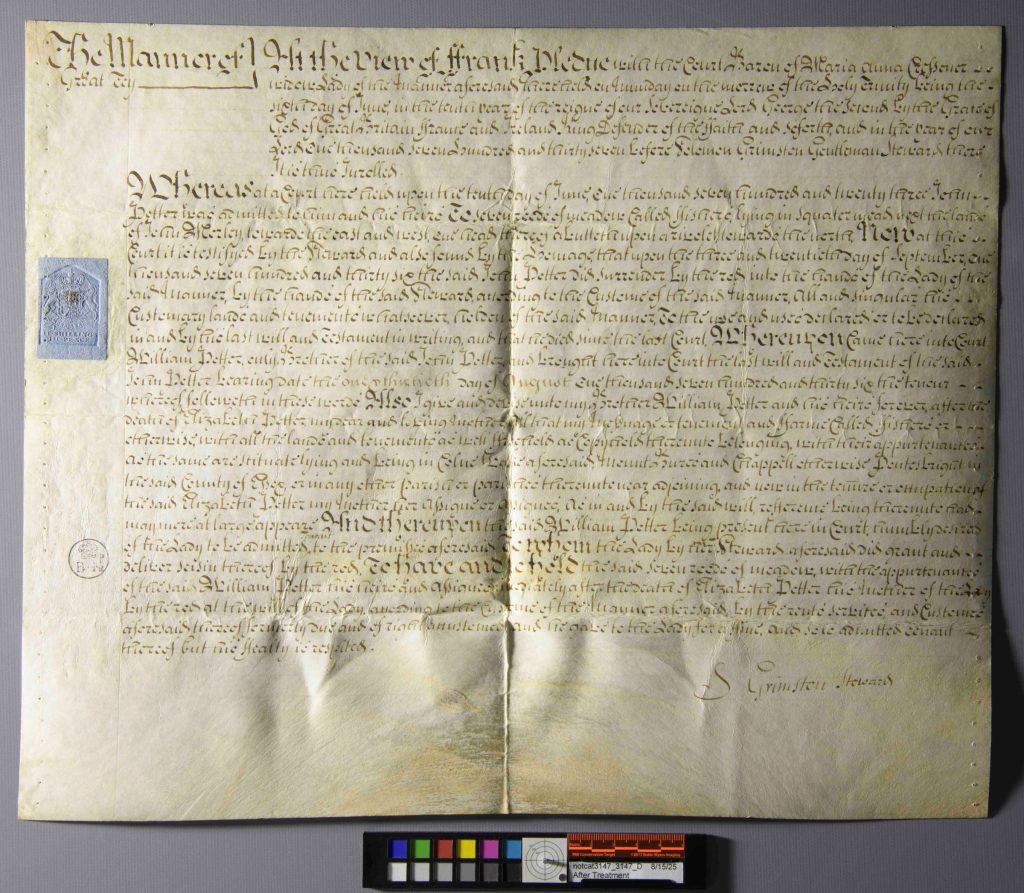


Perhaps the most satisfying change, though, is in handling. What began as awkward, resistant objects that required constant caution are now stable enough to be lifted, viewed, and studied with far more confidence. They remain delicate, but they are no longer unpredictable in the same way. There is a clear sense that they can finally move between storage, teaching, and research without the same level of hesitation at every step.


Catarina Figueirinhas – Assistant Conservator