Check out this Q&A with our very own Jessica Ebert!
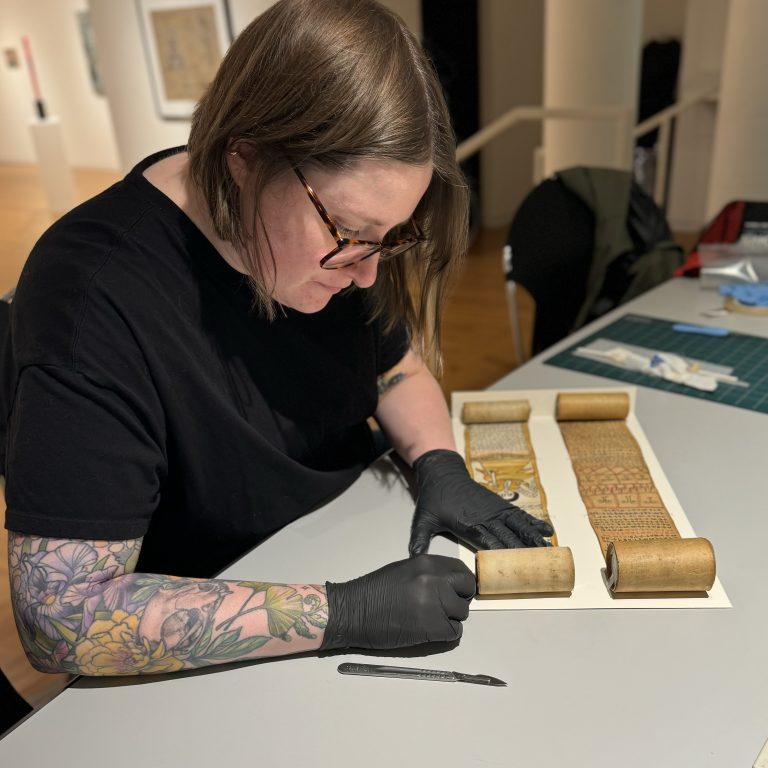
Jessica preparing two rolled items for exhibit.
Libraries are known as places of learning, but what if that education came not just from the material within the books, but from the material of the books? The Preservation Lab, with its management by the University of Cincinnati, is in a unique position to provide its renowned book and paper conservation as well as training and experience for prospective students interested in the many fields involved therein. This summer, I had the incredible opportunity to work with the lab through the university’s co-op program, where I was able to bridge the gap between learning and doing, furthering my own career in an opportunity that is unfortunately rare for the field.
The University of Cincinnati claims the invention of the co-op, which combines traditional academic learning with career-relevant workplace experience, with a strong emphasis placed on paid opportunities. For me, a student getting a degree in Art History, I was given the option to opt into the program after my first year. I’m expected to complete 2 career relevant co-ops during my next few summer semesters, which seems like a win-win situation to me; getting paid in money and course credits? Sign me up! There’s just a little problem I was only briefly aware of as someone intending to pursue a higher degree in art conservation: pre-program opportunities are rare, competitive, and frugal.
You see, conservation seems to have a bit of a pre-program problem when it comes to education; a graduate degree from an accredited university is a basic credential required for most professional conservator positions. However, many programs (such as the University of Delaware’s Winterthur program, for instance) require at least 400 hours of practical conservation experience to apply to their program. So, if you need the degree to get experience, but need the experience to get the degree, how does anyone proceed? The Preservation Lab is the perfect opportunity for such experiences, and I feel incredibly lucky to have had the honor of being their first co-op student. With a large supply of general collection items with minor conservation needs, the lab is uniquely equipped to provide hands-on experience to students like me without the liability of having some college student handle a precious piece of history.
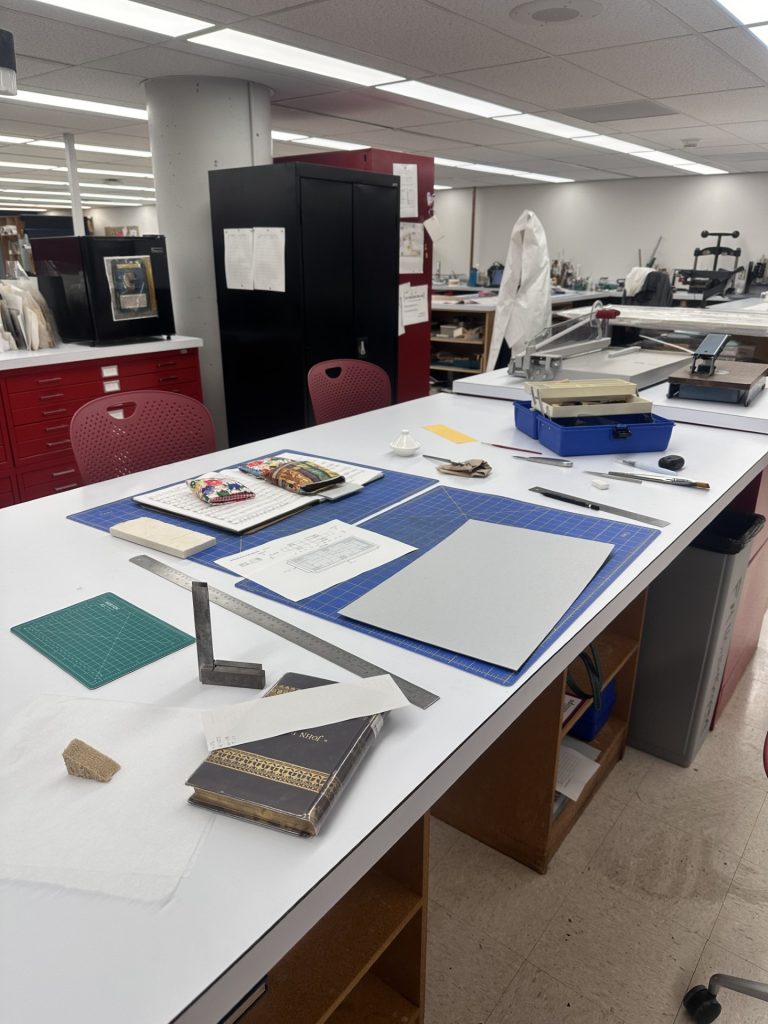
My day-to-day work with the Preservation Lab involved a lot of, well, books! If you’re new to what the lab does, we help stabilize and preserve the various media which circulates throughout the University of Cincinnati’s libraries, as well as to other cultural institutions in a smaller capacity. From 15th century choir books, to the plethora of DAAP student projects, you might be surprised with how many unique items come through the lab! We may be called a book and paper conservation lab, but the cabinet full of objects being currently worked on argues the true scope of the lab.
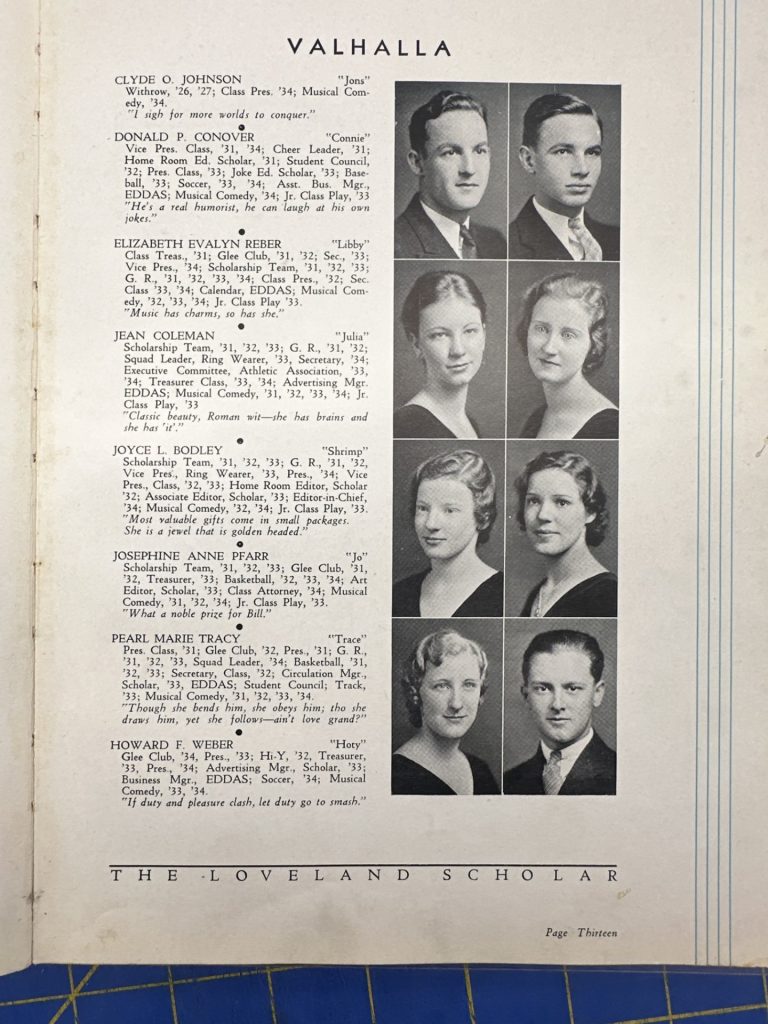
Of course, as a student, I’m relegated to the projects which are much less delicate. Which is definitely a good thing, since even handling those special collection items is harrowing to me (you really don’t want sweaty palms when holding something older than your country). Instead, I work primarily with the general collection – more modern books which are pulled from shelves for minor TLC. The bulk of my work has been making custom enclosures for these books – pamphlets, jackets, and boxes which protect the materials in various ways – a very satisfying work, as I get to make a snug little home for these worn editions which are so obviously loved. In fact, in my roughly 250 hours of work over the summer, I’ve created over 280 custom enclosures! Gives you a little glimpse into the volume of items which come through the lab. You may think that being in the general collection means these items are much less interesting than the special collection, but if you’re a sentimental little person like I am, you may just find yourself crying over a local high school yearbook from the 30’s (specific for no reason, of course). The UC libraries are chock-full of interesting history, and with the majority of it being local, I find myself developing even more love for my home city of Cincinnati. My interest in conservation was sparked by a love for the smaller stories, the personality which hides in everything created by humans. These books are the epitome of that.
My summer has, truly, been absolutely packed with learning. Whether it was making the various enclosures the lab uses to protect books, or reading the history of books/paper making, there wasn’t a single day where I hadn’t anything new to go over. Being in an open lab environment was also a great boon. I often spent my time gawking at some of the special collection items being worked on and loved being able to pick Jessica or Nicole’s brain in their decision-making process. Cat would bring me over to look at bugs caught in the lab’s pest management traps under a microscope (creepy!) and Matt demoed matting systems with me, each contributing to this atmosphere of learning and camaraderie that I could only hope for. I never felt like my status as a student put me underneath any of the staff, and this allowed me to understand myself as a conservator already. No longer was I hoping to get into art conservation, I was here!
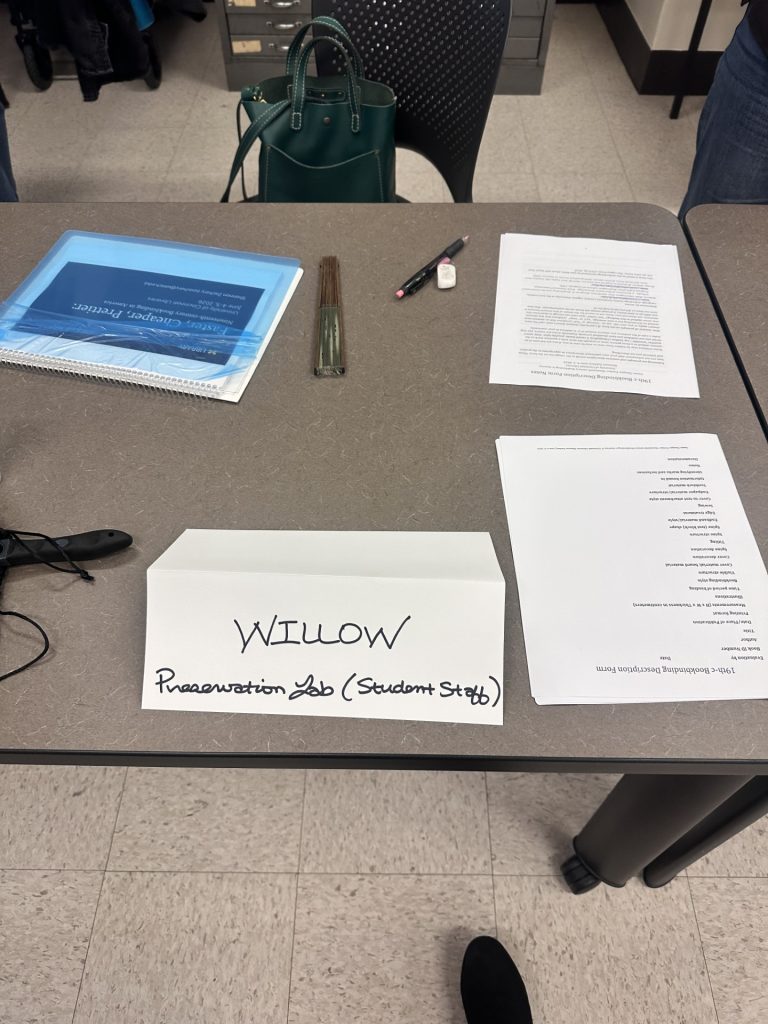
One of the highlights of my summer was participating in a workshop on identifying 19th-century books taught by Shannon Zachary. Only a few weeks into the co-op, the opportunity to learn with the rest of the lab left me with a strong sense of belonging among them, one that contributed heavily to the actualization I mentioned earlier. This was the moment where I really realized just how effective co-op learning was. It’s not just about getting the opportunity to gain relevant skills, but to participate in a field I thought would take several years to get to.
And so, all things must come to a close. With the end of summer meaning the end of my co-op, I feel the transition back to my academics easier than it’s ever been; I’m so much more motivated and energized! I’m so relieved that I don’t even have to say goodbye to the lab, as I’ll be continuing my work with them throughout the rest of my time at UC. Who knows, maybe I’ll even be back for my next summer co-op?
Writing this all on my last day has me quite sentimental to tell you the truth. I’m so appreciative for this opportunity, and I feel I’ve truly fallen in love with the Preservation Lab. I can’t believe the solution to my Pre-program Problem came in such a meaningful opportunity.
Until next time – Willow Haitch (Co-op Conservation Student)
Sources:
Check out Willow’s day-in-the-life reel on the Lab’s Instagram:
The week of July 18th, the Preservation Lab hosted textile conservator Howard Sutcliffe for a workshop. Howard owns and runs his own textile conservation private practice, River Region Costume and Textile Conservation, based out of Arley, Alabama, and Nashville, Tennessee. We spent four days with Howard learning the basics of textile conservation, with a heavy focus on mount making and sewing skills. This introduction of new methods was eye-opening for us, and many of us are already thinking about ways we can implement the new skills we learned with Howard.
To kick the workshop off, we spent the first half of the day learning about Howard and his practice and seeing the amazing work he’s done on costume pieces, tapestries, and even hats! After the morning lecture, we then went over different types of materials that Howard commonly uses for textile conservation, from silk organza, which we plucked threads from and used to sew delicate stitches, to nylon net and cotton broadcloth that is used for mending and stabilizing. We then learned some basic stitches that are used for mending tears in fabrics, and practiced on our own ‘objects,’ which were pieces of scrap fabric Howard created tears in.
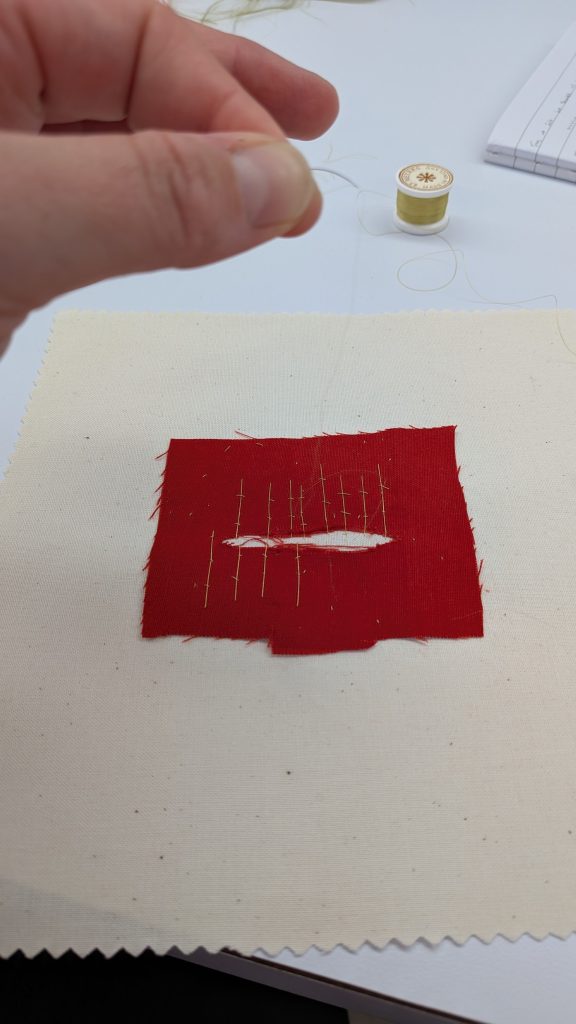
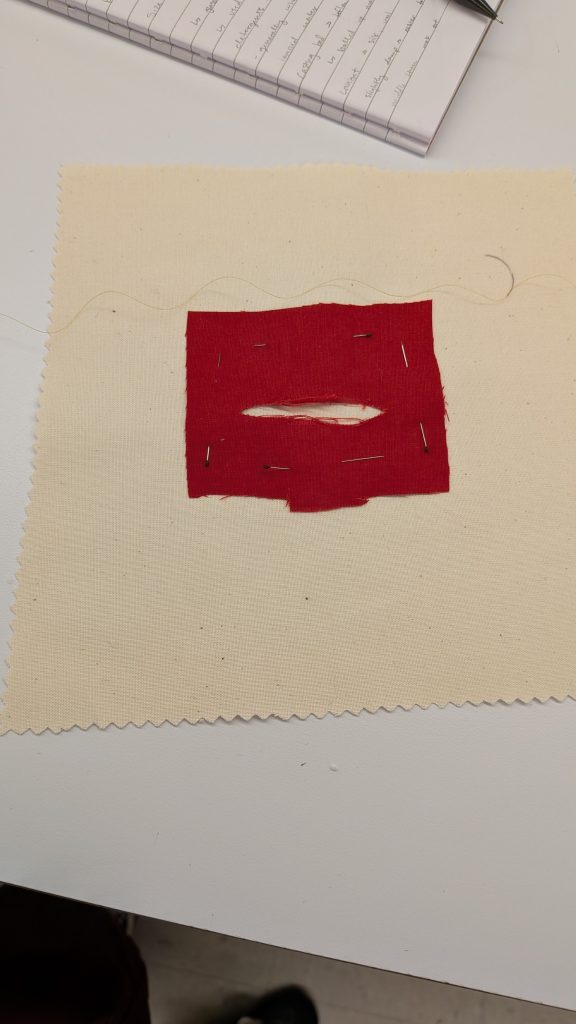
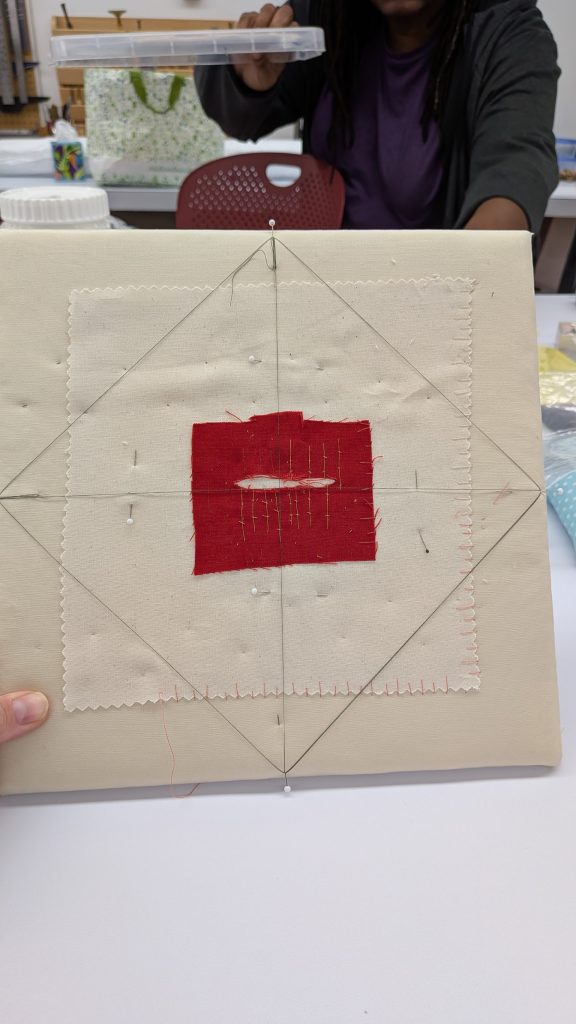
As you can see from the finished product picture, four pins at North, South, East and West on our padded boards were threaded and connected to help us center the object onto the padded board. Typically, after your object is mounted you remove this thread. The padded boards were created by layering corrugated board, batting, and a neutral-colored fabric that we sewed our object onto. Miniscule zig zag stitches were used on the inner part of the object to hold it in place, then the border was sewn with long and short stitches to help reinforce it. While you can see most of the threads in my sample, when working on an object being conserved the thread would be color matched to the item, making the tiny stitches practically invisible.
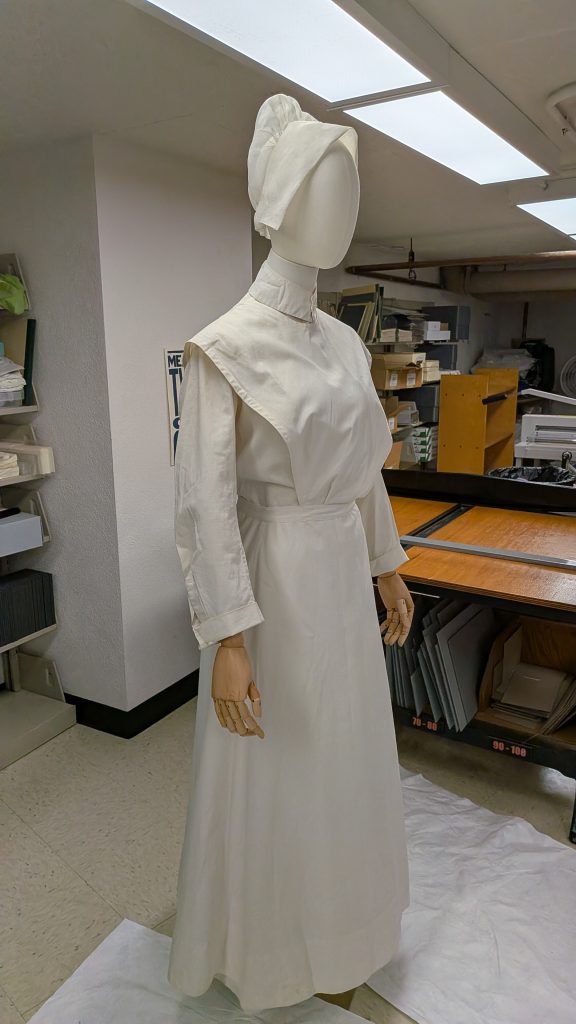
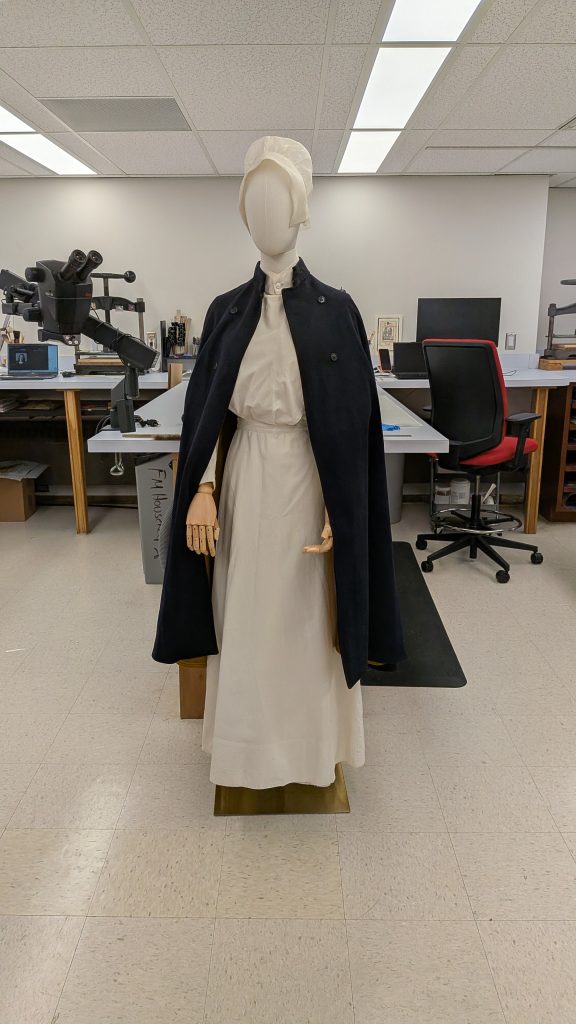
The next three days were primarily dedicated to creating a mount out of a mannequin and batting for a nurse’s uniform we had from Winkler Center for the workshop. We first put the uniform on the mannequin to see where it needed more support, then the dress was removed and a base layer to sew onto was created using a pair of cotton tights.
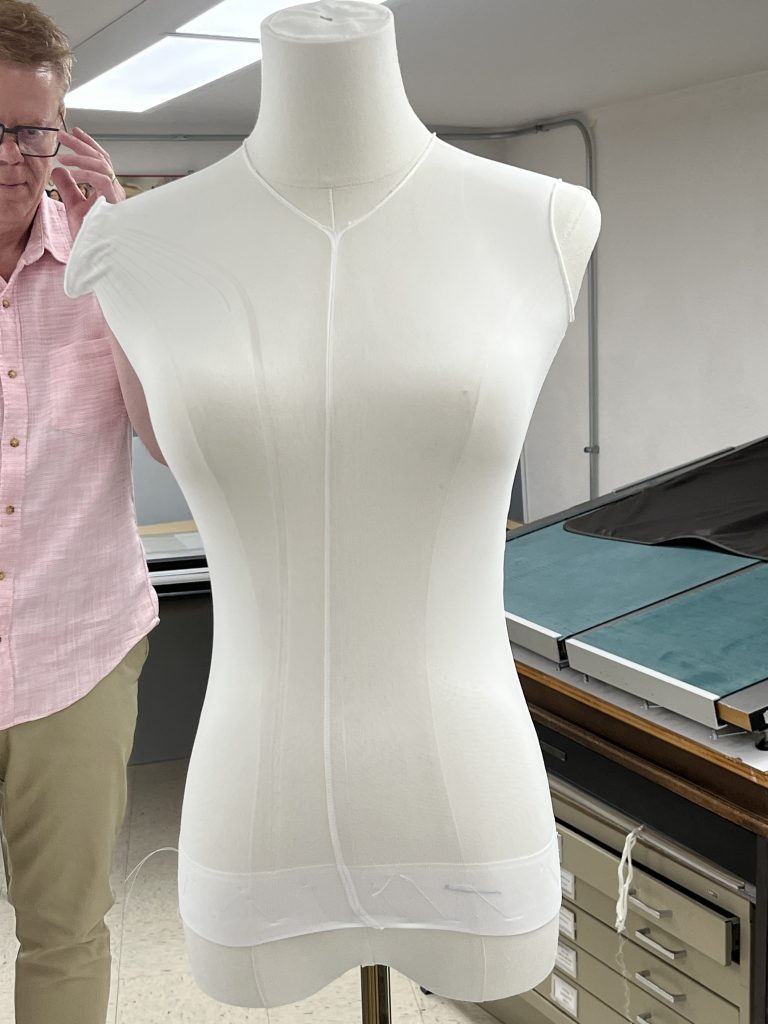
From there, we built up the bust of the mannequin using batting and zig zag stitches. The dress fit the waist well, so we didn’t add anything to the waistline of the mannequin. We layered batting through the bust and the sides to fill out the shape, so it better supported the garment.
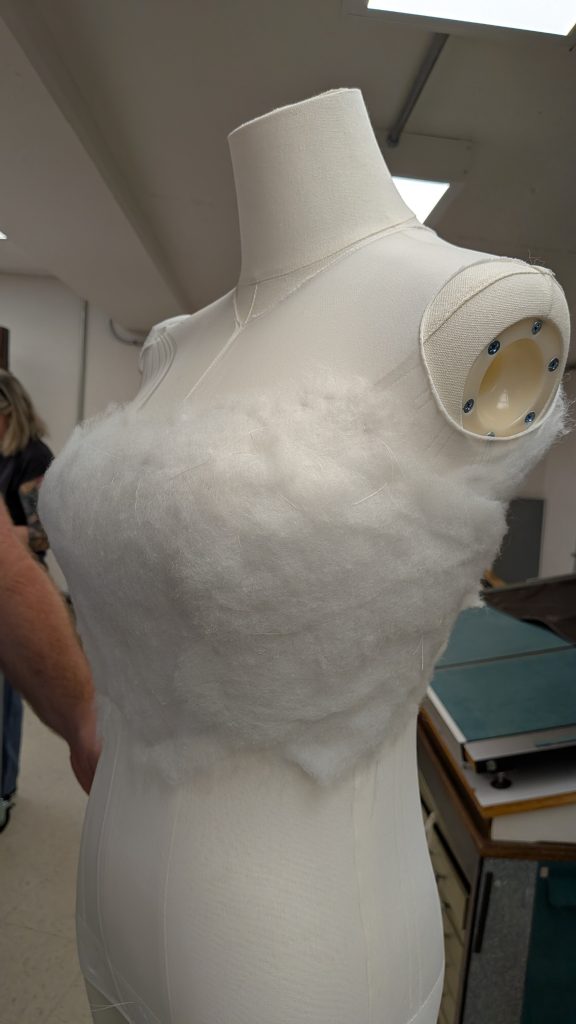
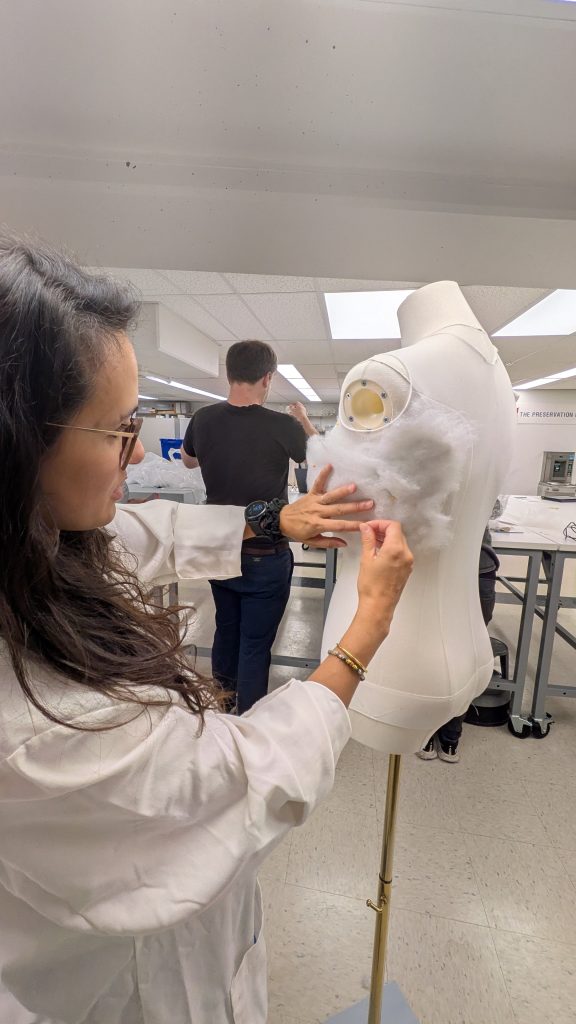
Once the bodice was sufficiently filled out with batting, we cut the tights at the top, folded them down and over the batting, and covered the bodice in cotton jersey to hold it all together. The sides of the jersey were stitched up using a channel stitch.
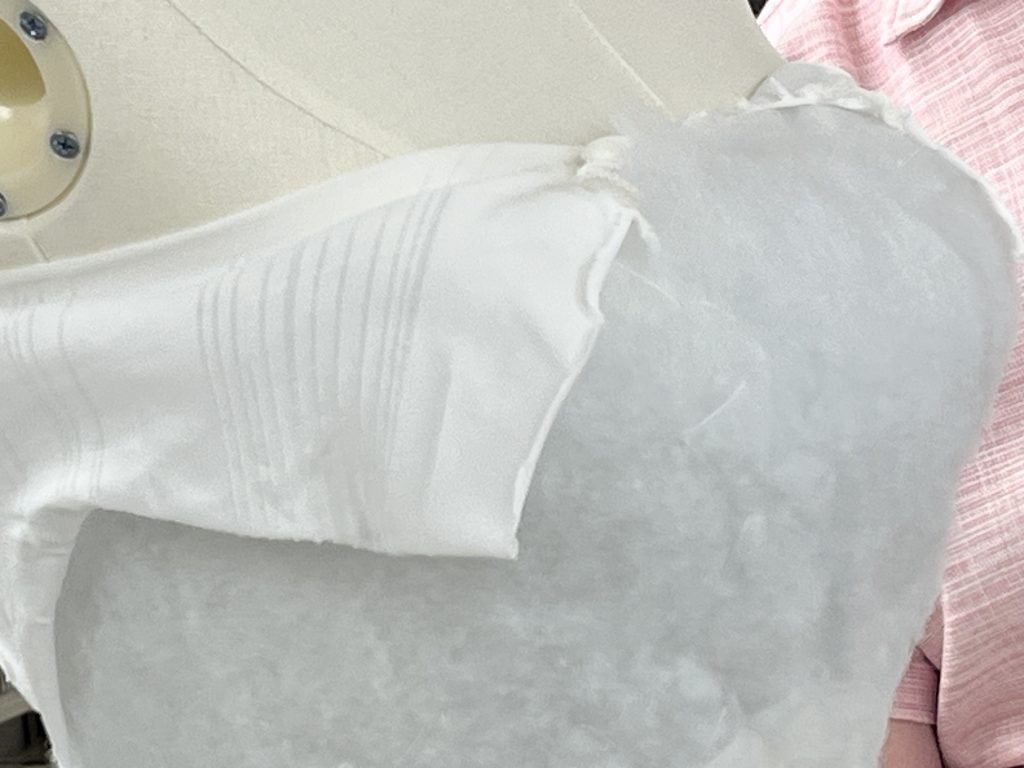
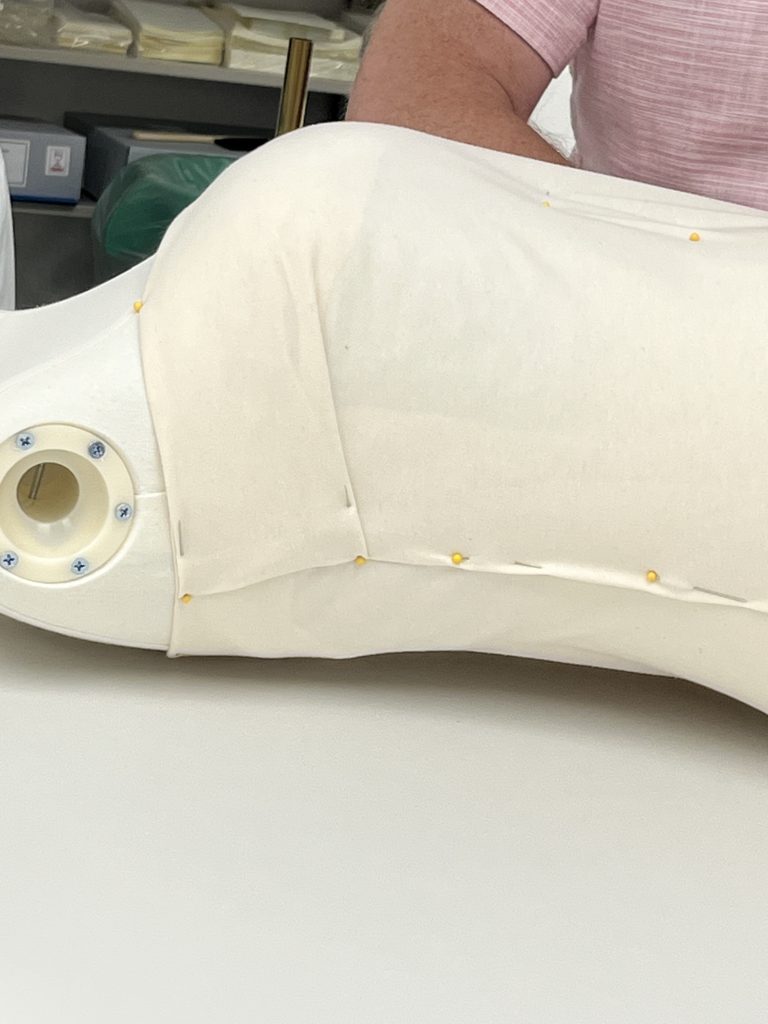
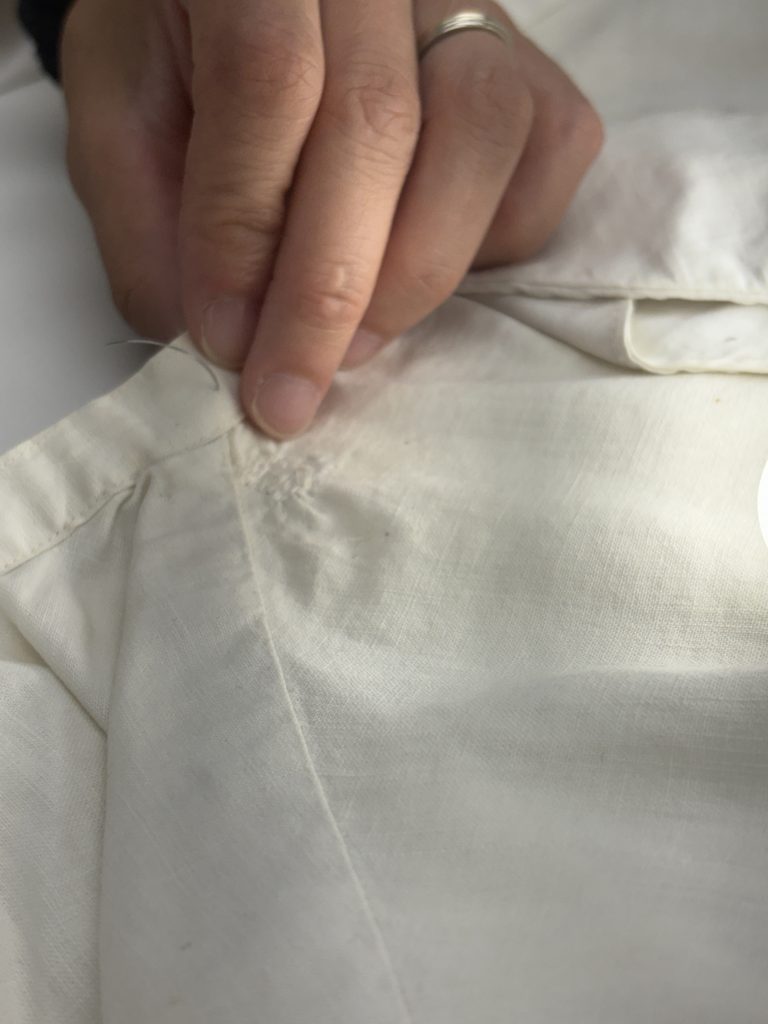
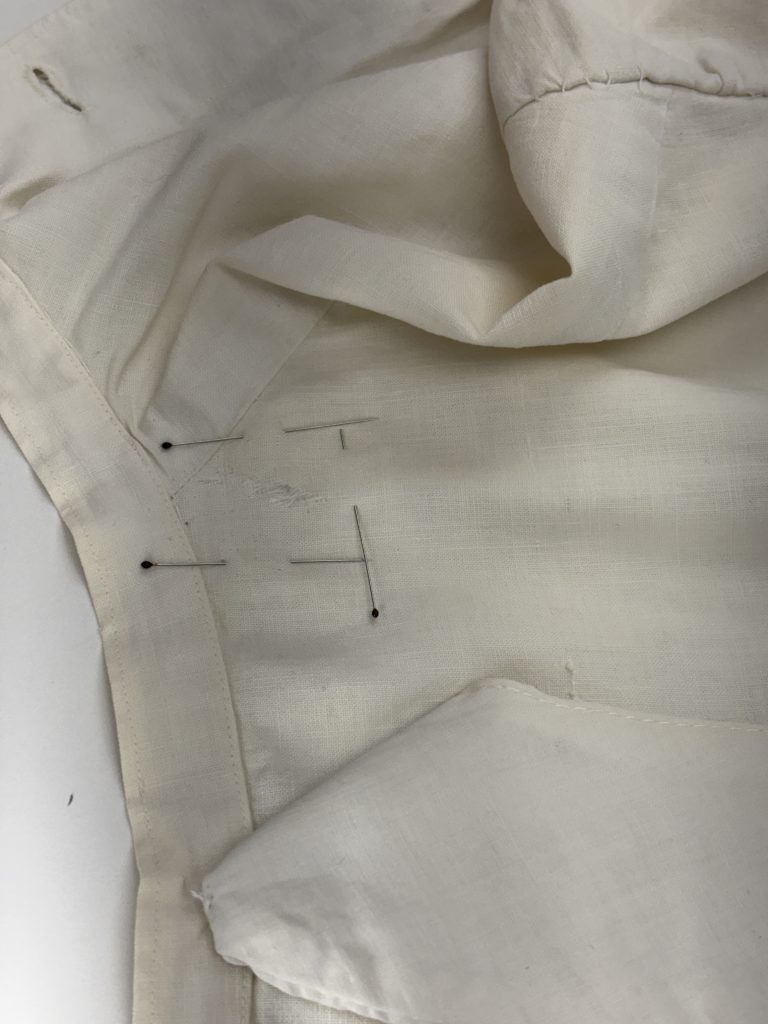
While the conservation technicians and specialists were working on the bodice of the mannequin, the conservators were working to patch some minor holes and slight damages to the nurse’s uniform using the stitching technique we learned on the first day. The dress had three significant holes, two at the top around the collar, and one in the skirt of the dress.
The final step for the mannequin was to create an underskirt to help support the skirt of the dress. This was created from felts sewn between two pieces of Tyvek, which was then sewn beneath the waist of the mannequin. We used zig zag stitches to hold it in place, then more zig zag stitches at the top of the felt to push it down and make the transition a little smoother between the bodice and the skirt.
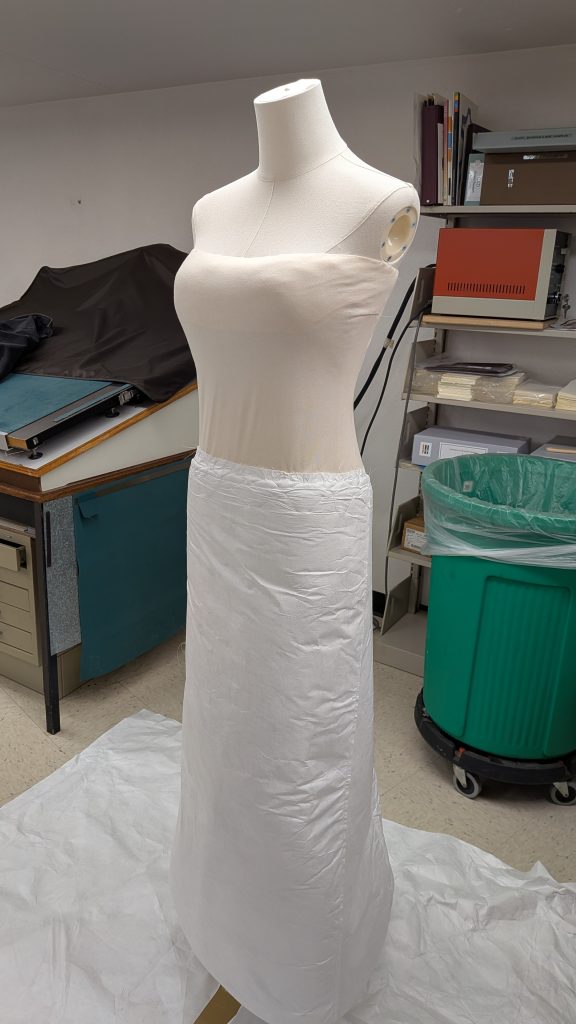
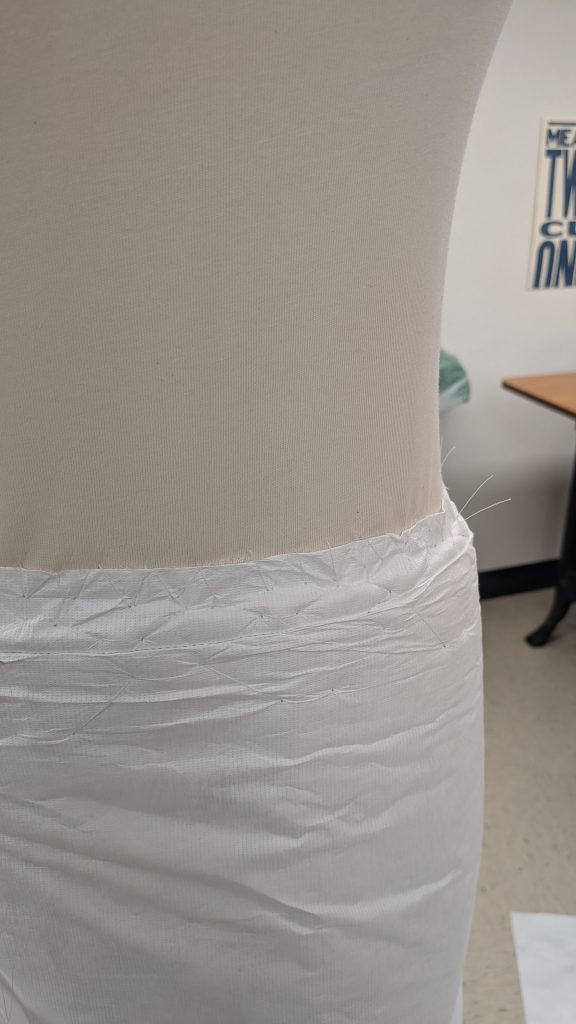
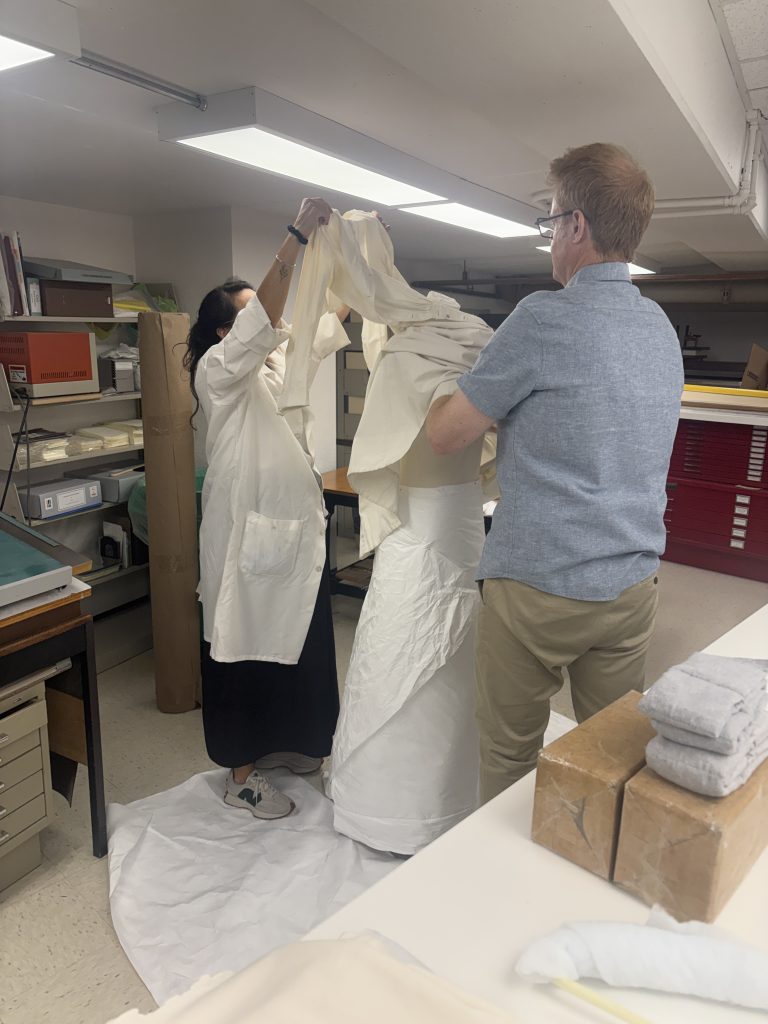
After the skirt was attached, we worked on sewing the legs of the tight around the wooden arms of the mannequin and securing them in place with double-sided tape. Once the arms were complete, it was time to put the dress on! It took two people to get the garment onto the mannequin – one to support the shoulders, the other to lift the skirt over the top.
Another type of mount Howard taught us about was hat mounts. We have multiple hats in the lab, and were unsure of how to support them, so Howard showed us how we can sculpt ethafoam and cover the top with batting and wrap the whole thing in soft Tyvek to create a soft mount for hats to sit on.
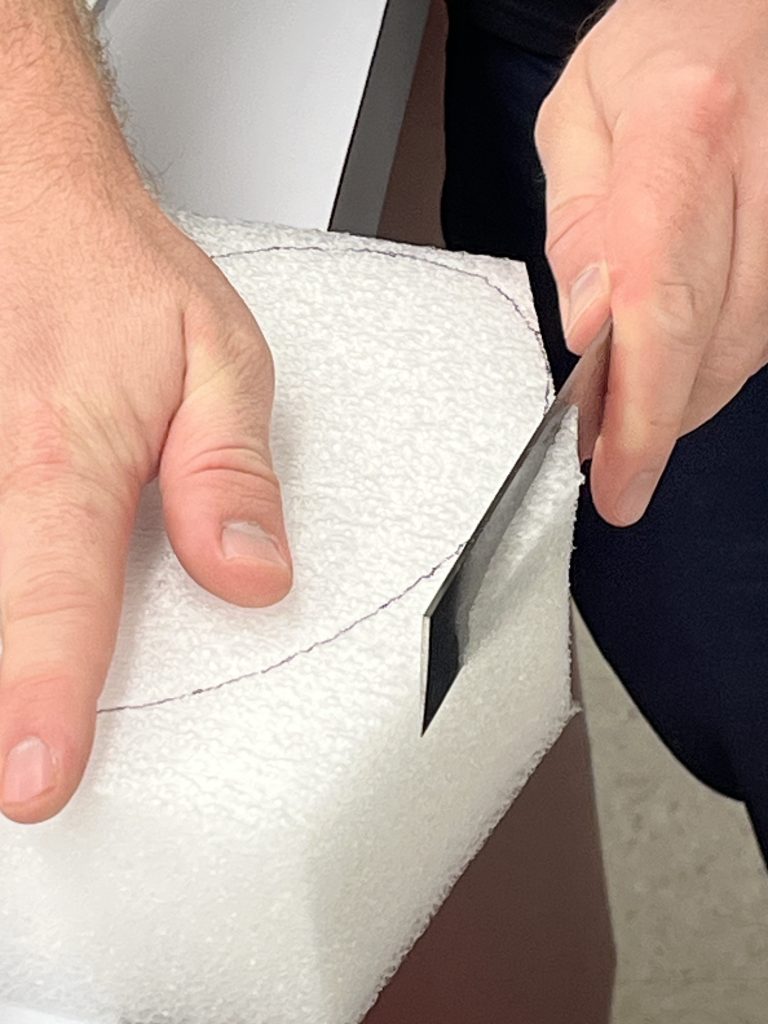
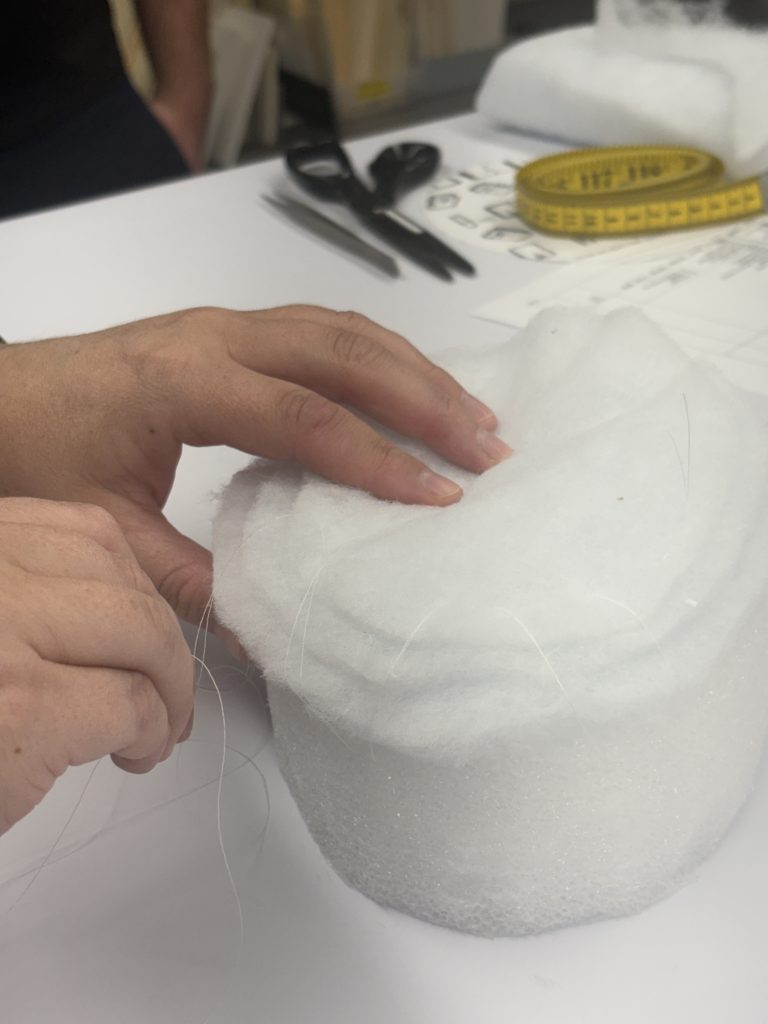
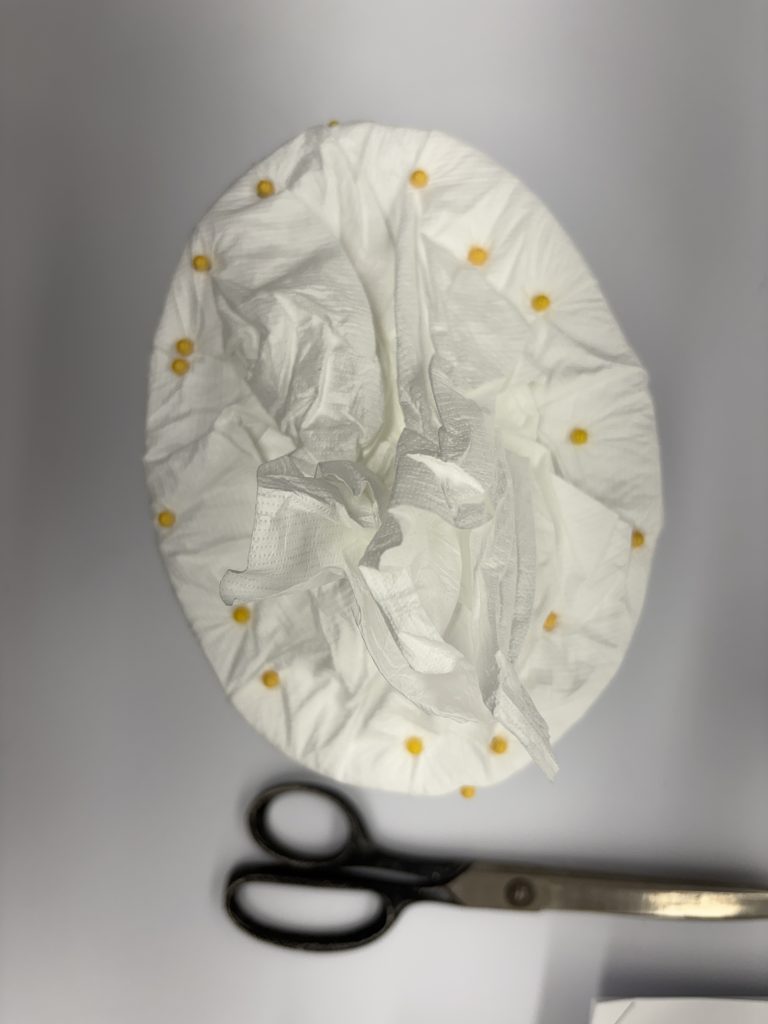
Once the batting and Tyvek were secured onto the ethafoam, a base of mat board was covered in broadcloth, which was stitched on using a running stitch. A blind channel stitch is then used to attach the base to the Tyvek, securing the whole mount together.
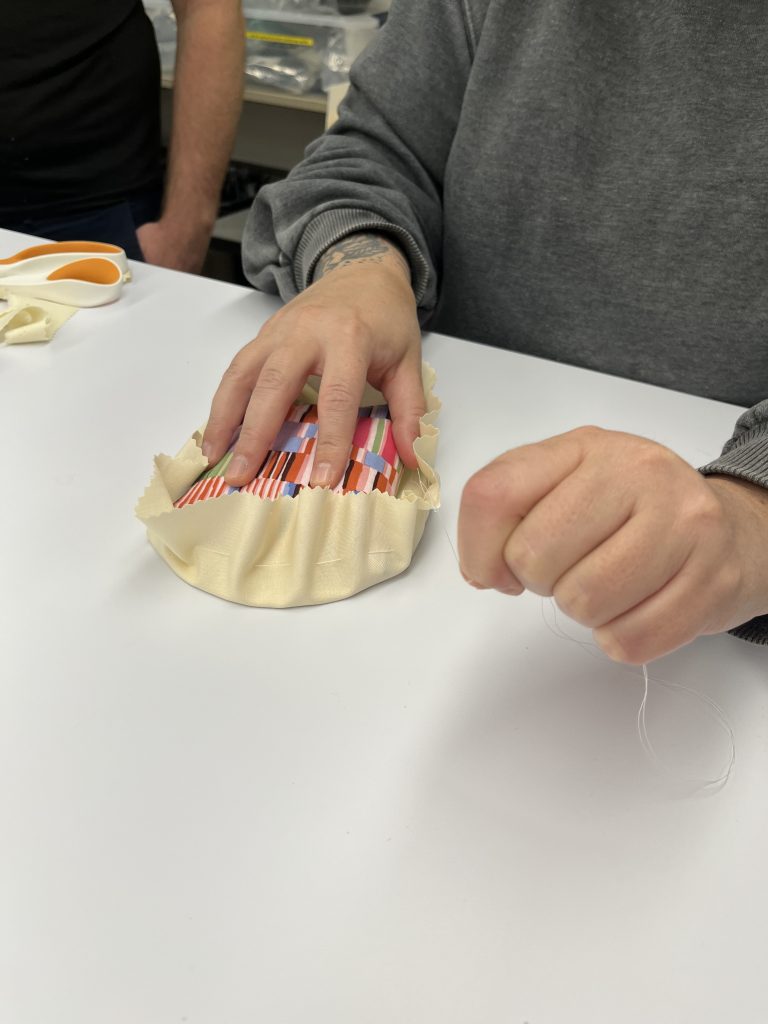
Howard also taught us about adhesives and how to create heat set netting and silk, which can be applied without stitching and using only heat. He also worked with the conservators on dyeing netting and fabrics, and on how to wash textiles to remove stains.
Our time with Howard was extremely rewarding, and we learned plenty about textile conservation, which for me personally was a branch of the field I knew very little about. Bringing in experts from other parts of conservation helps us to expand our practice, and each of us walked away with a new technique to try that we previously hadn’t thought about using for paper conservation.
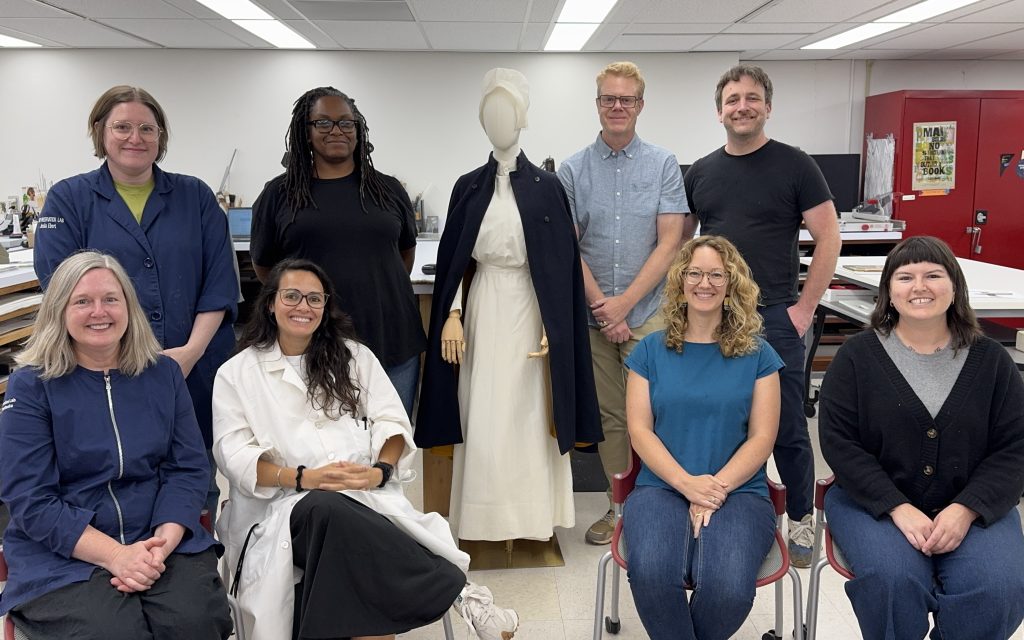
Nicole Browning – Library Conservation Specialist
Images by Nicole Browning, Jessica Ebert, Hyacinth Tucker, and Holly Prochaska
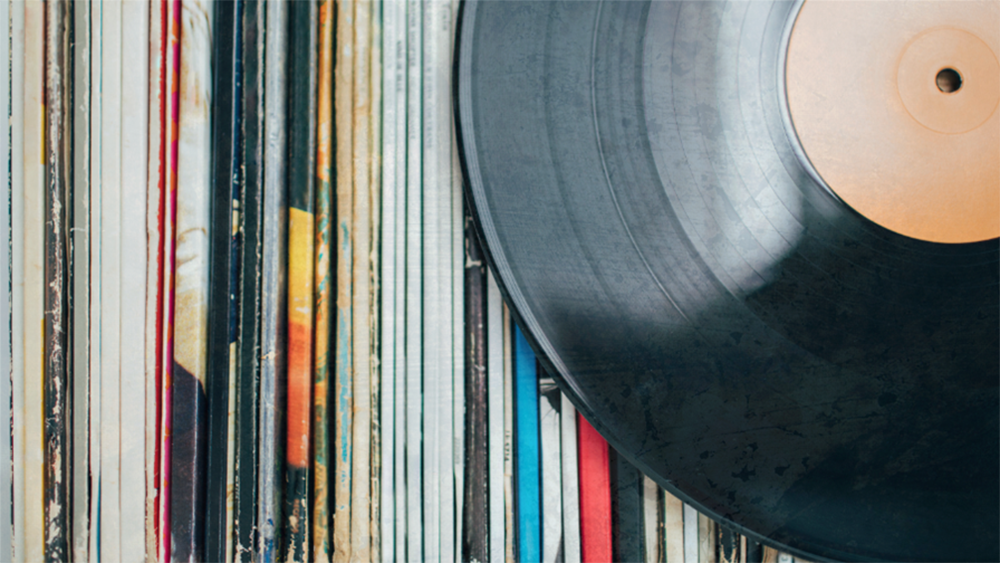
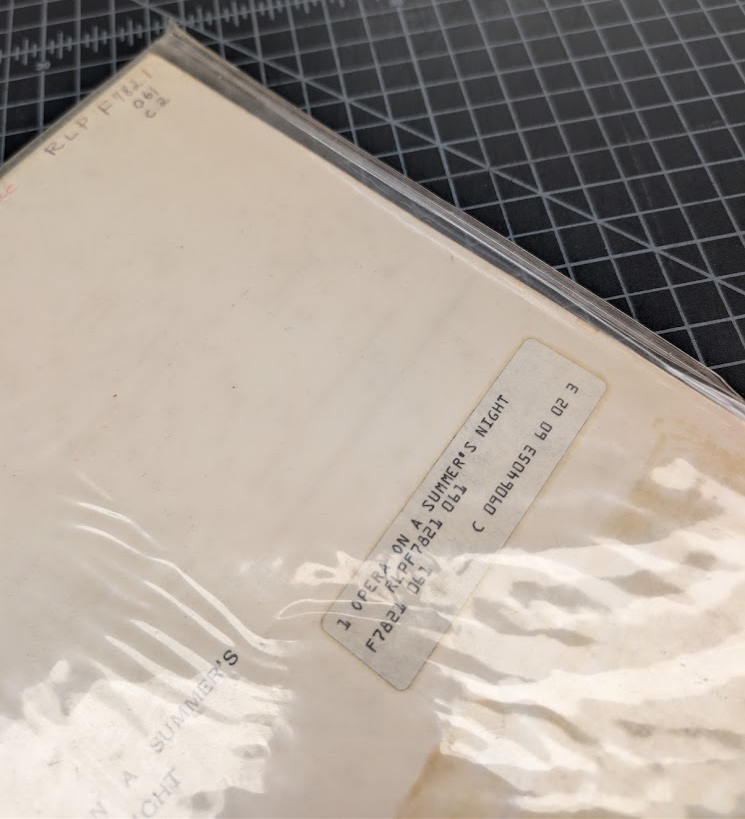
Although The Preservation Lab is primarily a book and paper lab, we often receive items that fall outside this realm and are required to do a little research and get creative. I was recently assigned a small collection of various grooved disc media that required archival storage solutions. “Grooved disc media” is an umbrella term that encompasses any type of sound recording that features small grooves cut into its surface that a stylus then passes over to produce an audio signal. Think vinyl records, shellac discs, 45s and more. Another term I like that covers multiple varieties of grooved discs is the term “records”, which I will use interchangeably with “grooved discs” for the remainder of this post.
Until this point, we had not received any grooved disc media requiring new housing at the Lab. In situations like this, I like to do a bit of research and figure out what is required of the housing to determine what is required for safe storage. We found several trustworthy sources that provided tips for what to do as well as what not to do. The most important ones are as follows:
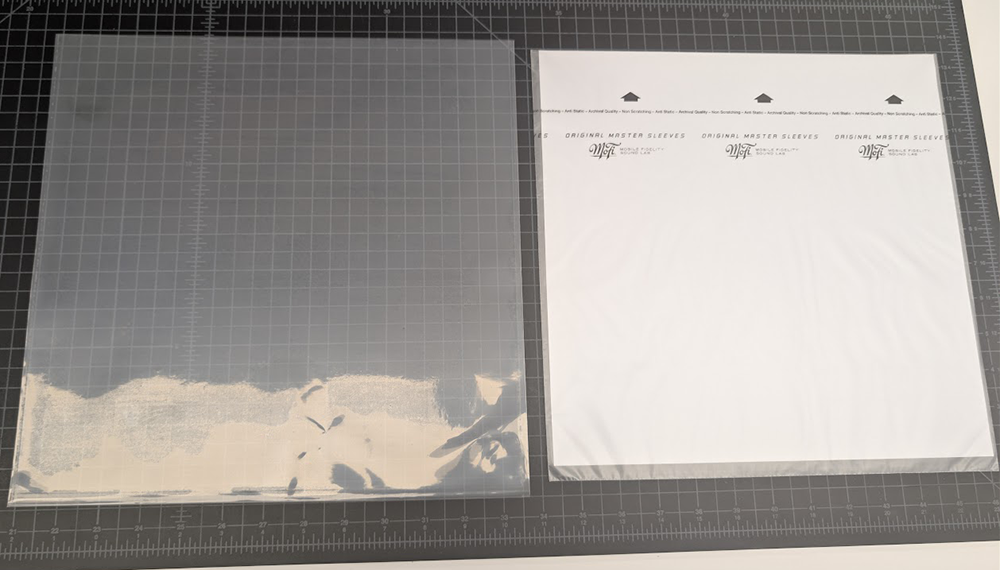
After learning all these considerations, assistant conservator Catarina Figueirinhas came up with the following solution.
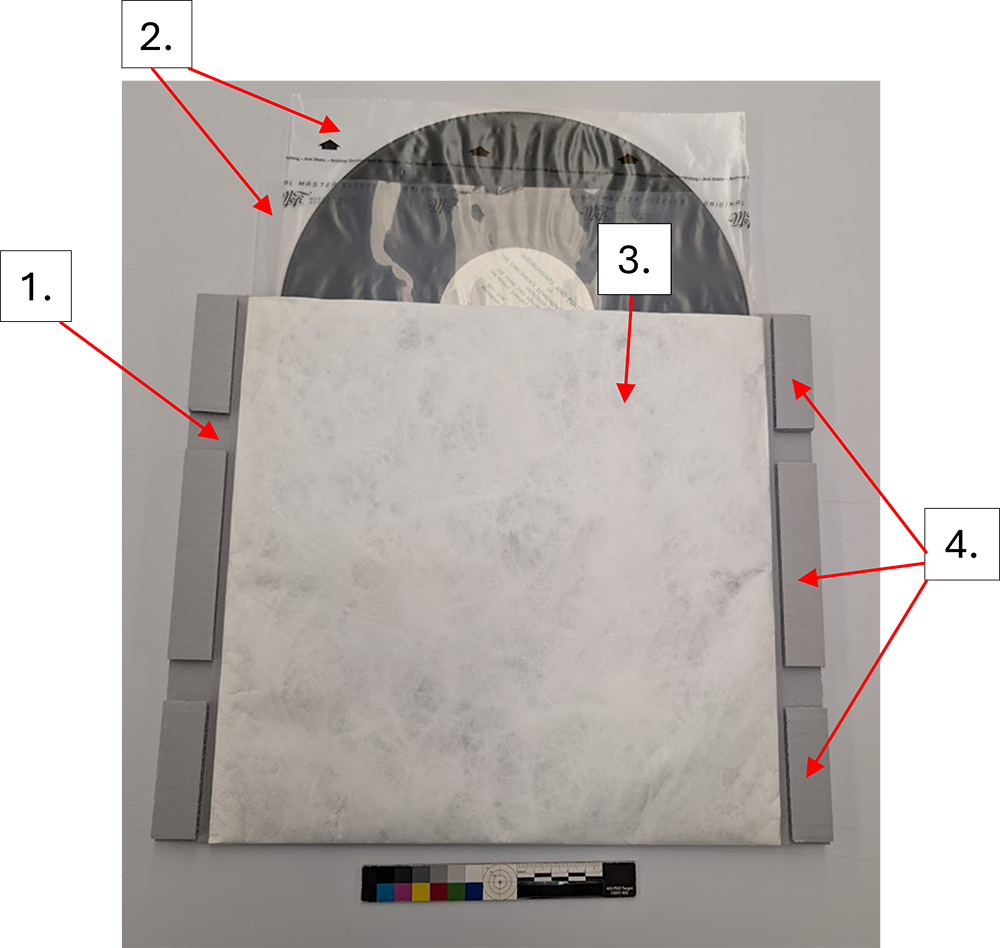
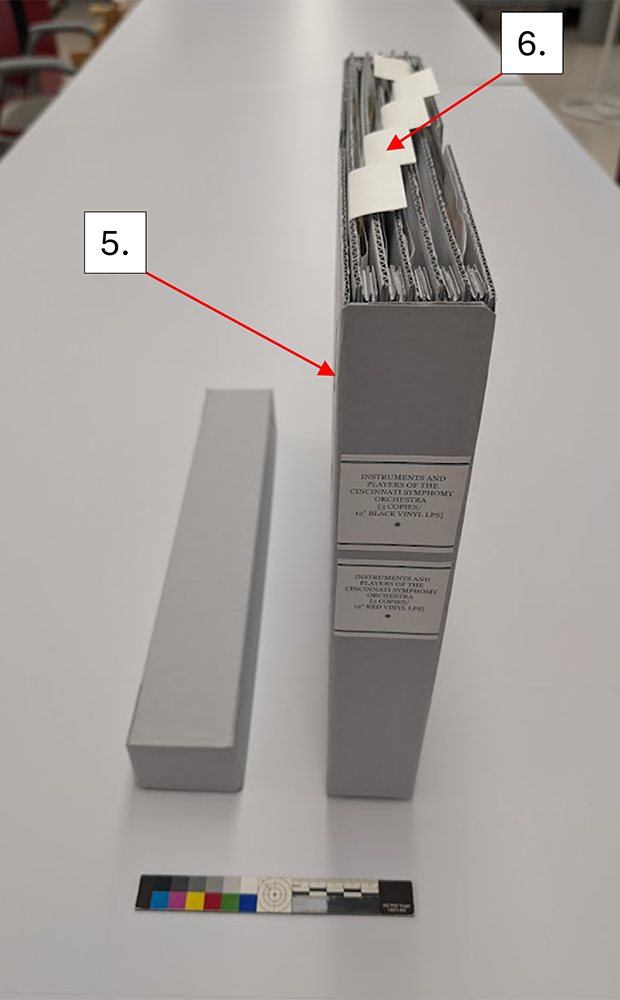
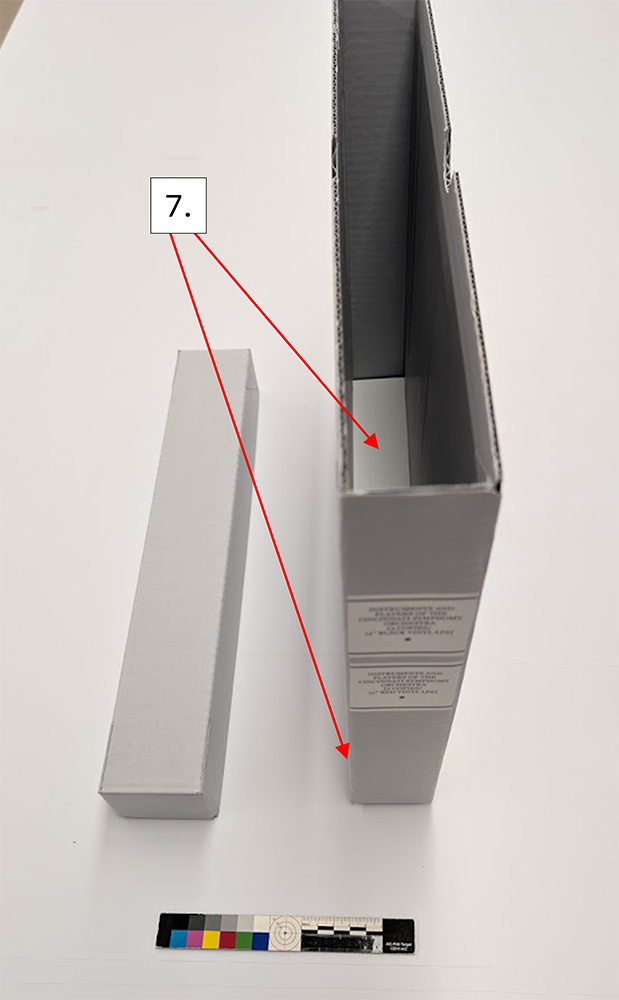
Although this storage solution will almost certainly continue to evolve as I make more of them, I was very happy with how the first batch turned out. Part of the fun of creating new storage solutions is figuring out what works and what doesn’t and adjusting accordingly.
On a side note, I realize that some readers of this post may be concerned for their record collections as they do not have a conservation lab at their disposal to construct an enclosure like this. To that I would say that any of the storage considerations mentioned that are achievable, such as storing discs upright and in new archival sleeves will go a long way in ensuring the longevity of your collections.
A huge thank you is deserved to both conservator Ashleigh Ferguson-Schieszer and assistant conservator Catarina Figueirinhas, who helped me brainstorm on this project.
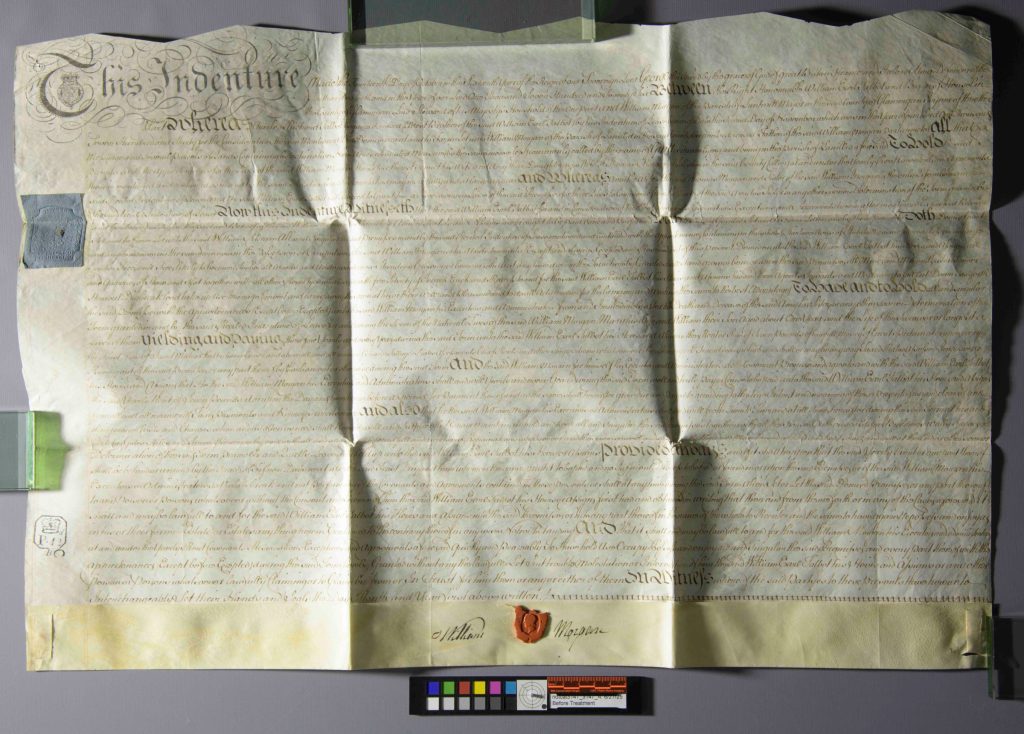
When a group of four folded parchment deeds arrived at the Preservation Lab, I was immediately excited about the project. It is not often that we work with parchment, particularly on “flat” items such as parchment deeds. I use “flat” in quotation marks because these were anything but flat once unfolded.

At first glance, they looked deceptively simple: compact, neatly folded, and quite small. Once opened, however, they revealed large, creased, and cockled sheets of animal skin, some with fragile wax seals and one composed of multiple leaves stitched together along the bottom edge. (Prior to treatment, each document was photographed as they were received in the Lab):

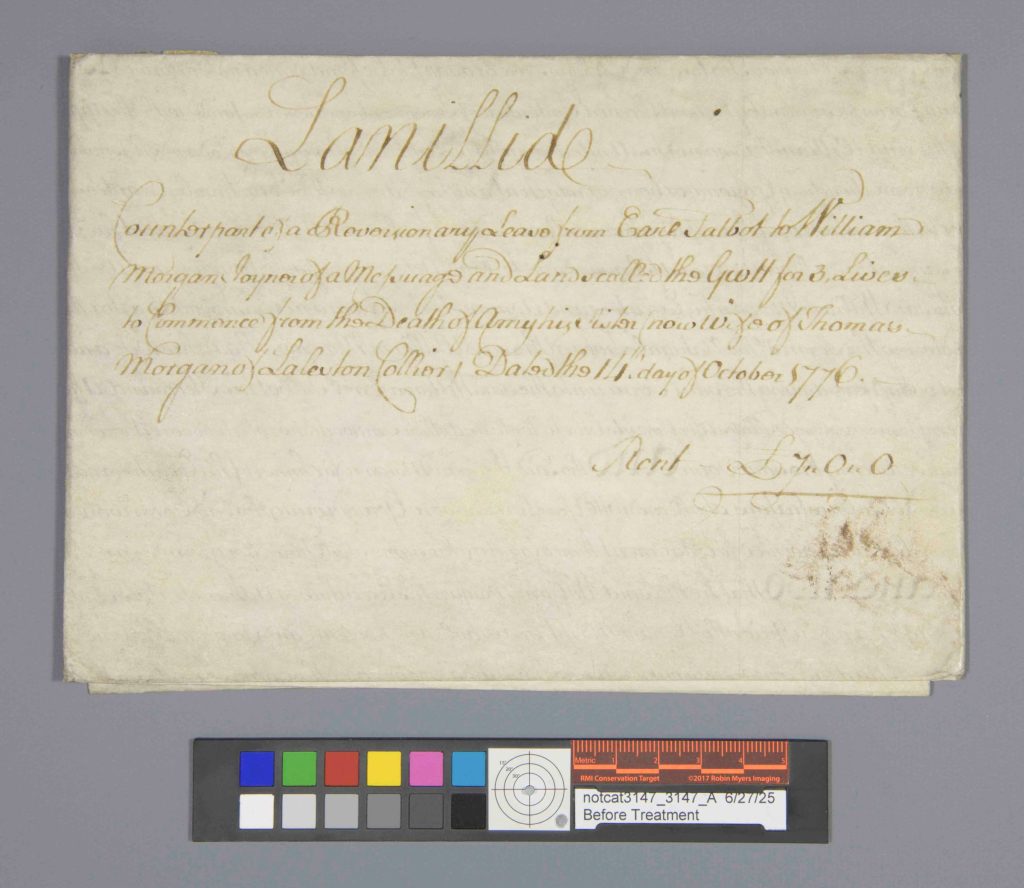
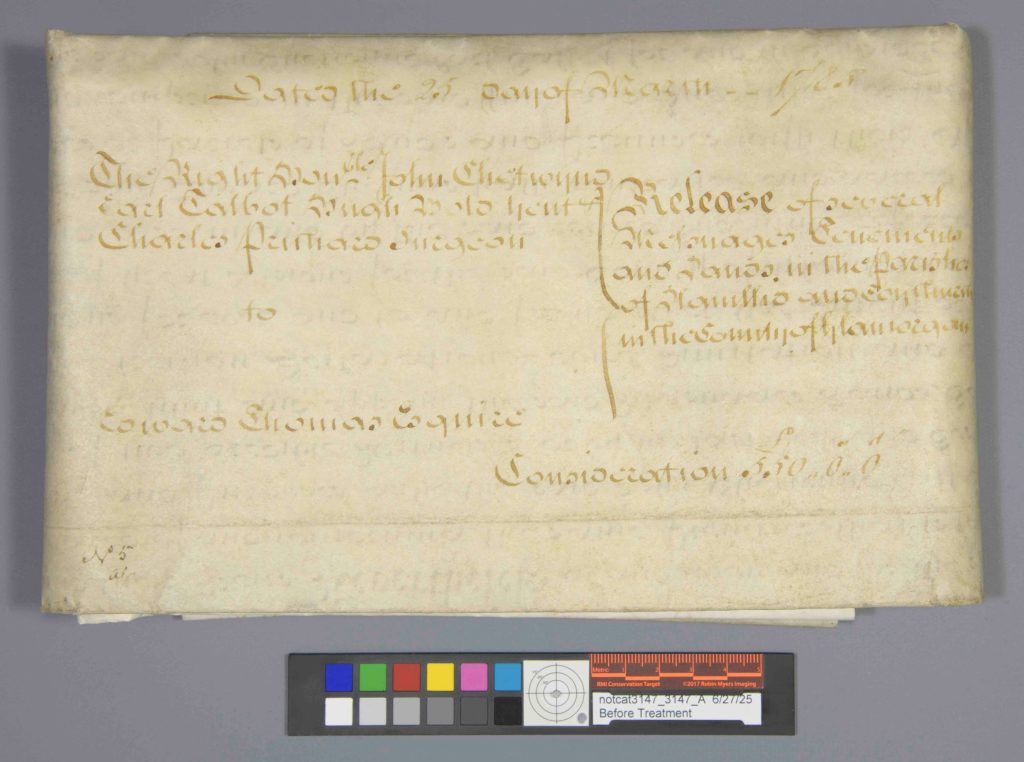

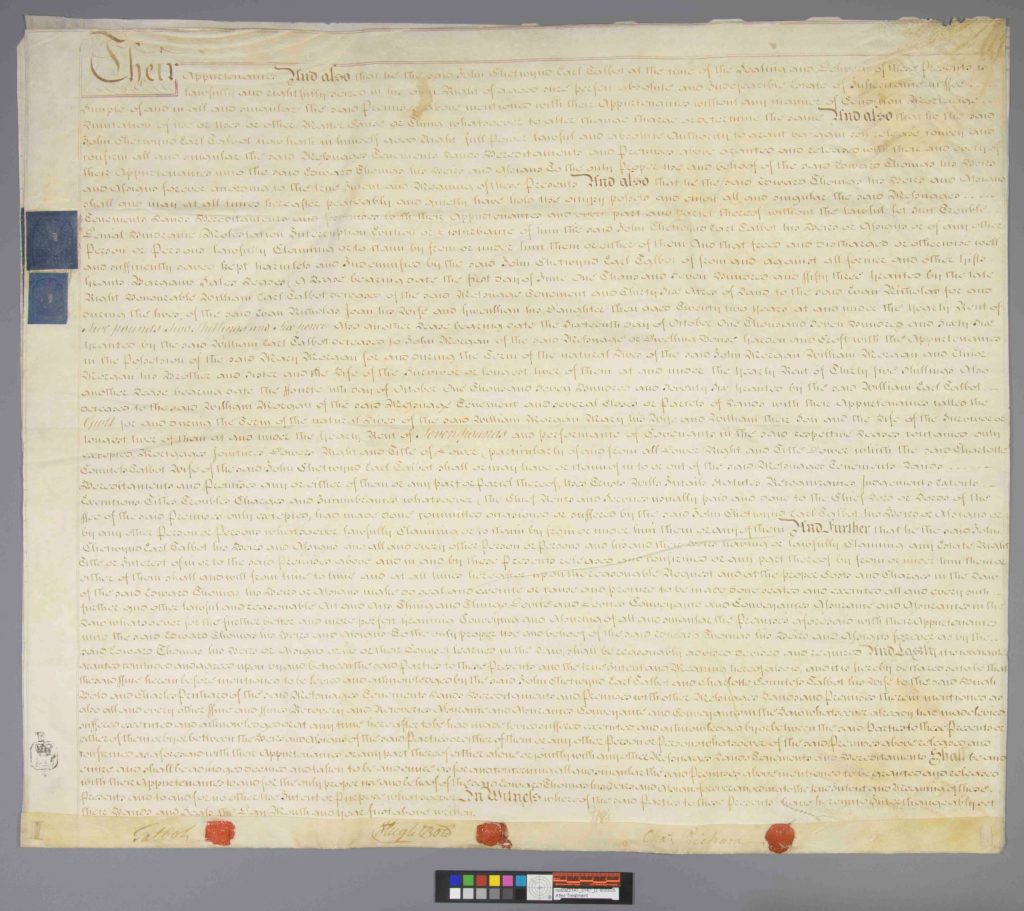
These 18th-century documents, part of the Archives and Rare Books Library, include three indentures consisting of single parchment leaves, and one composed of three parchment leaves secured with wax seals and parchment stays along the lower edge. They record land leases and property transactions.
The documents were brought to the lab for stabilization and improved access for teaching and research. In their folded state, they were difficult to handle, especially the multi-leaf example, which could not be fully examined as stored. Centuries of folded storage had clearly left their mark.


Parchment is highly responsive to humidity. It expands, contracts, cockles, and stiffens depending on environmental conditions. Long-term folded storage had left deep set creases, and exposed areas showed noticeable darkening. These distortions became even more apparent under raking light photography.
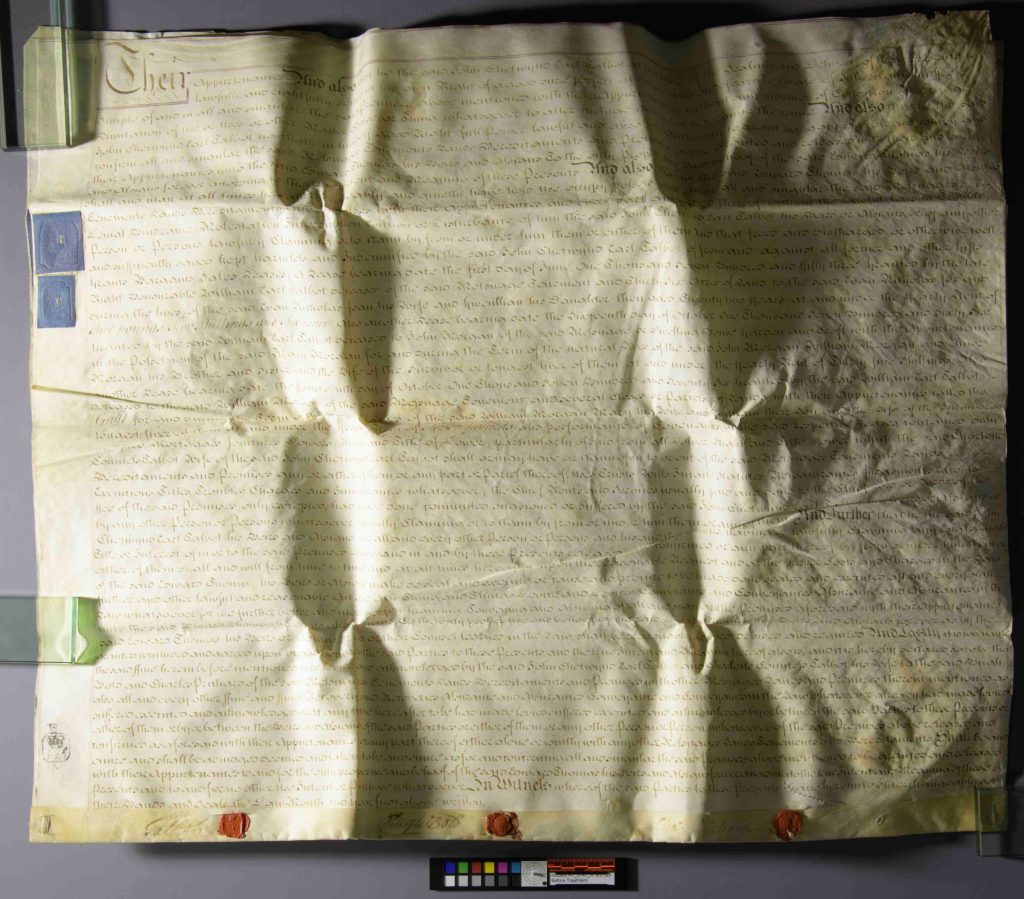

Flattening parchment is never as simple as adding moisture and pressing. Too much humidity risks gelatinization, while too little leaves folds unchanged. Wax seals add another layer of complexity since they are brittle, protruding, and highly sensitive to pressure. To begin conservation treatment, each document was first surface cleaned using a hydrophilic sponge to remove surface grime. Ink testing followed to ensure stability before any humidification. All inks tested were stable, and no iron gall ink was detected. With testing complete, humidification could begin.
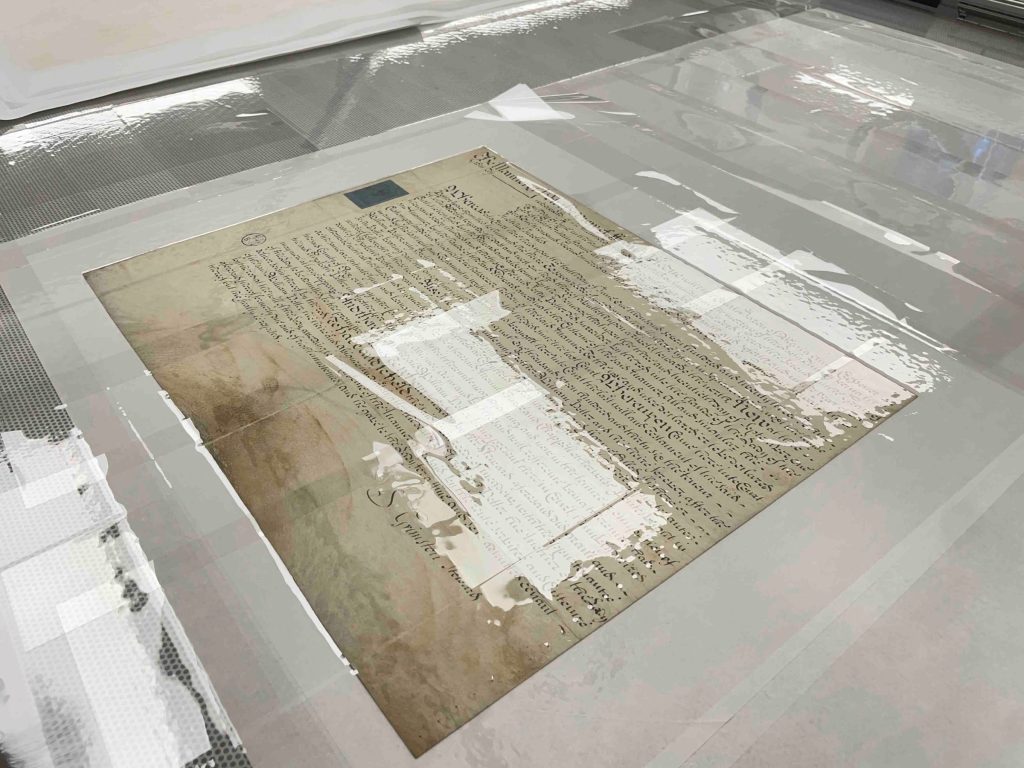
The single-leaf documents were humidified in short cycles within a cold humidity chamber. After each cycle, they were dried gradually under felts, with pressure slowly increased and carefully kept away from seal areas. Drying methods were adapted depending on structure and condition. One single-leaf document without seals was dried under tension on the suction table, while the others were dried under felts and weights, again avoiding direct pressure on wax seals.
The multi-leaf deed required a more complex and iterative approach. It consists of three parchment leaves attached together, each responding differently to moisture. Initial humidification was carried out using an ultrasonic dome with a Gore-Tex barrier supporting the lower leaf. The upper leaf responded well, but the middle leaf remained resistant. To improve moisture distribution, unbuffered interleaving paper was placed between the leaves. Even so, the middle sheet required additional targeted treatment.
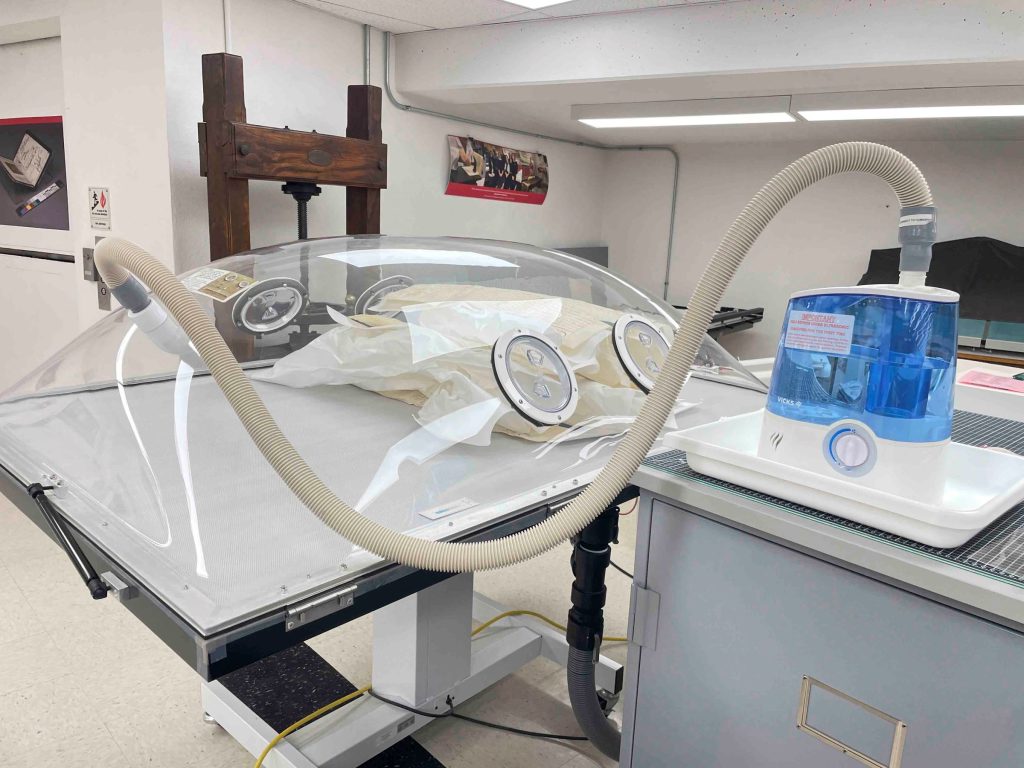
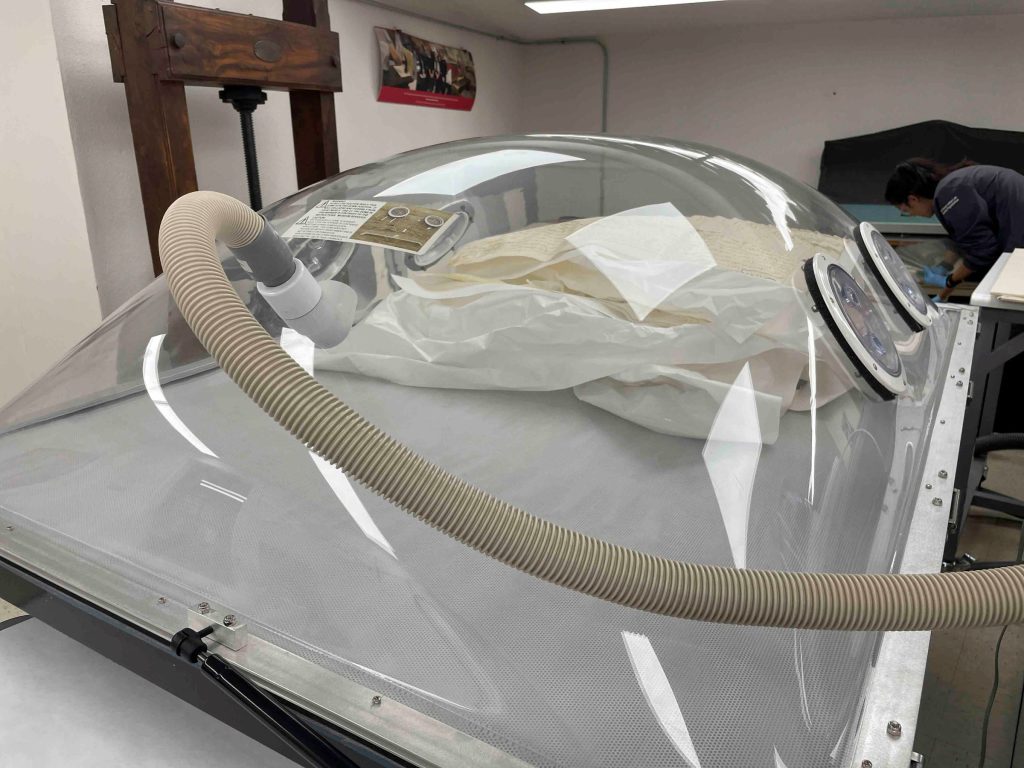
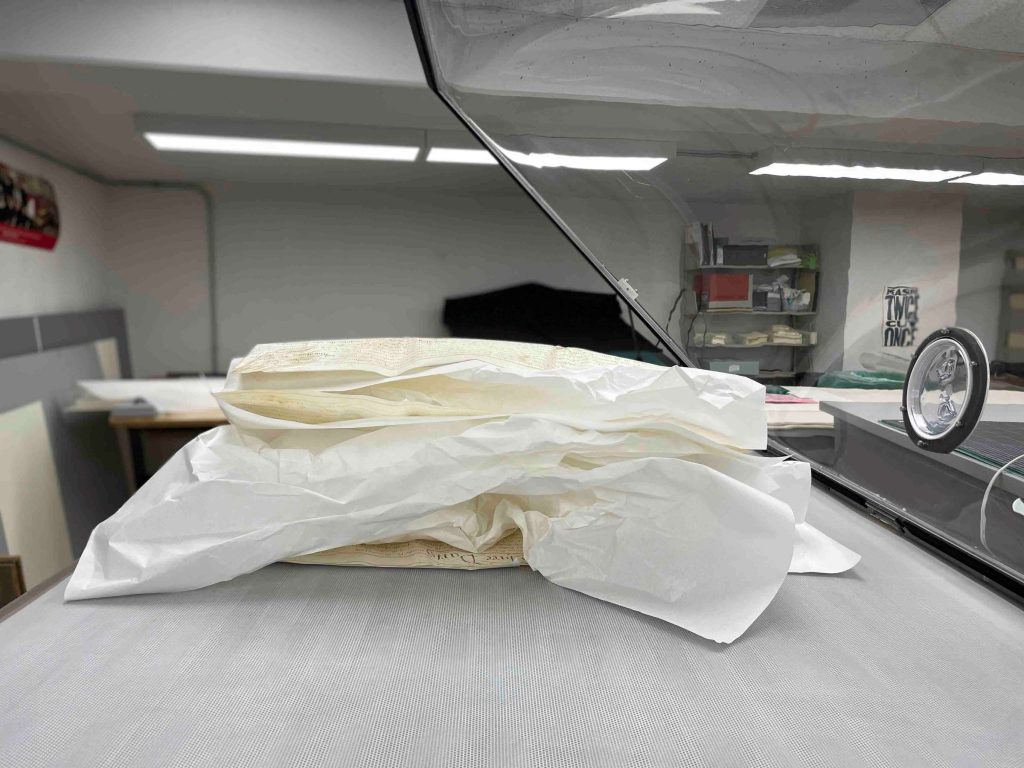
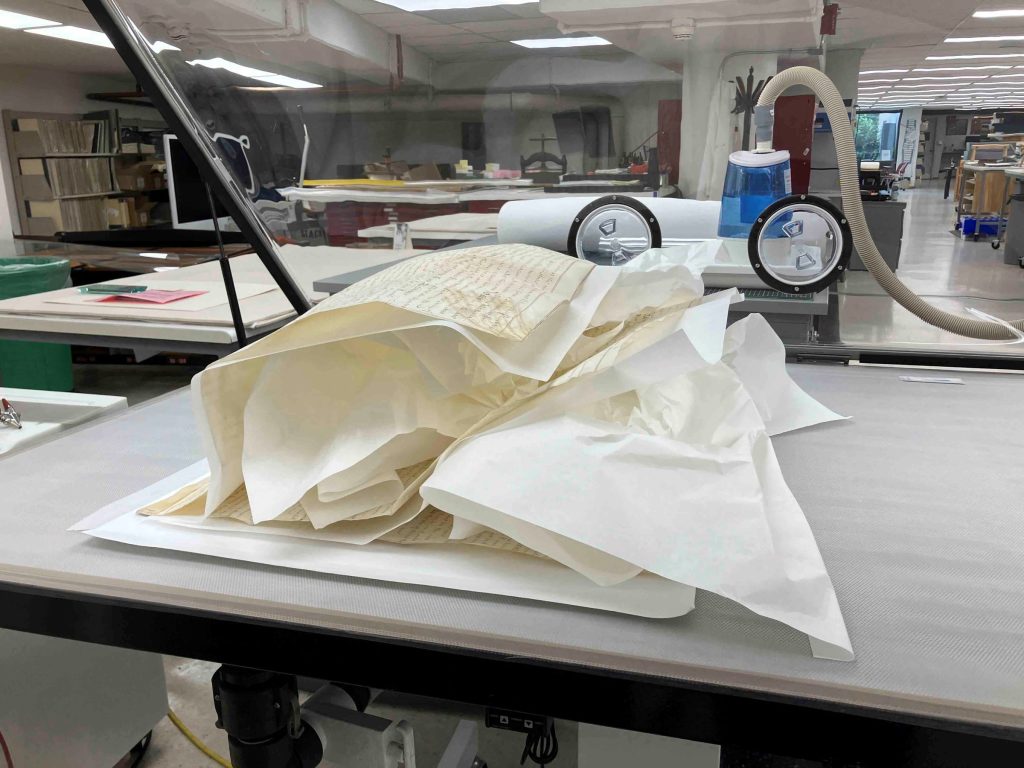
The most effective approach combined localized humidification with staged flattening. Each leaf was treated individually while the others were protected with polyester film and weighted mat board to prevent unwanted moisture transfer or movement. Stubborn folds were gently humidified using a localized ultrasonic humidifier and immediately set under pressing stacks of blotter and Hollytex, followed by gradual weighting. This allowed controlled relaxation of specific areas without over-treating the entire object.
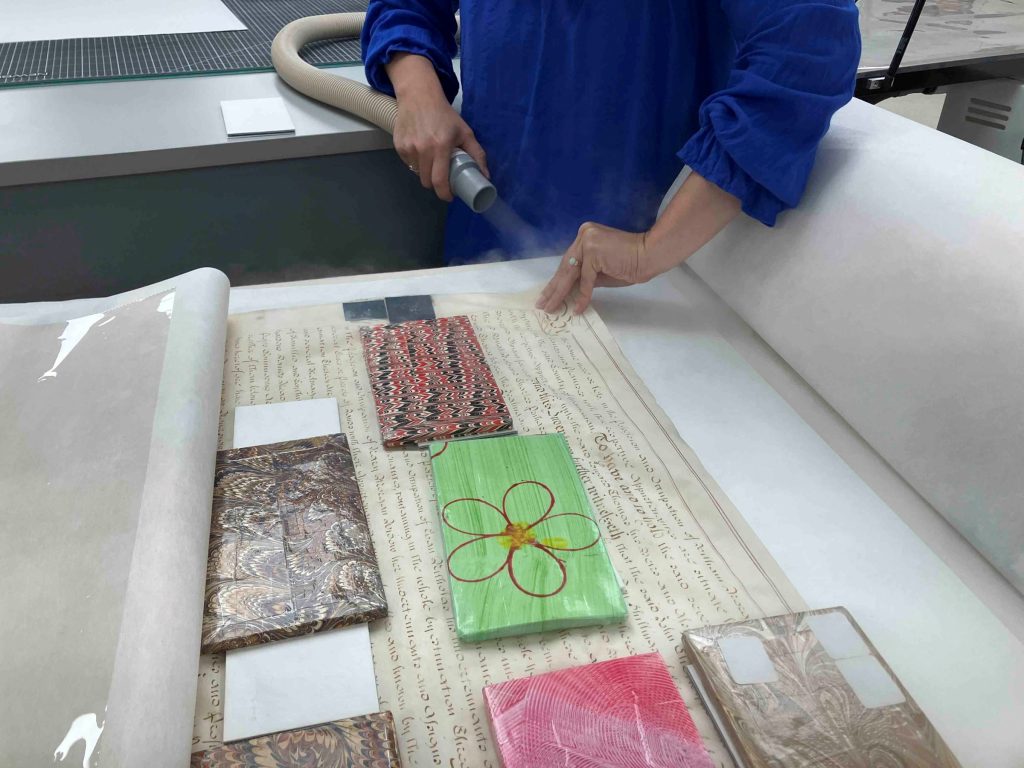
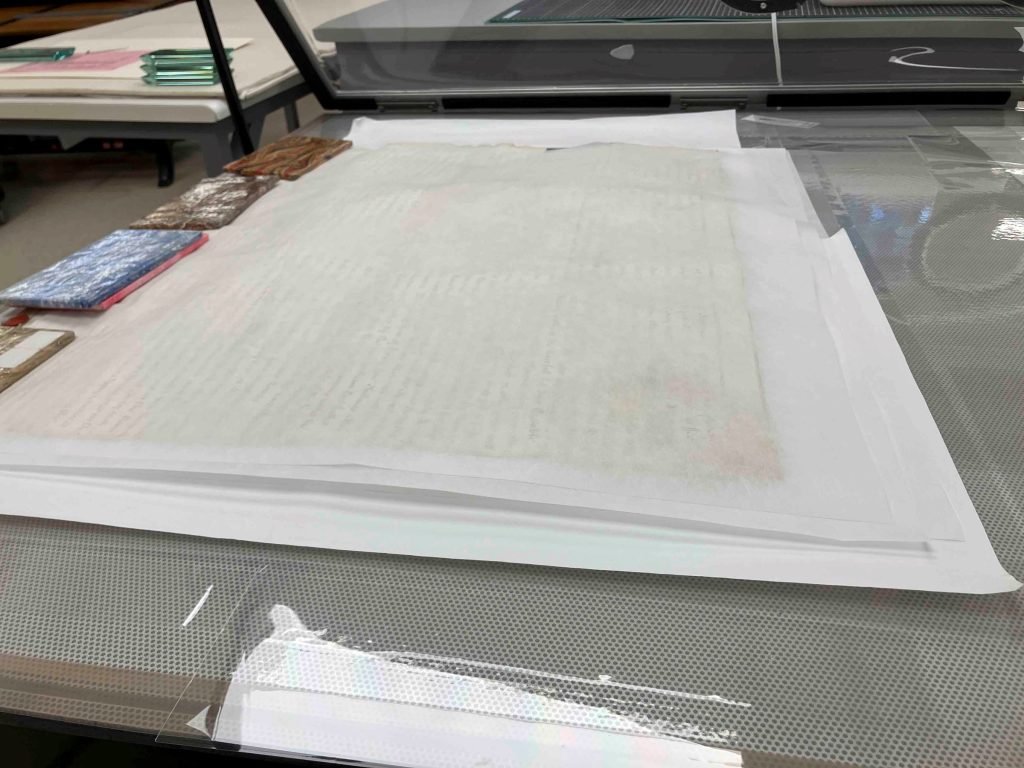
The process was highly collaborative, often requiring two or three people working at once. One person applied moisture and guided the parchment while another adjusted weights and pressing materials in real time. Throughout treatment, wax seals were carefully protected using mat board barriers and spacing systems to ensure they remained free from pressure. Once fully relaxed, the document was dried under felts with weights in place, while polyester sheeting remained between the leaves to prevent adhesion or distortion.
Three of the four documents retain wax seals along their lower edges. These seals were structurally fragile and were consolidated using fish gelatin applied with a fine brush. During treatment and flattening, they were carefully isolated so that no direct pressure was applied.
Housing for Support and Access
Following treatment, each document was rehoused in a custom sink mat system. Before constructing the full-sized enclosures, I made a small working model using a scrap piece of parchment to ensure that what I had in mind would actually function for these large documents in practice.
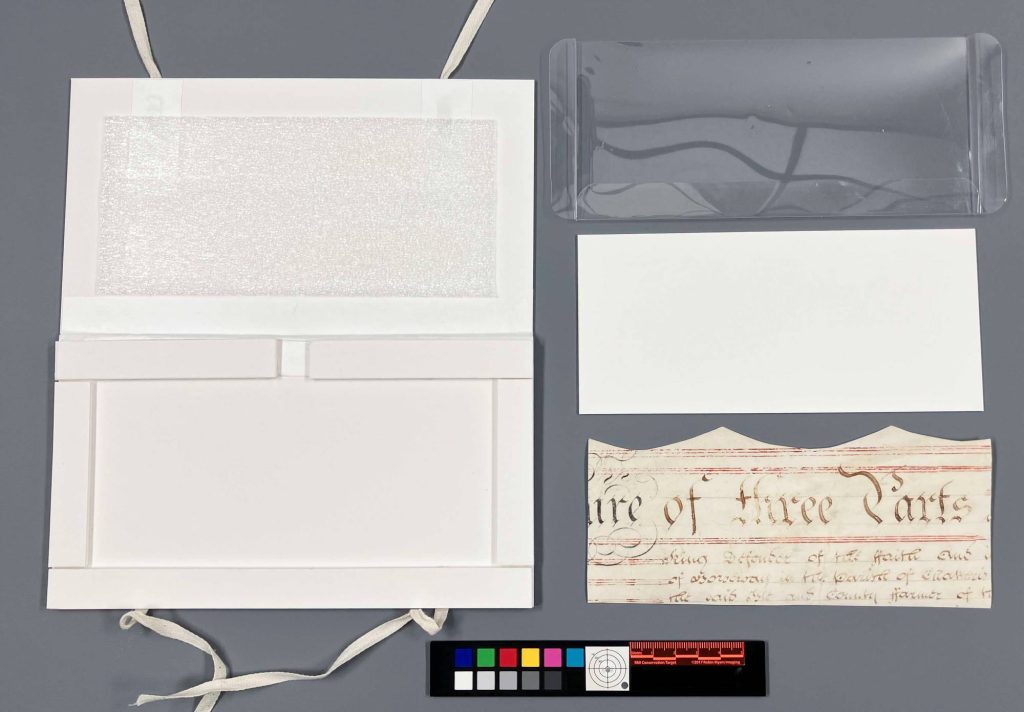
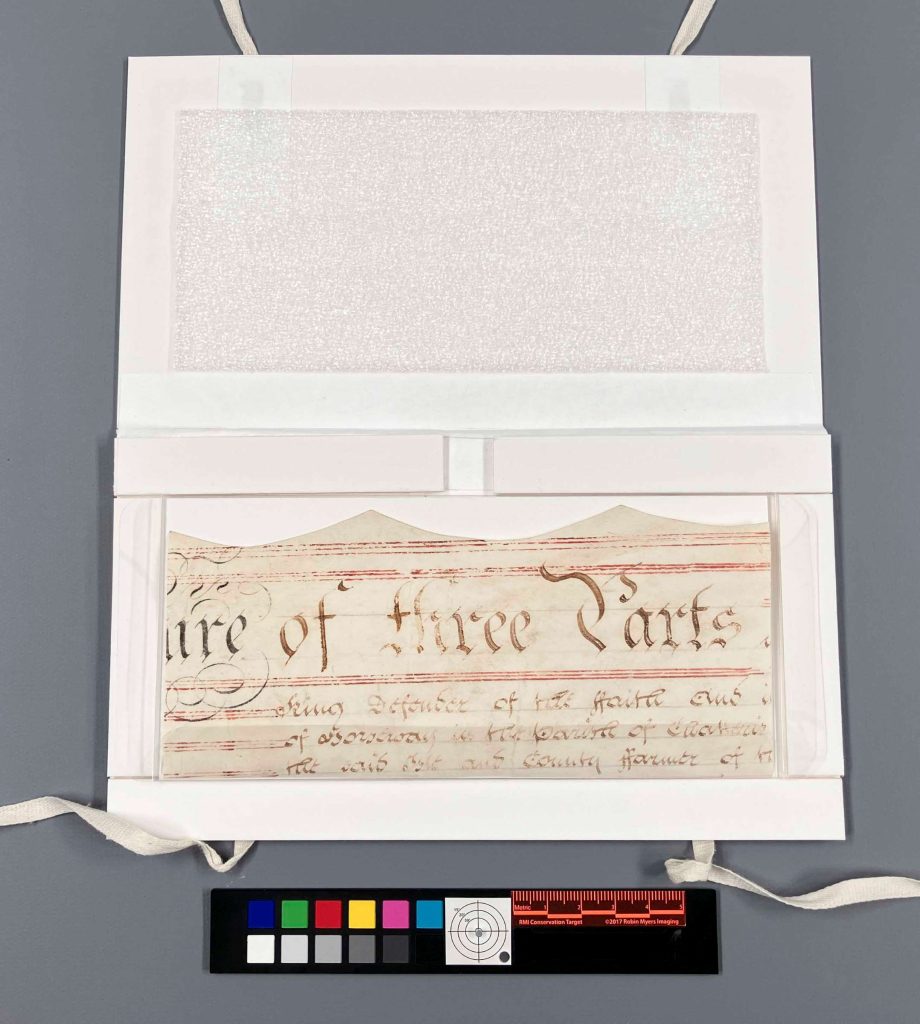
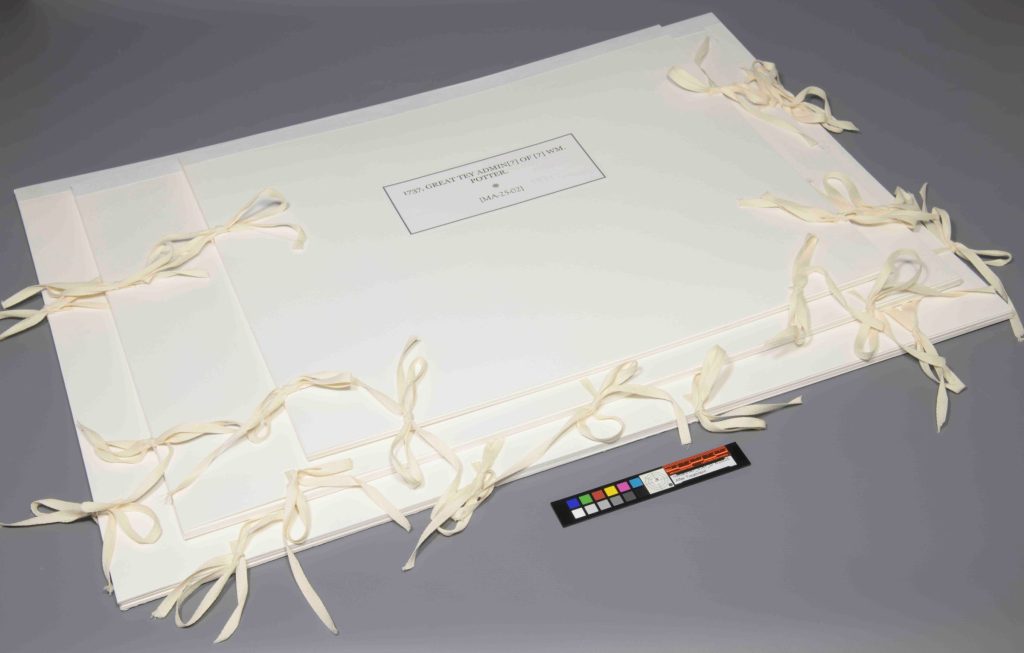
The documents rest on polyester slings secured within sink mats and are held in place with cloth ties. The interior lids are lined with Ethafoam, providing gentle compression and helping to minimize movement caused by environmental fluctuations. The multi-leaf document required additional structural support through reinforced mat board construction. The three smaller documents were housed together in a corrugated clamshell enclosure. This housing balances long-term preservation with accessibility, allowing the documents to be safely handled for teaching and research.
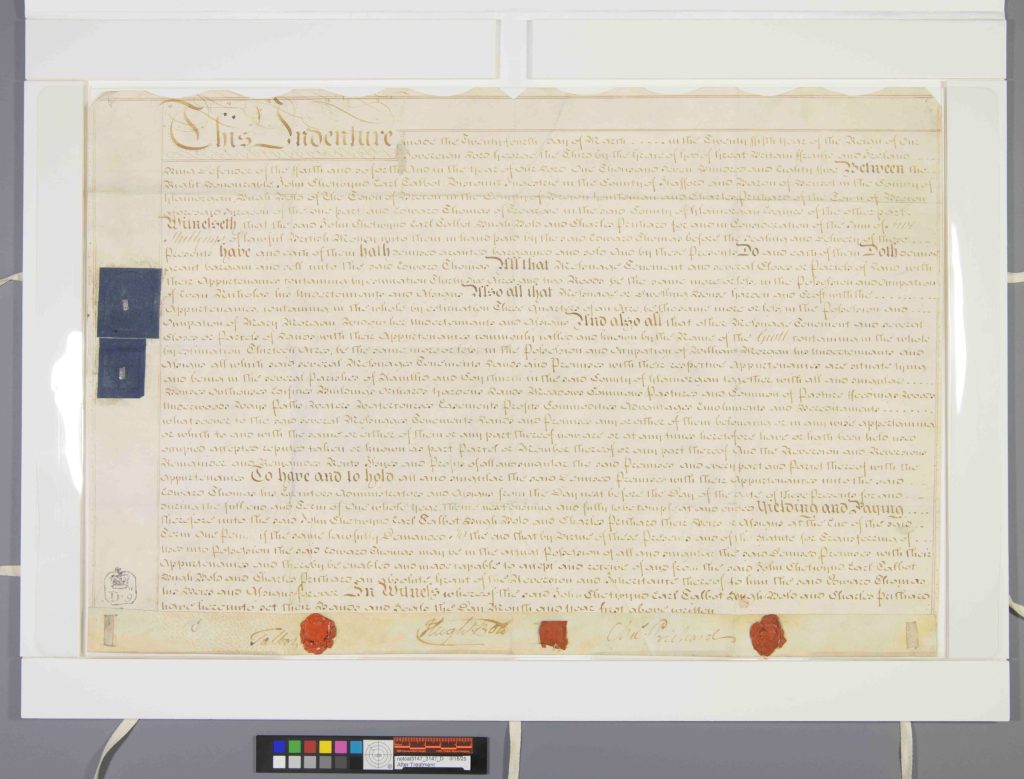

Raking light photography after treatment shows a clear reduction in creasing, along with a noticeable shift in how the documents behave physically. The parchment still carries evidence of its long folded history, as these materials tend to do, but it is no longer locked into those distortions. While not perfectly flat, the material is now stable, supported, and significantly less stressed along its former fold lines. Under raking light, what once appeared as sharp ridges and tension lines now reads as a softer, more coherent surface. It feels as though the parchment has settled back into itself after a long period of compression.

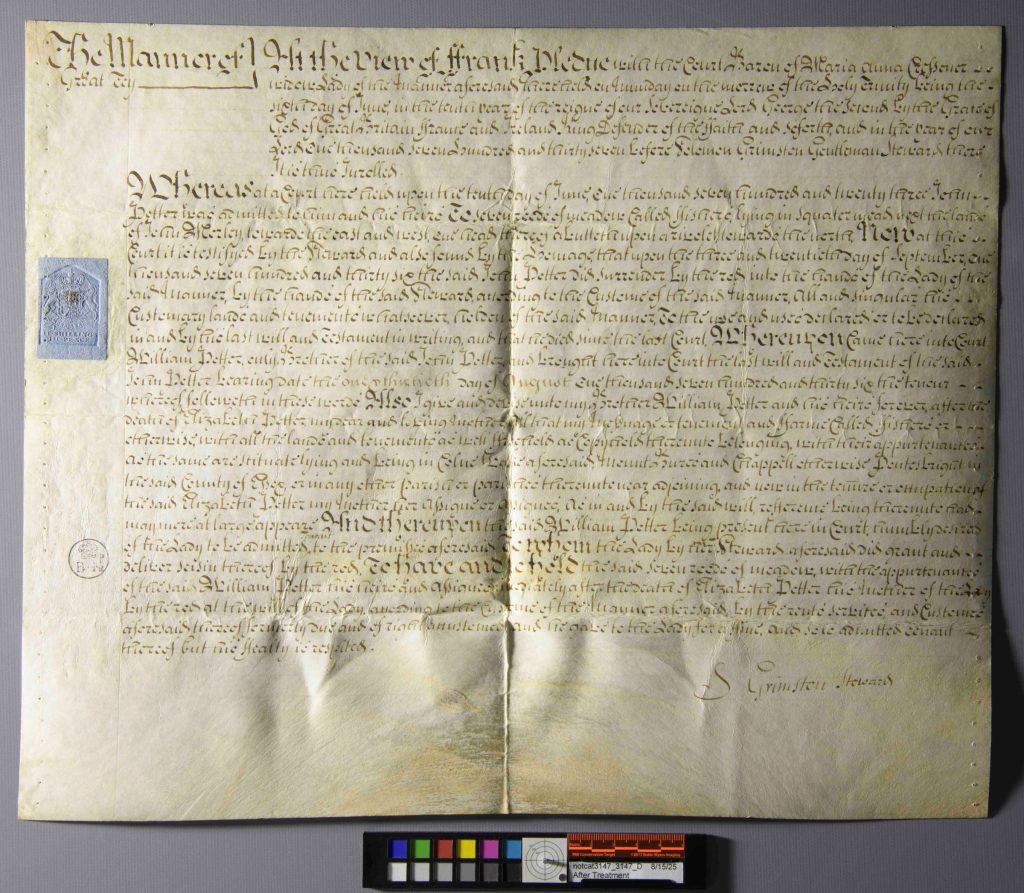

Perhaps the most satisfying change, though, is in handling. What began as awkward, resistant objects that required constant caution are now stable enough to be lifted, viewed, and studied with far more confidence. They remain delicate, but they are no longer unpredictable in the same way. There is a clear sense that they can finally move between storage, teaching, and research without the same level of hesitation at every step.


Catarina Figueirinhas – Assistant Conservator

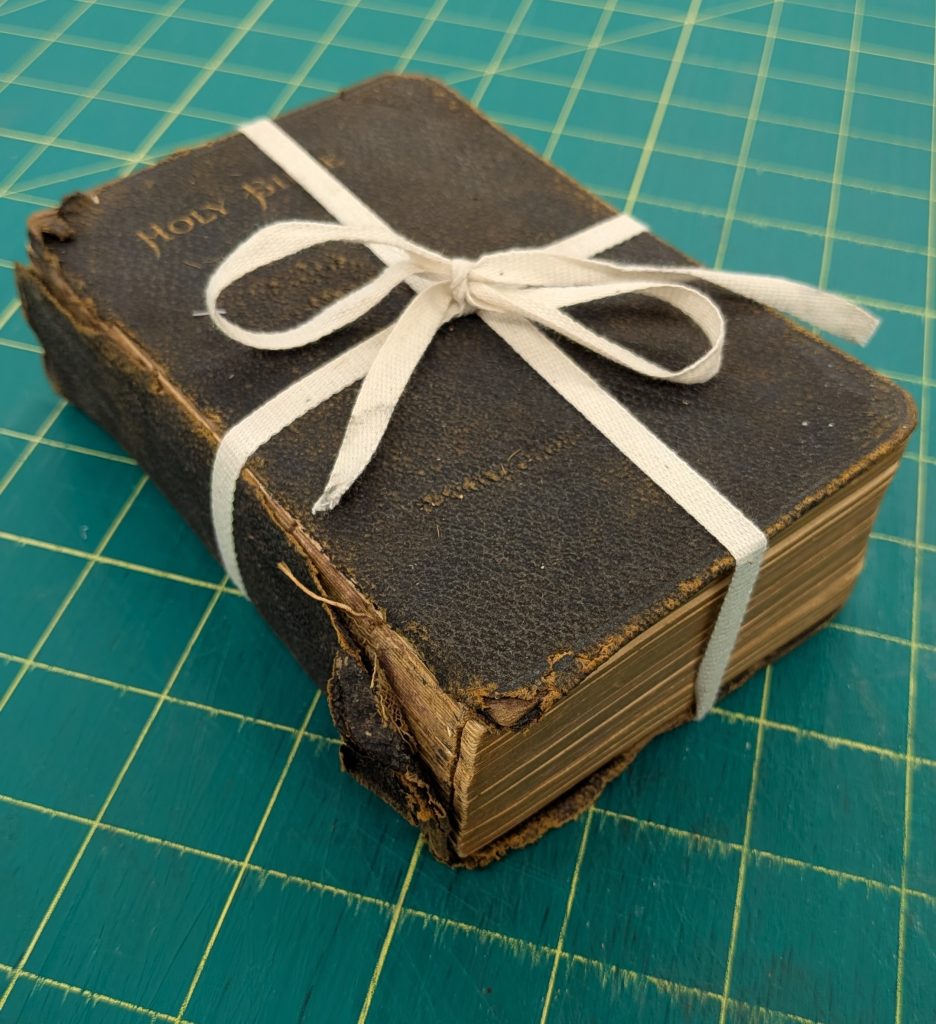
I picked this tattered Bible up off the shelf where it had been waiting for an enclosure thinking it would be a quick and easy project. All it seemed to need was a corrugated clamshell and a pocket for some ephemera – easy enough. What I wasn’t expecting was for the ephemera inside of this book to be human hair. Multiple locks of it.
A card that accompanied the bible from Kenton County Public Library said that the family listed in this Bible (last name of Gegner) seemed to be more Cincinnati-based than Northern Kentucky-based, and it ‘contained lots of interesting items within.’ And ‘interesting items’ was an understatement!
Along with the Bible was a folded handkerchief, which, when unfolded, contained a small lock of hair tied with a blue ribbon.
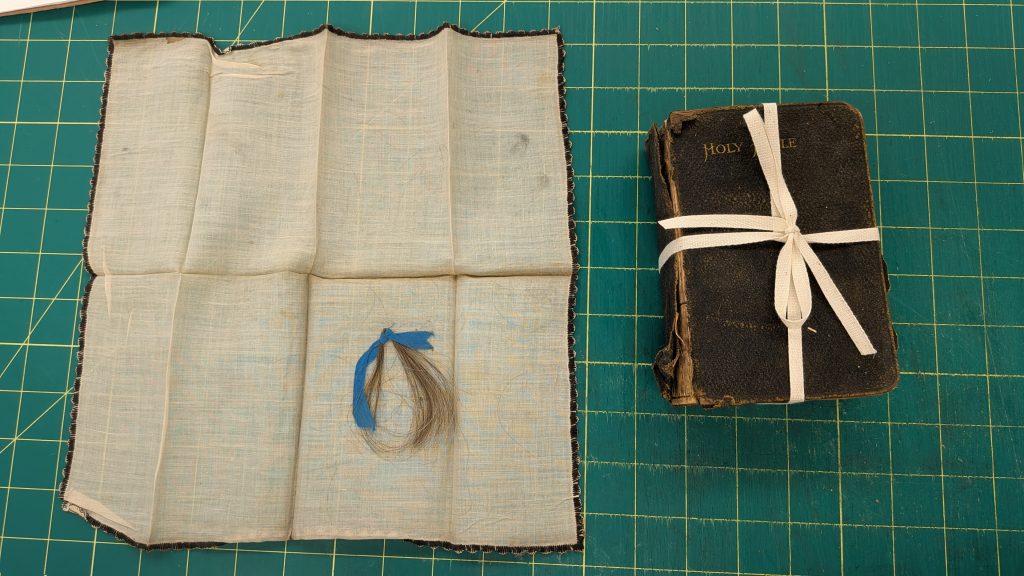
I thought this was the interesting items mentioned but decided to untie the Bible and peek through it as well. Imagine my surprise when I came across another lock of hair tucked within the pages! But it didn’t stop at one – I ended up uncovering three locks of hair, three pressed flowers, and one icon of Jesus and the Sacred Heart that seemed to be hand embroidered.


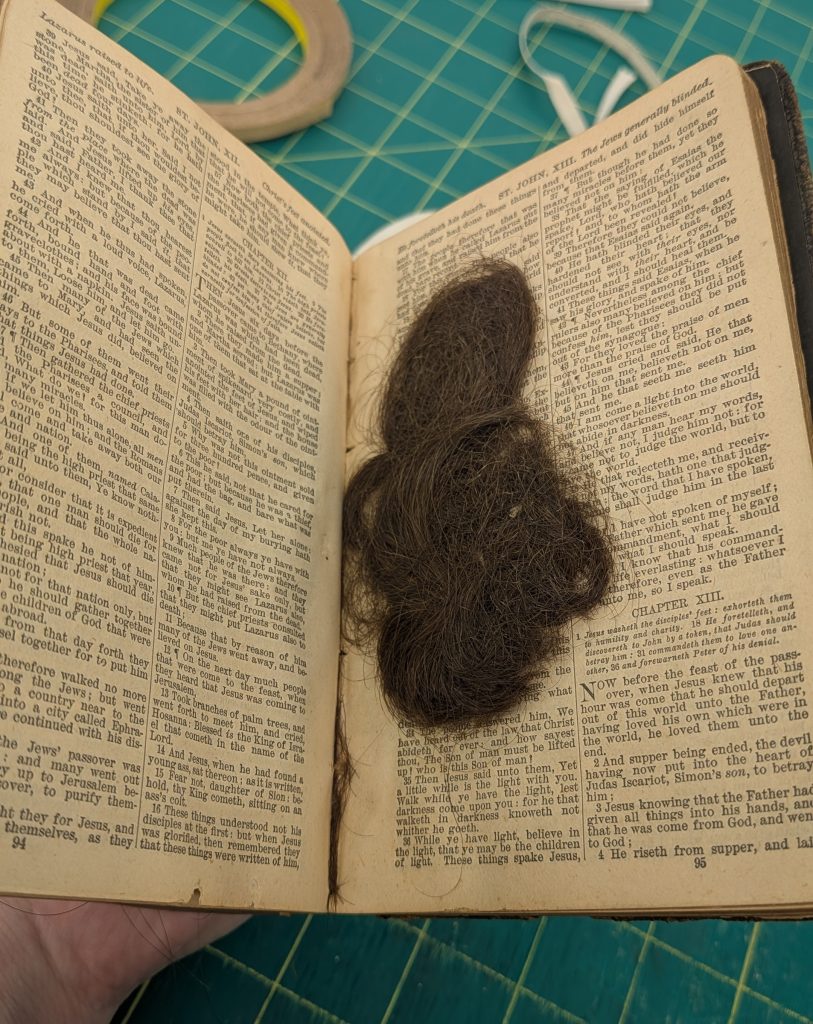


After talking to some people about the Bible at our annual open house, it came to my attention that this Bible is probably a family Bible, used to keep family records. I also was made aware that typically in family Bibles, deaths, births and marriages are recorded on the pages between the Old Testament and the New Testament. Lo and behold, when I opened this Bible to the New Testament, sure enough there were birth and death dates!

As mentioned above, this Bible wasn’t in for any major treatment – it received a corrugated clamshell with some fill to make it 5” x 7” so it doesn’t get lost on the shelves, and a pocket was made and attached to corrugated board to keep the handkerchief and the card from Kenton County Public Library. Additionally, the newly discovered items inside the Bible were also placed in polyester sleeves, in order to protect the pages, and then laid back in where they were found. These efforts will help to keep the Bible stabilized on the shelf, so it will be useable for longer.
While this Bible isn’t connected to any famous names, it’s still amazing to know that we are helping preserve local history. Hopefully, we can help future generations get a glimpse into their past relatives’ lives by preserving something like this Bible.
Nicole Browning – Conservation Specialist
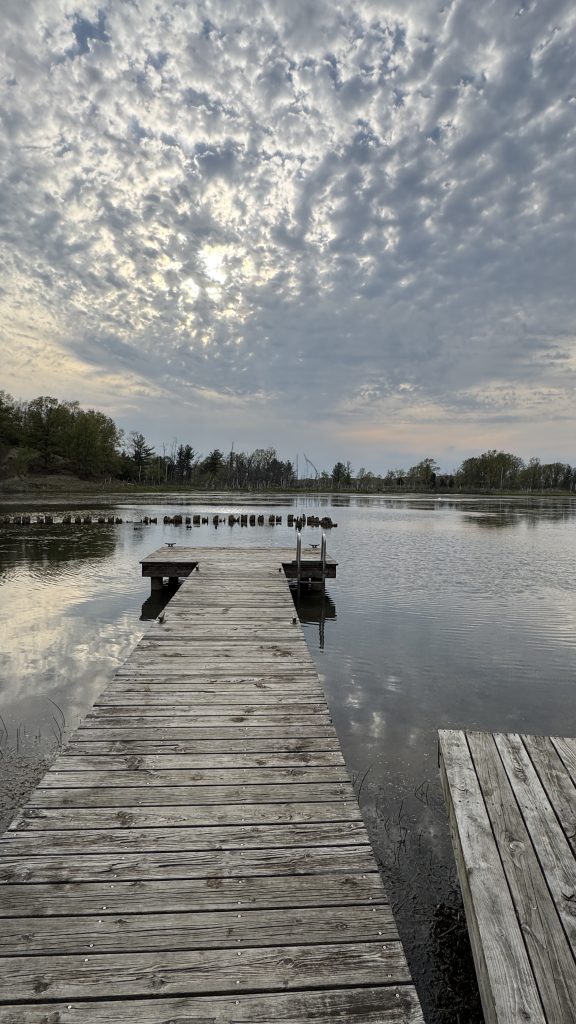
I was fortunate enough to attend Paper and Book Intensive (PBI) for the first time this year as part of my annual staff development. If you are not familiar with PBI, it is a non-profit group that hosts an annual sabbatical-style work retreat that focuses on book arts, papermaking, and conservation. It takes place in Saugatuck, Michigan at the OxBow School of Art and is structured into two sessions, and each session lasts four days. Each attendee takes two classes during the first session and one class during the second session. The first session is broken up into a morning class and an afternoon class, while the second session classes are full day and more intensive.
When you apply to PBI you rate your preferences of classes. If you are accepted, you are then placed in classes based on availability and demand. Again, I was incredibly lucky and I was placed in all of my top choices for classes. For session one: American and English Boarded Bindings, 1780-1830 with Todd Pattison (AM session) and Marbling on Paper with Steve Pittelkow (PM session). For the second session: Madagos: The Living Tradition of Ethiopian Bookbinding with Bill Hanscom.
Todd brought a host of historical examples for us to examine, including volumes printed in Britian and America, which was fantastic.
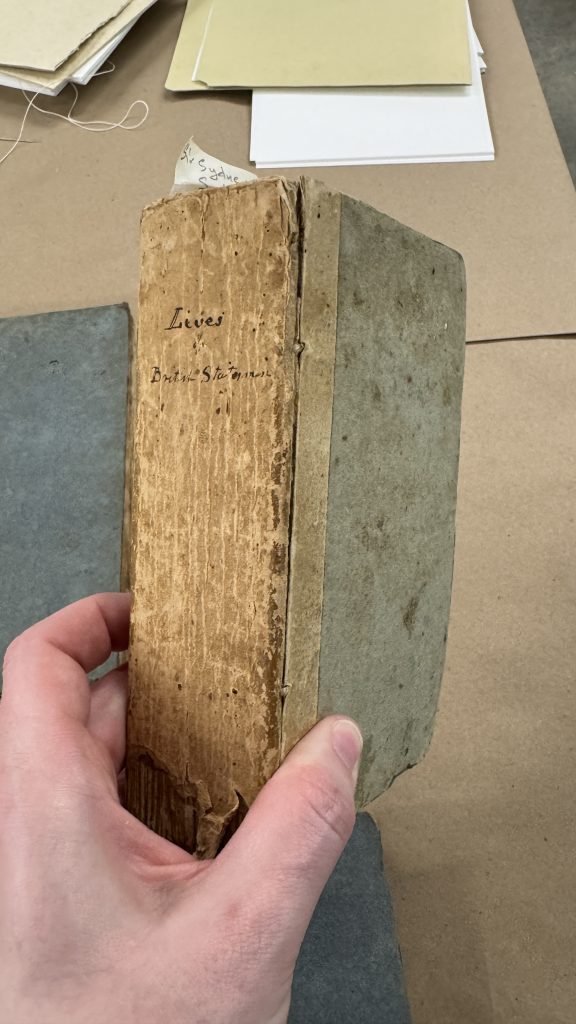
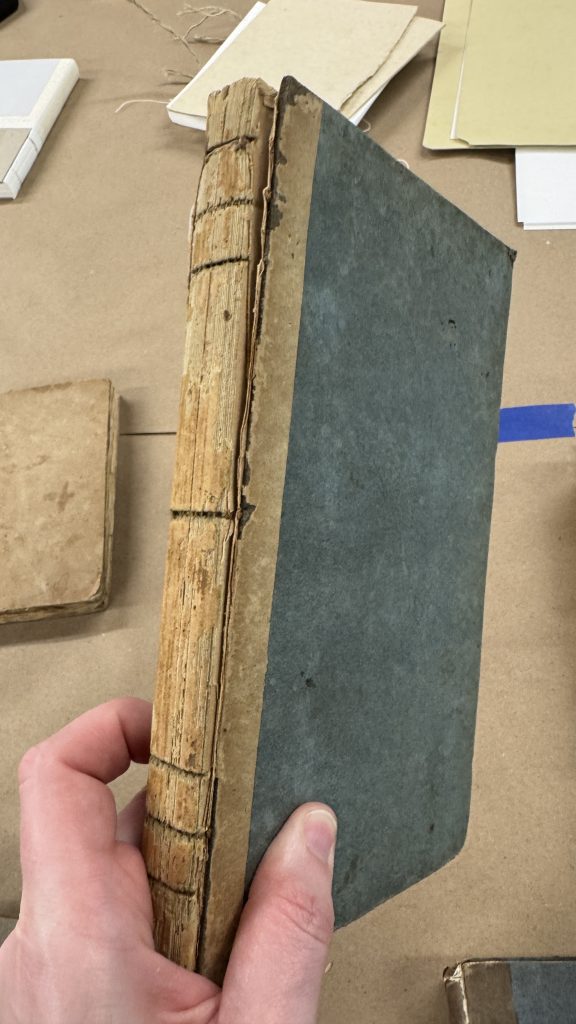
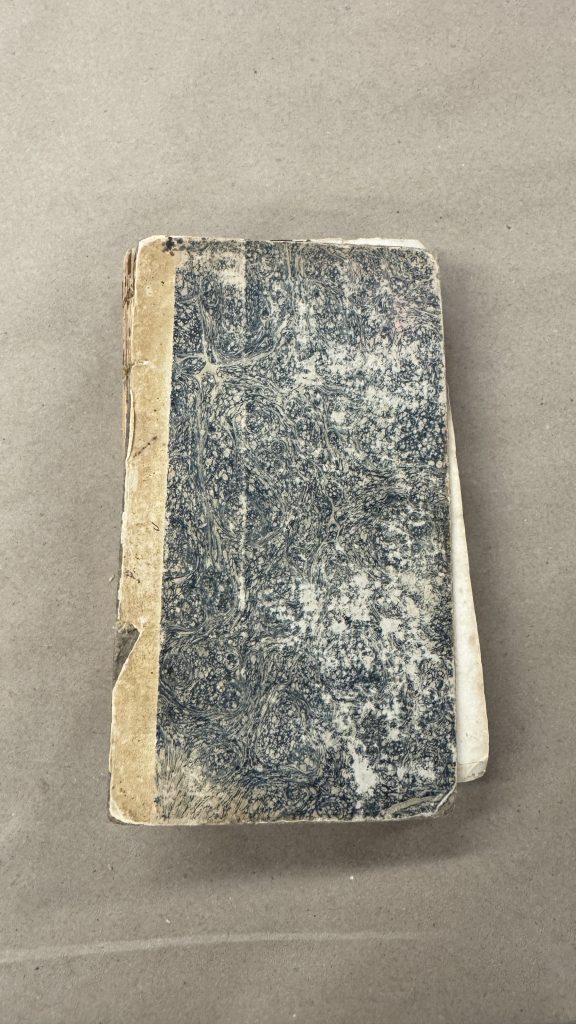
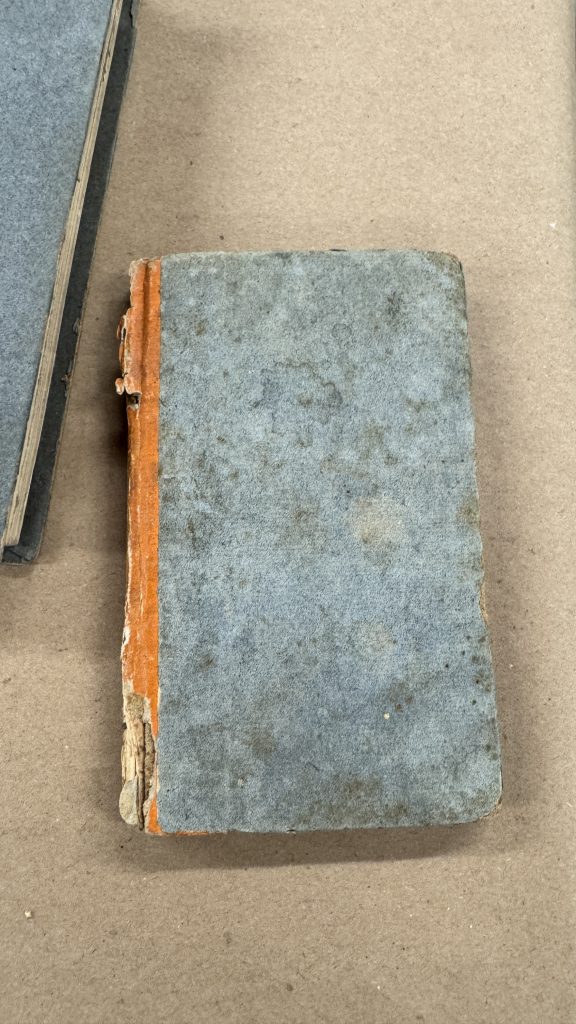
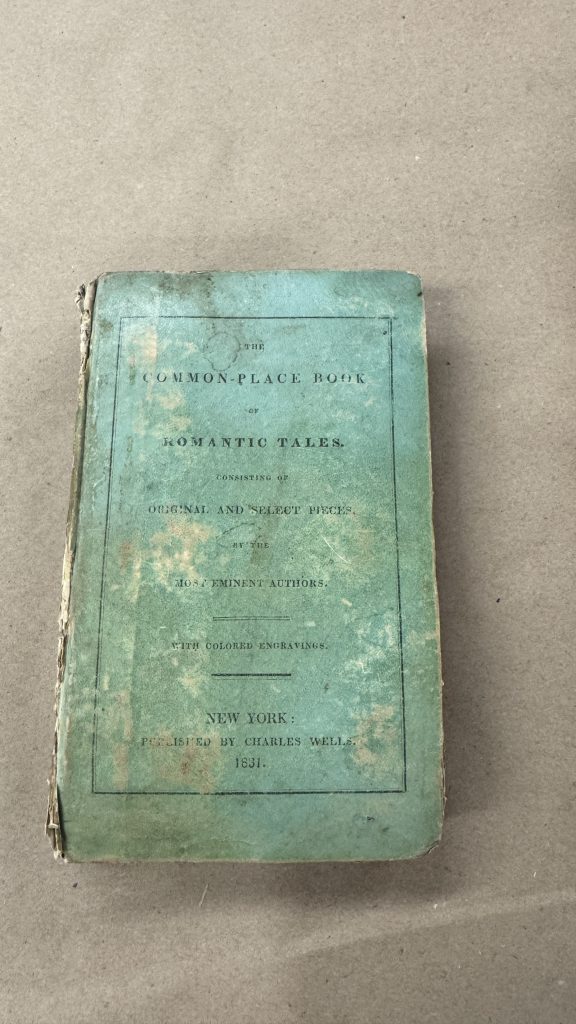
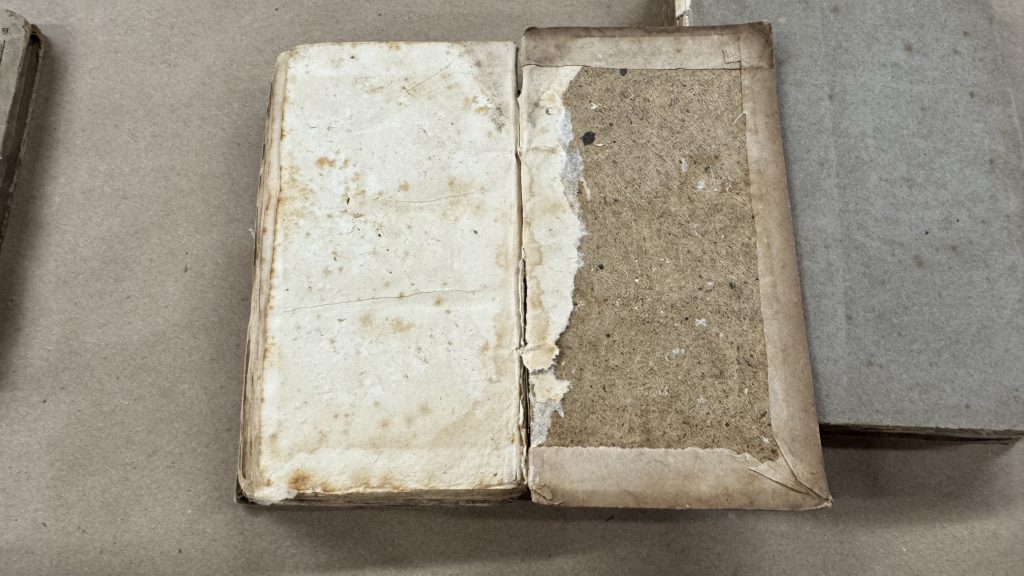
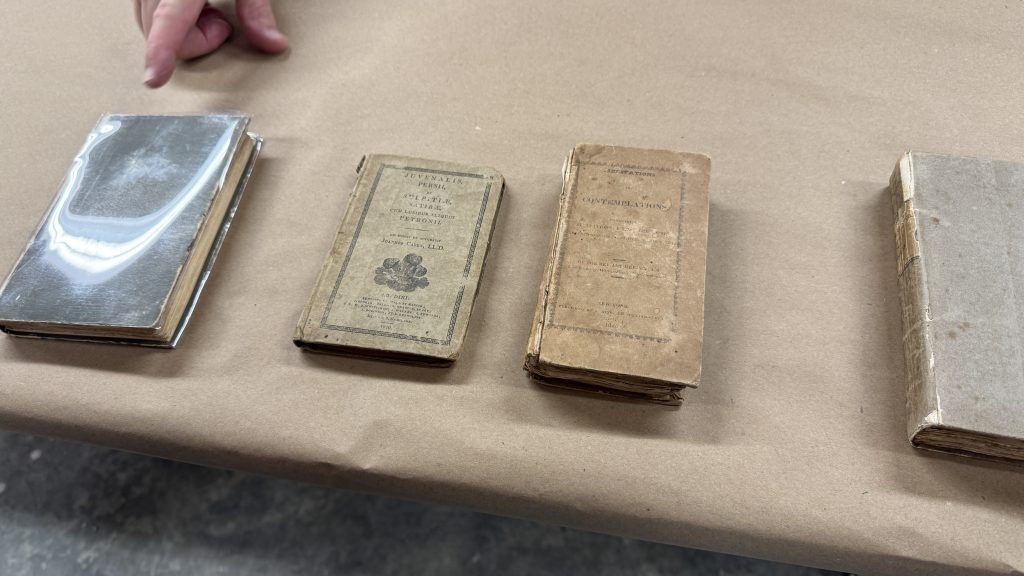
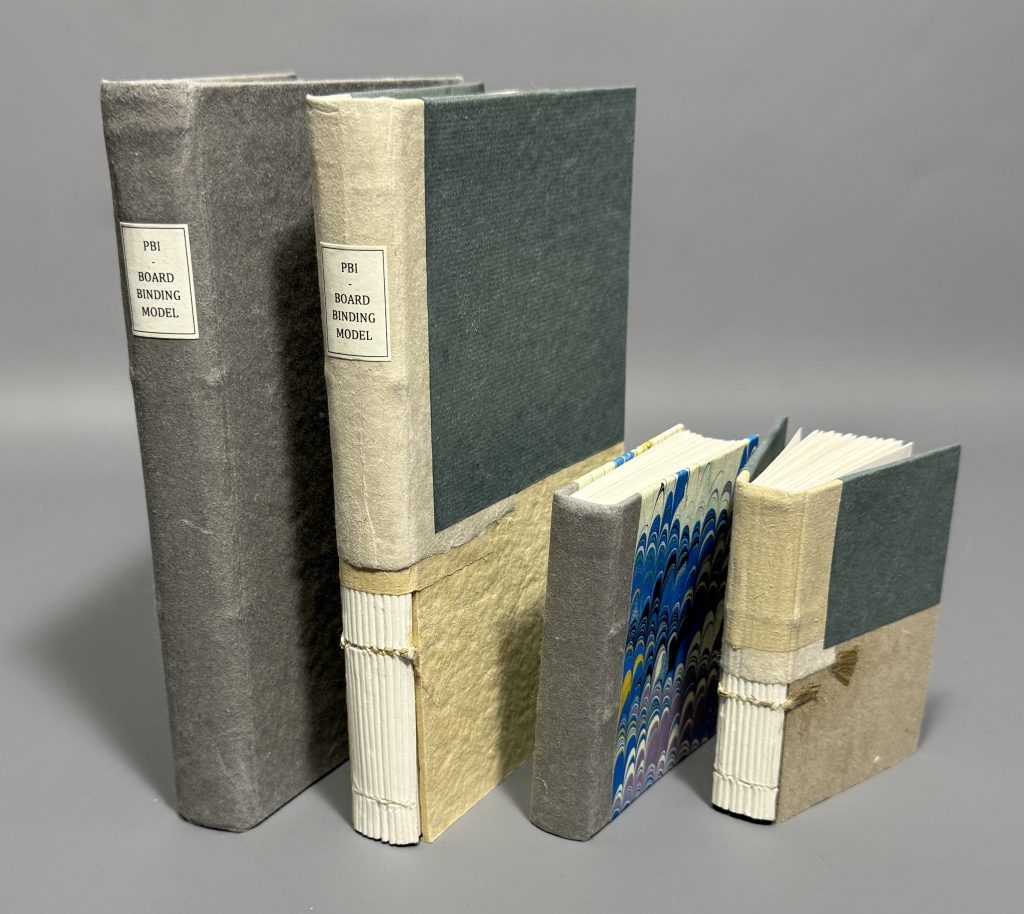
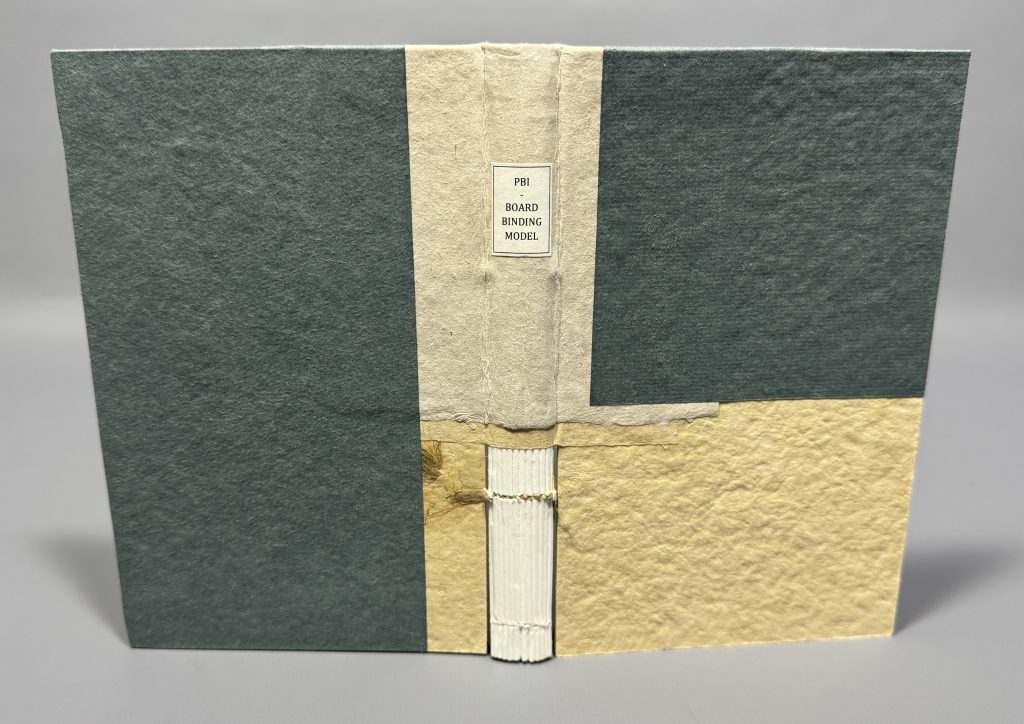
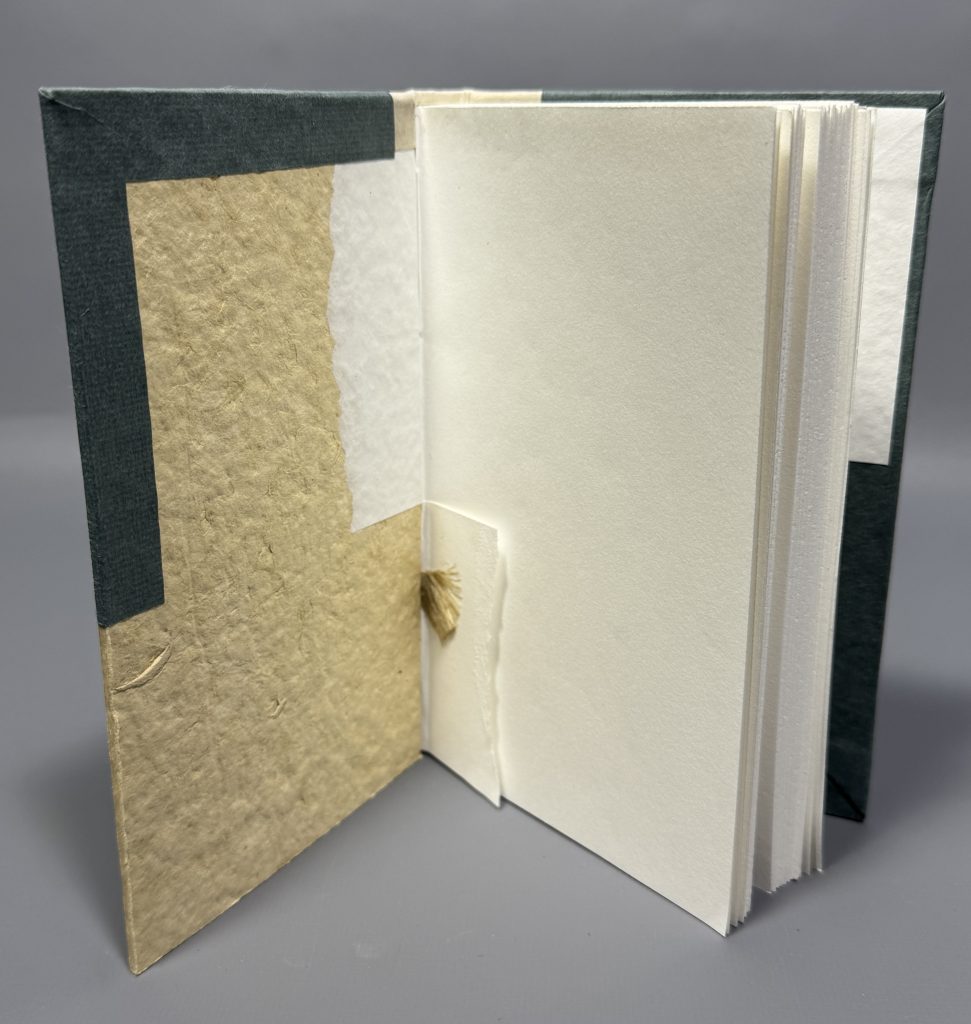
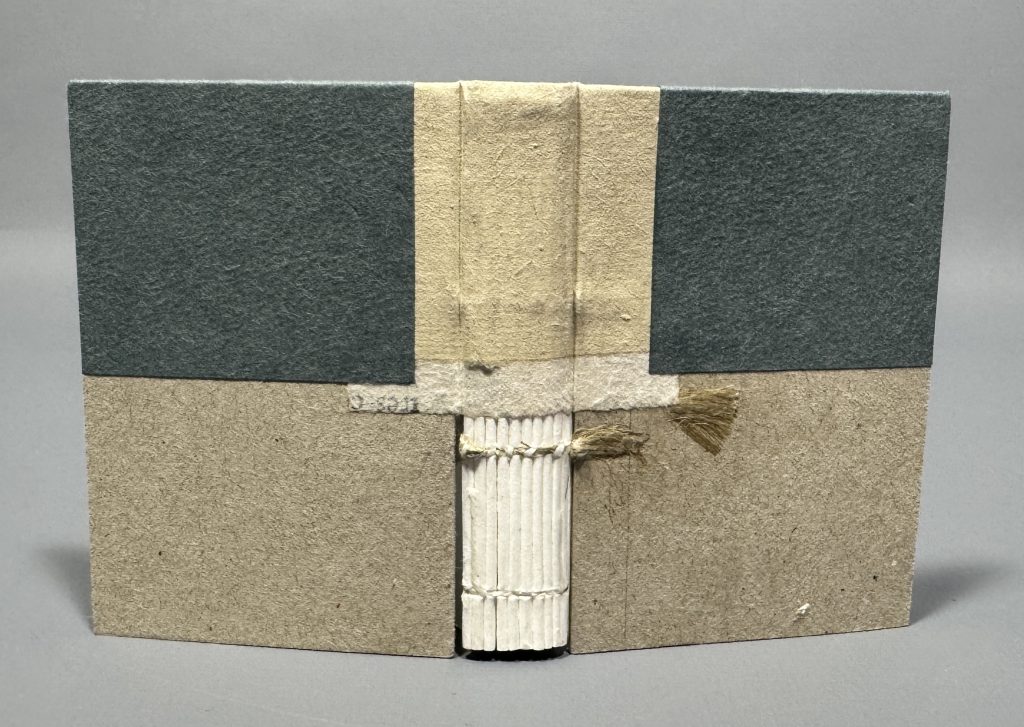
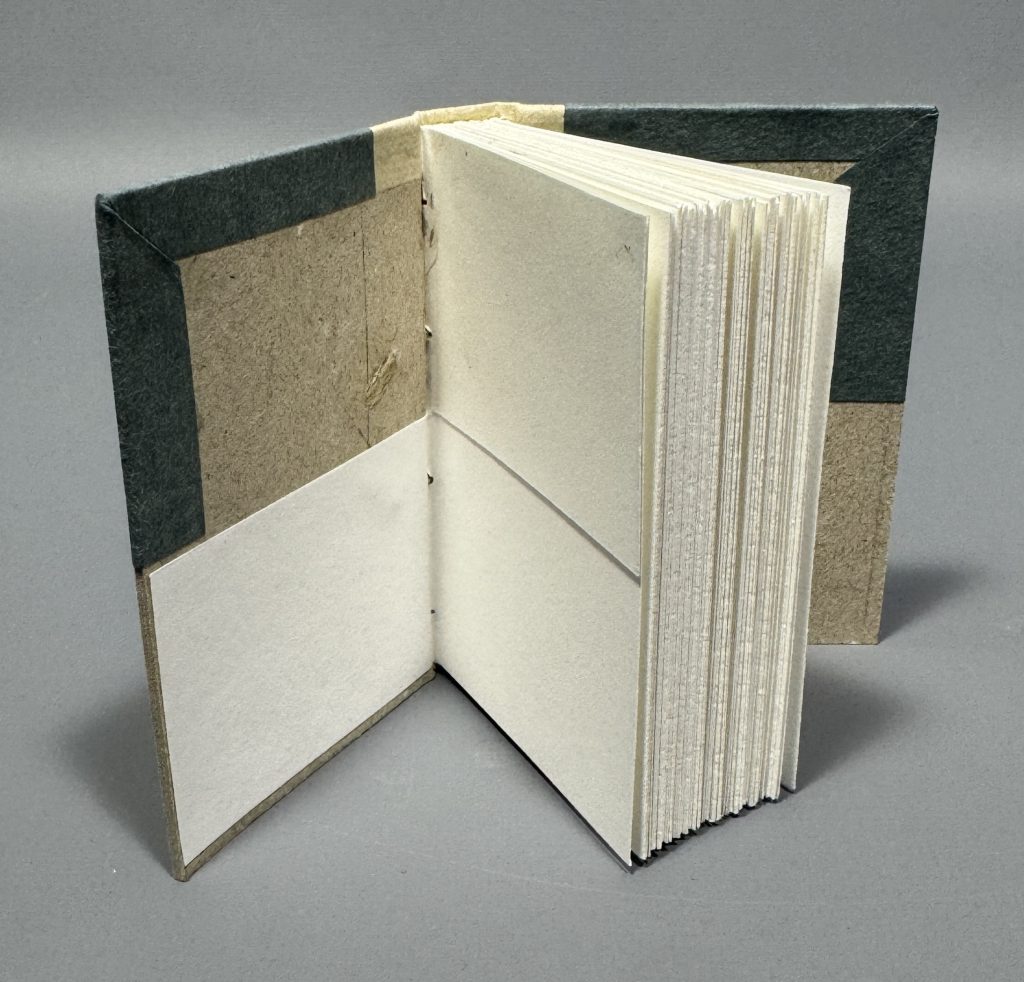
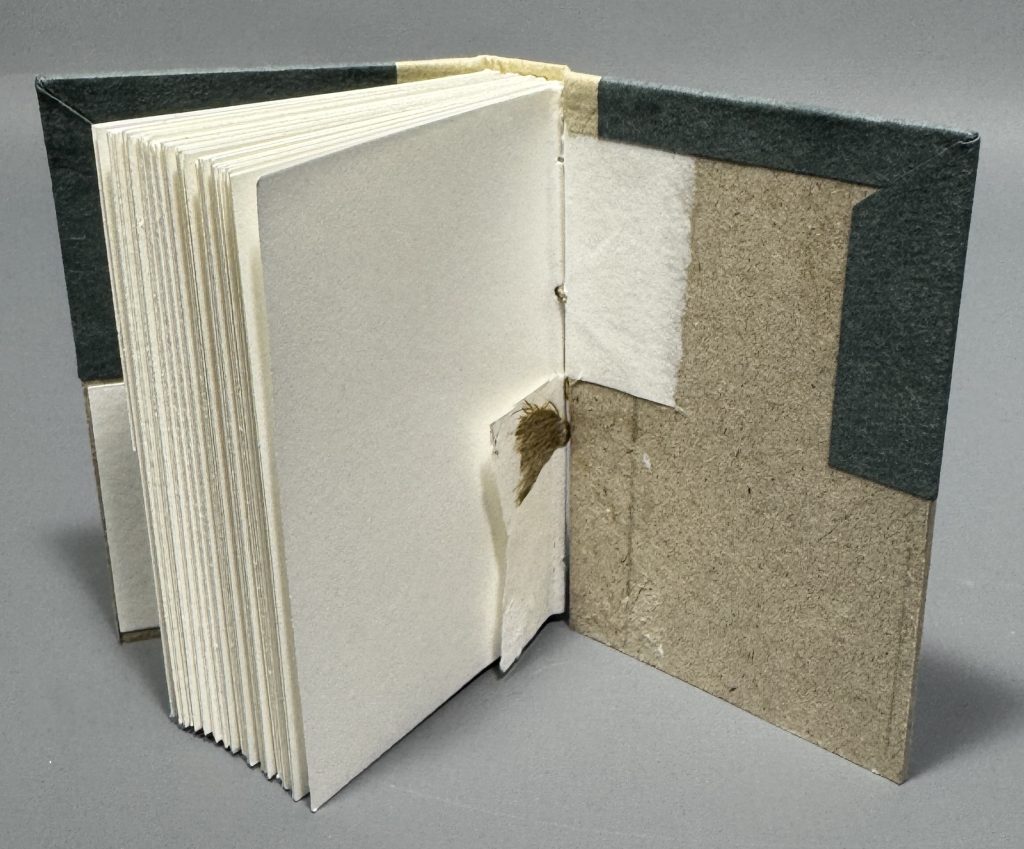
During the class we created two models: one cutaway and one paper-covered model. Both models were sewn on two recessed cords with an abbreviated, two-on sewing pattern. Once the text blocks were sewn, a layer of wheat starch paste was applied to the spine. Then the spines were rounded and backed. For the cutaway model, one board was attached by lacing the cords through the board, which is more commonly seen on the British boarded bindings, while the other board was attached by simply combing out the cords and adhered it down to the board, which is more commonly seen with American boarded bindings. For the paper-covered model we could attach the boards however we liked (I chose lacing them on). Todd was then kind enough to prepare additional materials for us, so that we could make an extra third models if we wanted. I chose to cut my third model (landscape oriented originally) into two small models. I then made a smaller cutaway model and small quarter binding model with marbled paper (an “extra” boarded binding) using marbled paper I had just created in my afternoon class.
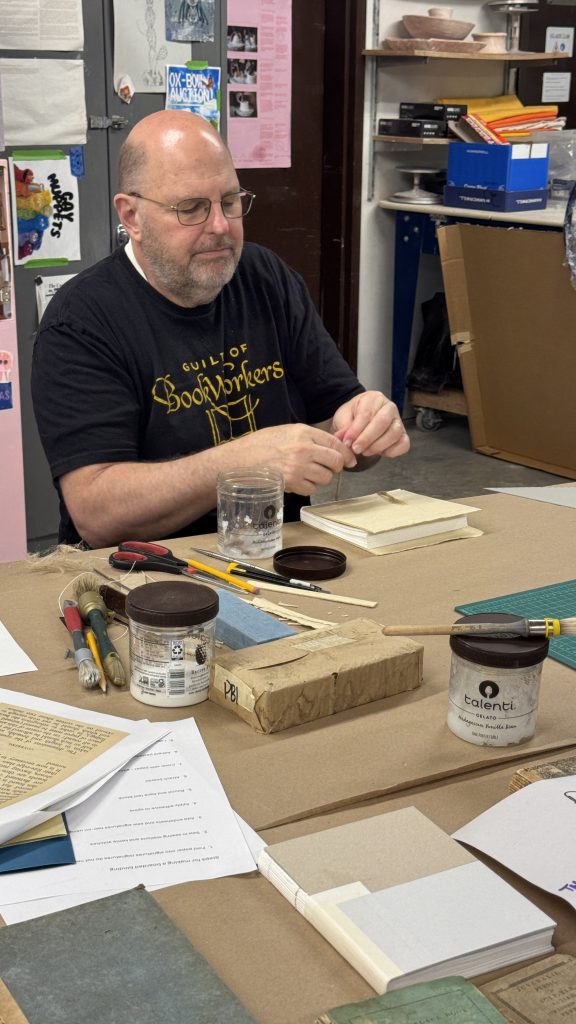

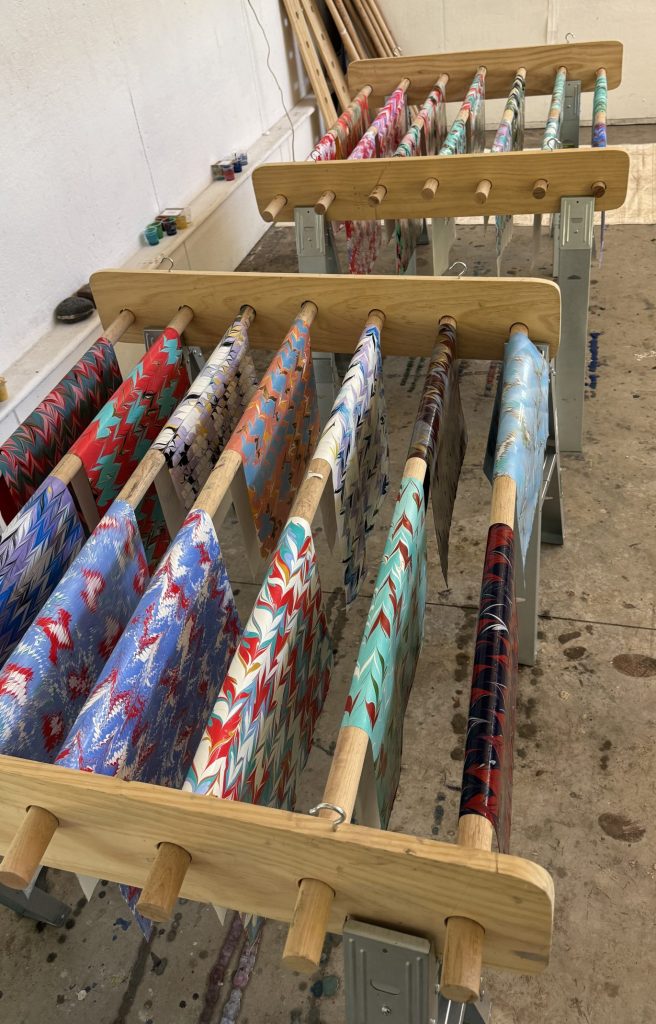
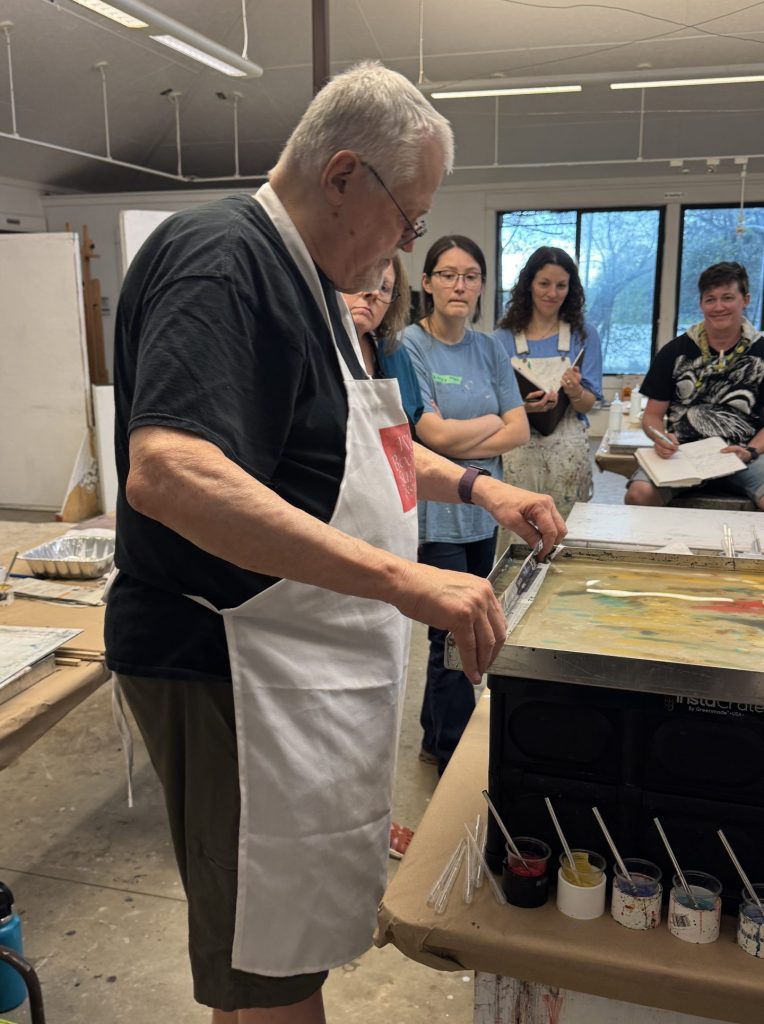
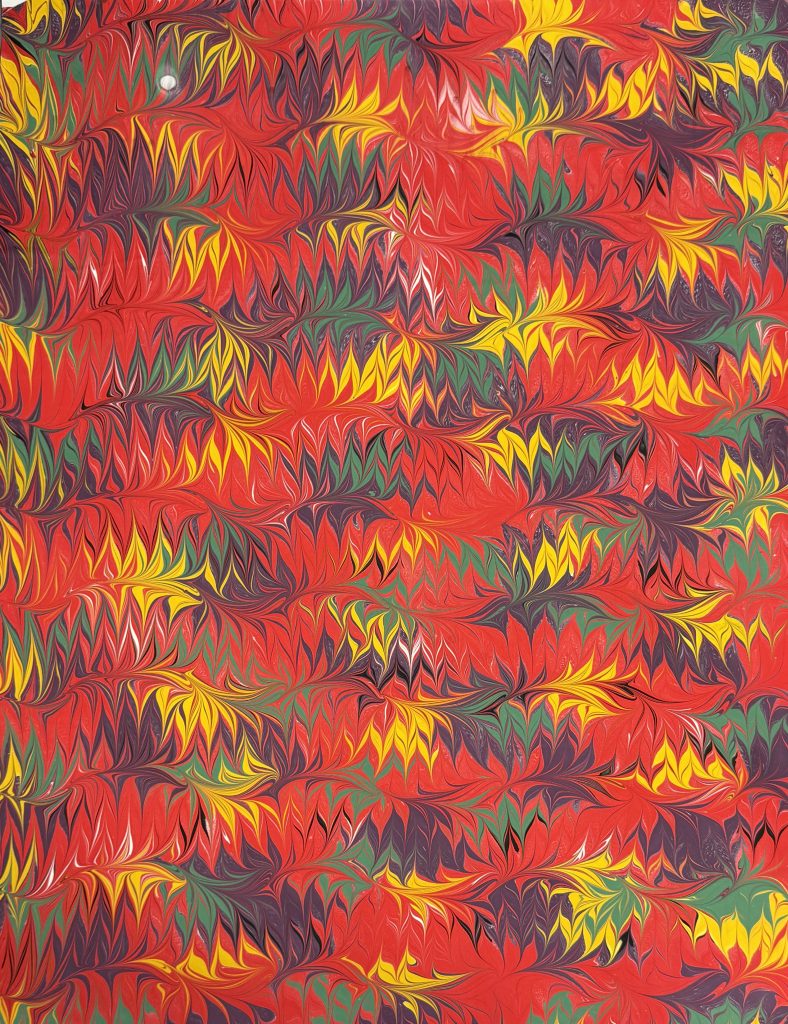
Though I have been paper marbling for years, I was super excited to take this class from Steve, because he is such an amazingly precise pattern-maker and his colors are so bright and vibrant. Little did I know before the class, we would be using acrylics, which is the one type of marbling media I really haven’t worked with too much, and definitely haven’t come close to mastering. My foundational experience with marbling has been in traditional Turkish marbling with watercolor pigments, and then I’ve also experimented with the dye-based pigments that are used in fabric marbling. But using acrylics was a whole new exciting world for me and I learned so much from the class. I also greatly improved my pattern making. I’ve always been someone who is very fond of a stone or a drawn stone pattern (a stone pattern that is manipulated with a stylus), but when it came to using combs and/or rakes to make intricate patterns I would shy away or be lazy in my pattern making practices. Steve’s focus on marbling best practices and following a rhythm in your movements as you are pulling more intricate patterns, working around the bath in a methodical, precise way, was so helpful and something I will carry with me going forward.
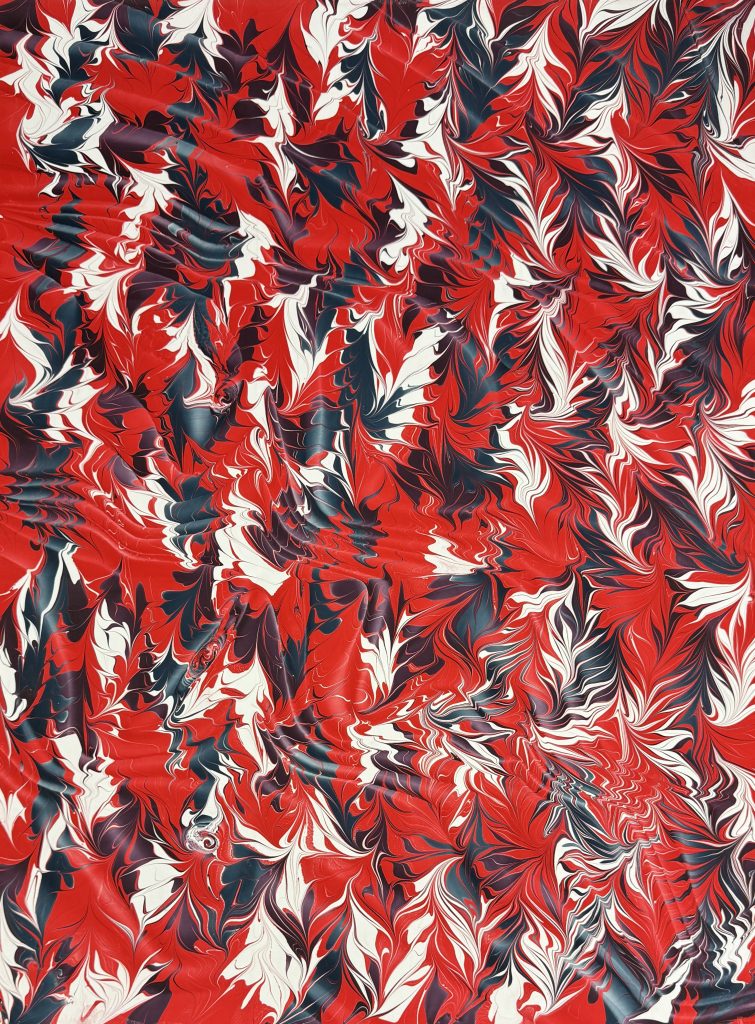
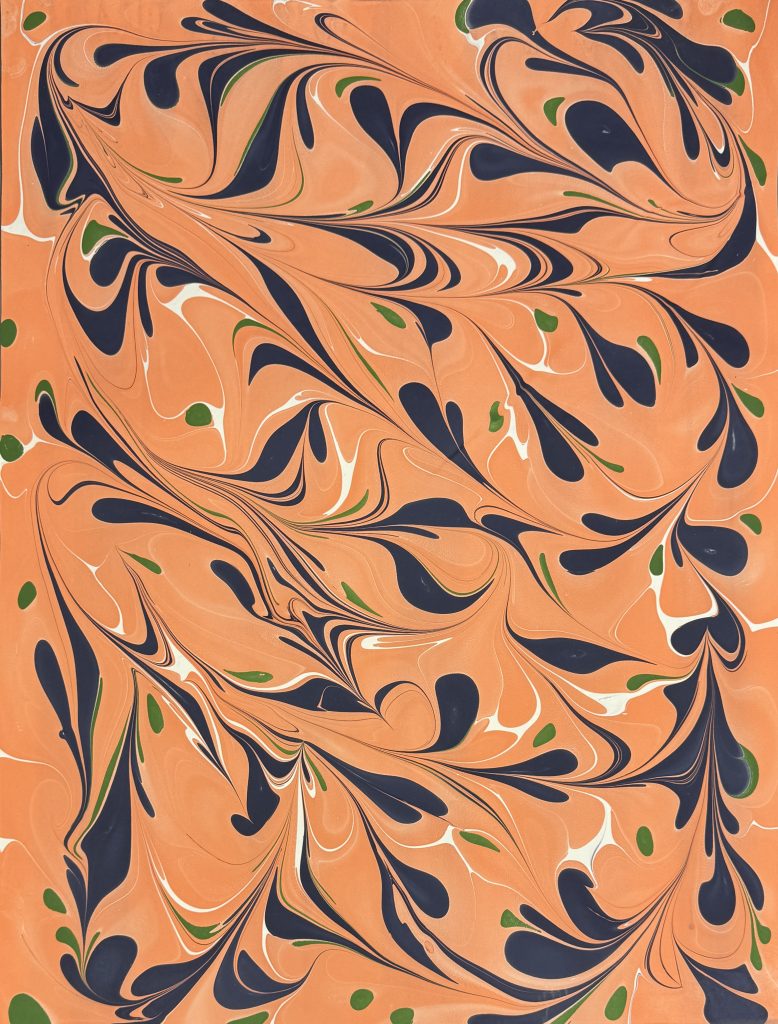
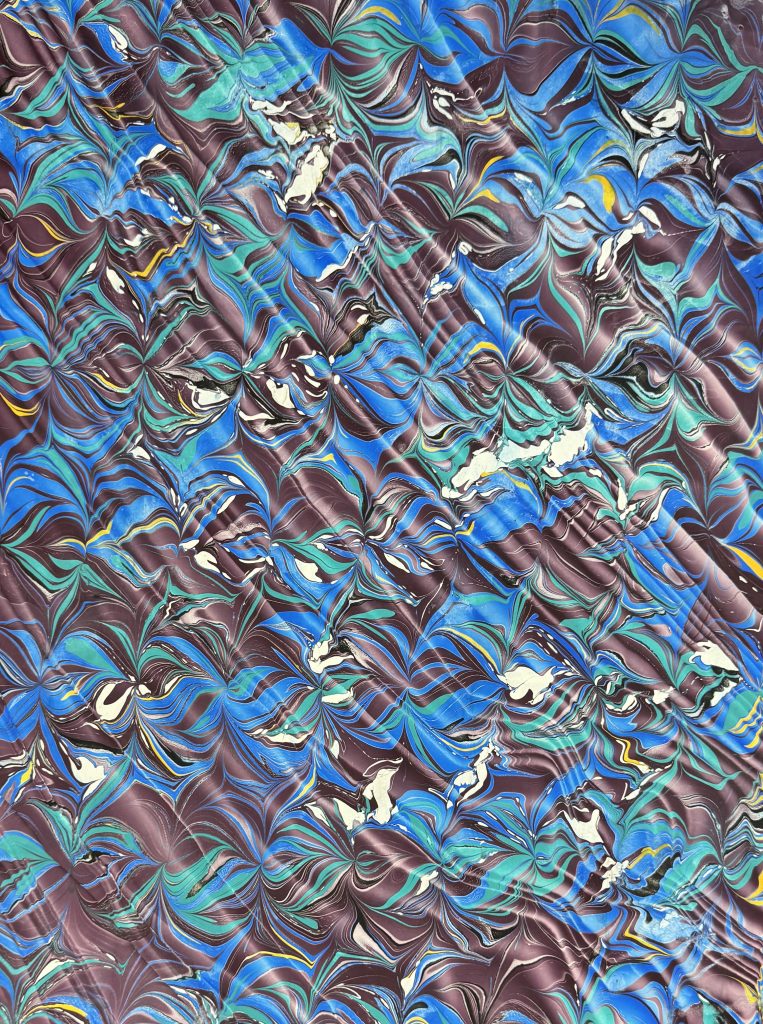
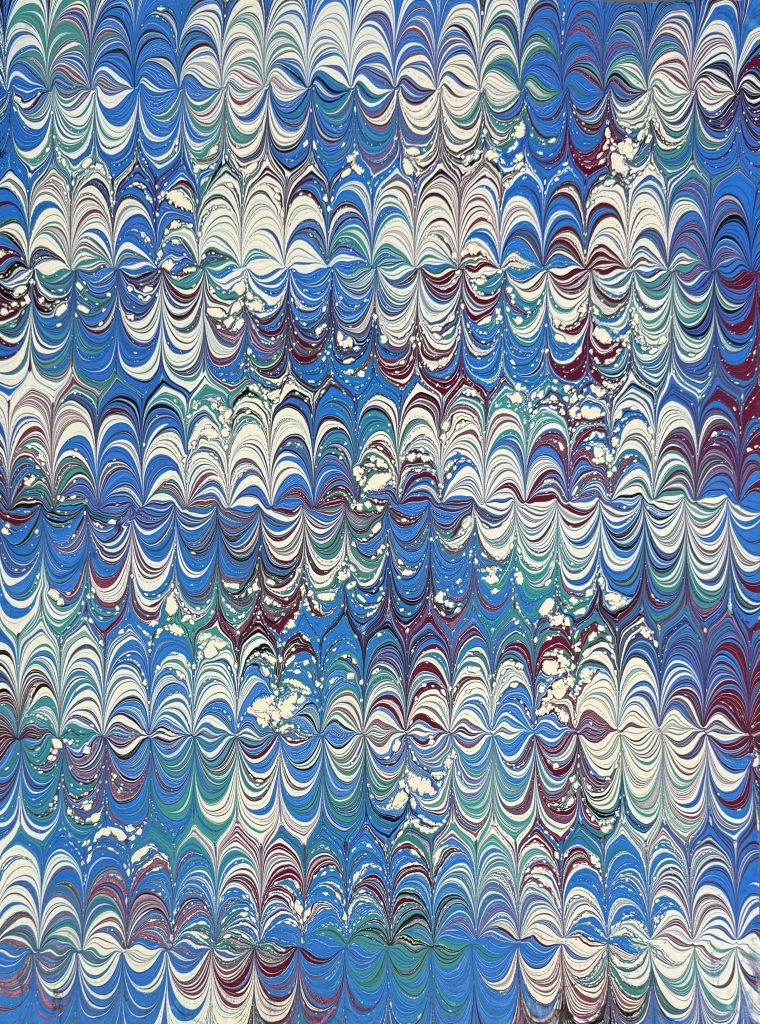
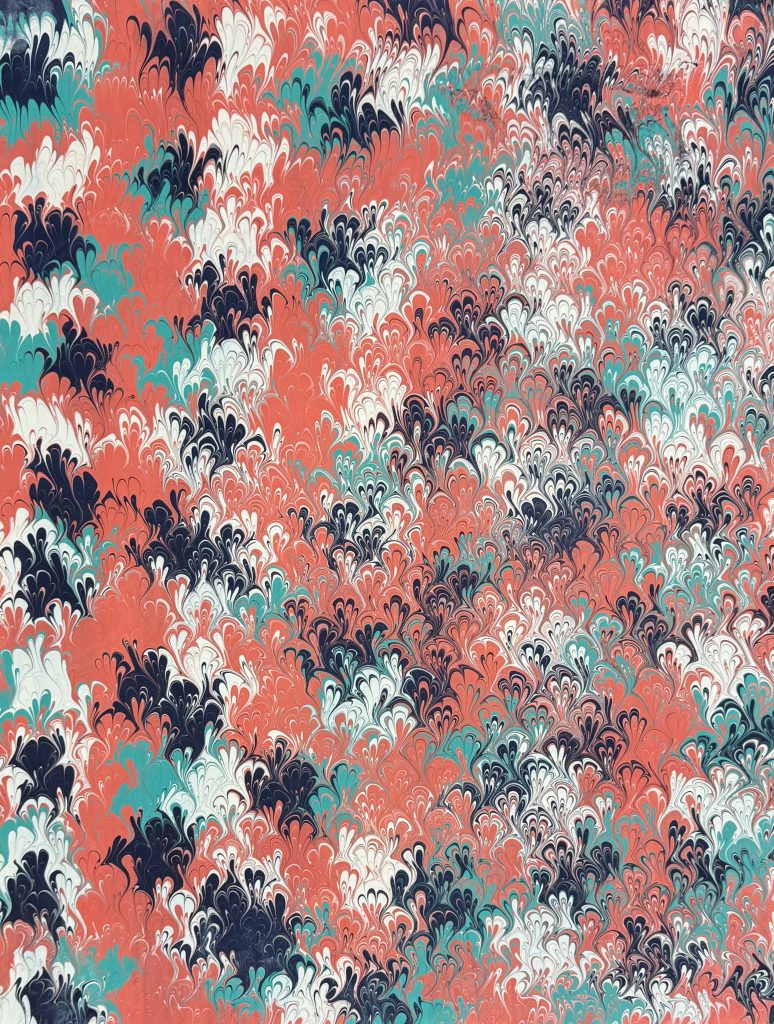
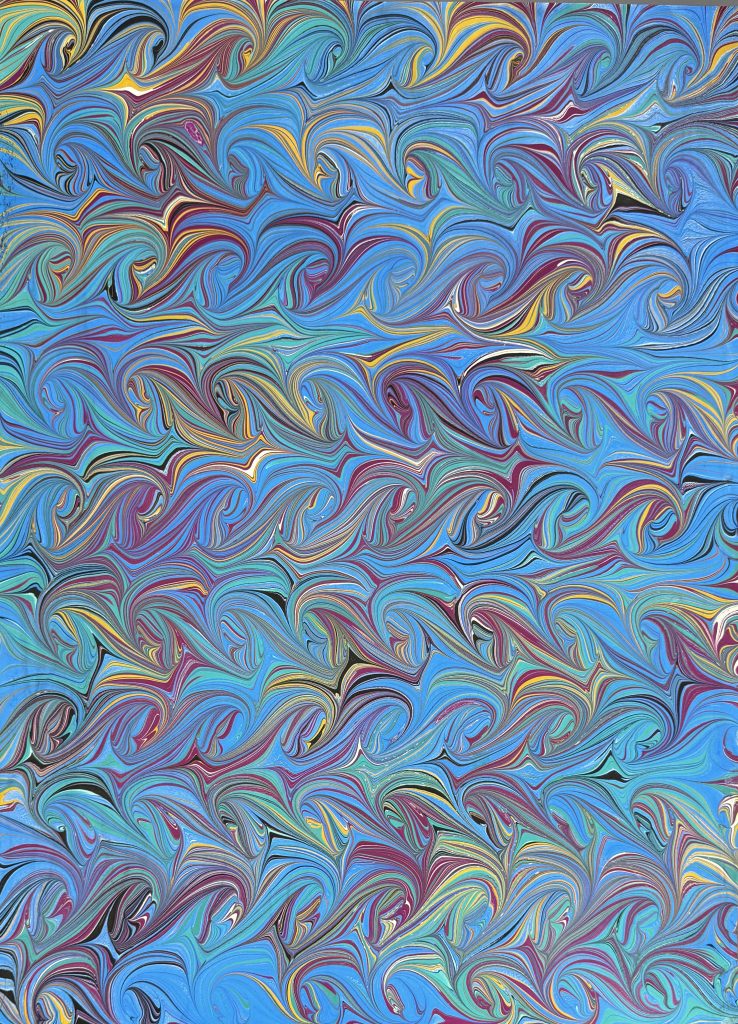
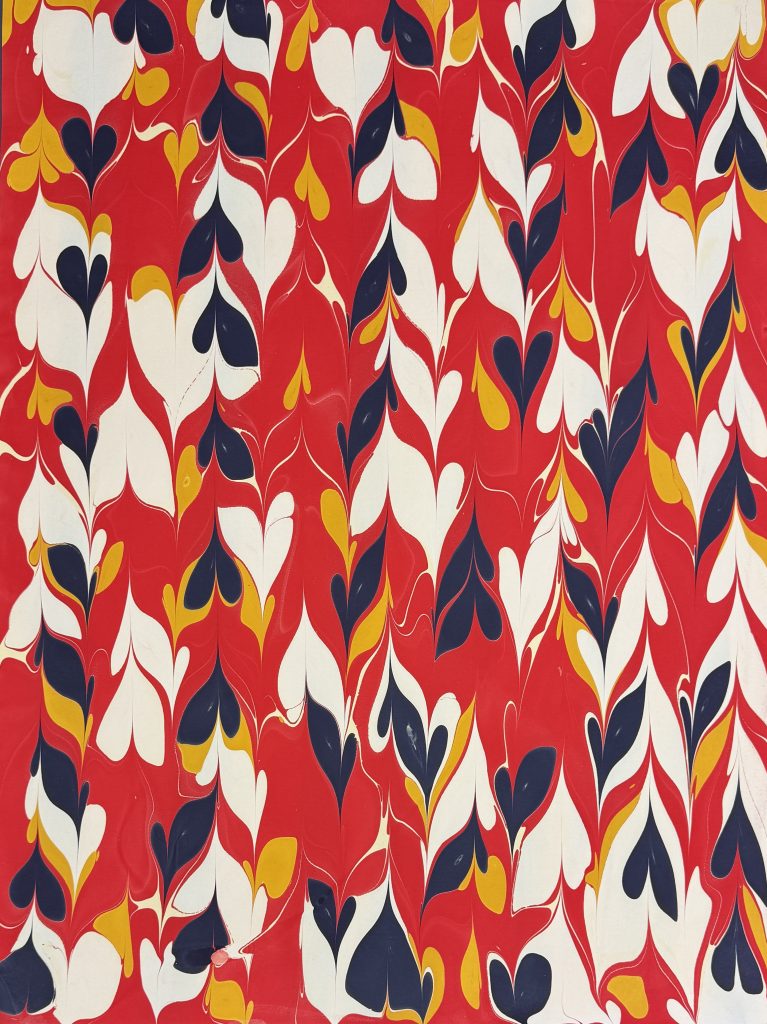
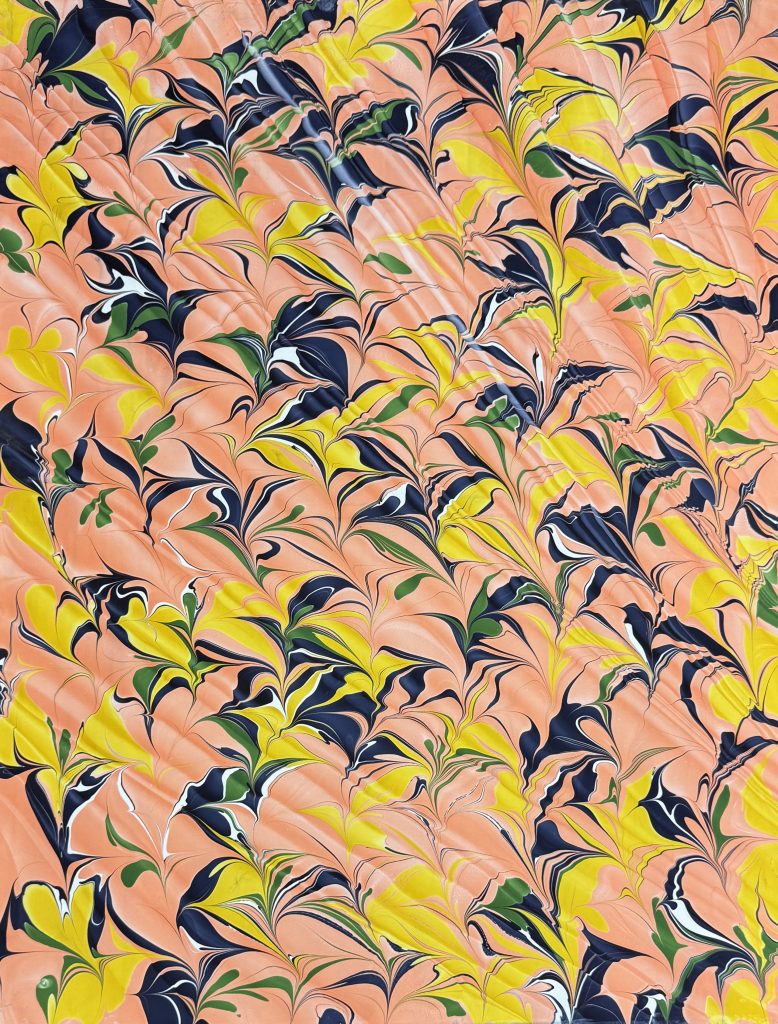

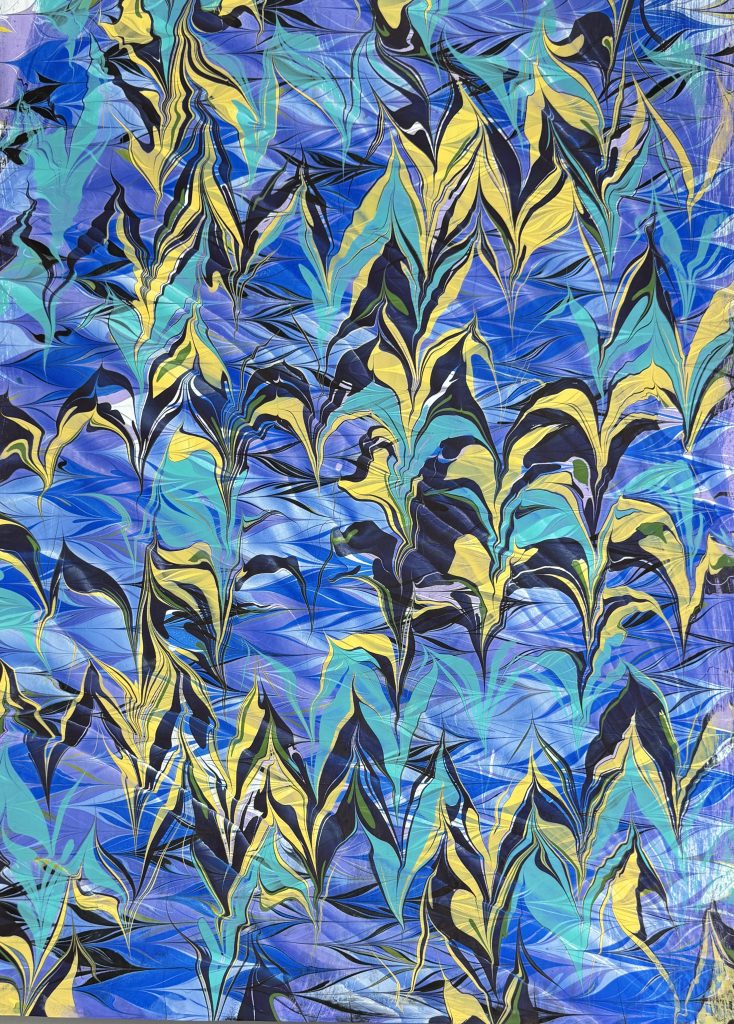
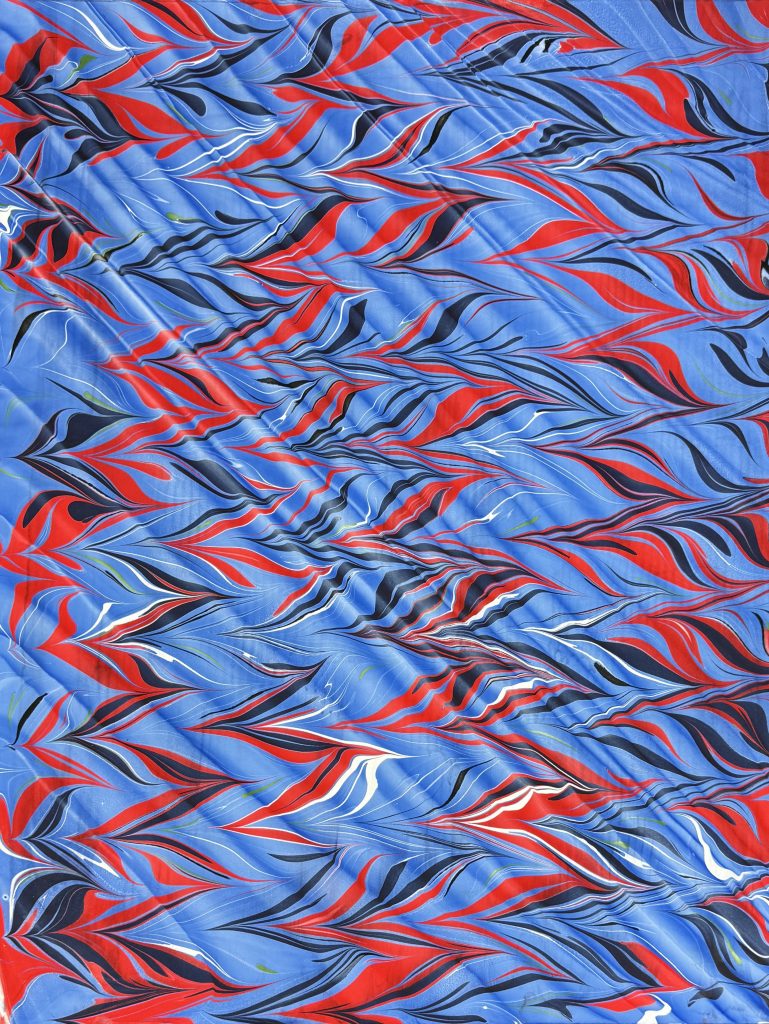
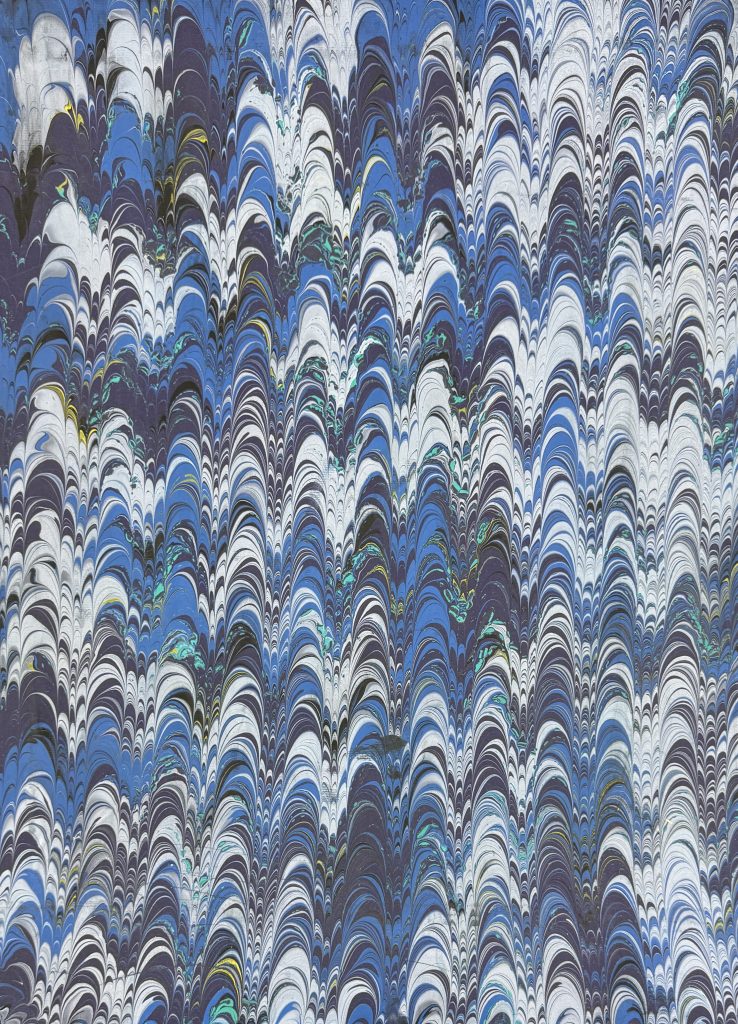
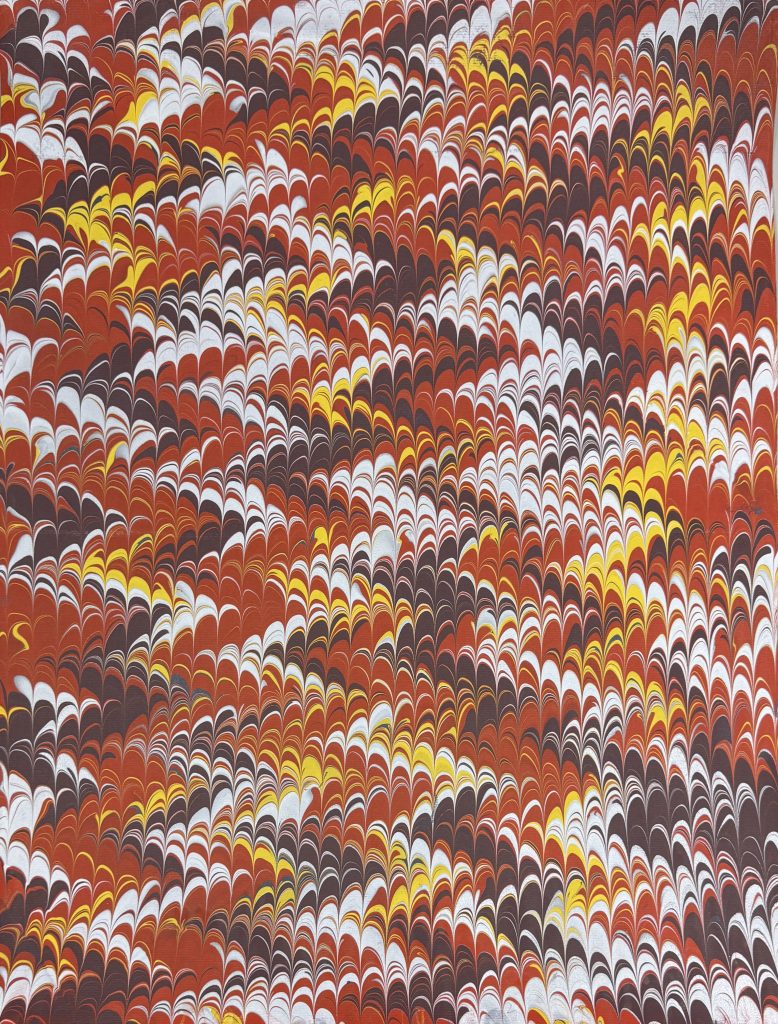
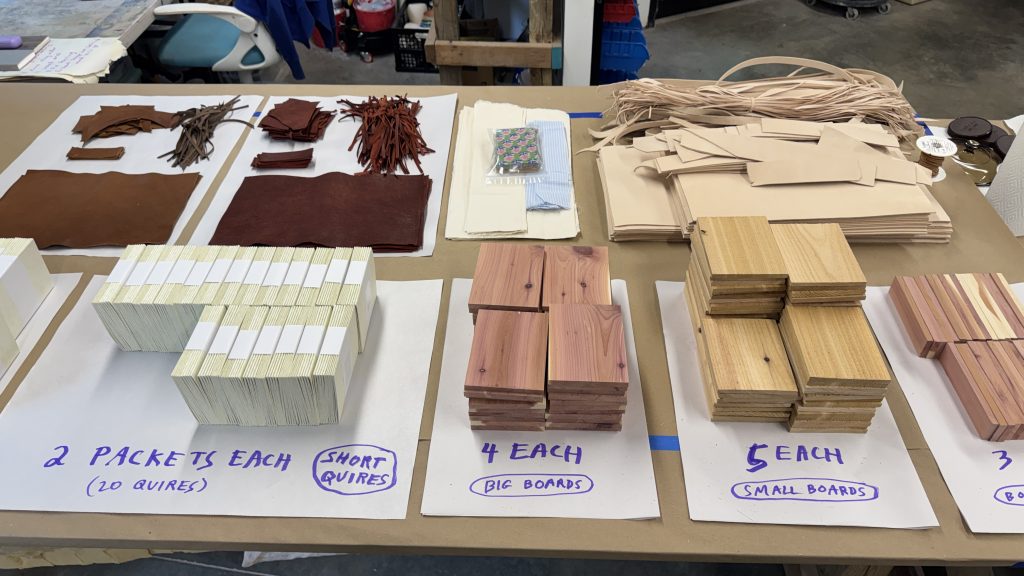
Following a wonderful Show & Tell where we got to see all of the amazing projects from all the classes during session one, we had a short break and then proceeded into session two, which for me meant Ethiopian Bookbinding. I was super excited about this class, partly because of the recent release of Bill Hanscom’s (the instructor) new book Ethiopian Bookbinding Tradition, and partly because I was sitting across from Bill throughout the Boarded Bindings class and they announced that they had over-prepared and brought a ton of extra models. Basically, the participants would have PLENTY to work on, and then some! I couldn’t wait. For book nerds, this was basically a declaration that we would be kids in a candy shop, and they weren’t joking. Here is proof that Bill was indeed not lying about their preparation, which was quite extensive and so well-organized:
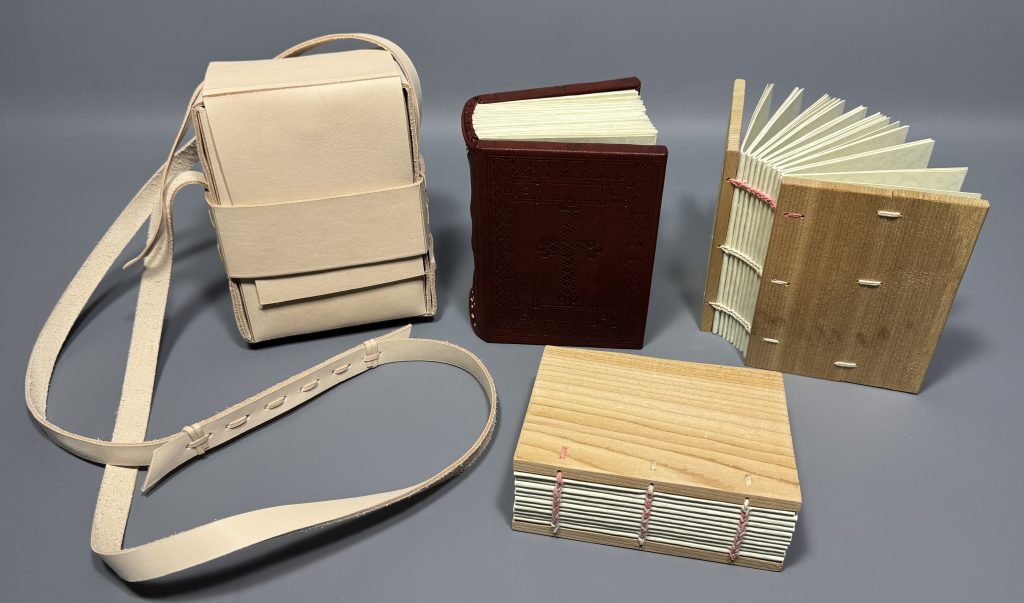
Bill also had two exemplars of Ethiopian binding, both of which showed traits we would be replicating throughout the class; a smaller volume (pictured in the first gallery below, belonging to Todd Pattison) and a larger binding (pictured in the second gallery below, belonging to Bill).
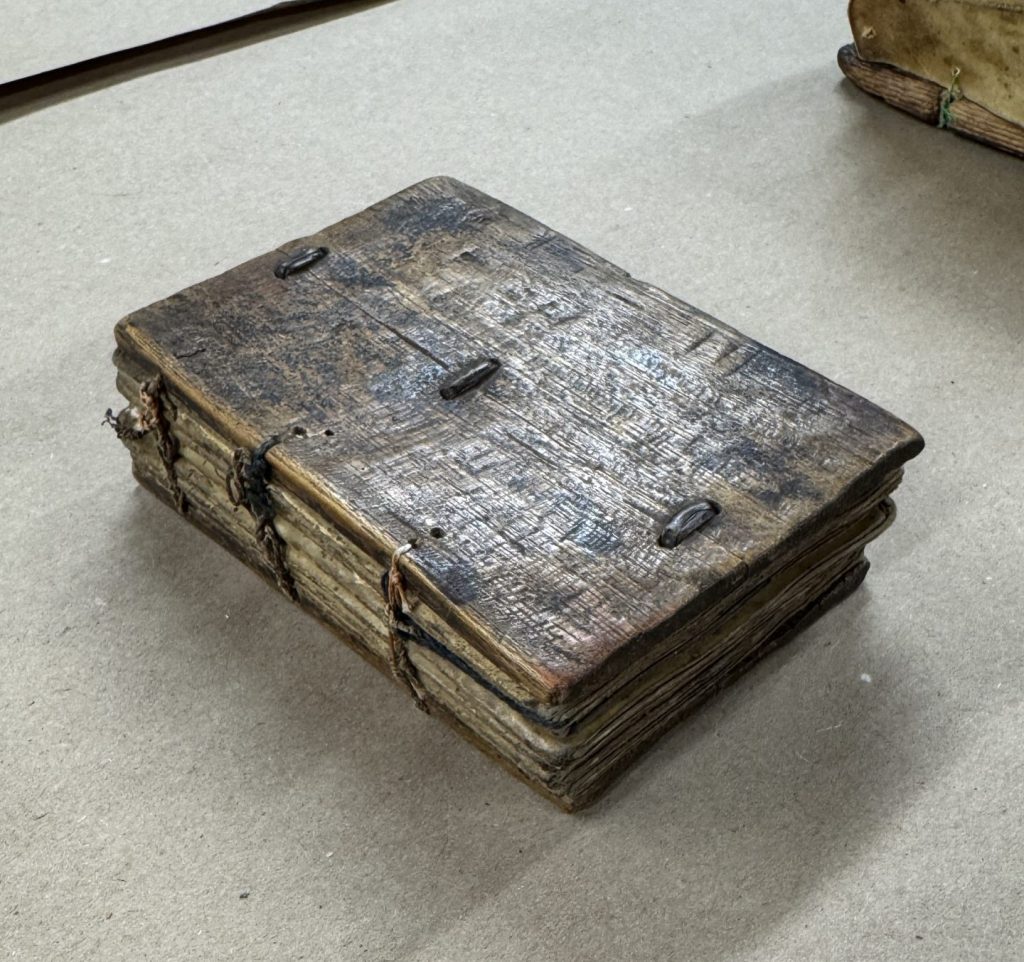

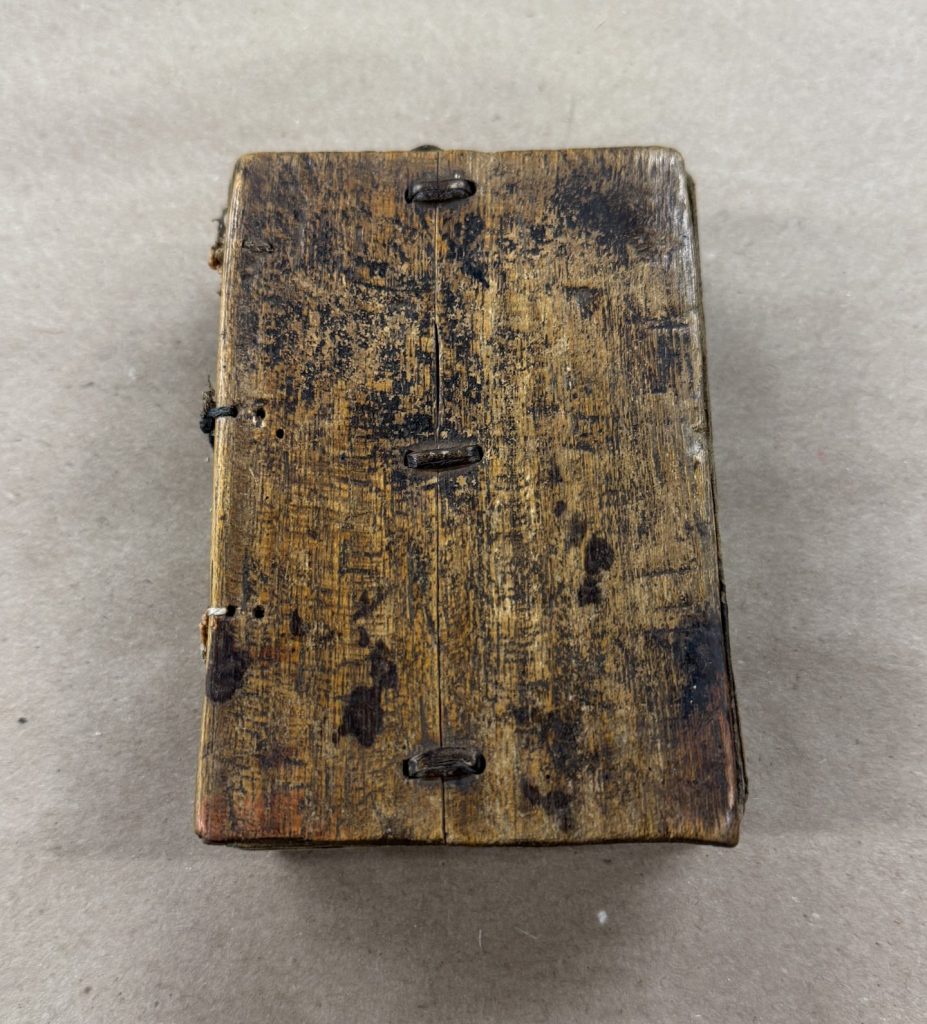


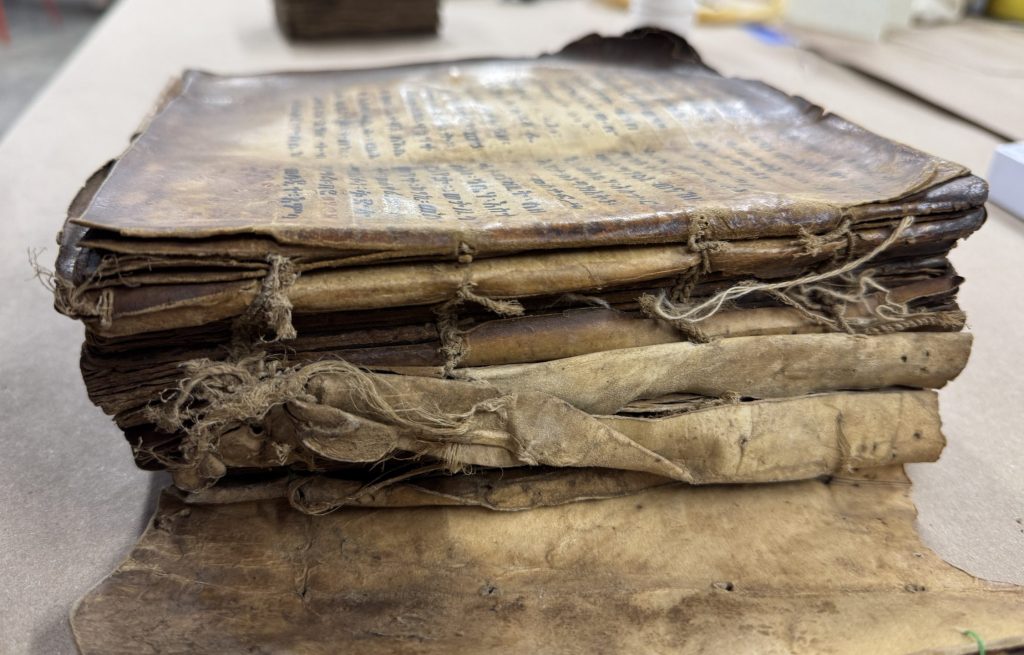


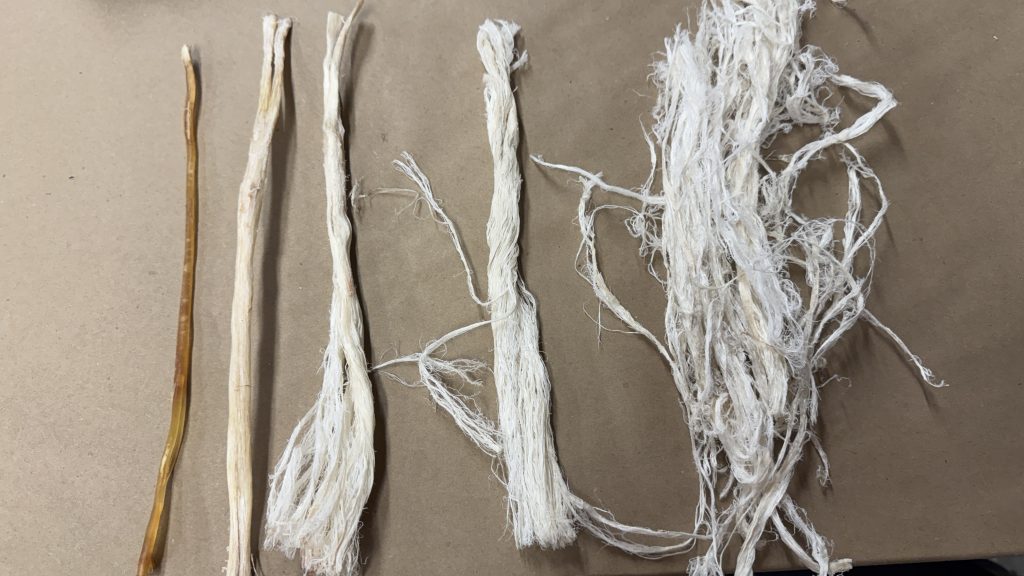
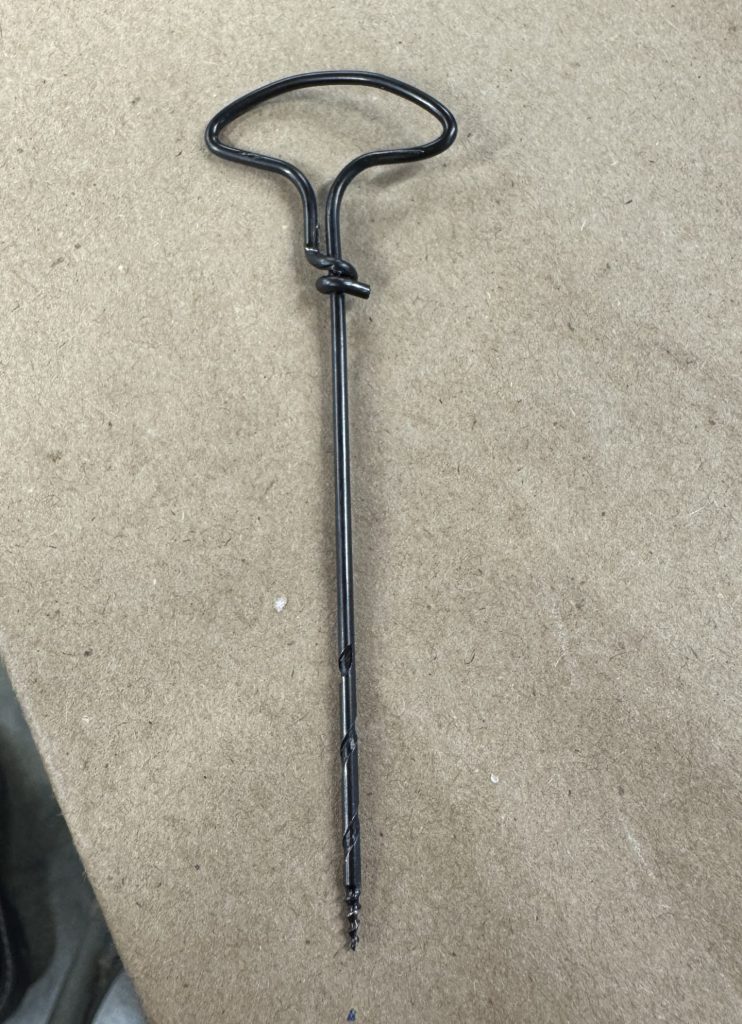
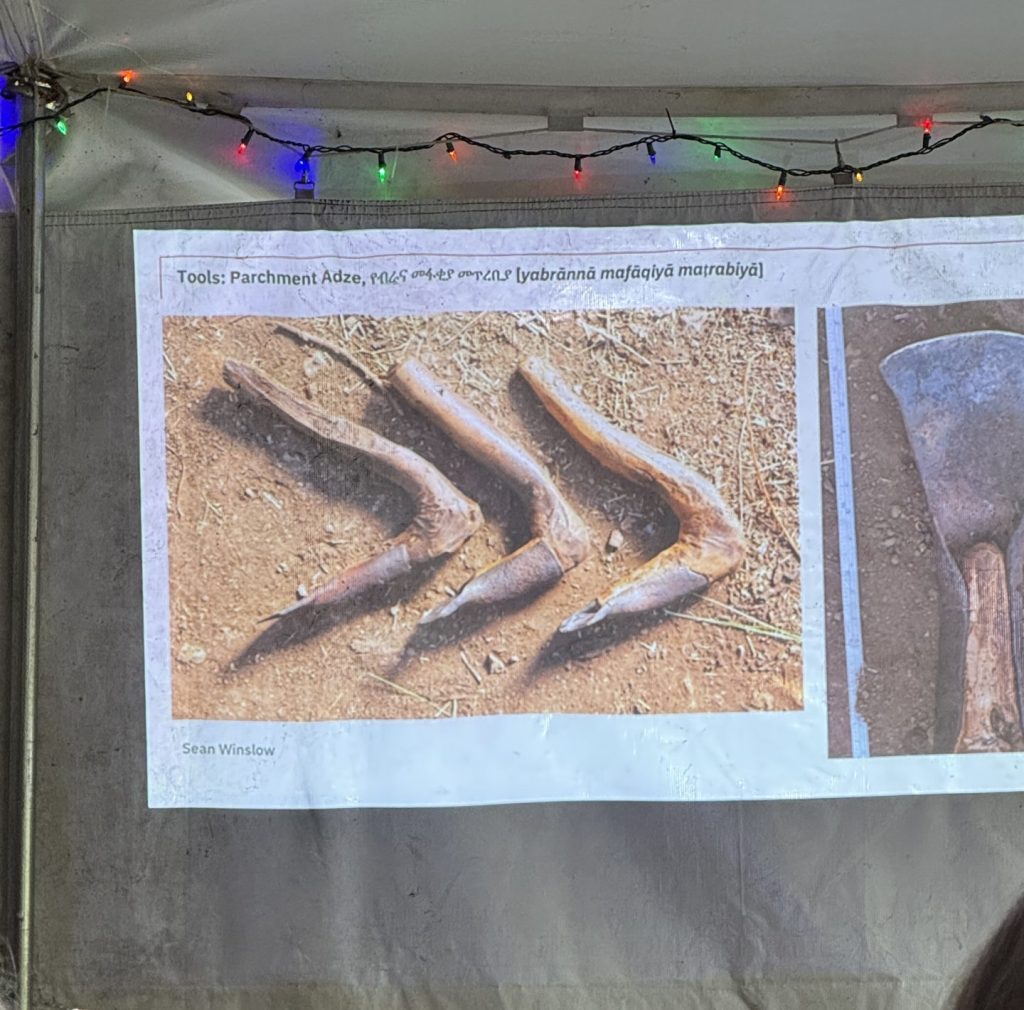
The class was a true immersive experience in Ethiopian bookbinding, with Bill really aiming to give us a taste of as many aspects of the tradition as they possibly could. From thread making out of deer sinew and parchment to hand-drilling our tunnels in our wooden boards with a heated awl, though for practicality sake and the sake of our poor awls, we just did that as a practice on a sample board and we used a pin-vise and a gimlet to drill and bore the holes for the rest of our models. Bill even constructed their own parchment adze, an Ethiopian took used to remove the hair from the skin of the hide, from a branch found at OxBow (see below).

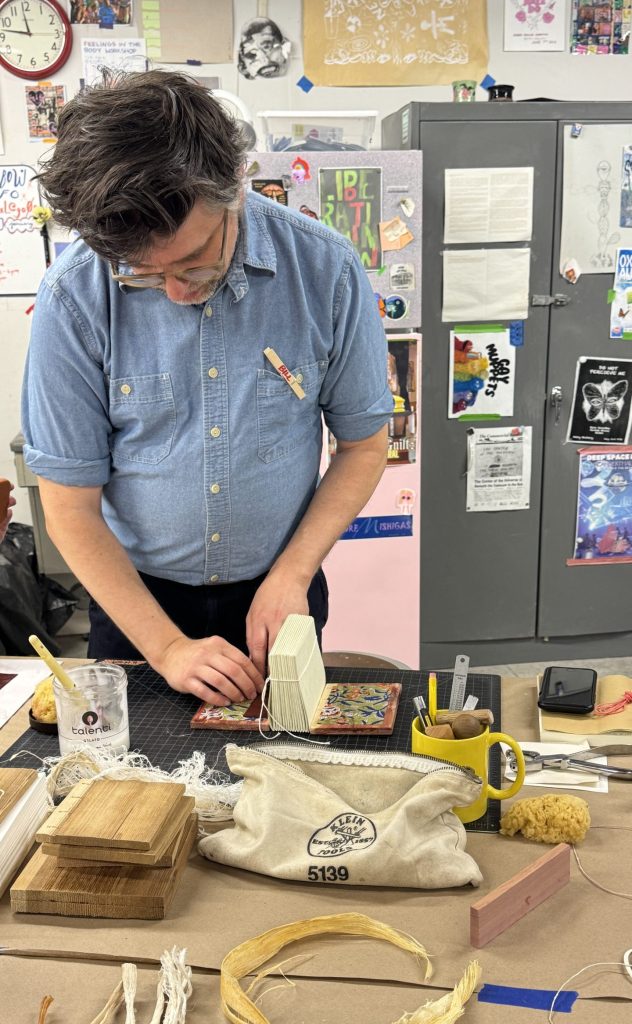
Throughout the workshop we made two primary wooden board models with paired station sewing (four sewing stations, using 4 needs and two lengths of thread) and the “typical lacing hole arrangement” which is the most commonly seen example of board attachment (and what is used on the two exemplars). Of the two primary models we were creating, one was to be covered in leather. Prior to covering we added textile board linings and leather patches. Once covered, we created leather endbands that were then attached to the inner joints and anchored along the head and tail. The model was then blind tooled. Naturally, Bill had a plethora of historical examples of tooling designs for the class to look at for inspiration.
In addition, we could also make a textile over-cover, which I opted to do for my second model, since the over-cover is sewn around the book and meant to stay on. And then on the final day we made leather satchels. I was one of the few who opted for the more strenuous double-walled satchel (for my second model), which meant punching through three layers of thick leather in multiples sections of the satchel, but I’m very happy with how the satchel turned out. It even has a pull string to allow you to remove the book more easily, as it is meant to be a snug fit (which mine is!).
Bill also prepared additional boards and text blocks for class participants, if they were interested, encouraging us to try three station sewing at our leisure. For those who were interested, we dyed some cotton thread red in order for us to better see the various three station sewing patterns. Of those, I tried the hook variation and the pick-up variation. I also split the board of one of these models so that I could repair it it with a common thread repair.

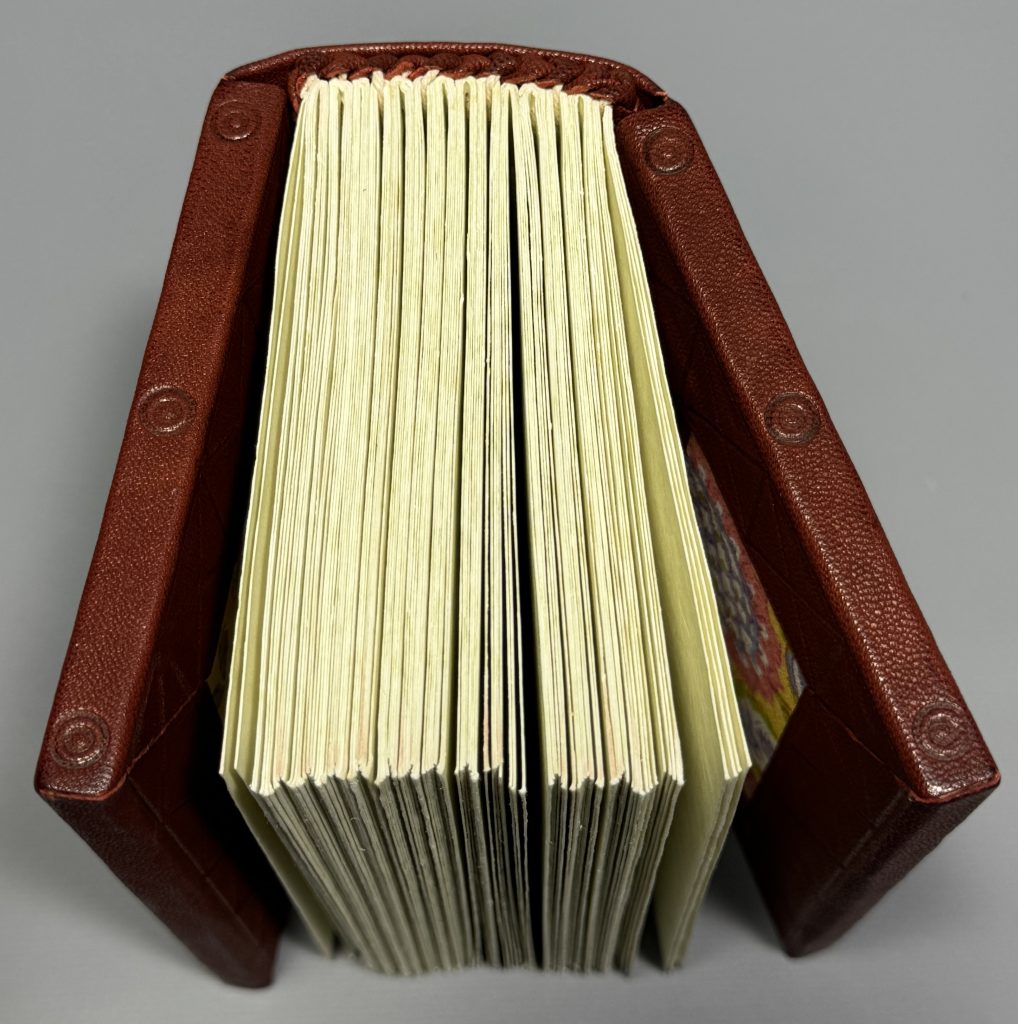
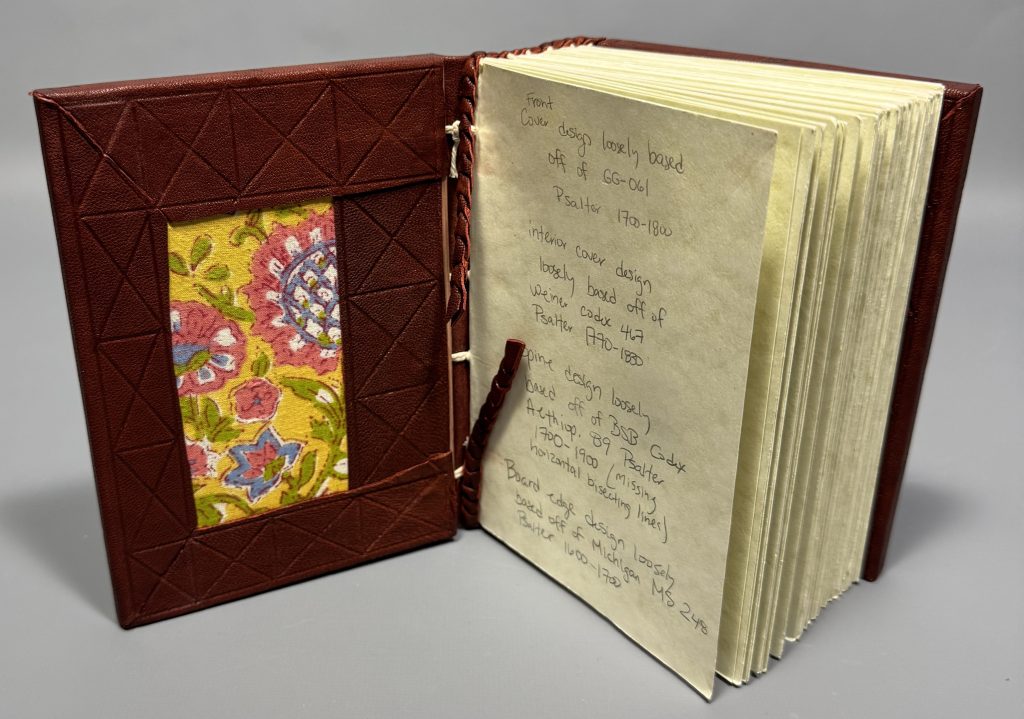
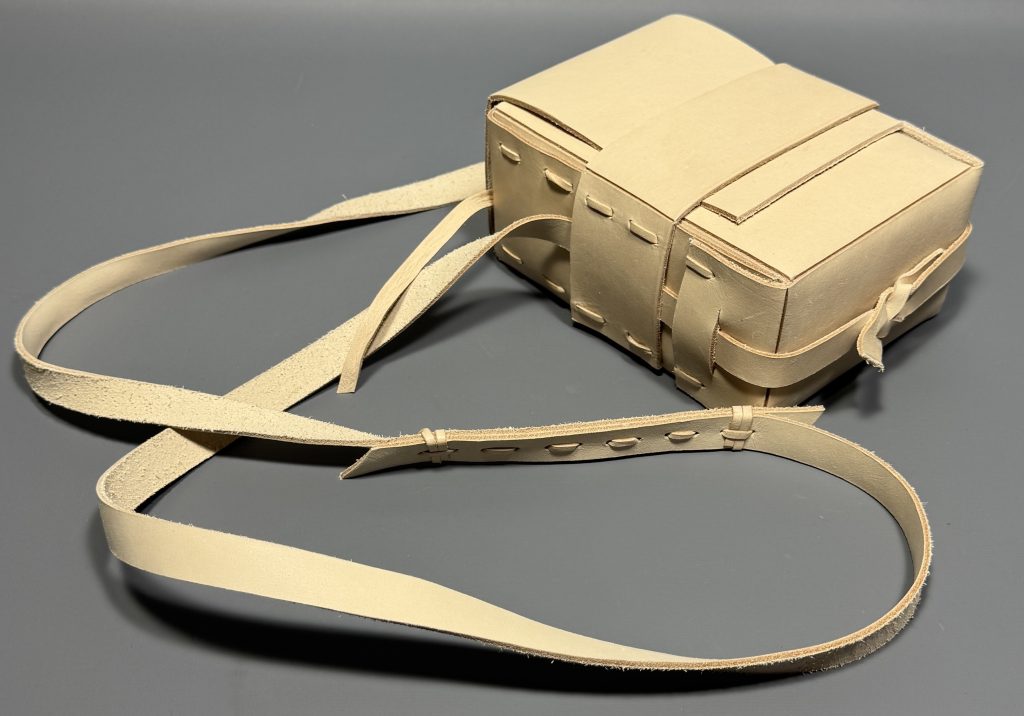
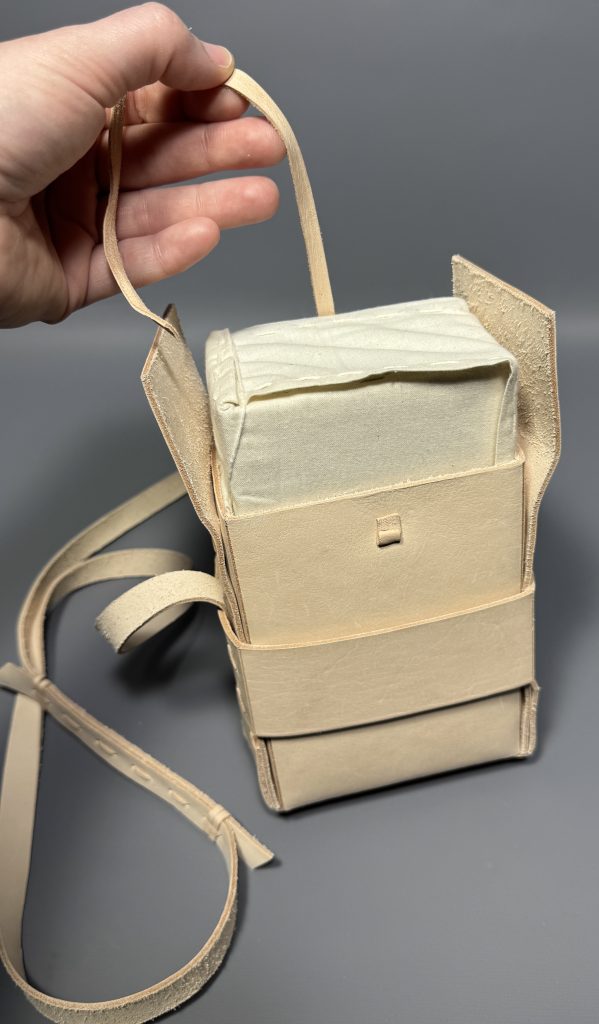

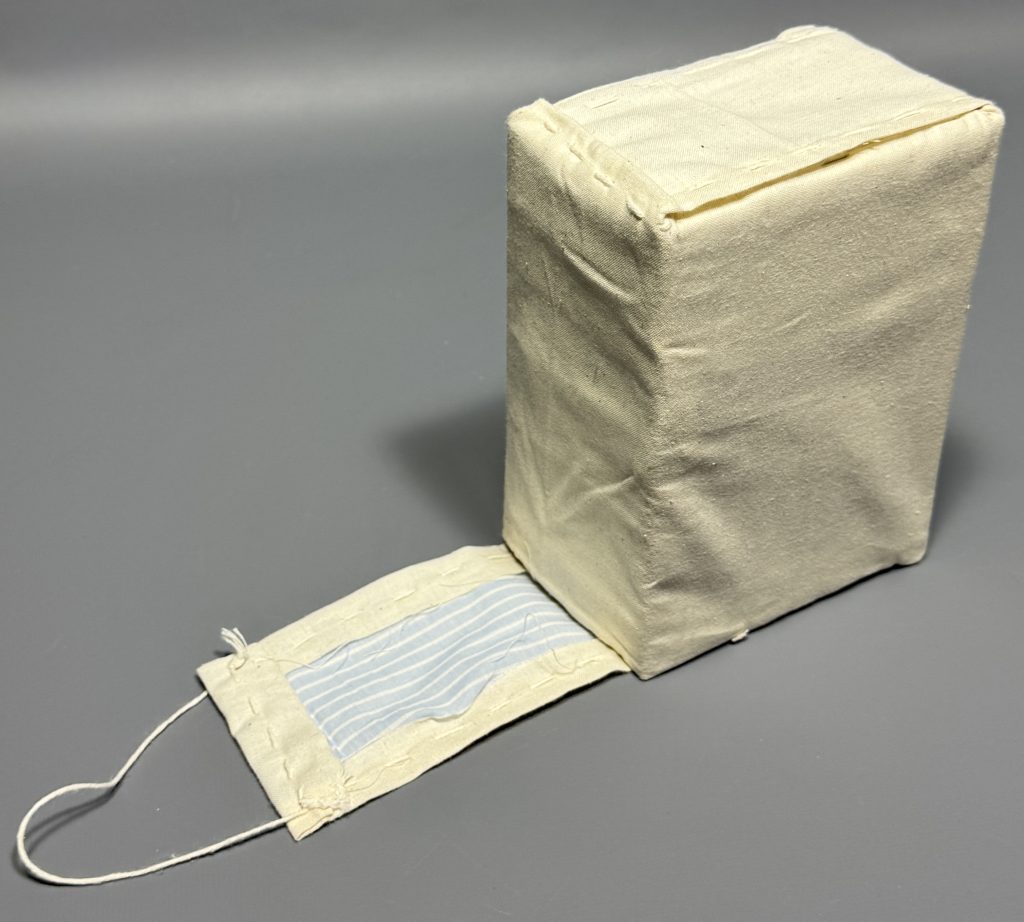
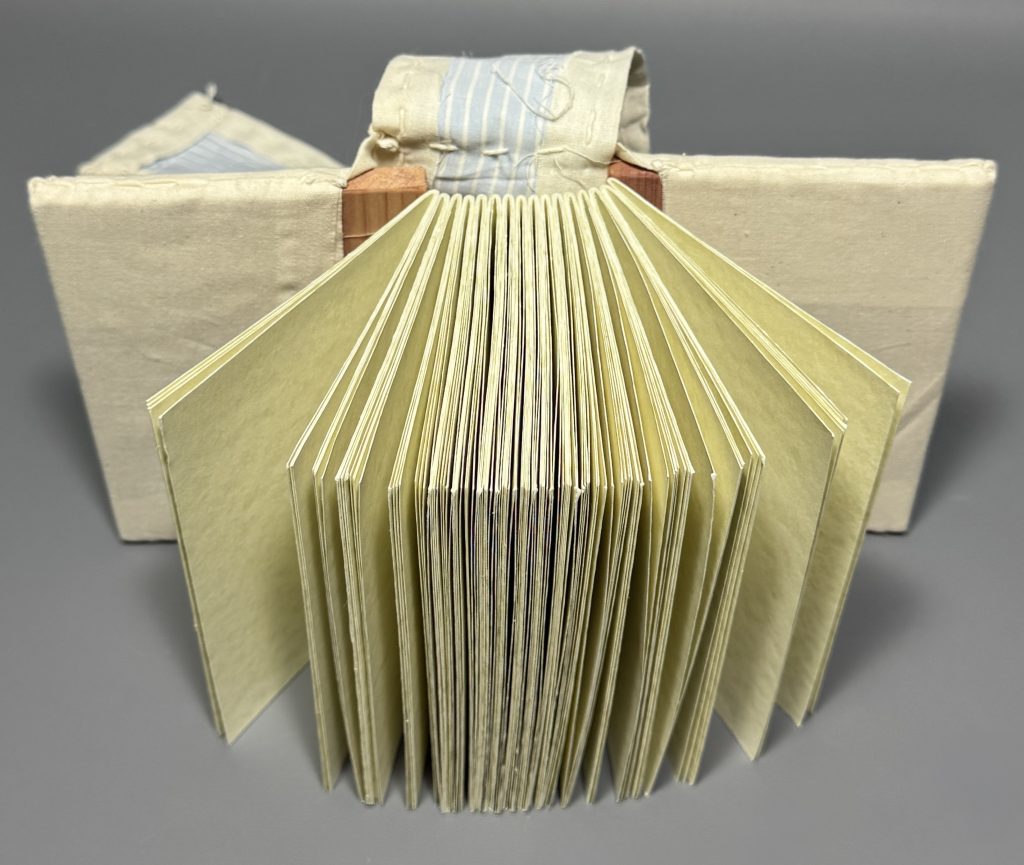
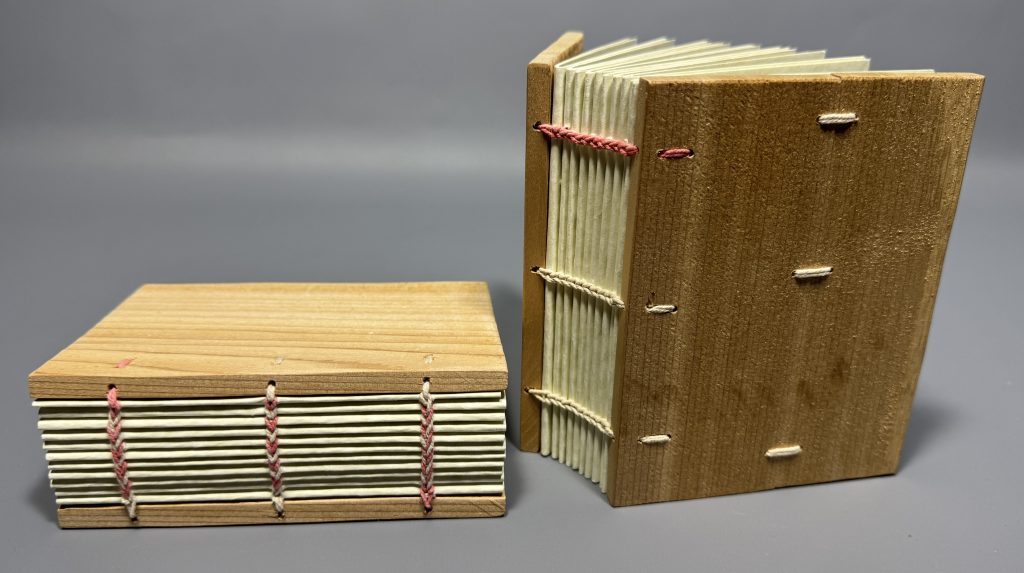
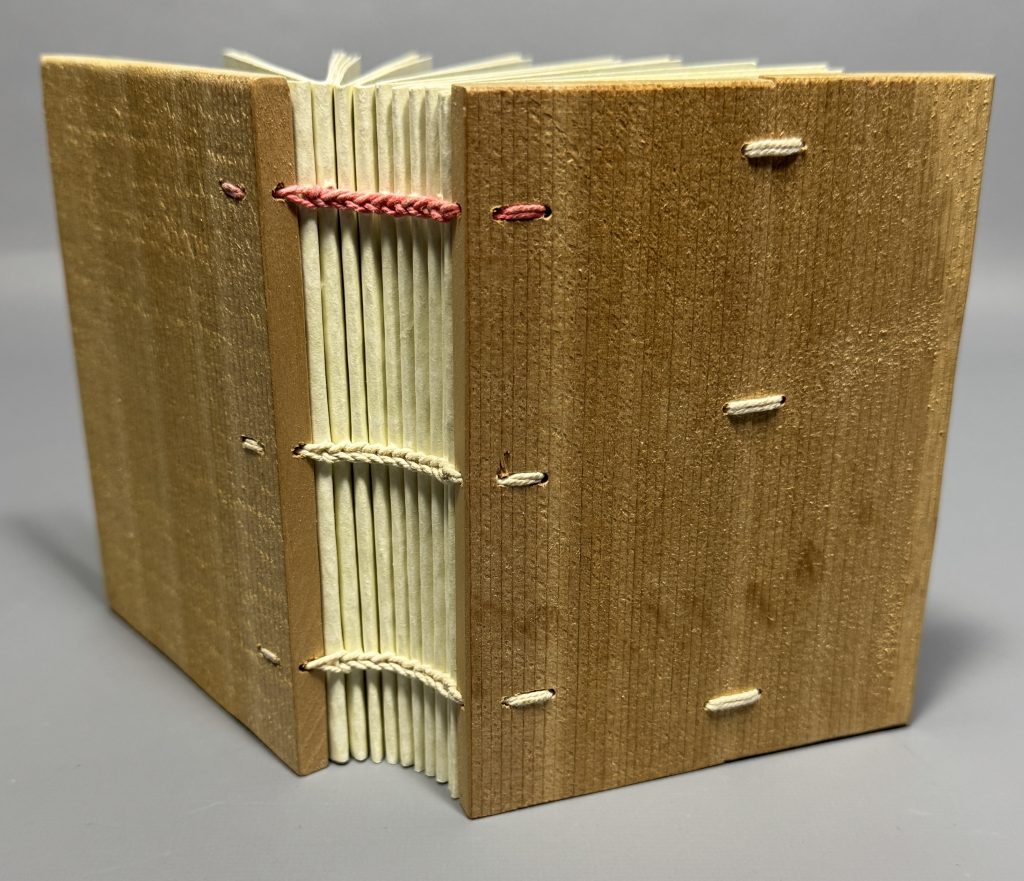
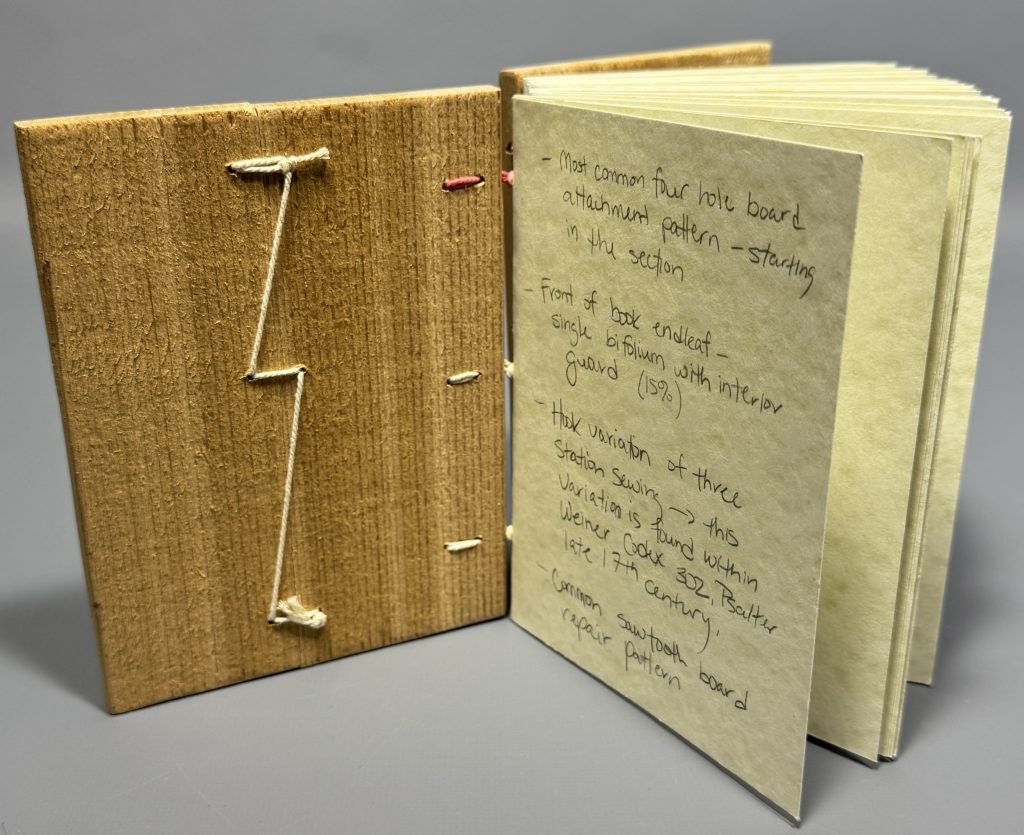
Overall, it was a wonderful experience, and I walked away with so much knowledge and appreciation for the traditions, materials I worked with, and the new people I met.
If you haven’t checked out the two reels recapping my experience at PBI on the Preservation Lab Instagram, I highly recommend taking a couple minutes to watch them:
Session one recap:
Second session recap:
Jessica Ebert – Assistant Conservator
A huge thank you to my supervisor, Holly Prochaska, for her continuous support in my professional development and to my Associate Dean, Brian Gray, and UC Libraries for the financial support for this impactful experience. And also thank you to the Ohio Preservation Council for the development grant which help to subsidize some of the funding as well.
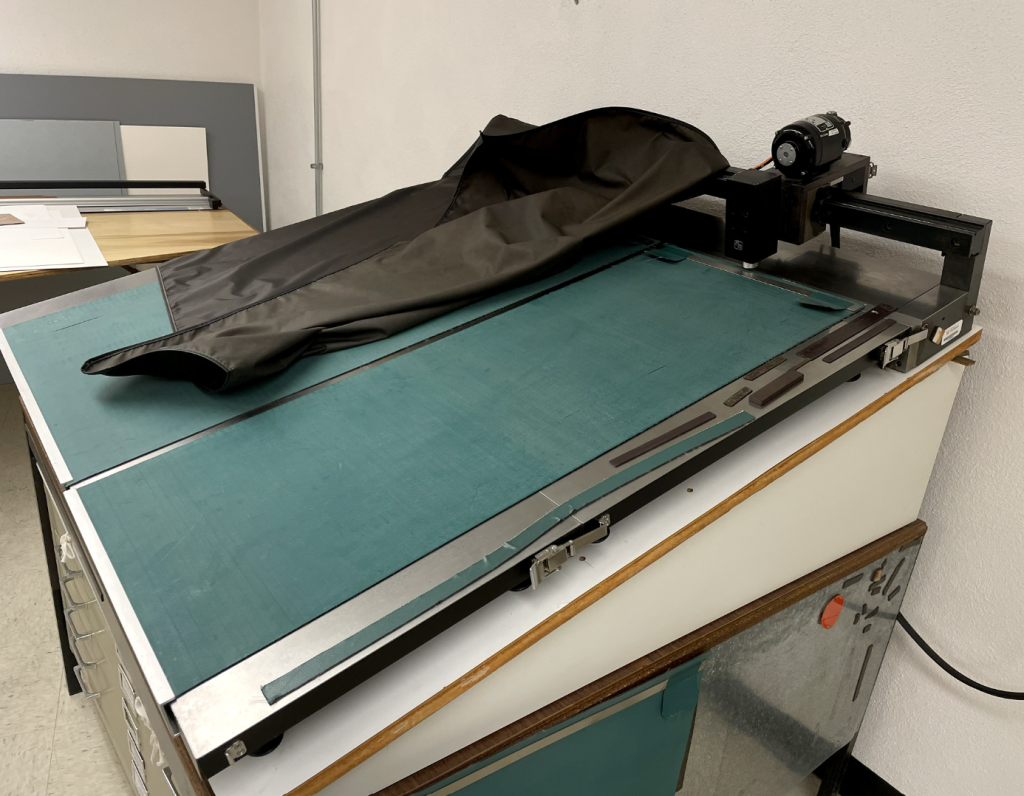
Like many tools used in conservation, some of our most useful equipment didn’t begin in the field of conservation. Conservators often adapt tools from other industries for highly specialized preservation work. This ultrasonic welder is one of those examples.
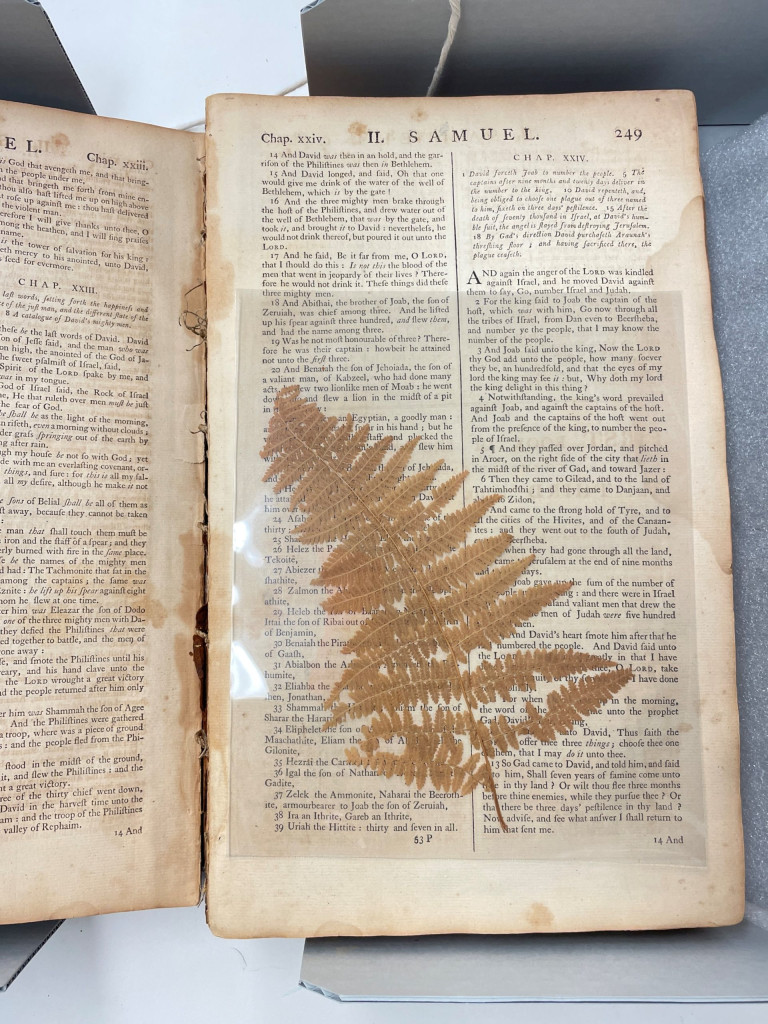
In conservation, encapsulation is a common preservation method for storing fragile documents or artifacts, such as the dried botanical specimen pictured. The vulnerable item is placed inside a clear sleeve made from polyester film, which supports the object during handling while keeping all of its physical features and information fully visible.
Encapsulation is often confused with lamination, but the two are very different. Lamination uses adhesives or waxes that permanently bond to an object, making it non-archival. The adhesives and waxes often cause discoloration of the object overtime. Encapsulation uses no adhesive at all. Instead, the polyester film is sealed to itself around the perimeter of the item, leaving the object untouched inside. The process is fully reversible and safe for long-term preservation.
At the Preservation Lab, we have the luxury of using a specialized ultrasonic welder designed specifically for conservation work. Unlike commercial welders that can require objects to be fed through a machine, this model has a metal tabletop, magnetic blankets, and a movable electronic arm that glides over the object, holding a document secure in place. The settings can be adjusted for speed and weld intensity, making it ideal for creating custom polyester enclosures for flat paper materials without using a traditional heat weld.
This machine was developed by conservator Bill Minter in the 1970s–80s. Existing units are highly sought after by conservation labs, and every time ours needs maintenance, there’s a sense of collective anxiety in the lab. It can still be serviced, but replacement options are limited.
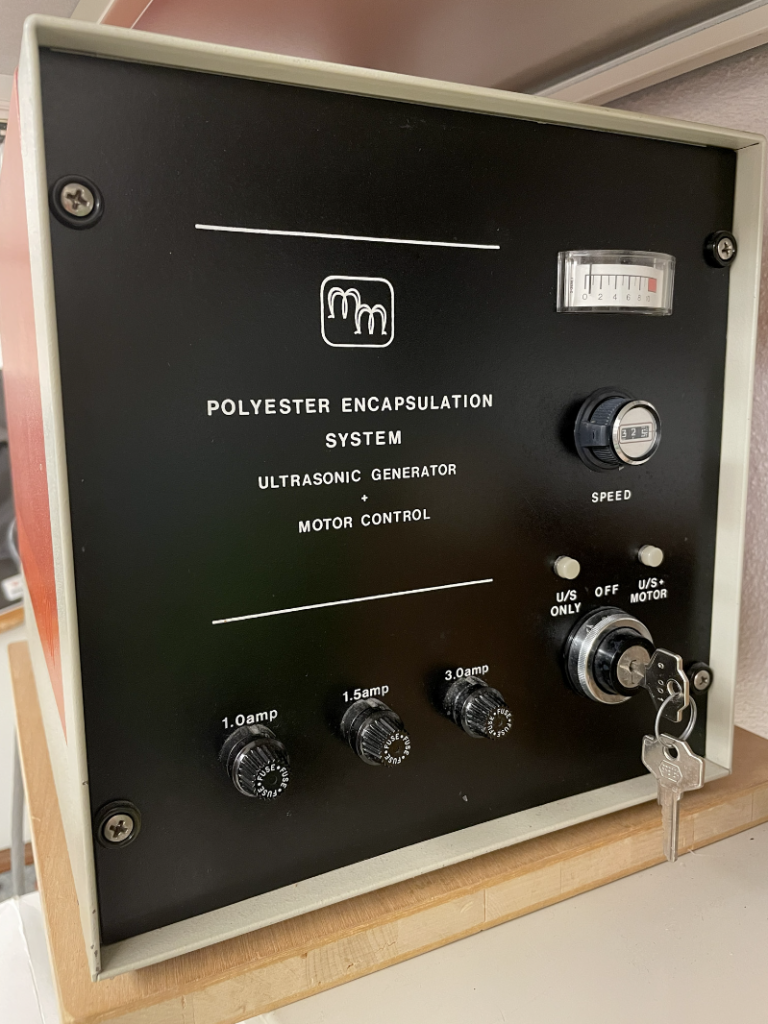
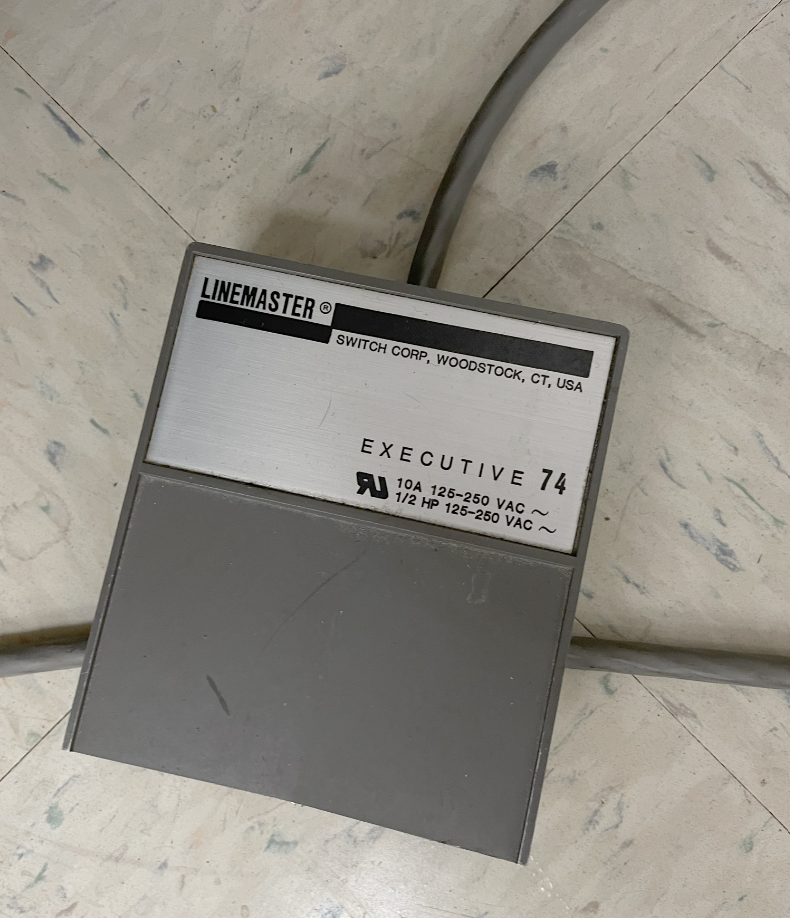
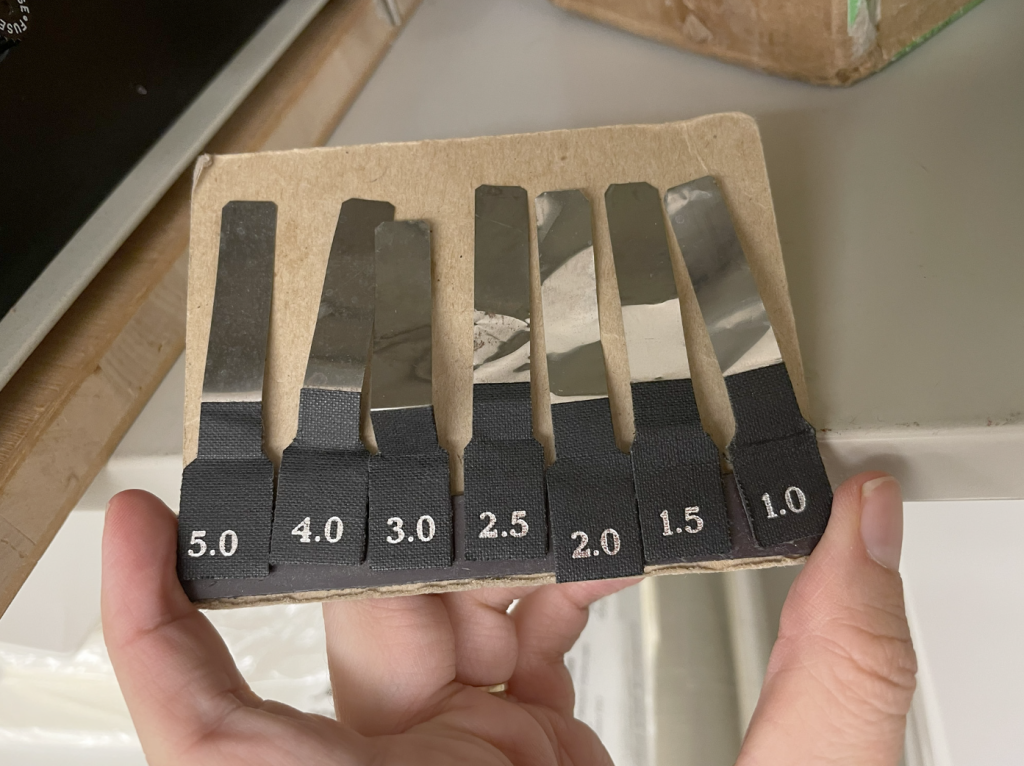
Because these conservation welders are increasingly scarce, conservators have been exploring newer options.
After spotting this device at an Midwest Regional Conservation Guild Annual Meeting in Columbus, IN, our lab jumped on the opportunity to purchase and test it out.
It comes with two welding wheels: one flat wheel that creates a solid weld line and a slotted wheel that creates a dotted weld line. They are interchangeable in the handle.
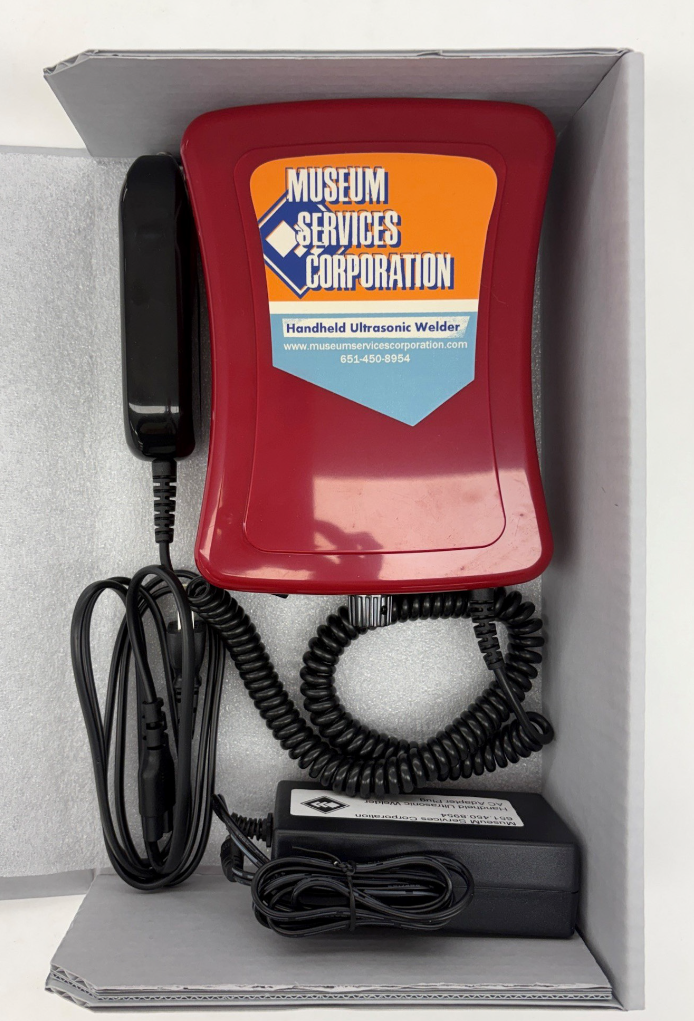

After some trial and error, a few practical observations emerged:
It’s always exciting when a new tool expands what’s possible in the lab, especially when it helps bridge a gap left by equipment that is becoming increasingly rare to find and difficult to maintain.
If you’ve followed our blog, you might recall my earlier post on creating a CoLibri jacket with an encapsulated spine using our CoLibri Cover welding system.
Now that we have the MSC handheld spot welder, I’m excited to experiment with new enclosure possibilities, such as creating polyester pockets for spines within jackets, like the example shared on the Book and Paper Gathering blog, mentioned above.
I’ve also had success testing out encapsulation possibilities such as the ones we used during our project to encapsulate pages from Althea Hurst’s scrapbook, such as welding Hollytex or paper hinges into the sleeves.
This new welder may also open up interesting applications for polyethylene welding or creating circular welds as well!
Ashleigh Ferguson Schieszer – Book and Paper Conservator
When a copy of Frankenstein: the Man and the Monster came into the lab from CHPL, Catarina asked me to make an enclosure for it – easy enough. What I didn’t imagine was how tricky a book this little can be. This book measured around 6 inches tall by 4 inches wide and maybe a quarter of an inch thick – small, thin, and not very heavy at all.
The problem wasn’t the box, but the integrated cradle, which is essentially a few pieces of corrugated board adhered together to create a rest so the book can open with less stress on the spine. With a book as small and lightweight as this one, the pages and cover weren’t heavy enough to weigh down the arms of the cradle, therefore I needed to figure out a way to keep the arms of the cradle down so the book could open fully.
To achieve this, I used linen tapes to hold the two halves of the arms together so they stayed firmly down without needing the book to weigh them. The tape on the outer part of the arm is tied into a bow with another piece of tape that is attached to the base of the cradle.
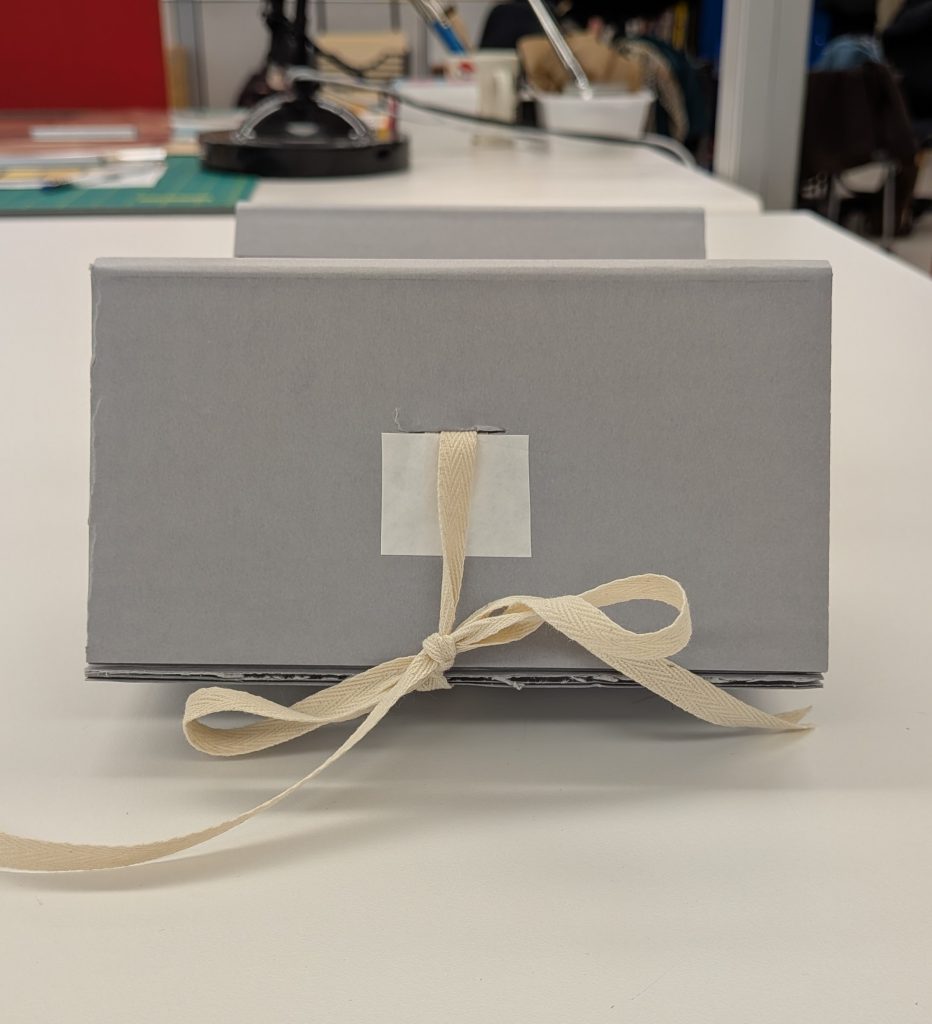
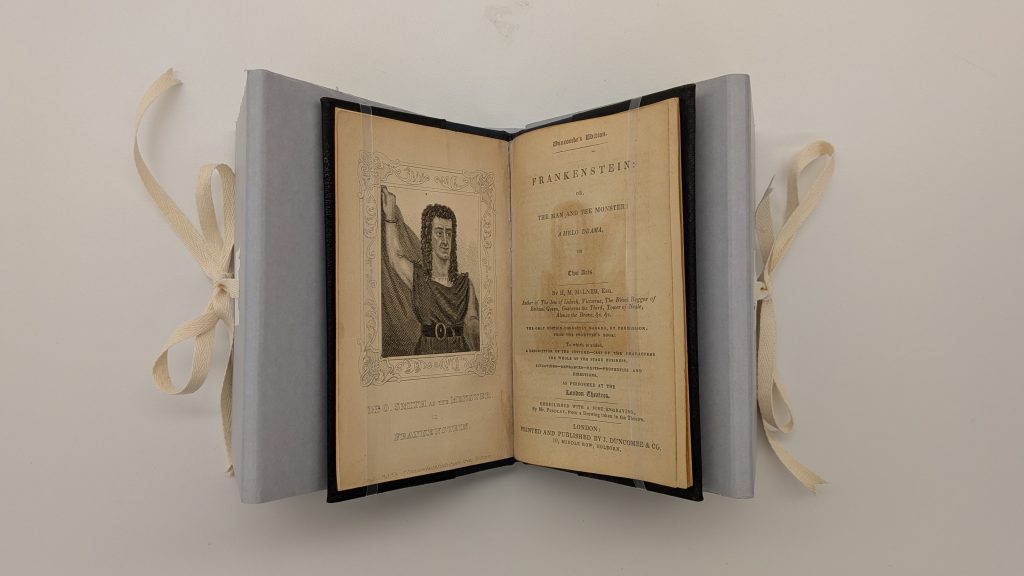
Furthermore, to keep the cradle from opening too far, I used more linen tapes on the interior of the arms to hold the arms at the exact width I wanted them from the spine of the book. This helped the cradle keep it’s shape, and created tension for the ties.
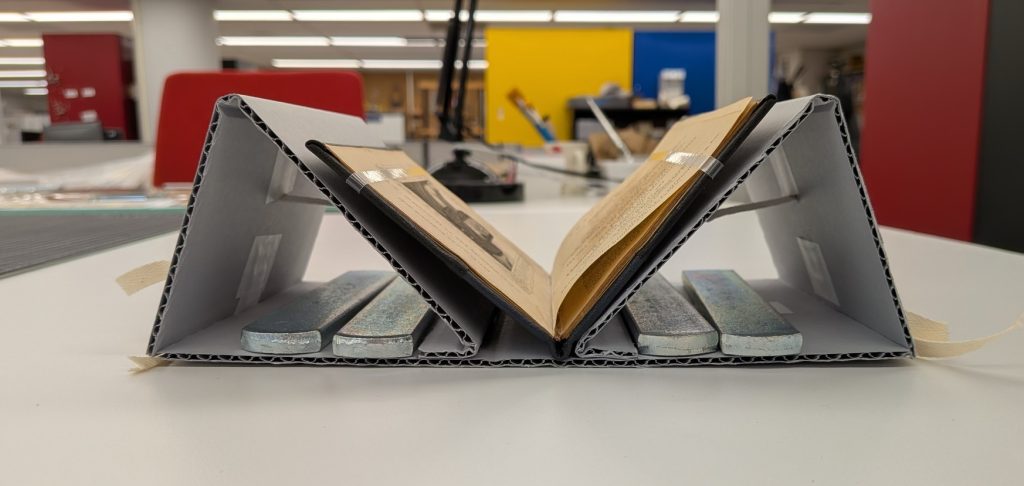
Nicole Browning – Conservation Specialist
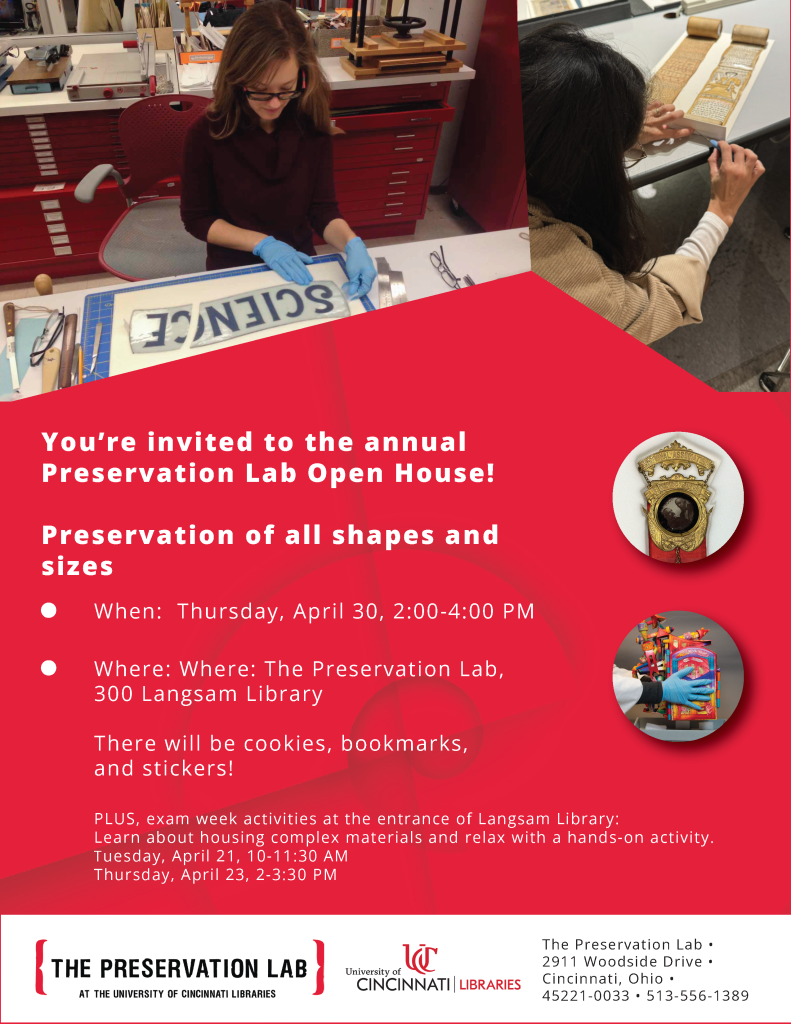
Please join the Preservation Lab (300 Langsam Library) for our annual open house on Thursday, April 30th, in celebration of ALA’s Preservation Week. There will be cookies, bookmarks and stickers!
Also, this year we will have two exam week activies at the entrance of Langsam Library, by the Desk@Langsam. Learn about housing complex materials and relax with a hands-on activity:
All events are open to the public! Parking is available for a fee in Woodside garage.
The Preservation Lab at UC Blog uses Accessibility Checker to monitor our website's accessibility.