I was fortunate enough to attend Paper and Book Intensive (PBI) for the first time this year as part of my annual staff development. If you are not familiar with PBI, it is a non-profit group that hosts an annual sabbatical-style work retreat that focuses on book arts, papermaking, and conservation. It takes place in Saugatuck, Michigan at the OxBow School of Art and is structured into two sessions, and each session lasts four days. Each attendee takes two classes during the first session and one class during the second session. The first session is broken up into a morning class and an afternoon class, while the second session classes are full day and more intensive.
When you apply to PBI you rate your preferences of classes. If you are accepted, you are then placed in classes based on availability and demand. Again, I was incredibly lucky and I was placed in all of my top choices for classes. For session one: American and English Boarded Bindings, 1780-1830 with Todd Pattison (AM session) and Marbling on Paper with Steve Pittelkow (PM session). For the second session: Madagos: The Living Tradition of Ethiopian Bookbinding with Bill Hanscom.
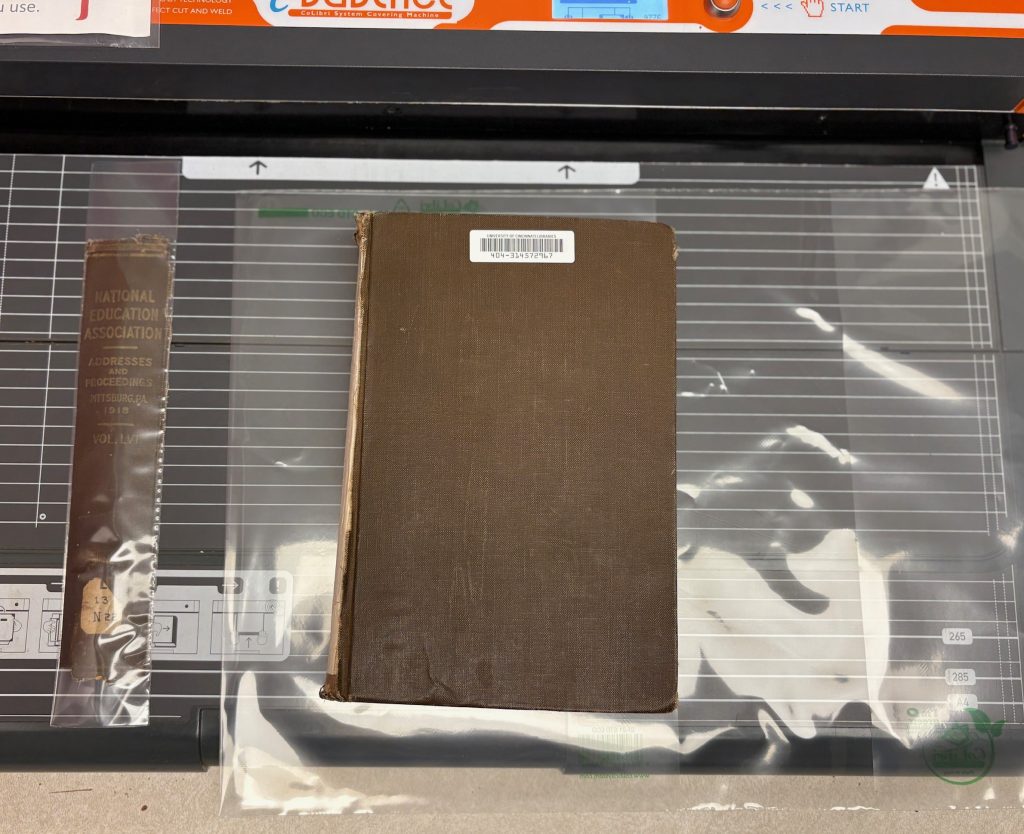
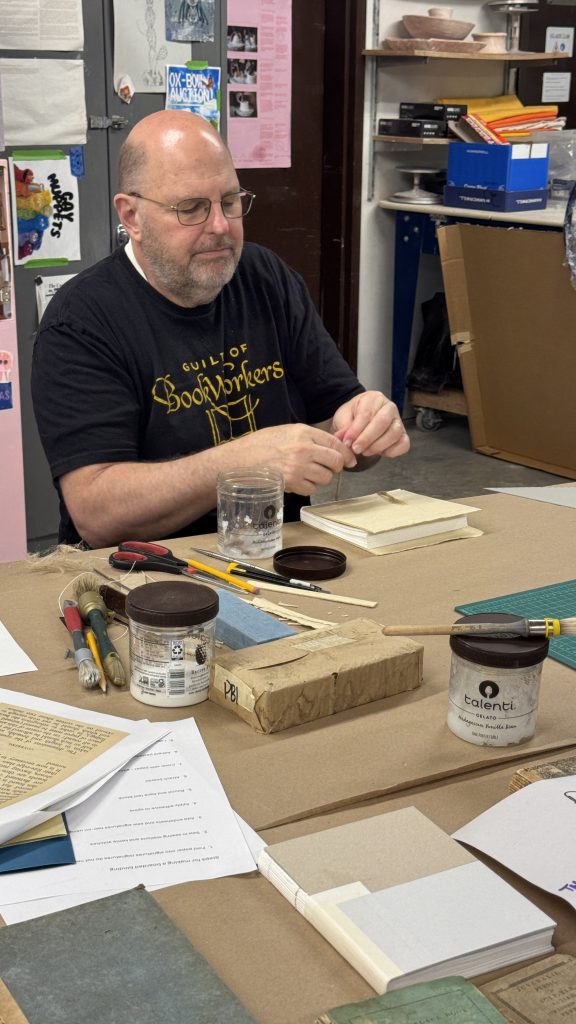
Boarded Bindings with Todd Pattison
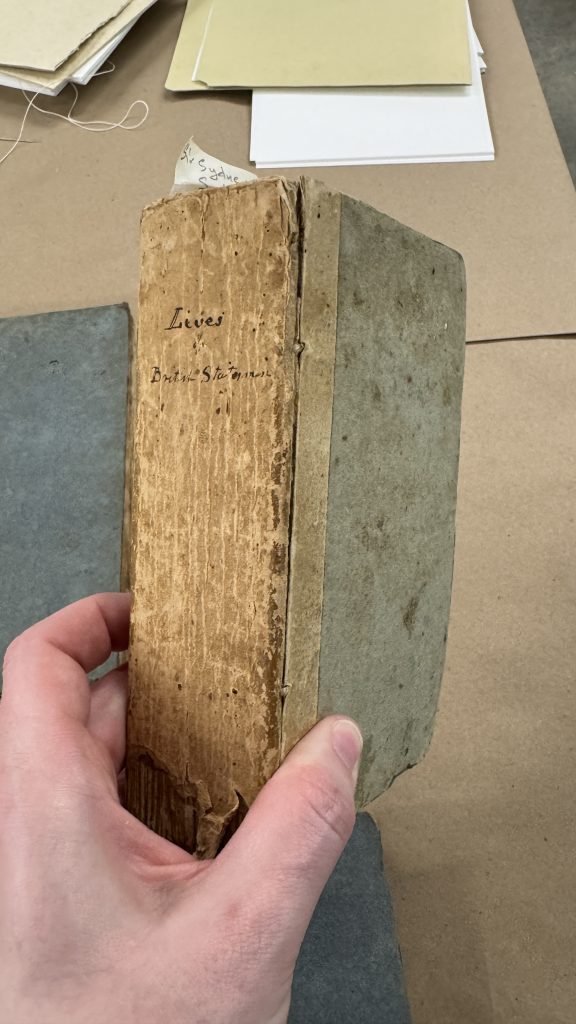
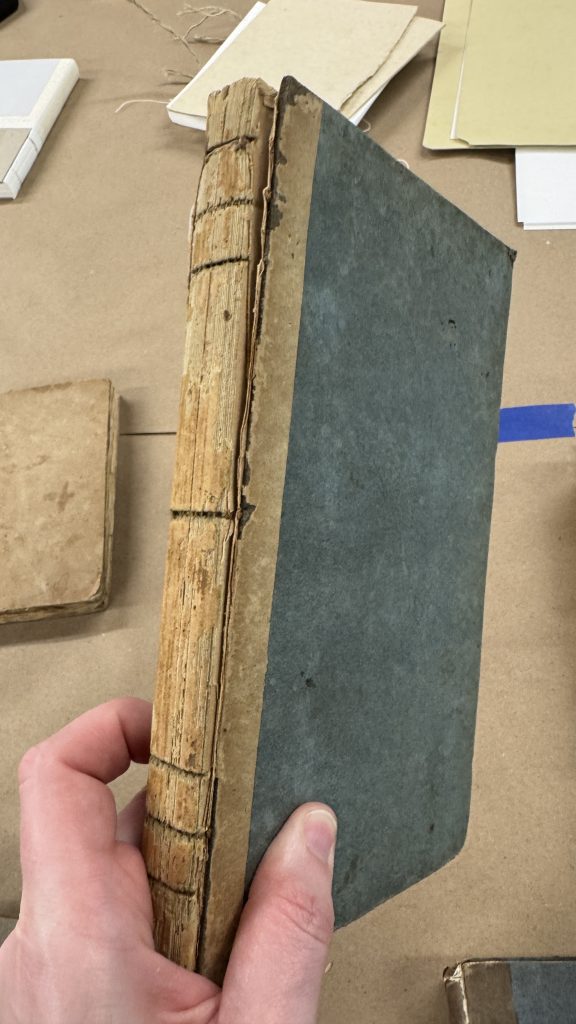
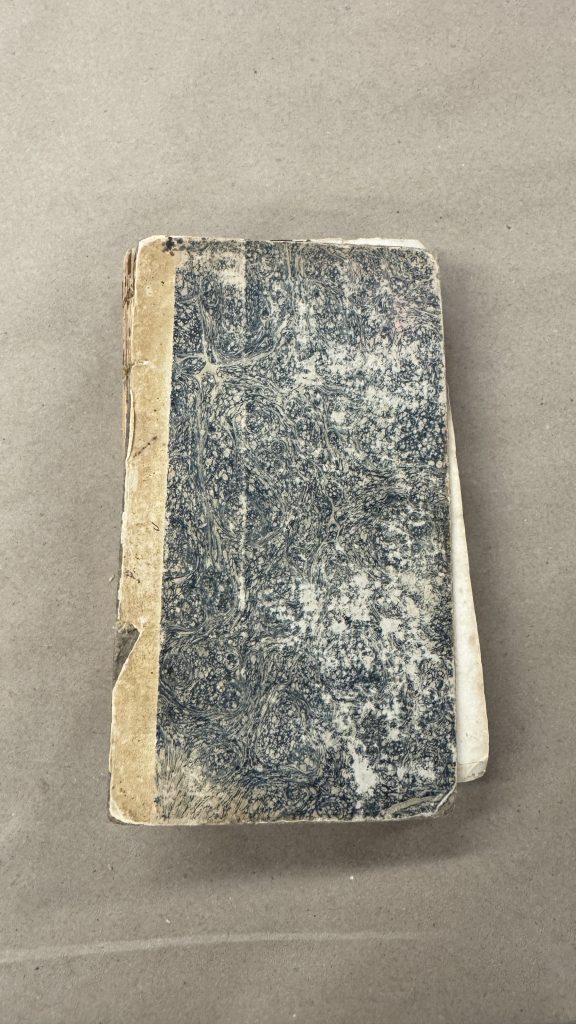
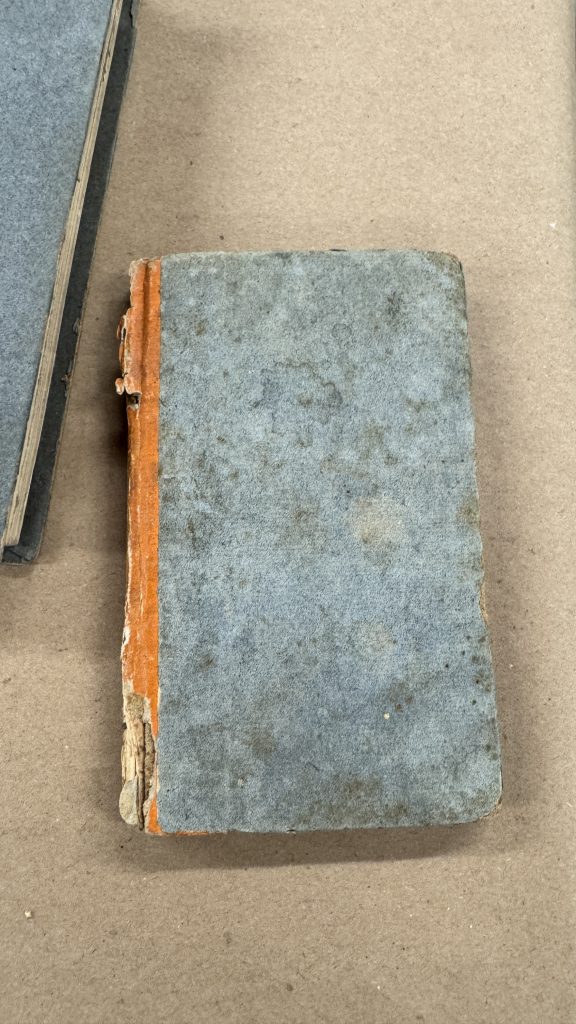
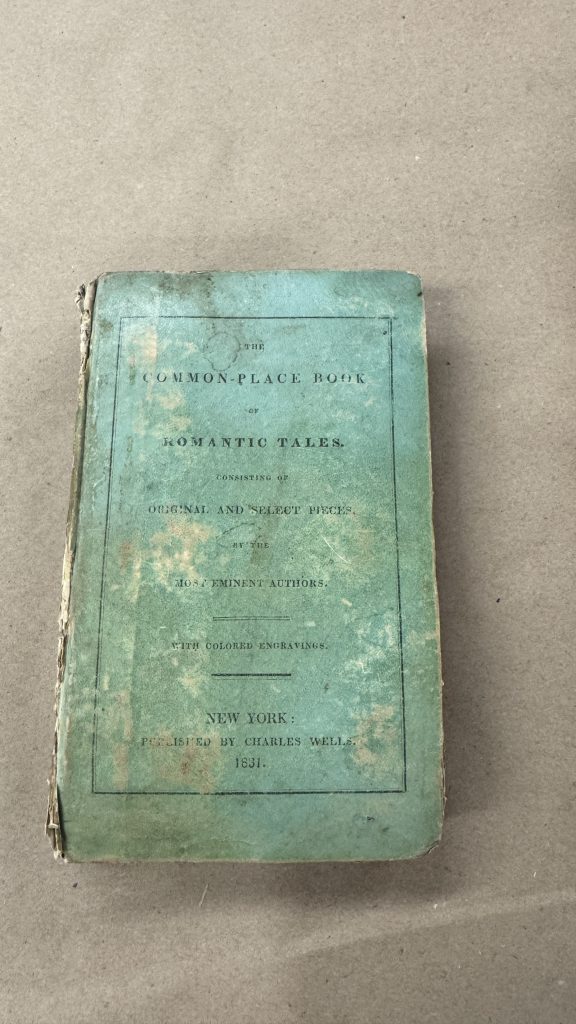
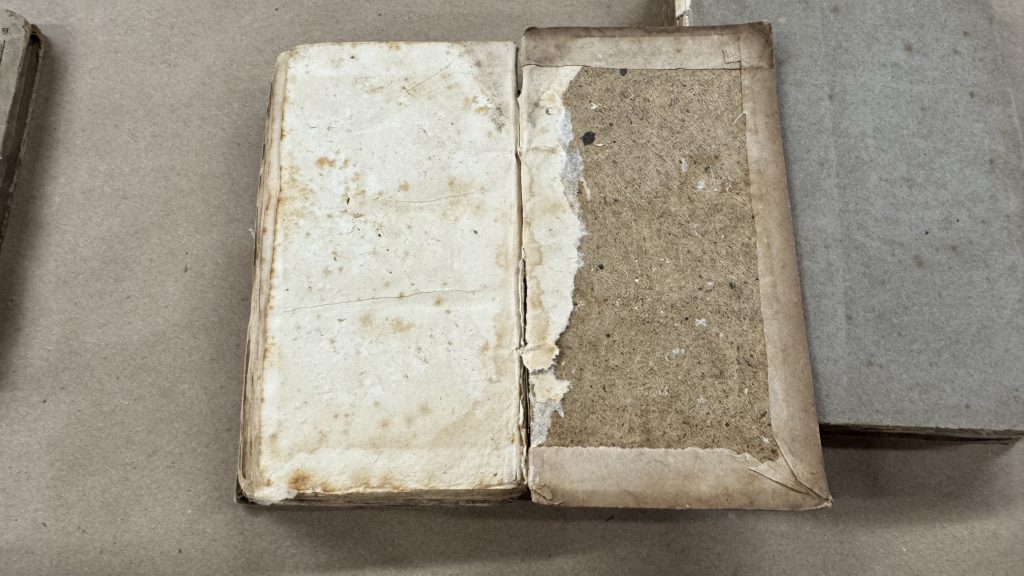
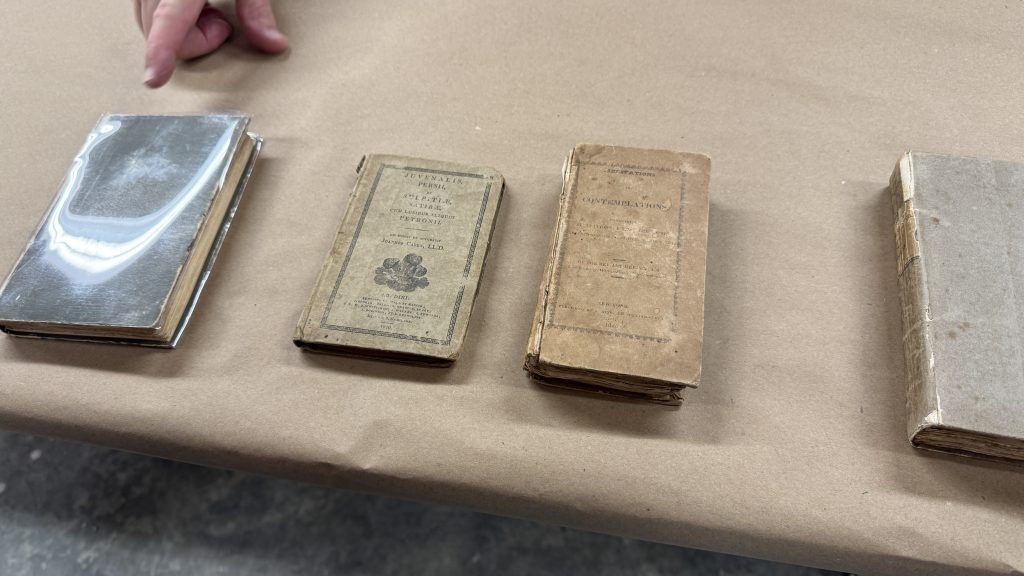
Todd brought a host of historical examples for us to examine, including volumes printed in Britian and America, which was fantastic.
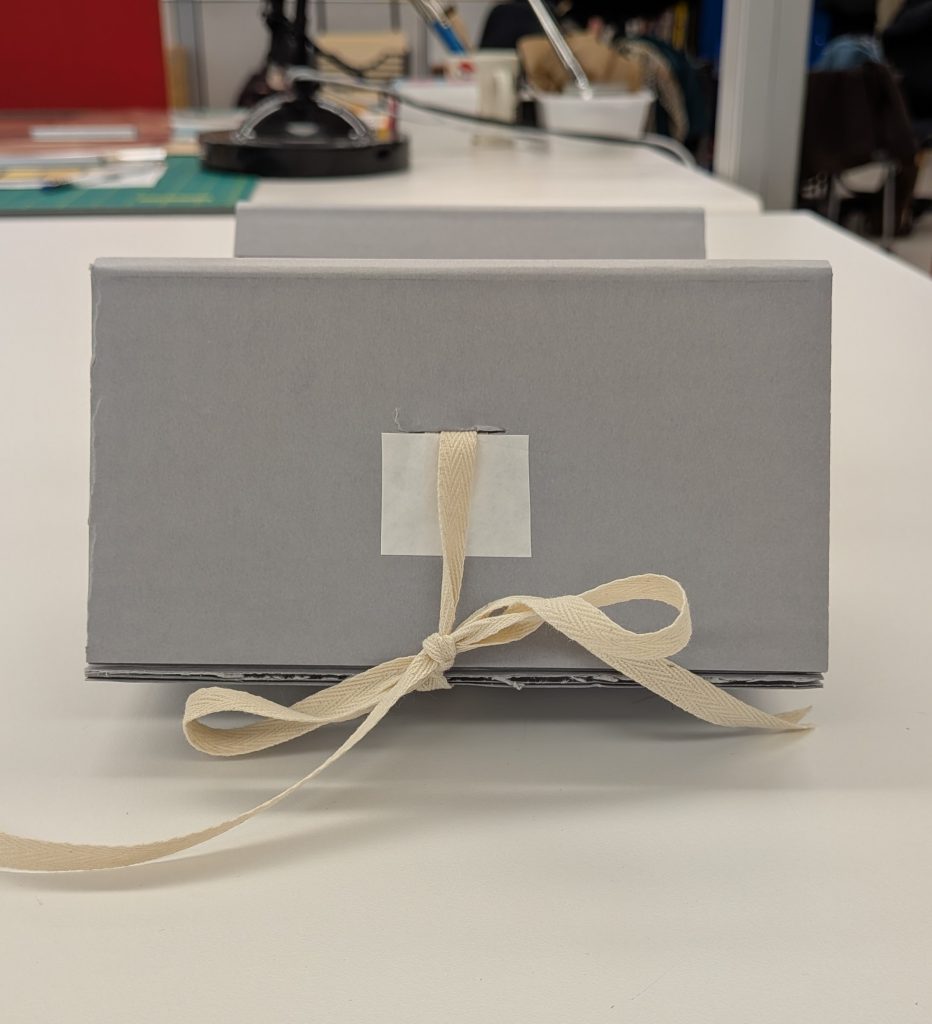
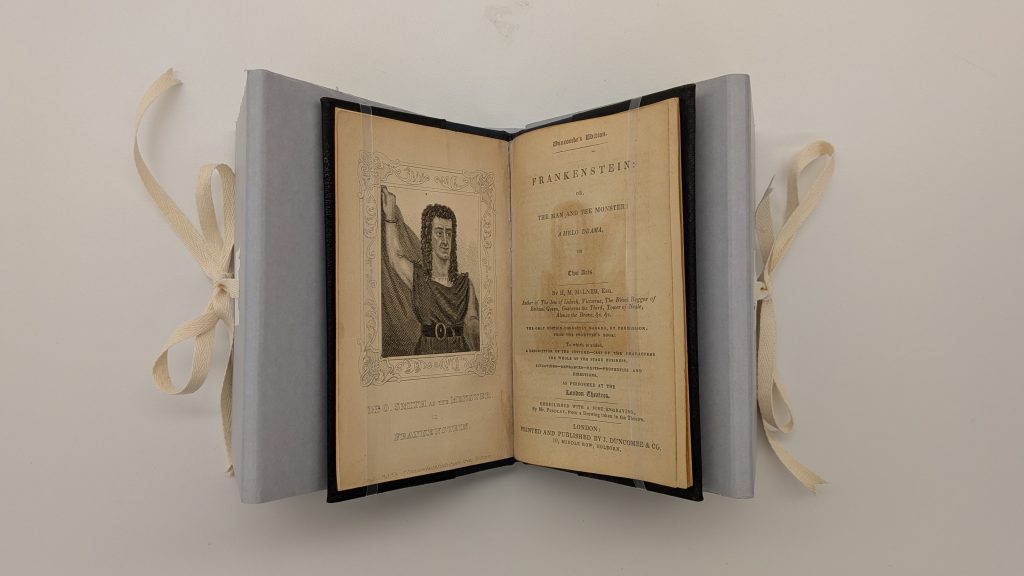
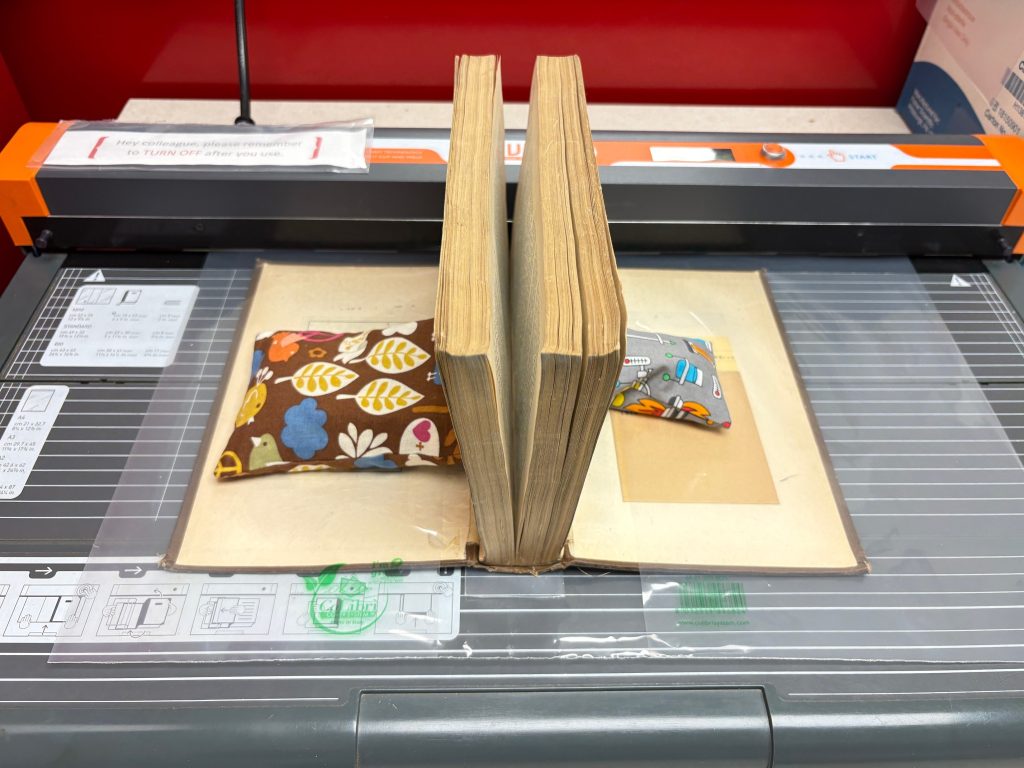
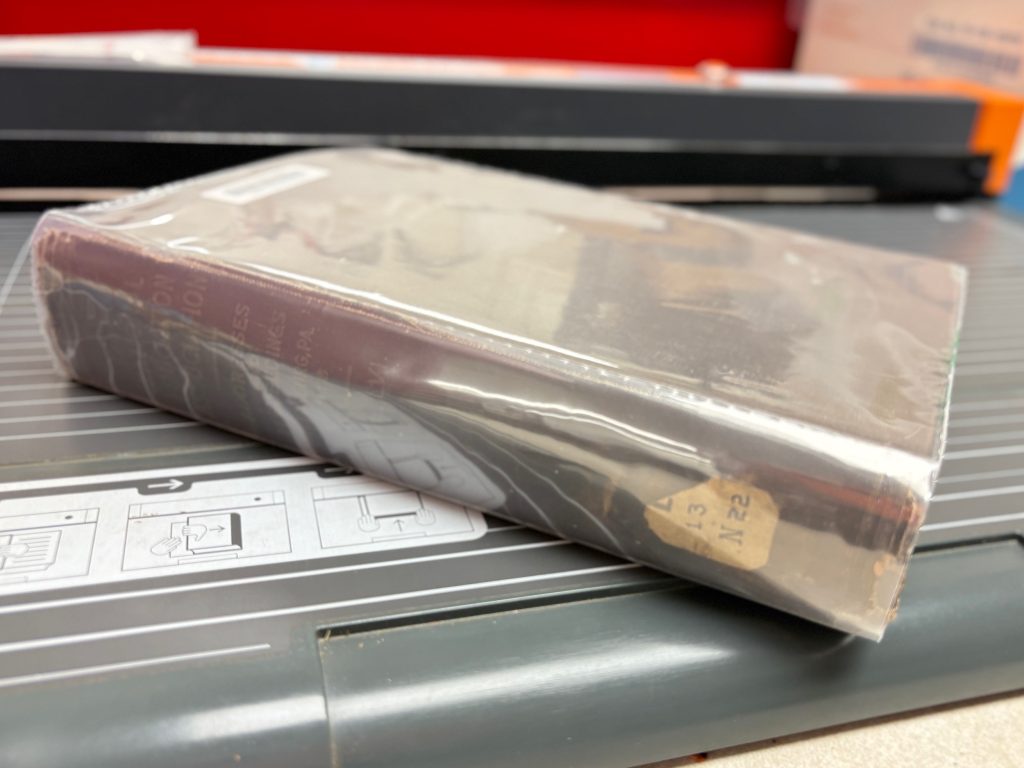
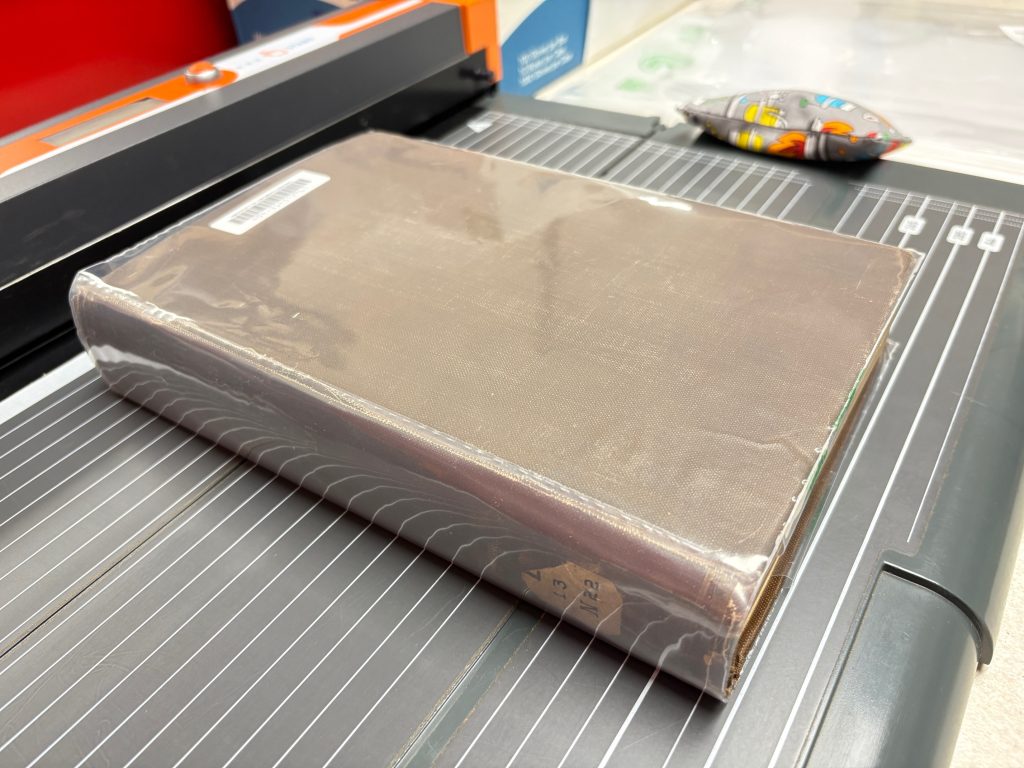
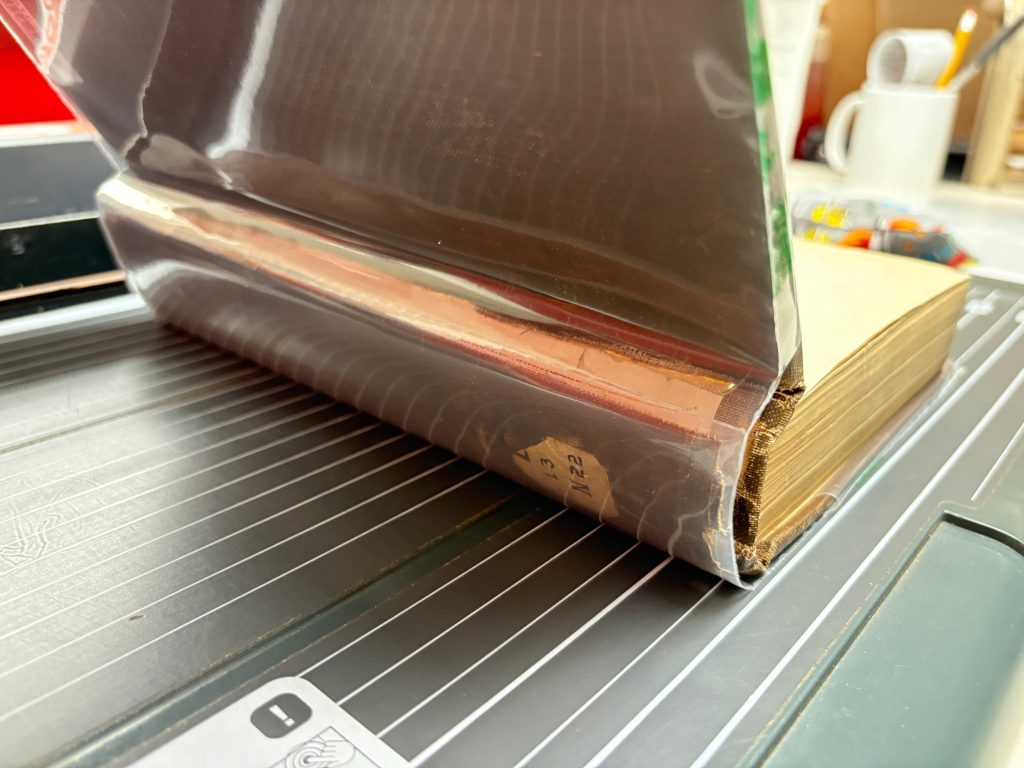
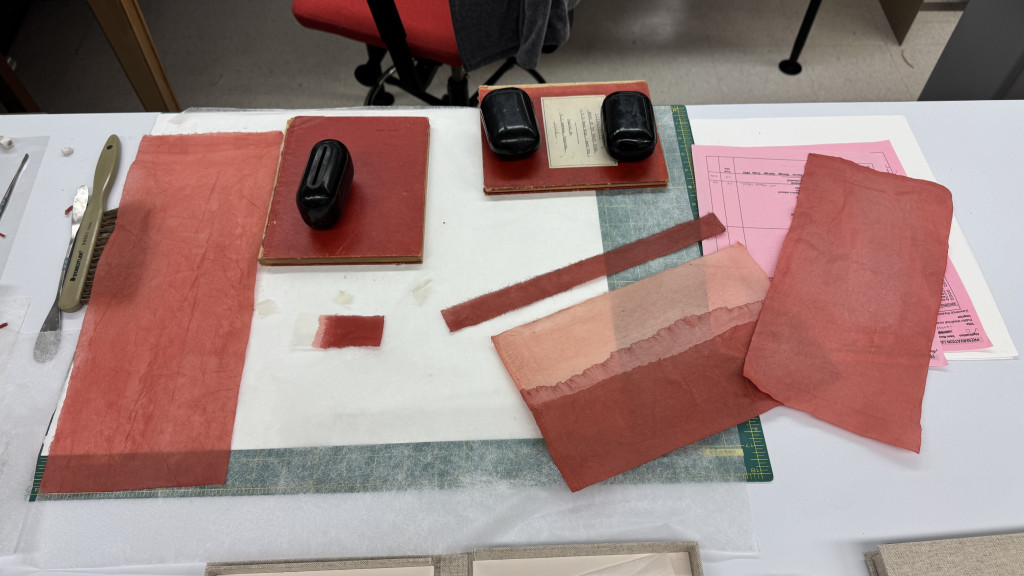
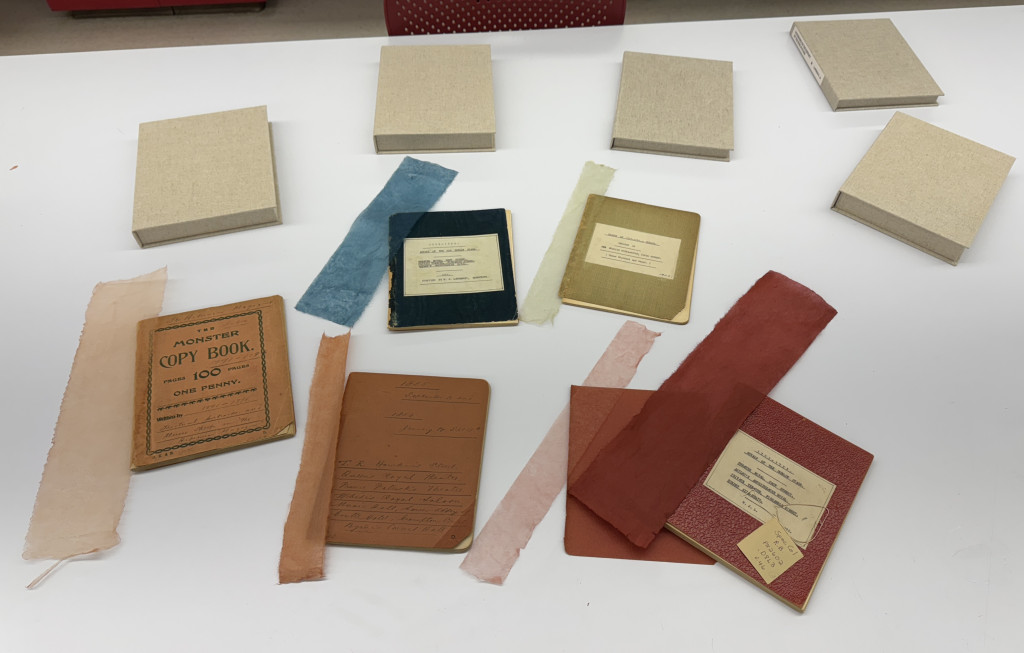
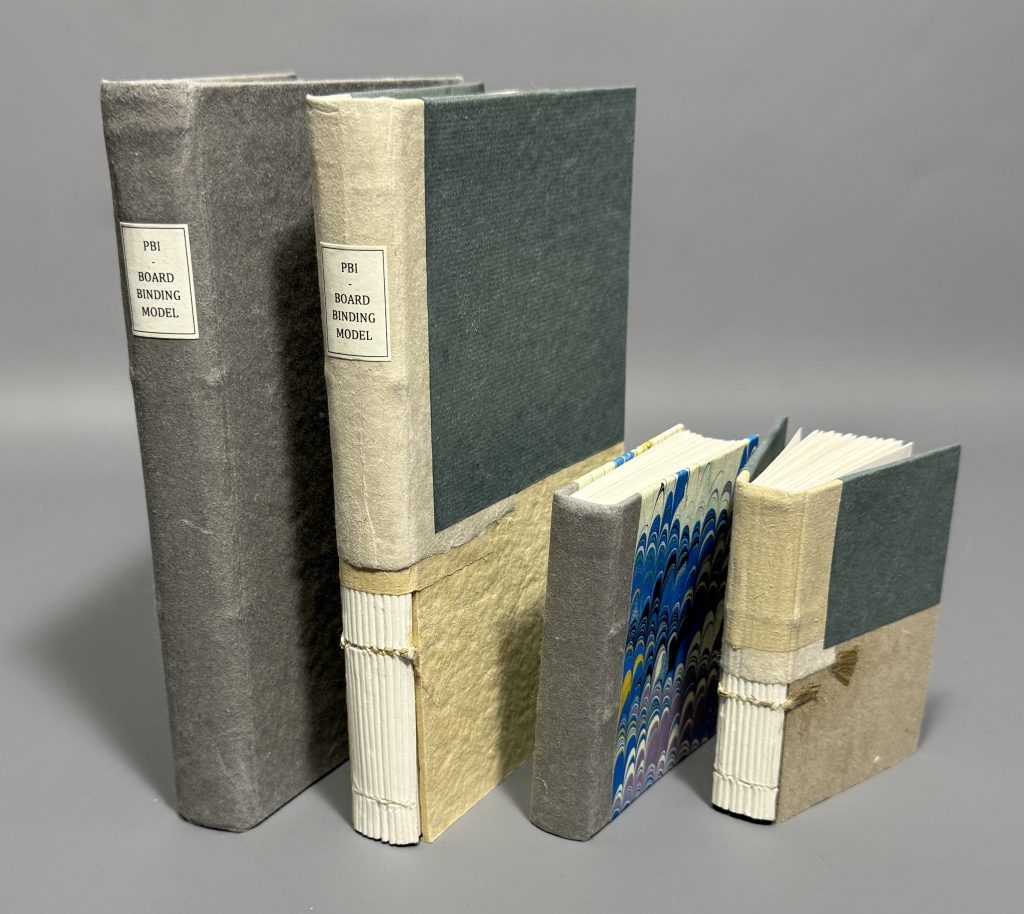
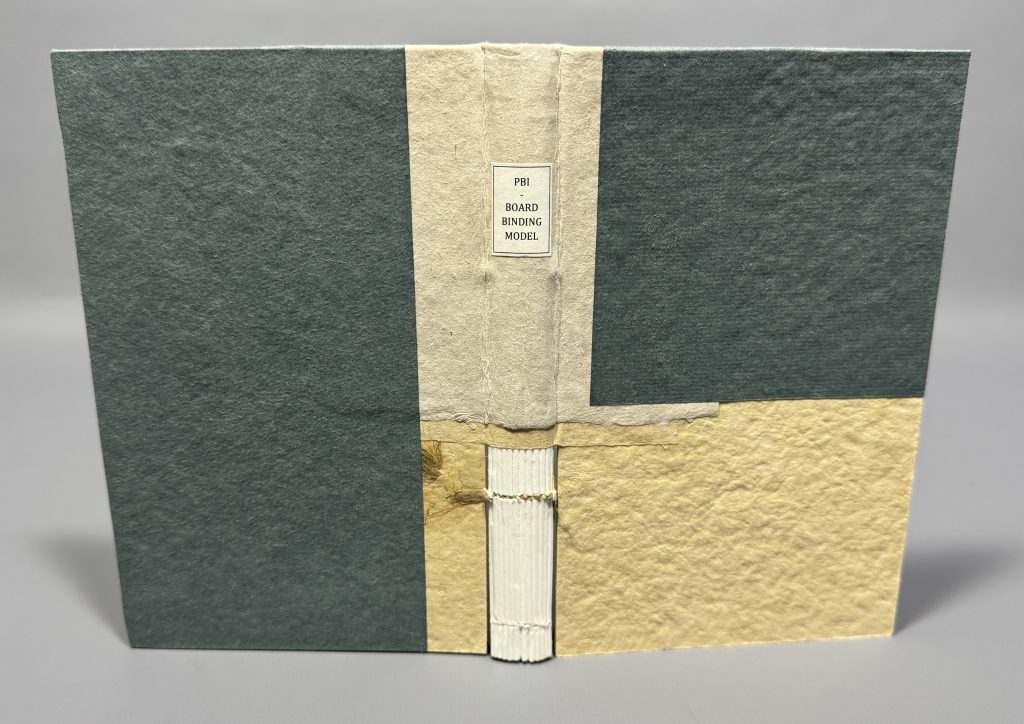
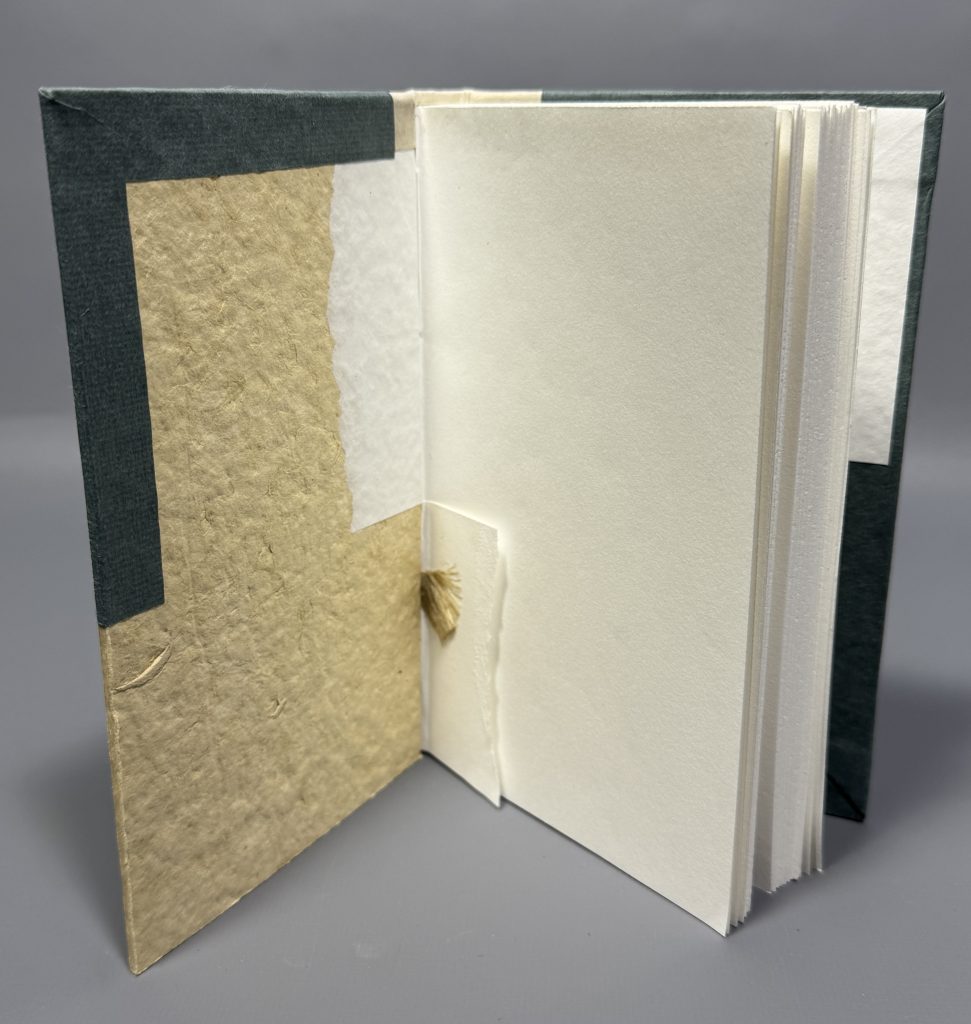
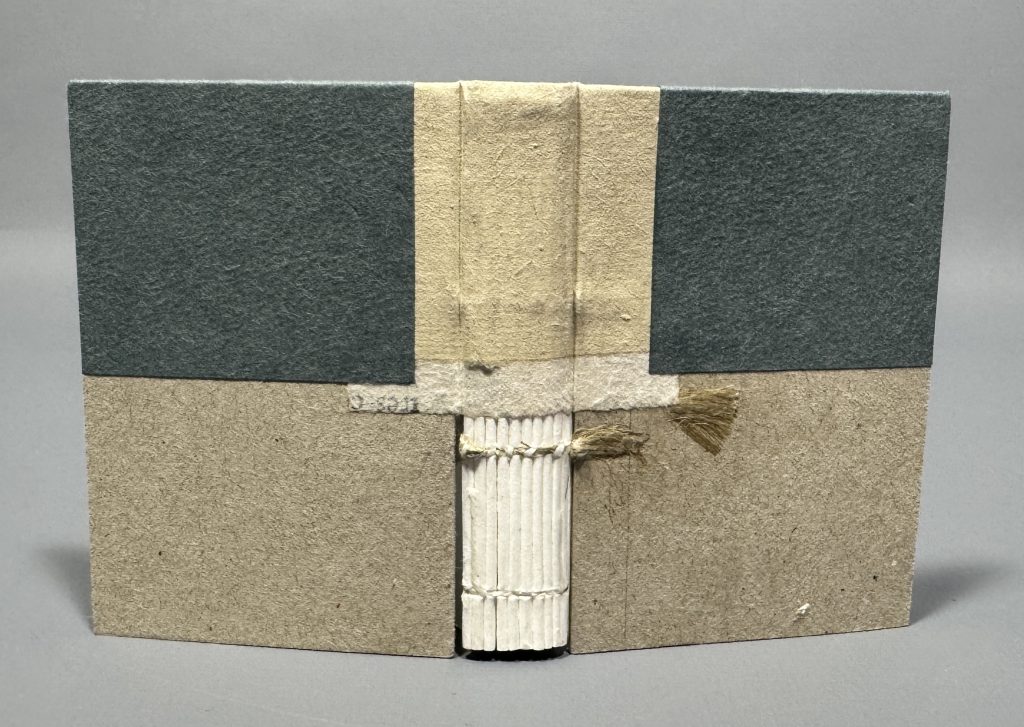
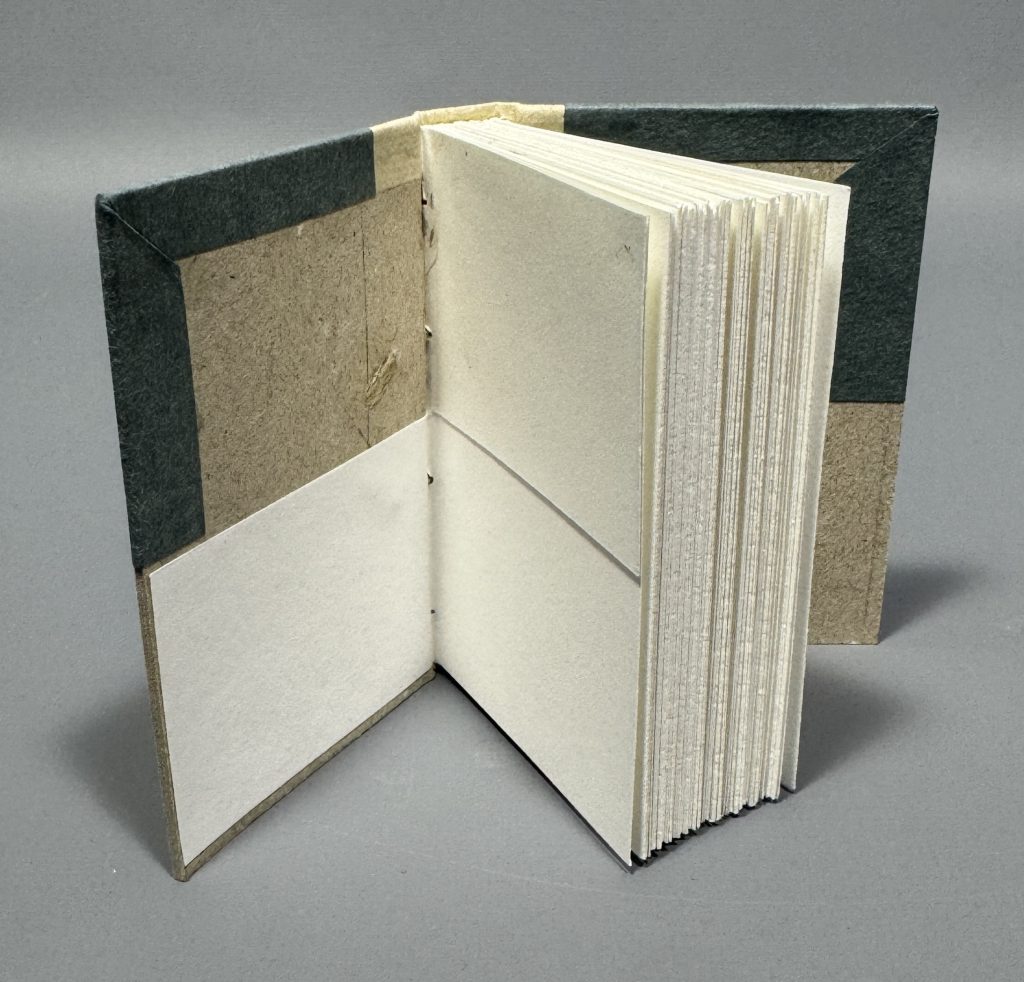
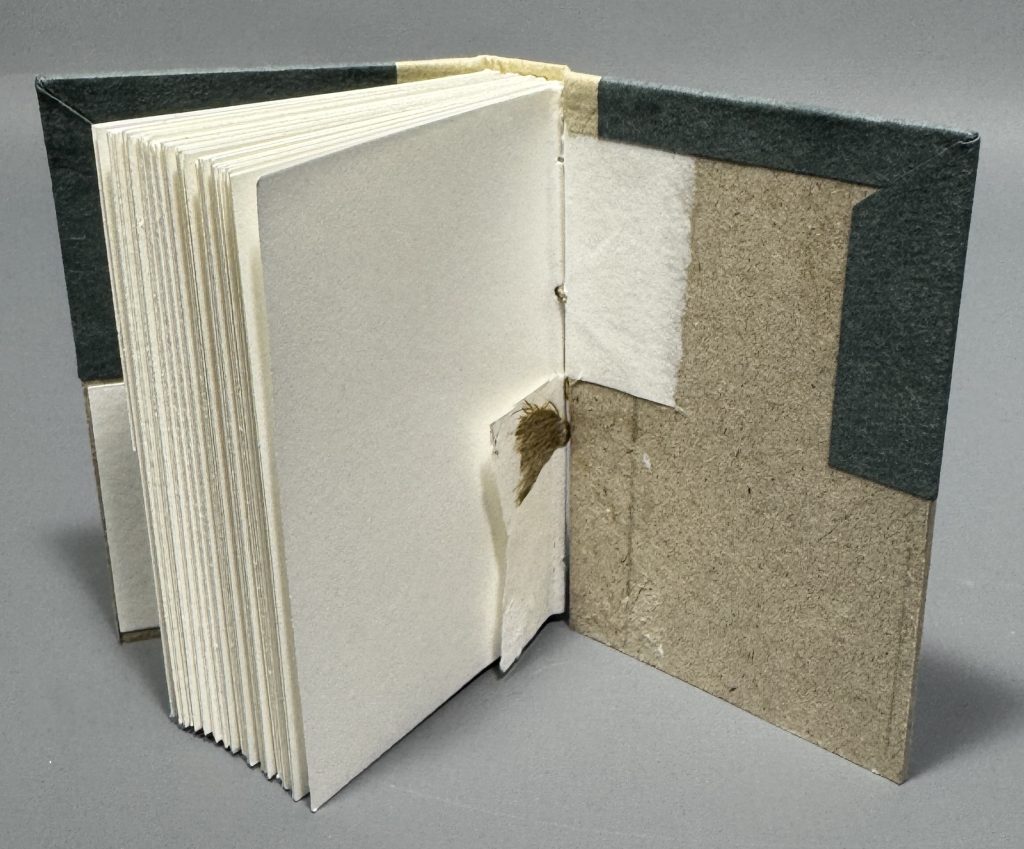
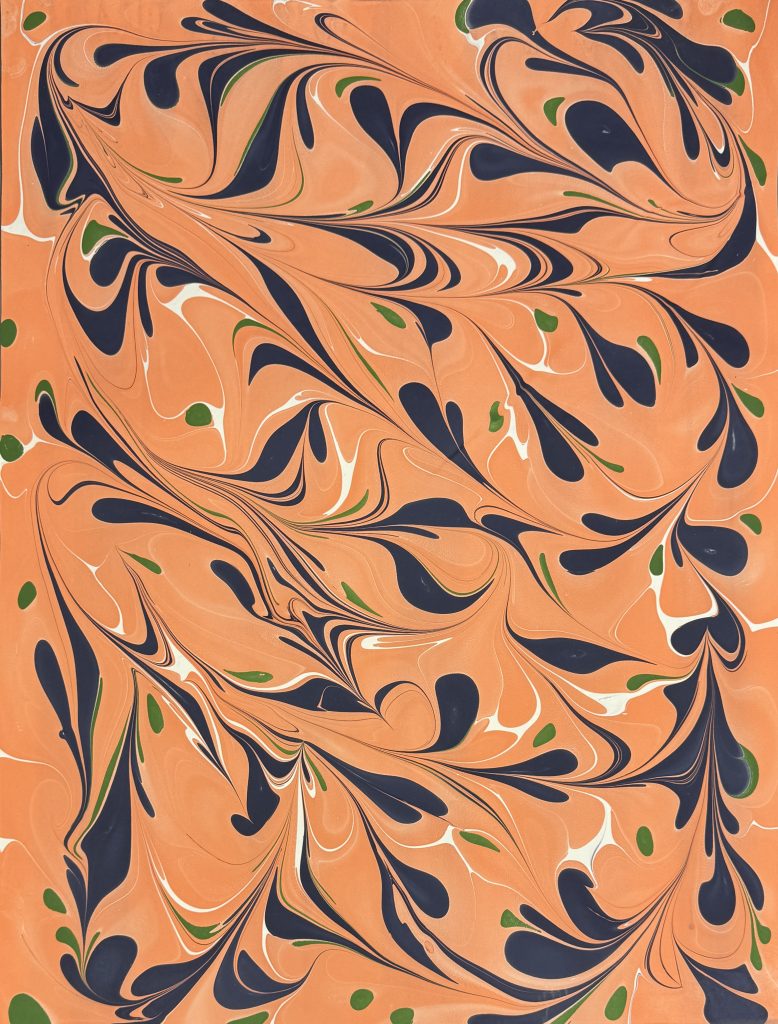
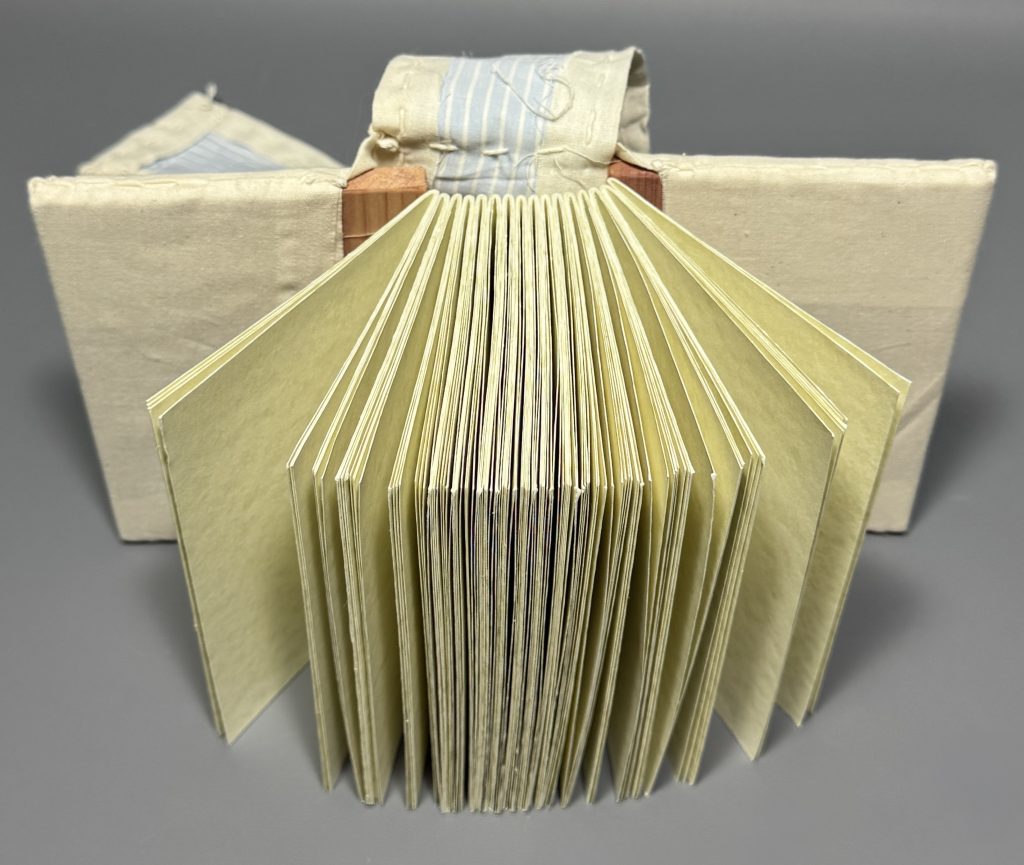
During the class we created two models: one cutaway and one paper-covered model. Both models were sewn on two recessed cords with an abbreviated, two-on sewing pattern. Once the text blocks were sewn, a layer of wheat starch paste was applied to the spine. Then the spines were rounded and backed. For the cutaway model, one board was attached by lacing the cords through the board, which is more commonly seen on the British boarded bindings, while the other board was attached by simply combing out the cords and adhered it down to the board, which is more commonly seen with American boarded bindings. For the paper-covered model we could attach the boards however we liked (I chose lacing them on). Todd was then kind enough to prepare additional materials for us, so that we could make an extra third models if we wanted. I chose to cut my third model (landscape oriented originally) into two small models. I then made a smaller cutaway model and small quarter binding model with marbled paper (an “extra” boarded binding) using marbled paper I had just created in my afternoon class.
Finished Models

Marbling on Paper with Steve Pittelkow
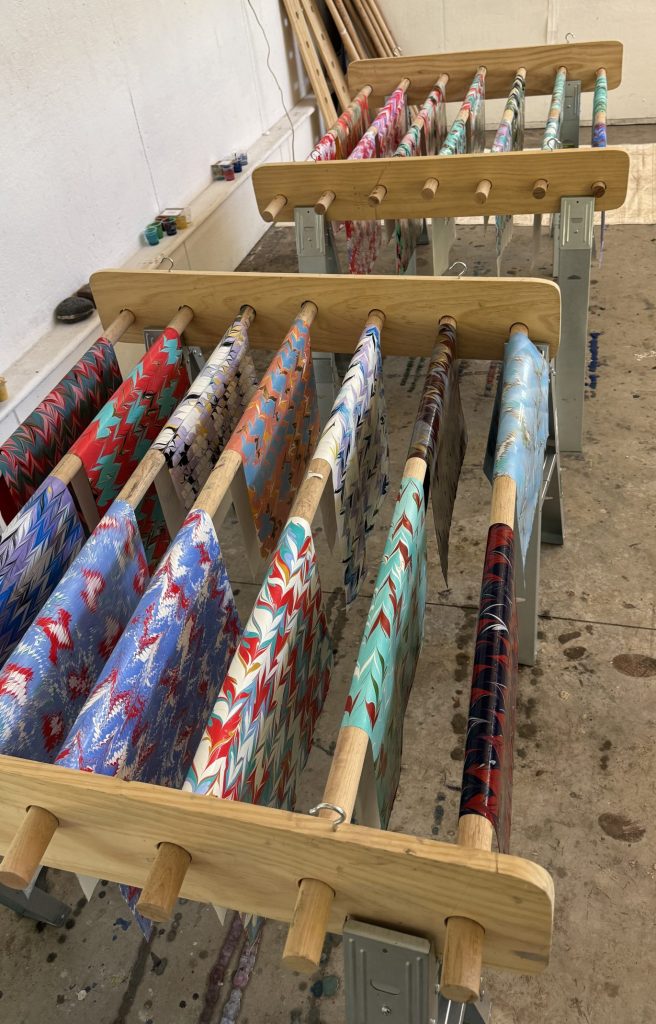

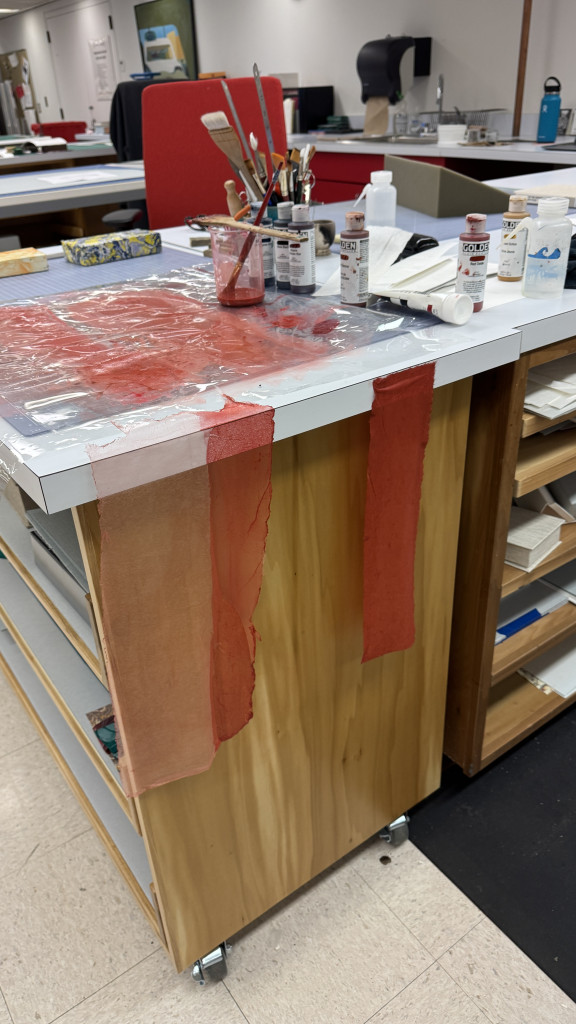
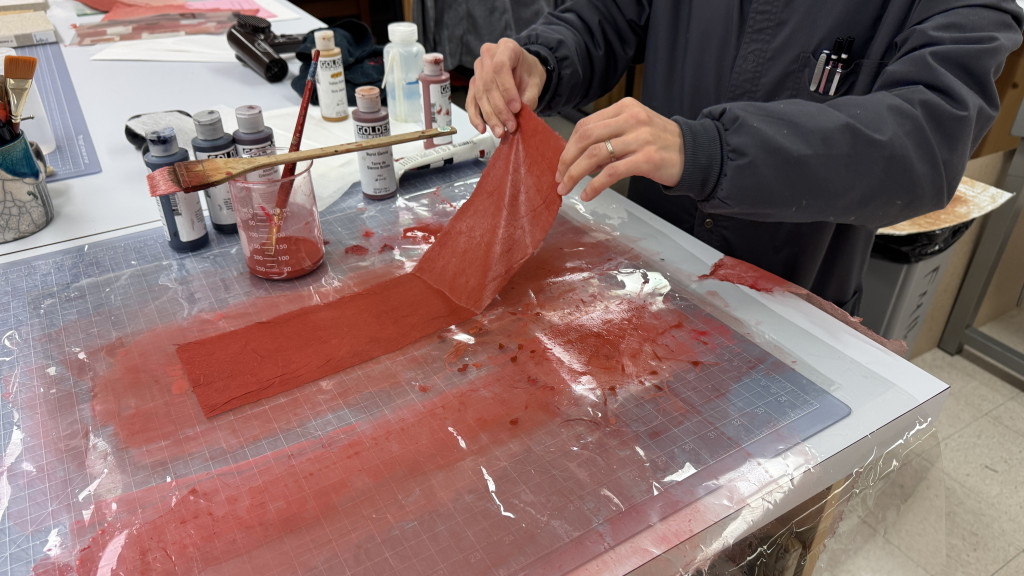
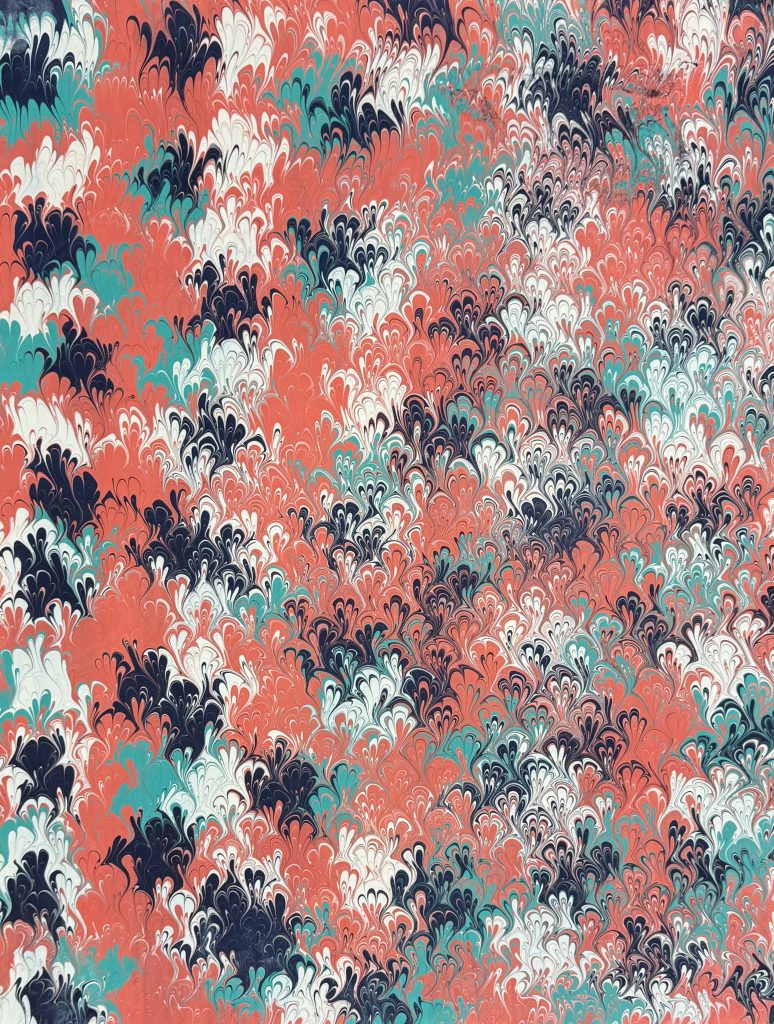
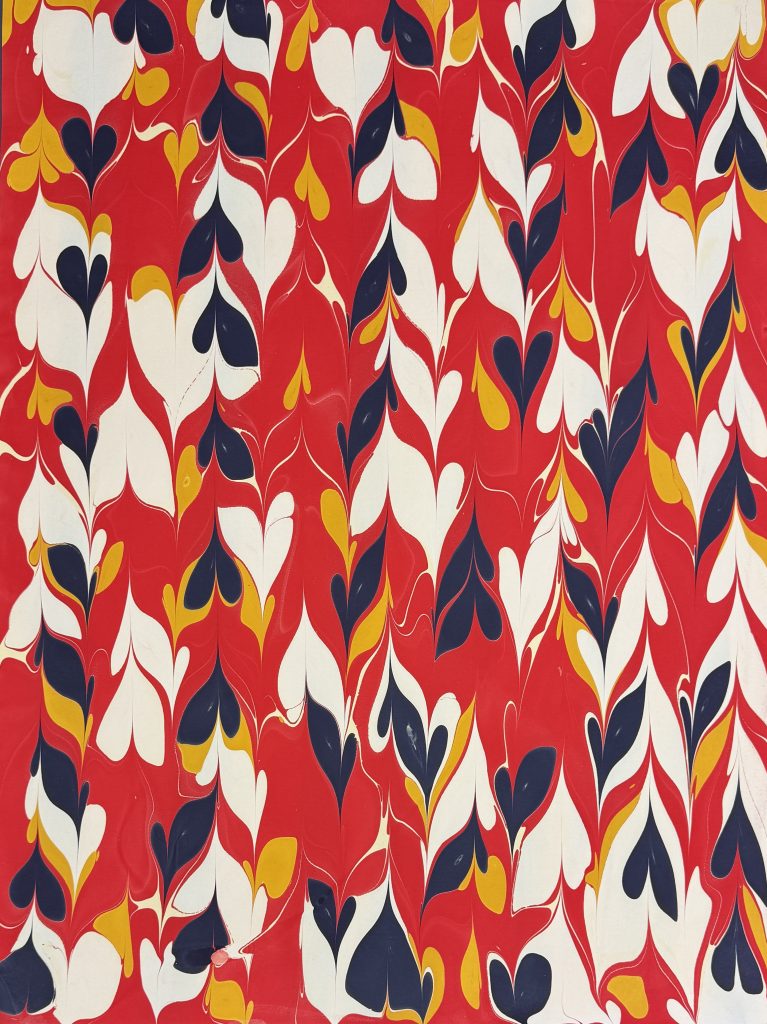
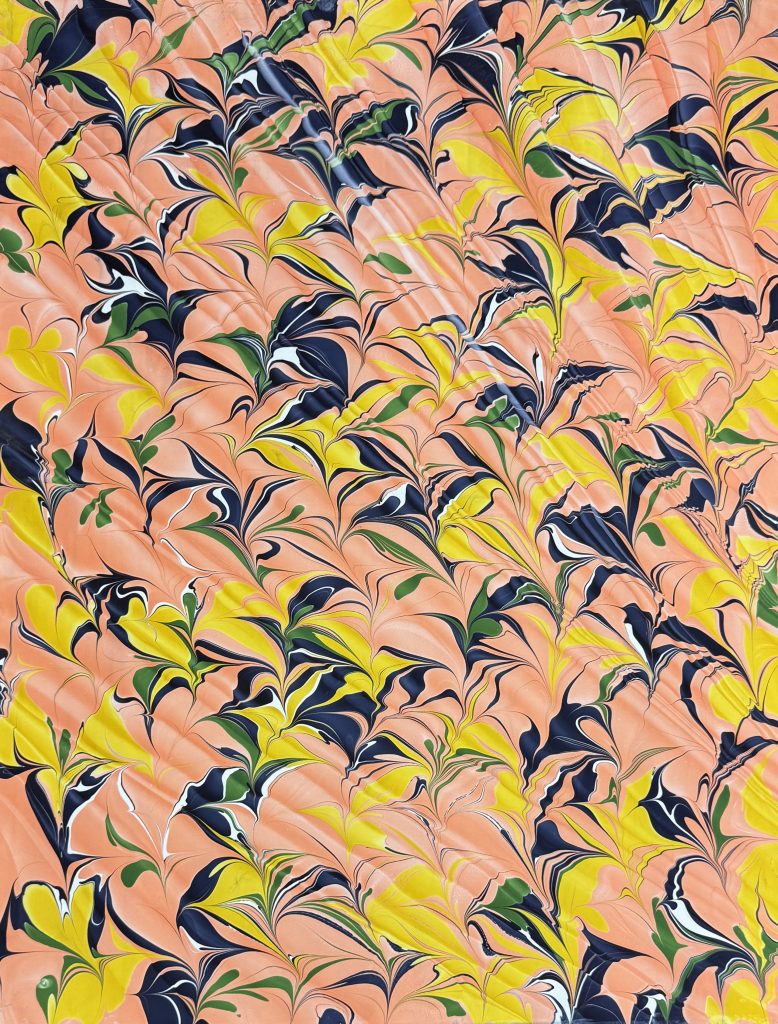
Though I have been paper marbling for years, I was super excited to take this class from Steve, because he is such an amazingly precise pattern-maker and his colors are so bright and vibrant. Little did I know before the class, we would be using acrylics, which is the one type of marbling media I really haven’t worked with too much, and definitely haven’t come close to mastering. My foundational experience with marbling has been in traditional Turkish marbling with watercolor pigments, and then I’ve also experimented with the dye-based pigments that are used in fabric marbling. But using acrylics was a whole new exciting world for me and I learned so much from the class. I also greatly improved my pattern making. I’ve always been someone who is very fond of a stone or a drawn stone pattern (a stone pattern that is manipulated with a stylus), but when it came to using combs and/or rakes to make intricate patterns I would shy away or be lazy in my pattern making practices. Steve’s focus on marbling best practices and following a rhythm in your movements as you are pulling more intricate patterns, working around the bath in a methodical, precise way, was so helpful and something I will carry with me going forward.
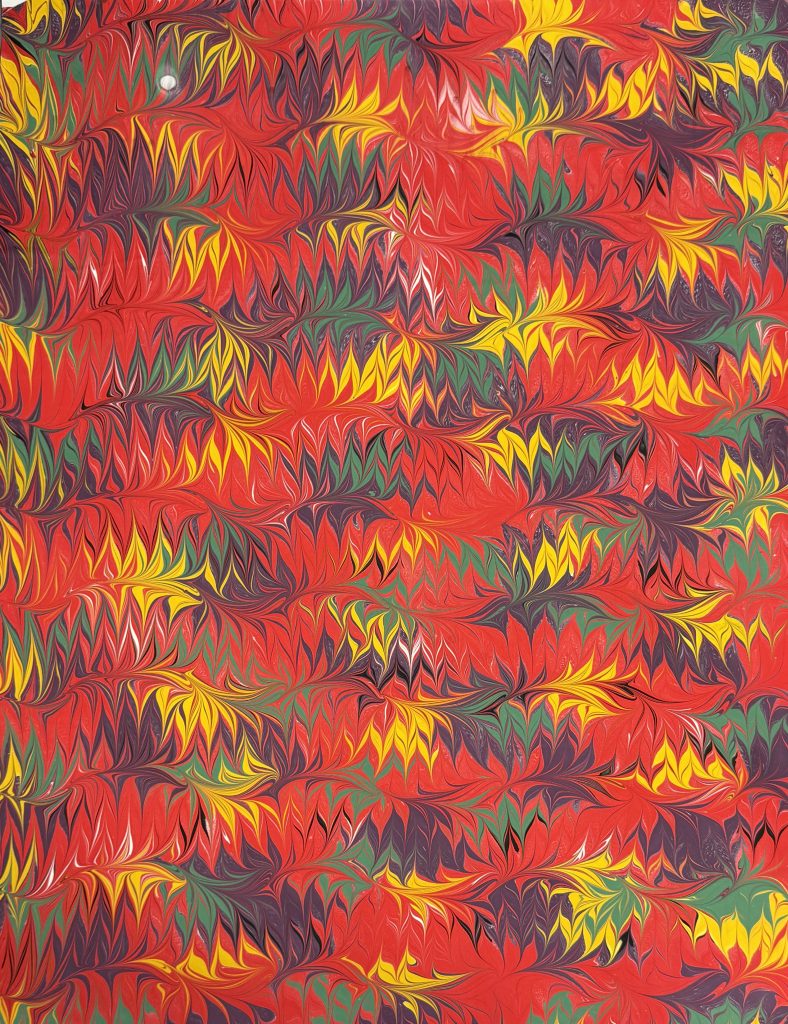
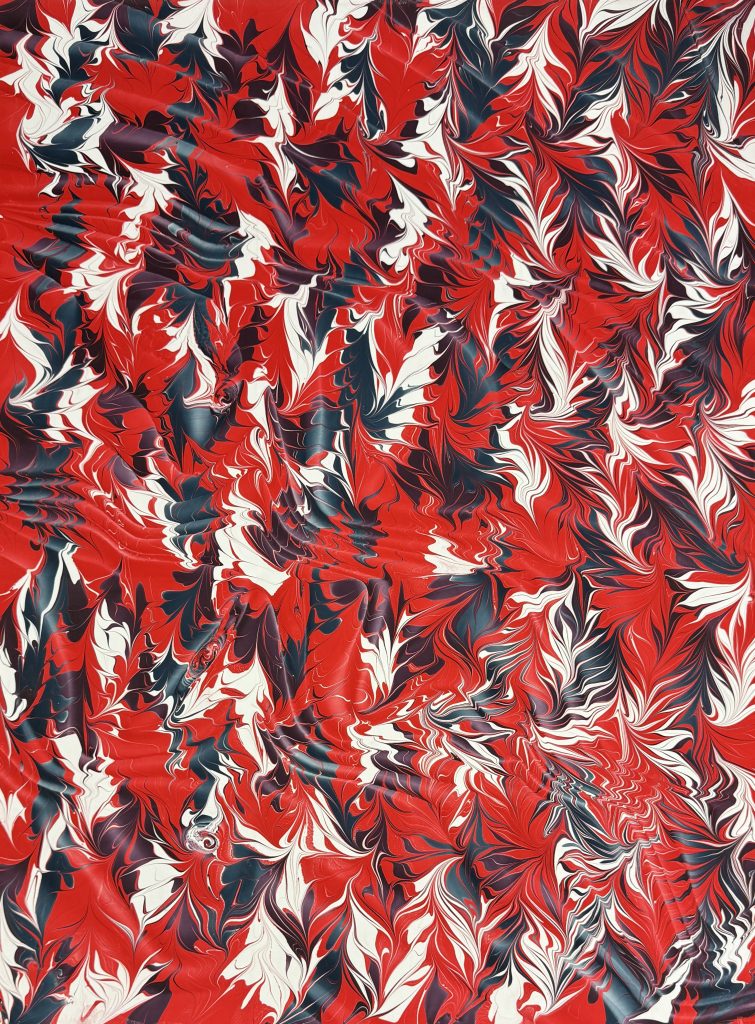
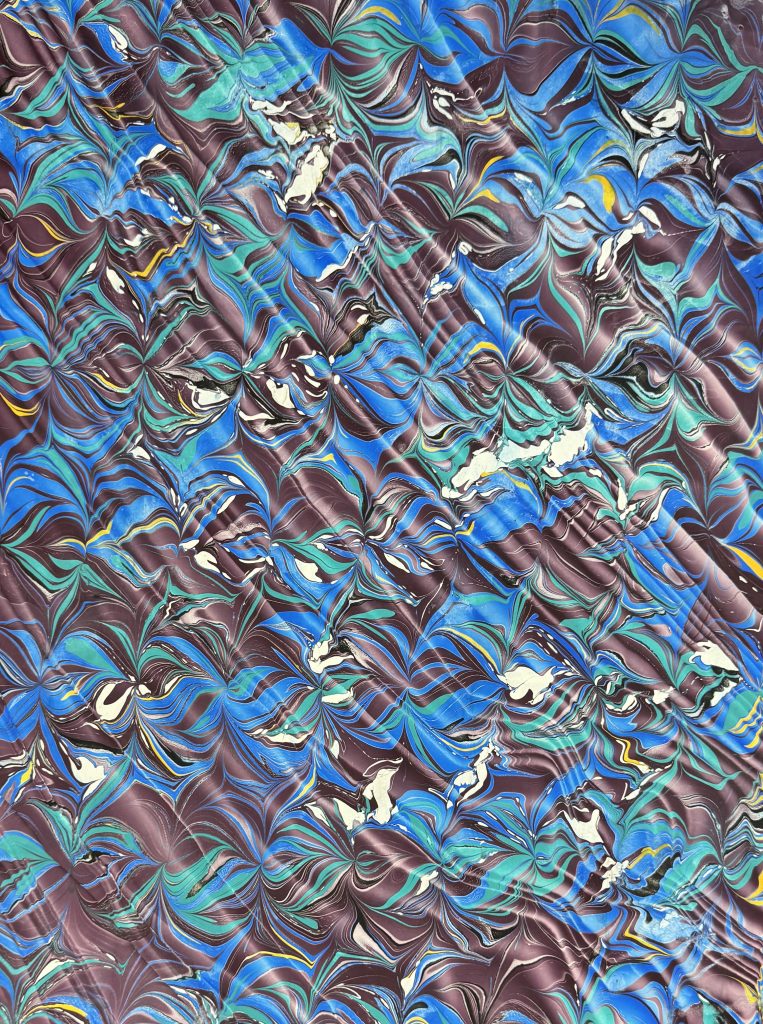
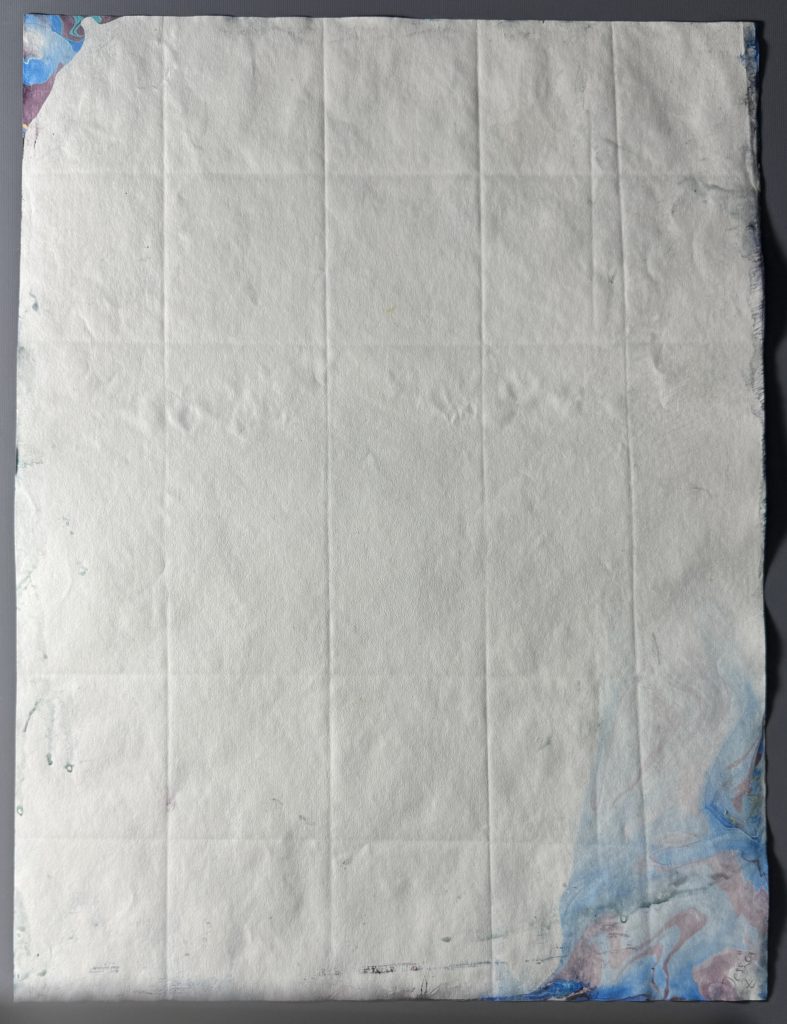
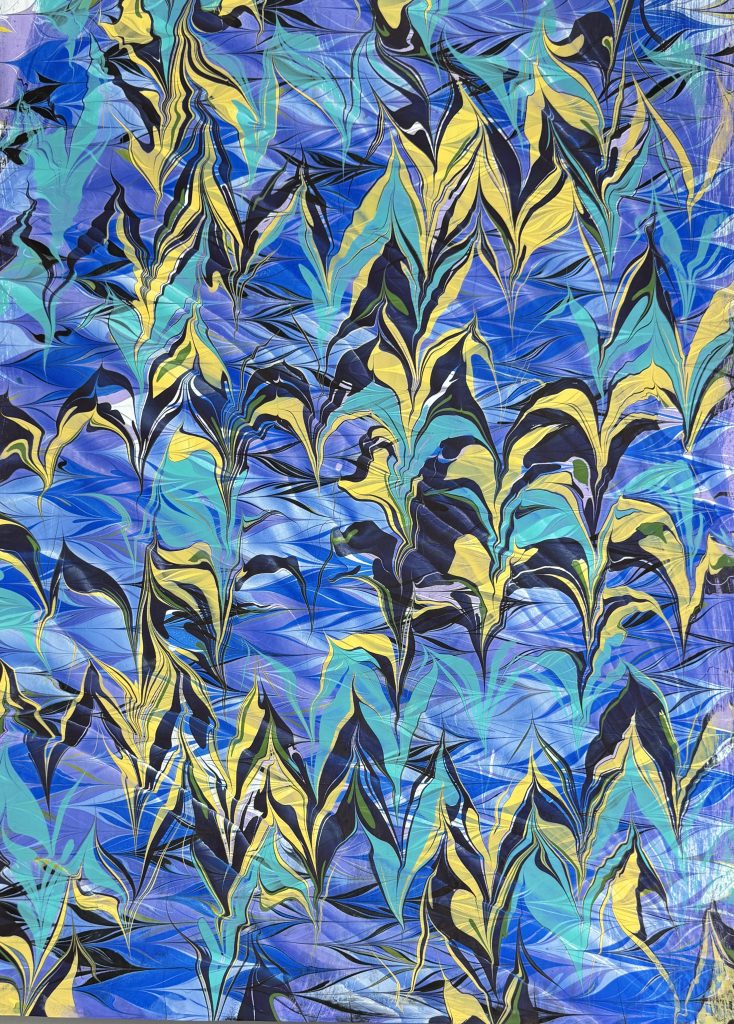
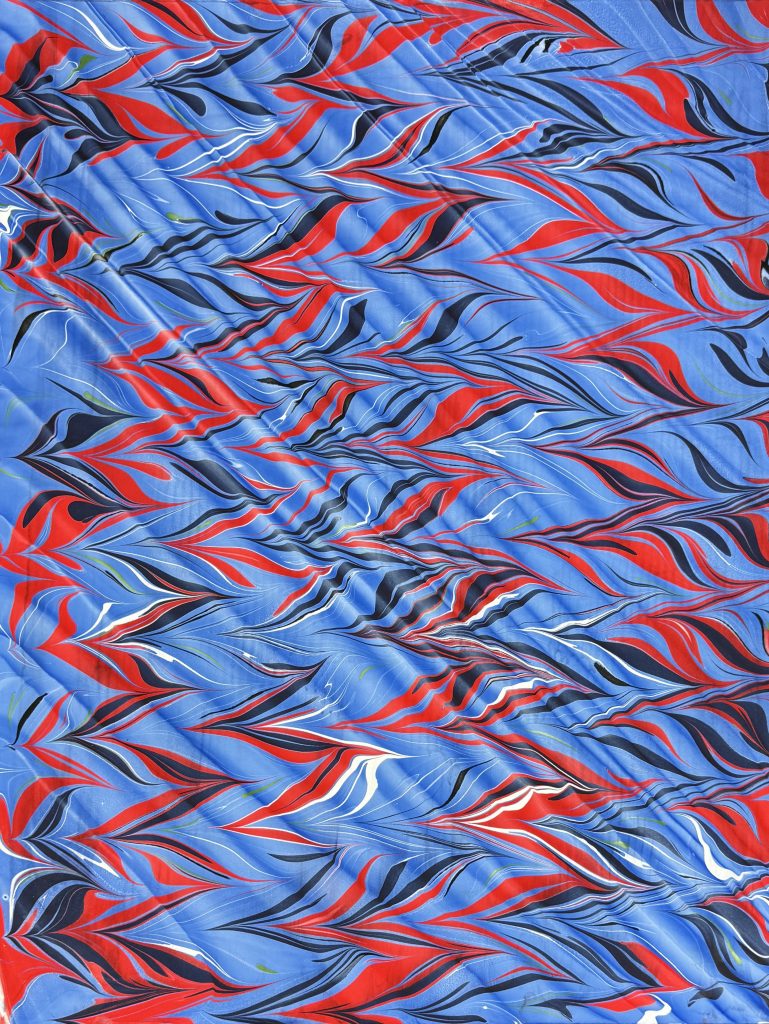
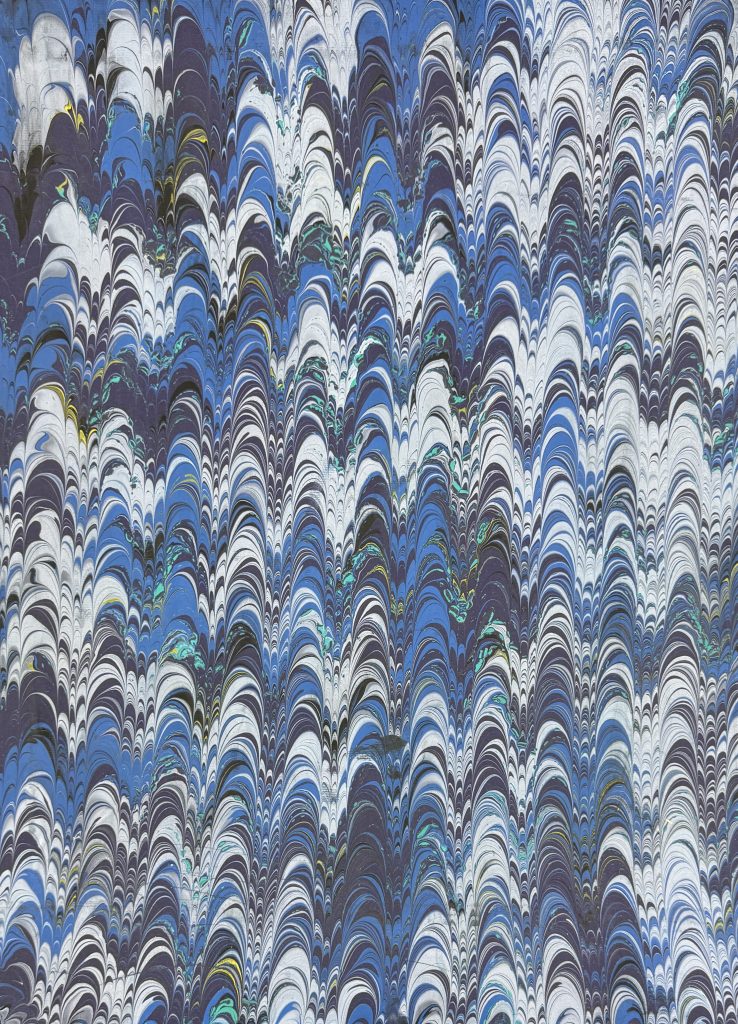
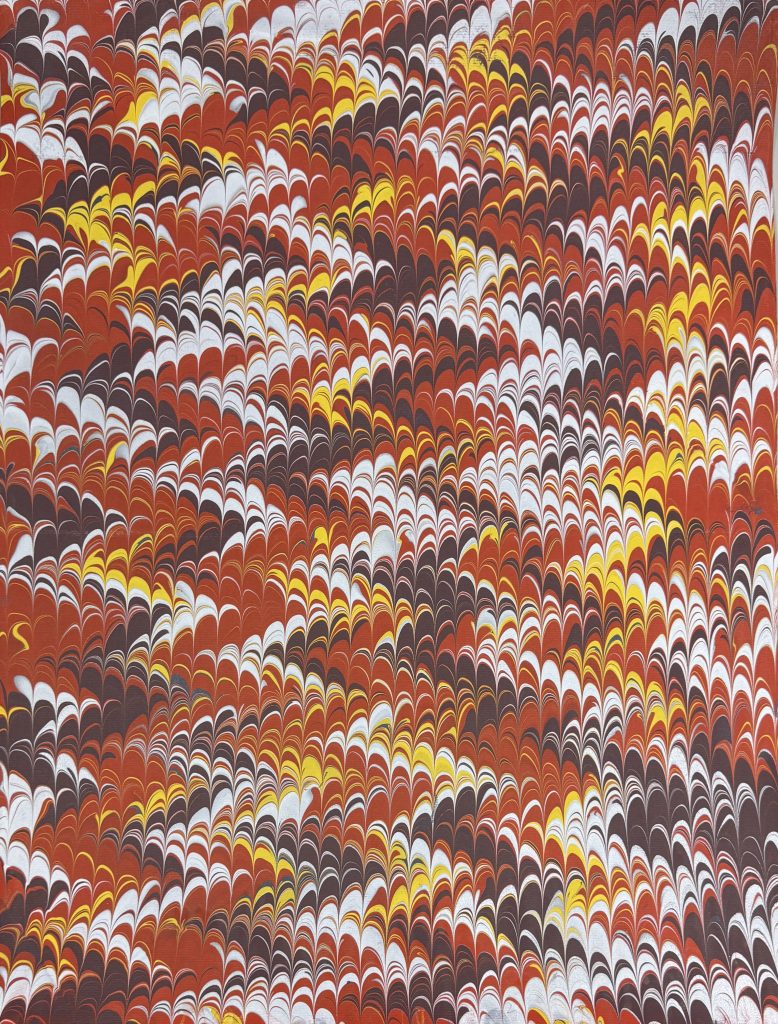
A Selection of My Papers


Ethiopian Bookbinding with Bill Hanscom
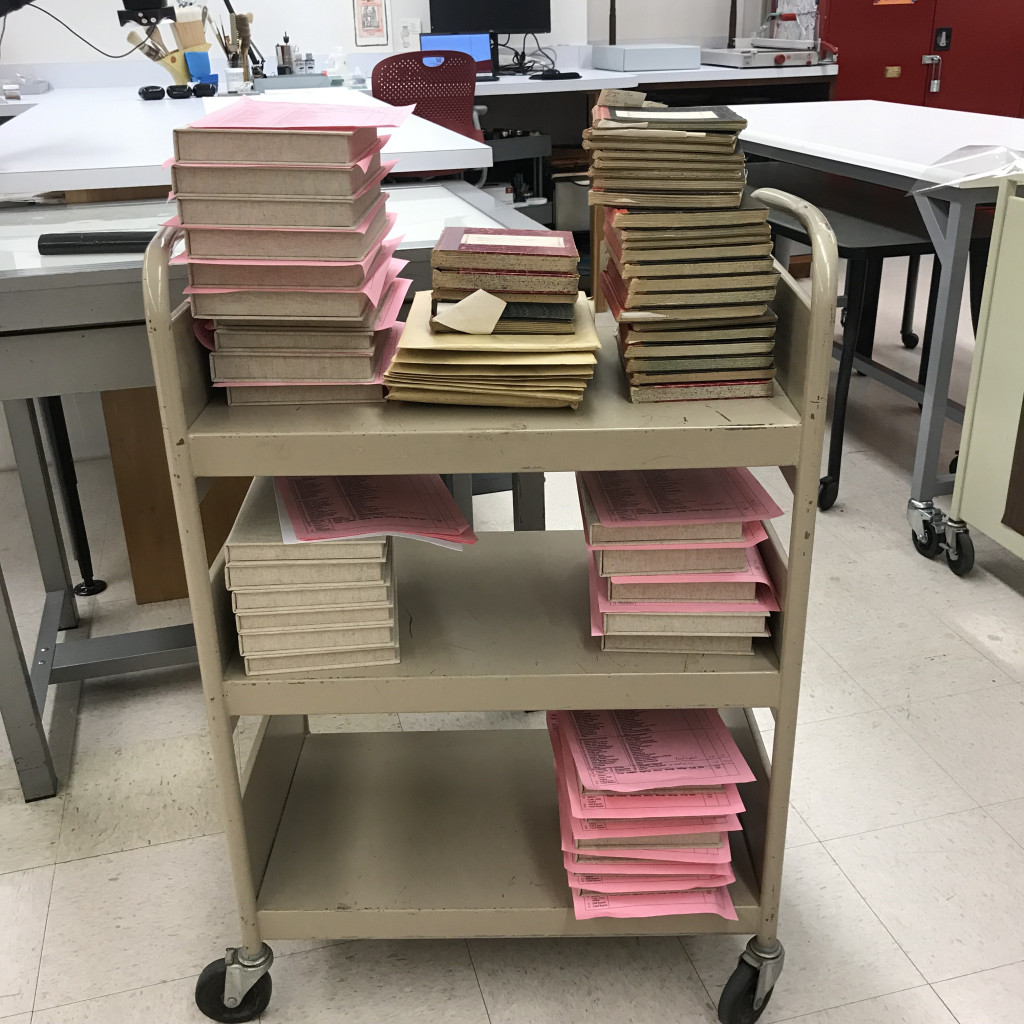
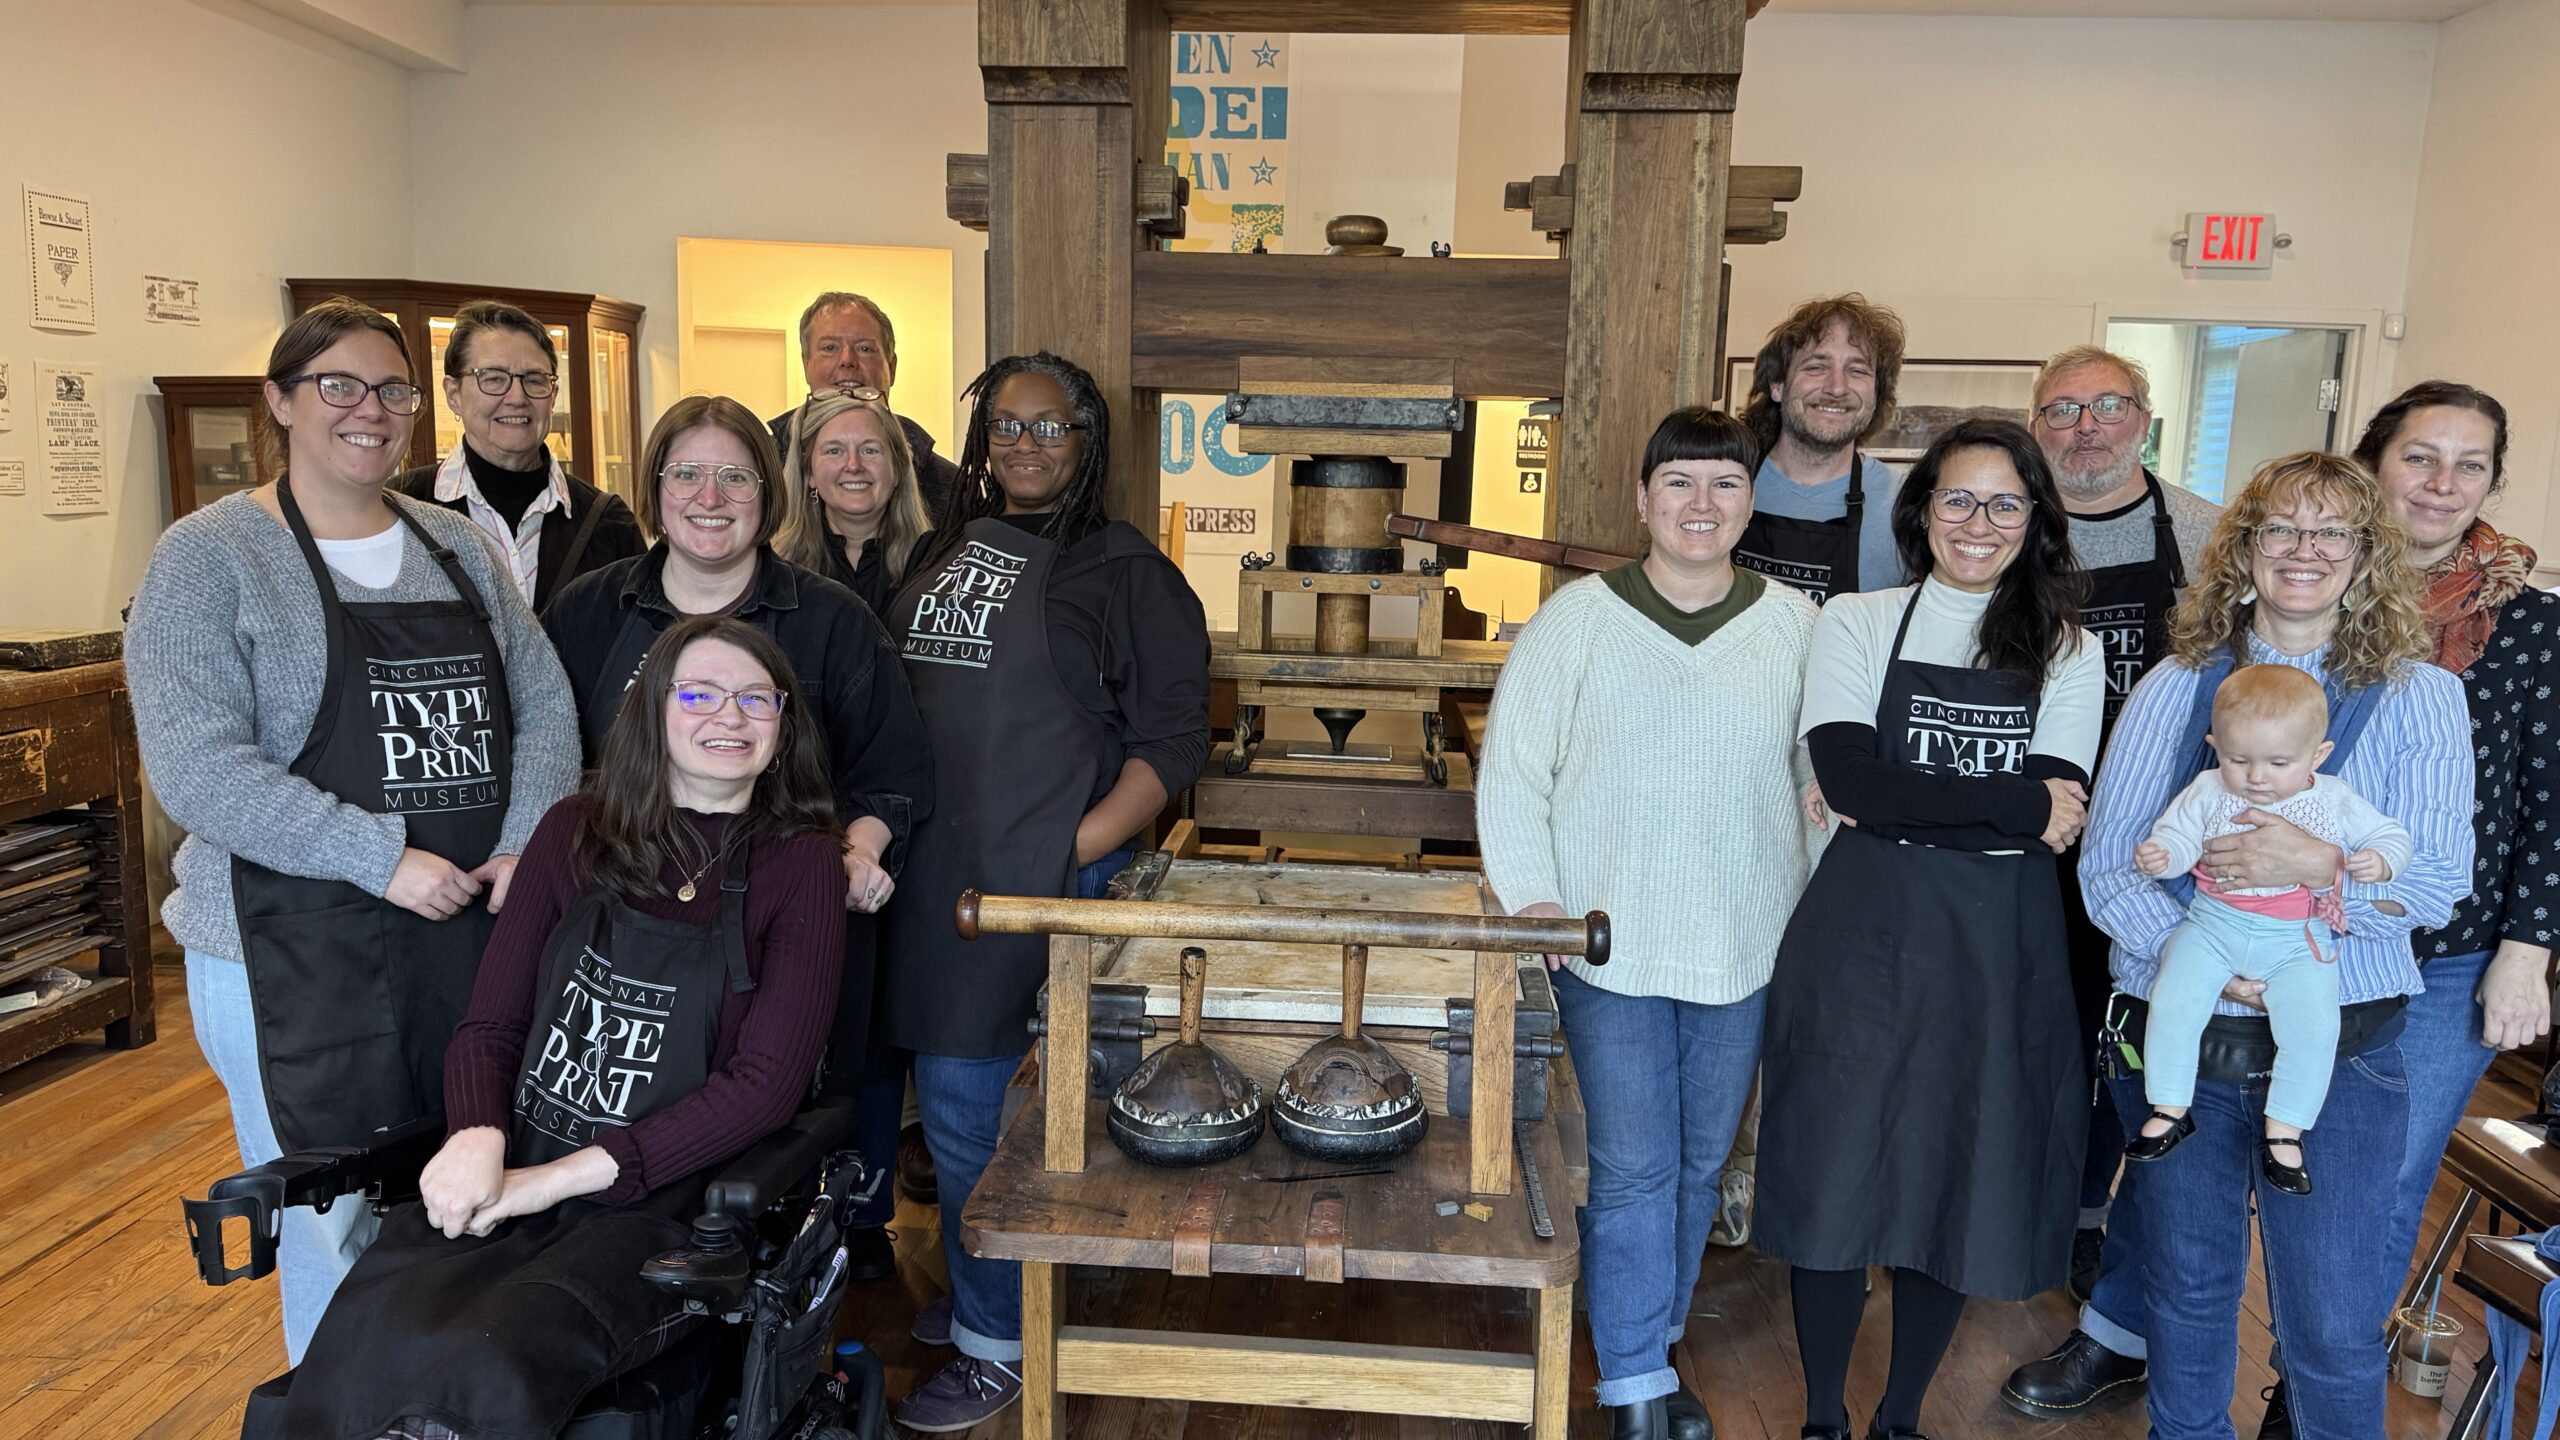
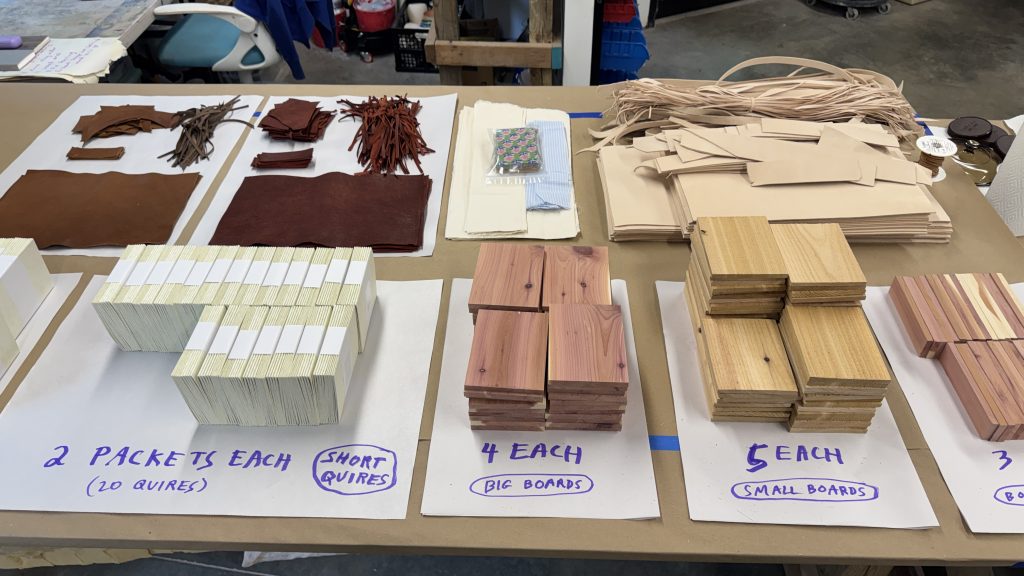
Following a wonderful Show & Tell where we got to see all of the amazing projects from all the classes during session one, we had a short break and then proceeded into session two, which for me meant Ethiopian Bookbinding. I was super excited about this class, partly because of the recent release of Bill Hanscom’s (the instructor) new book Ethiopian Bookbinding Tradition, and partly because I was sitting across from Bill throughout the Boarded Bindings class and they announced that they had over-prepared and brought a ton of extra models. Basically, the participants would have PLENTY to work on, and then some! I couldn’t wait. For book nerds, this was basically a declaration that we would be kids in a candy shop, and they weren’t joking. Here is proof that Bill was indeed not lying about their preparation, which was quite extensive and so well-organized:
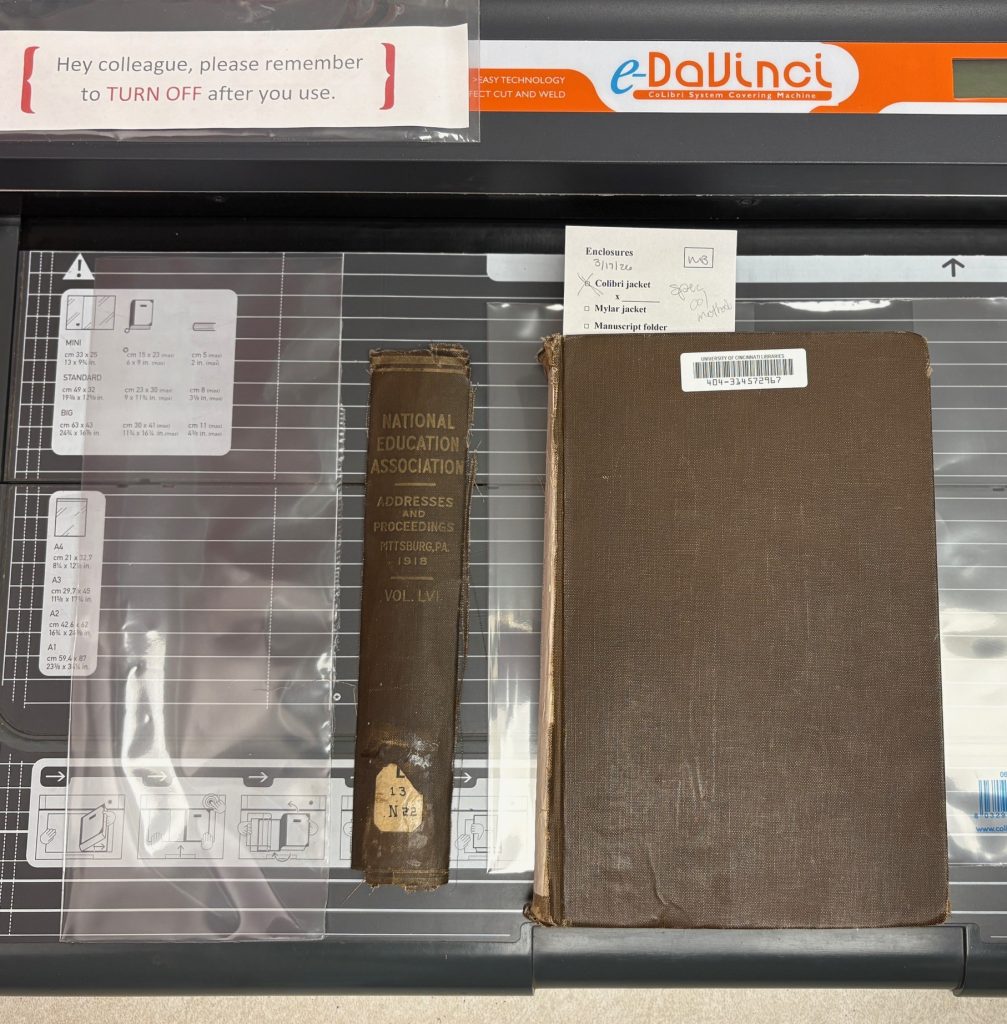
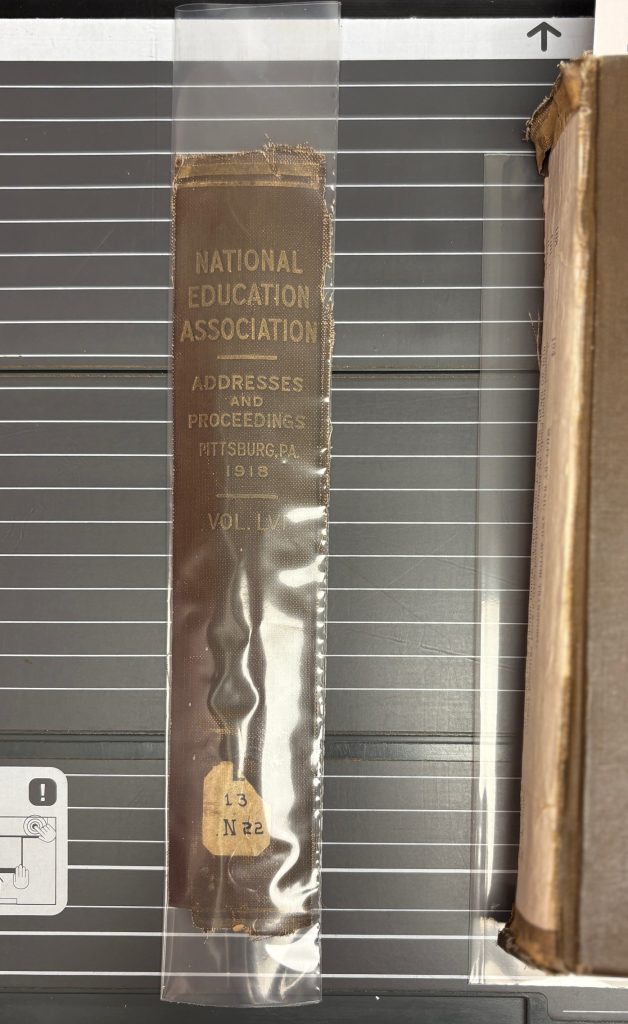
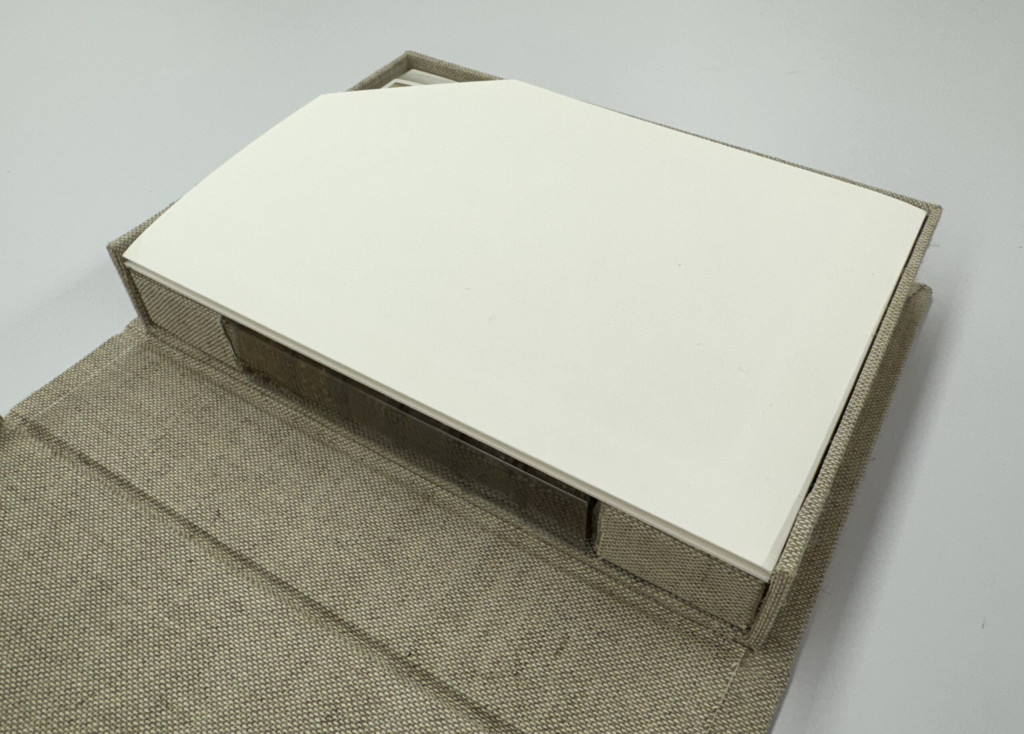
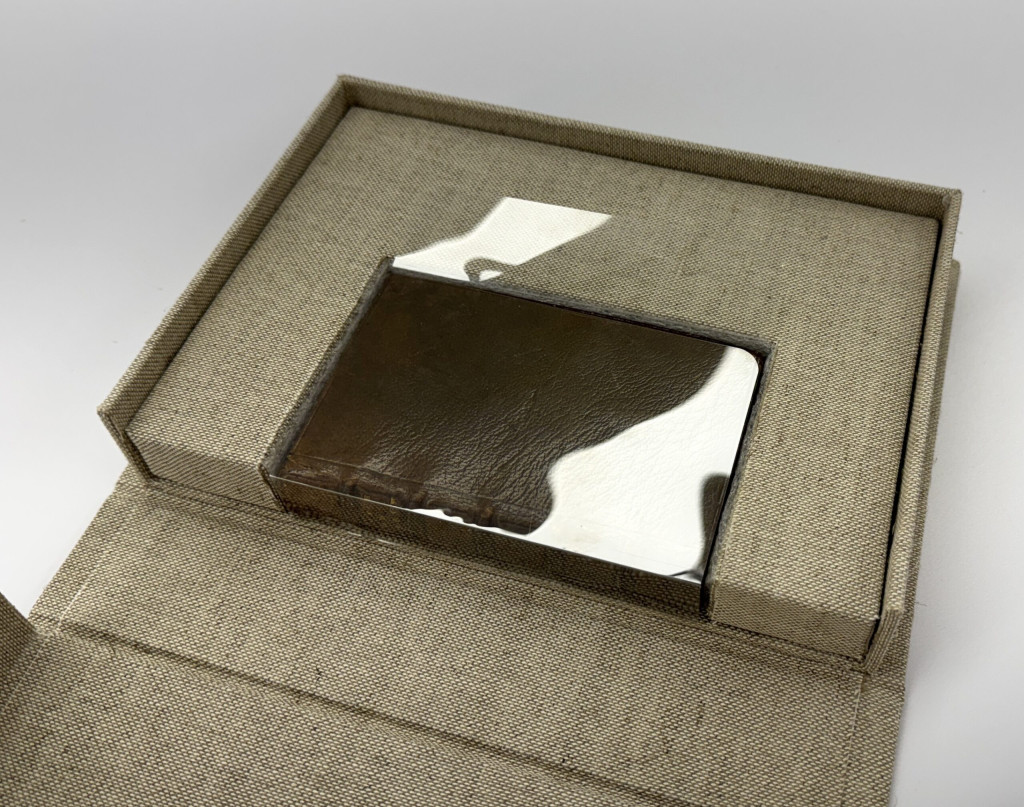
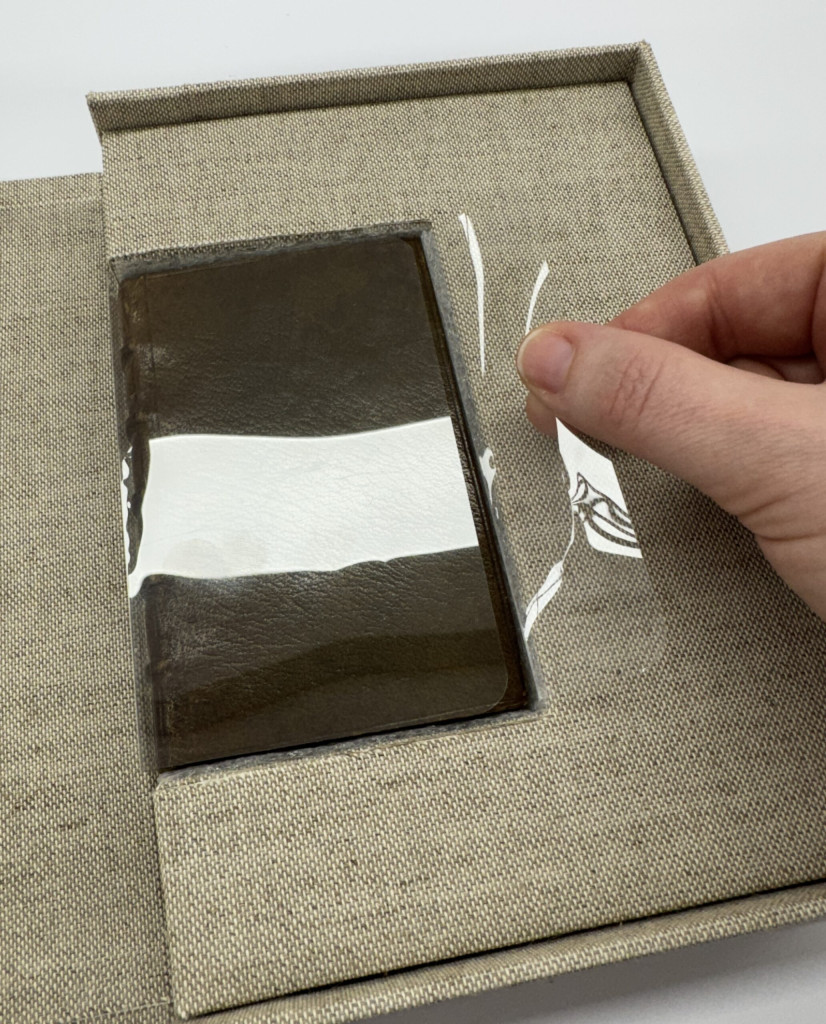
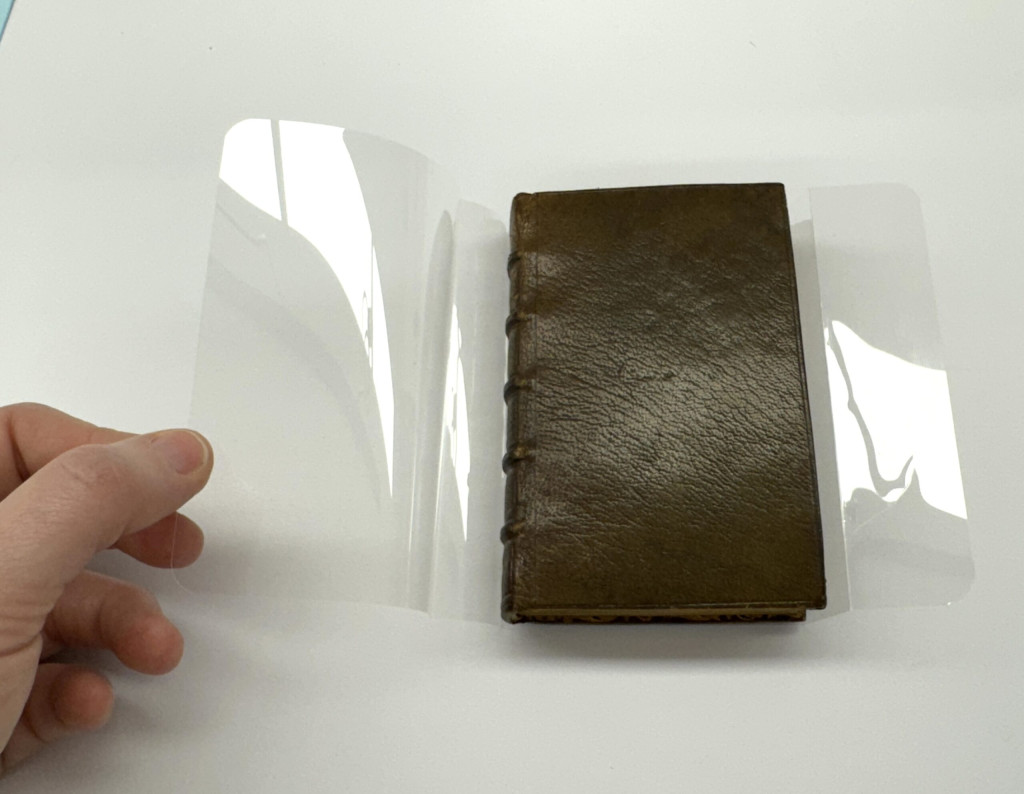
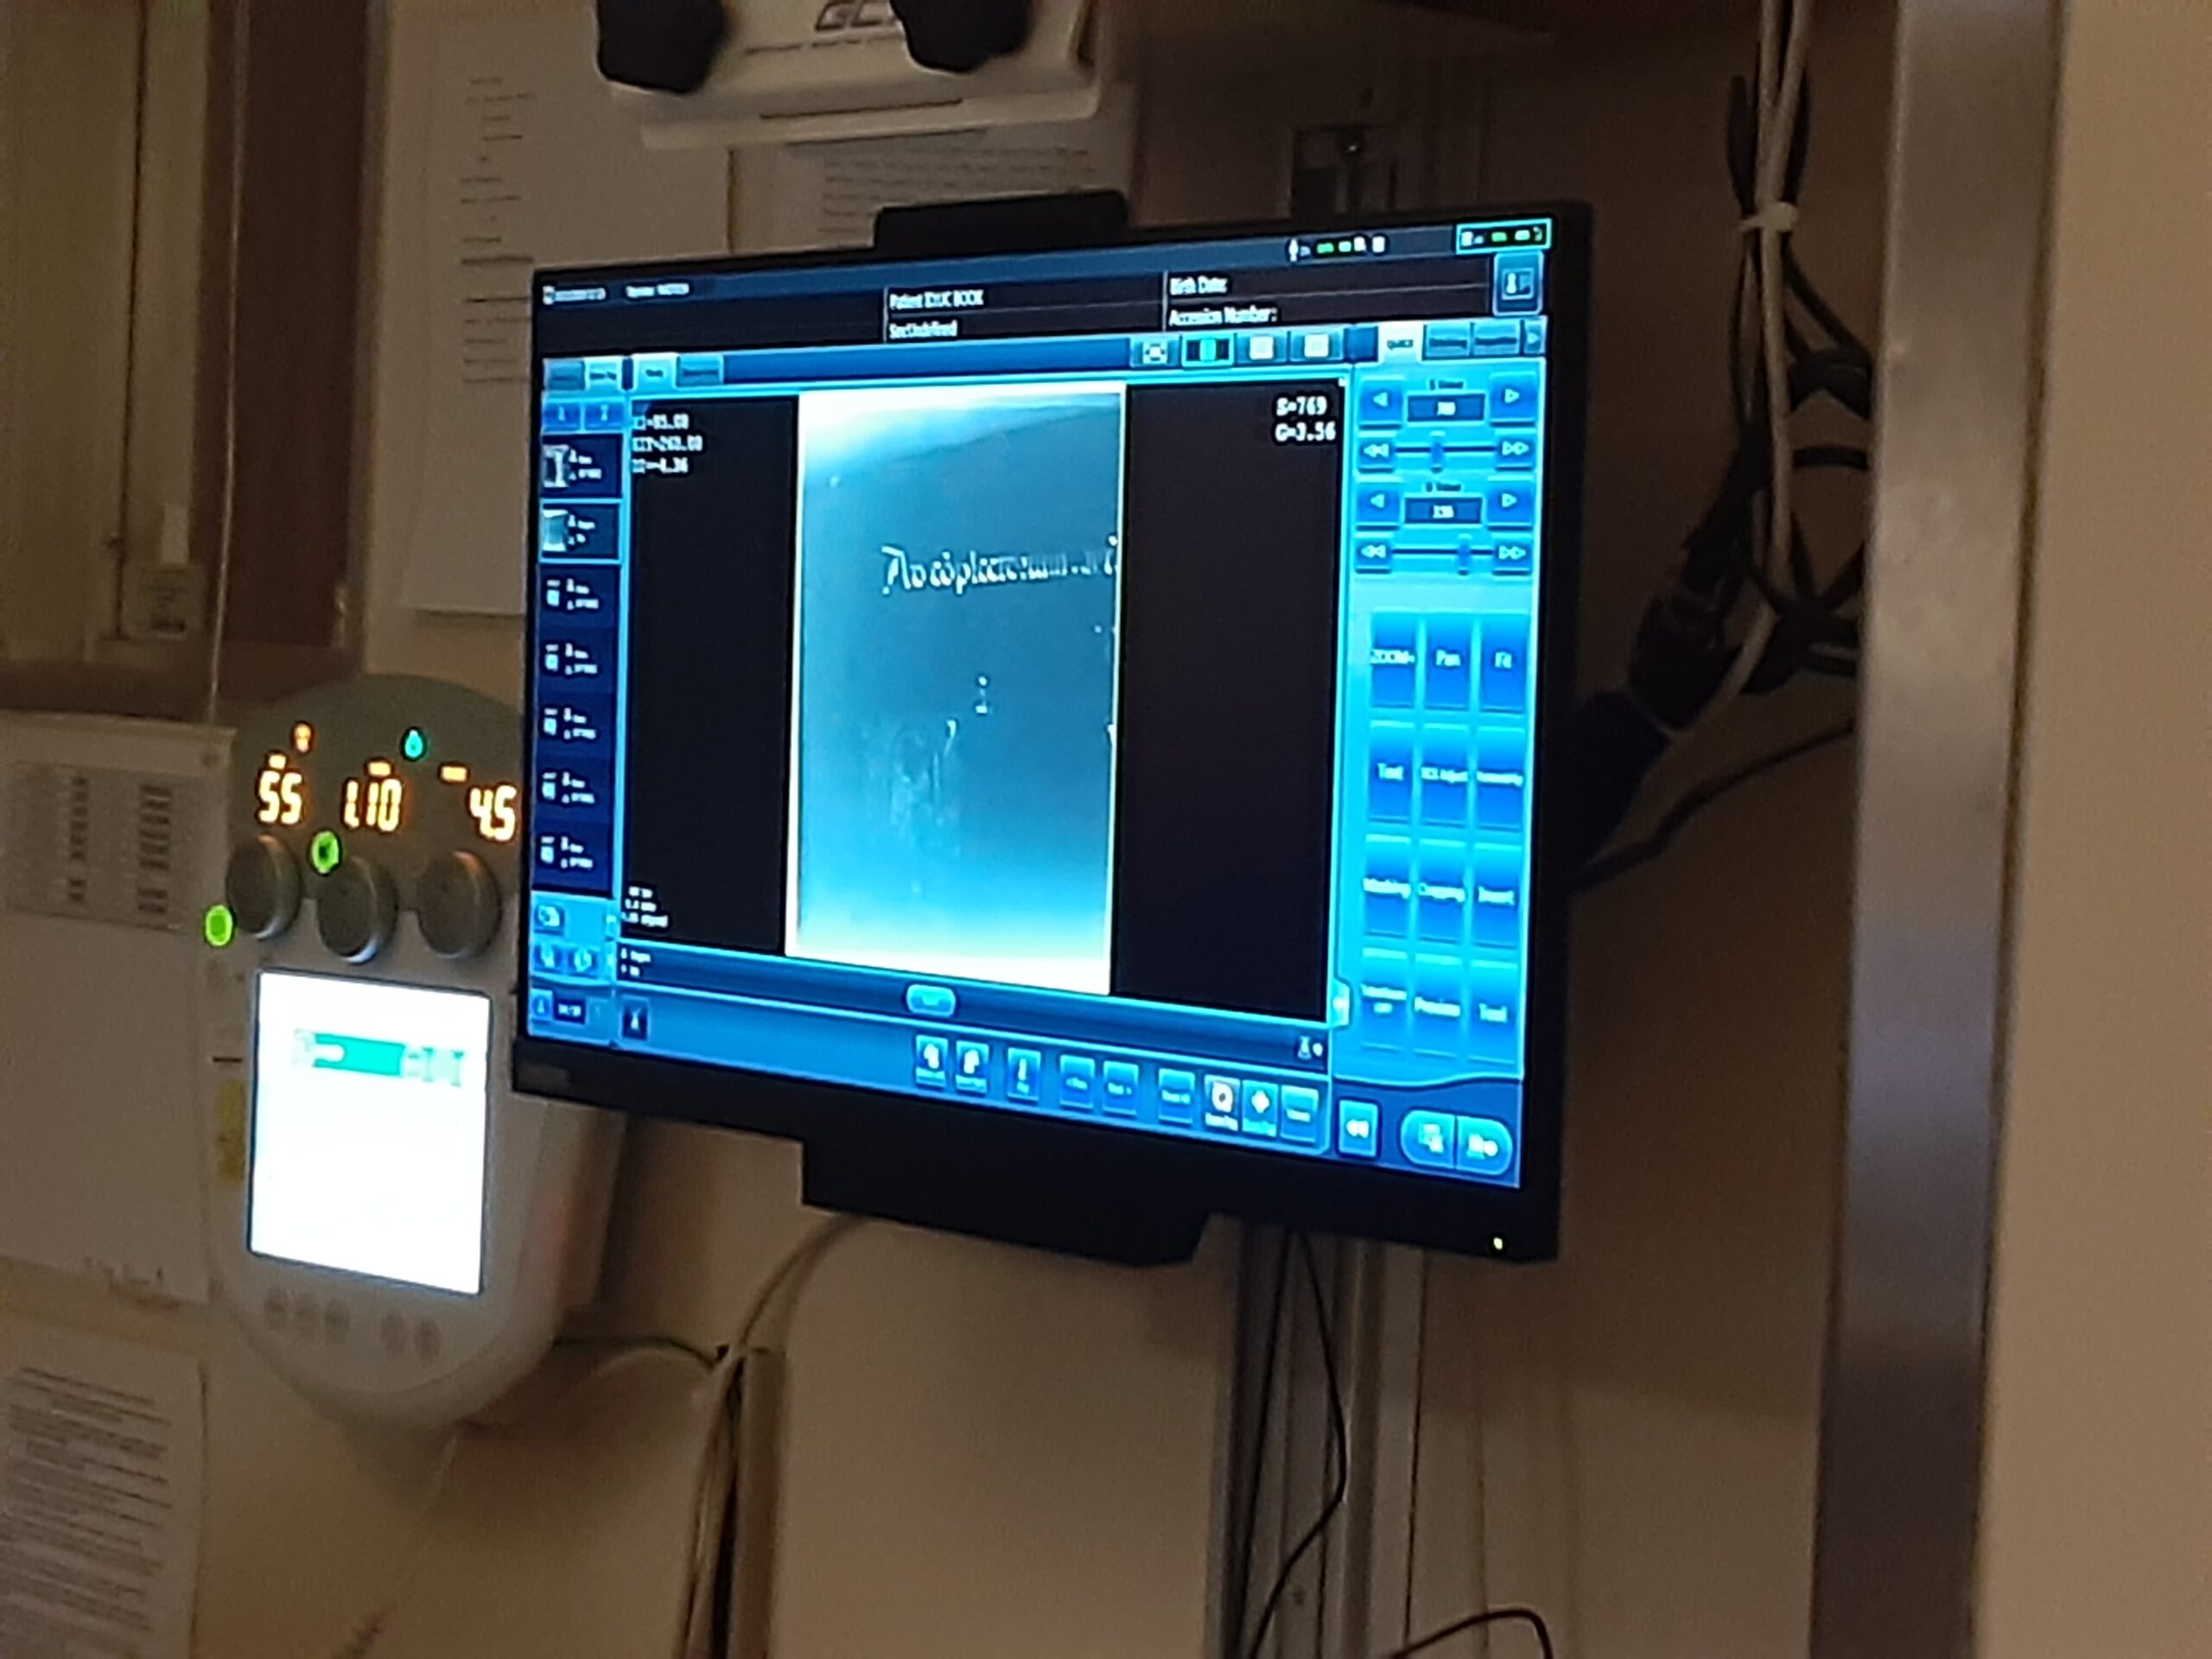
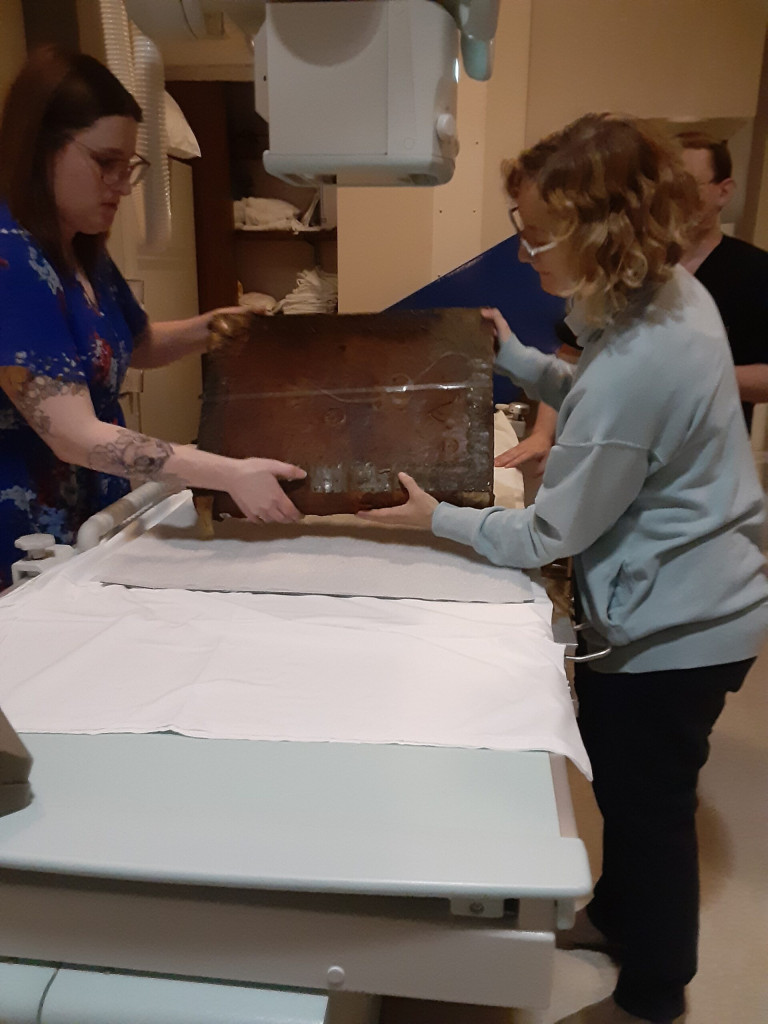
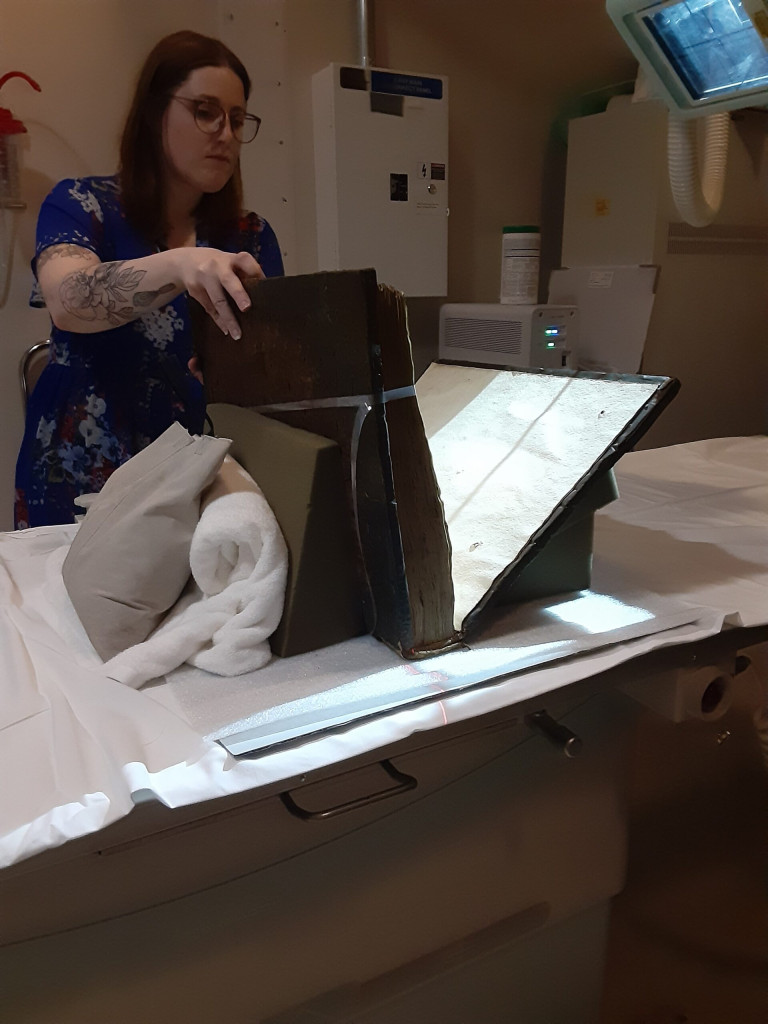
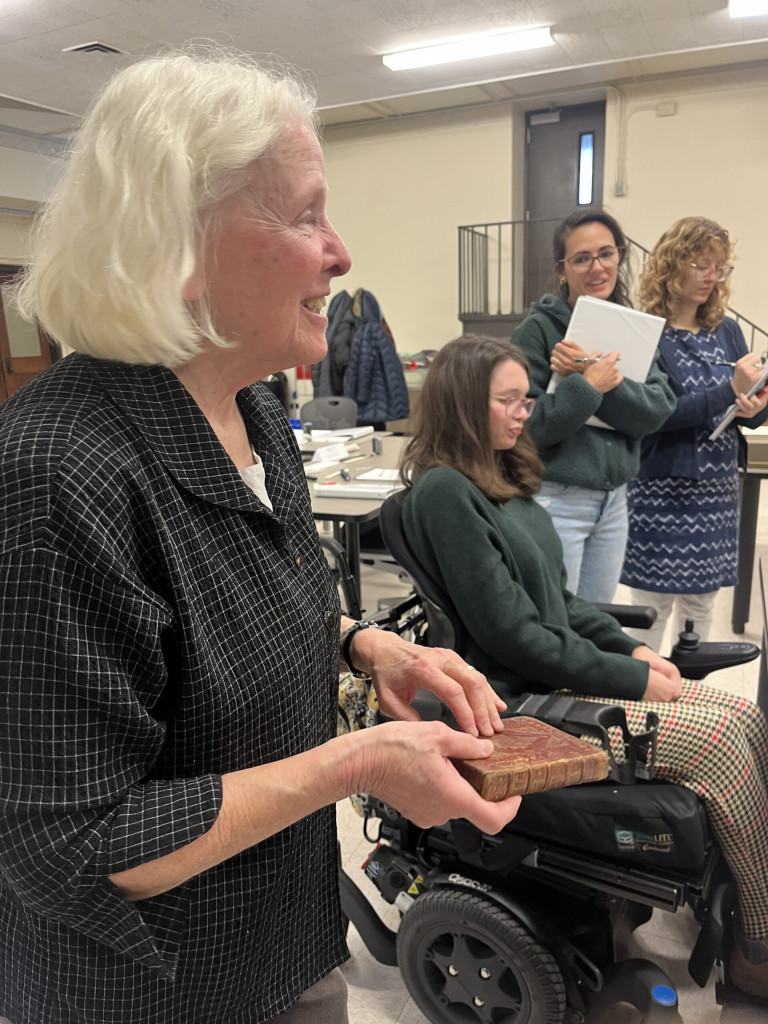
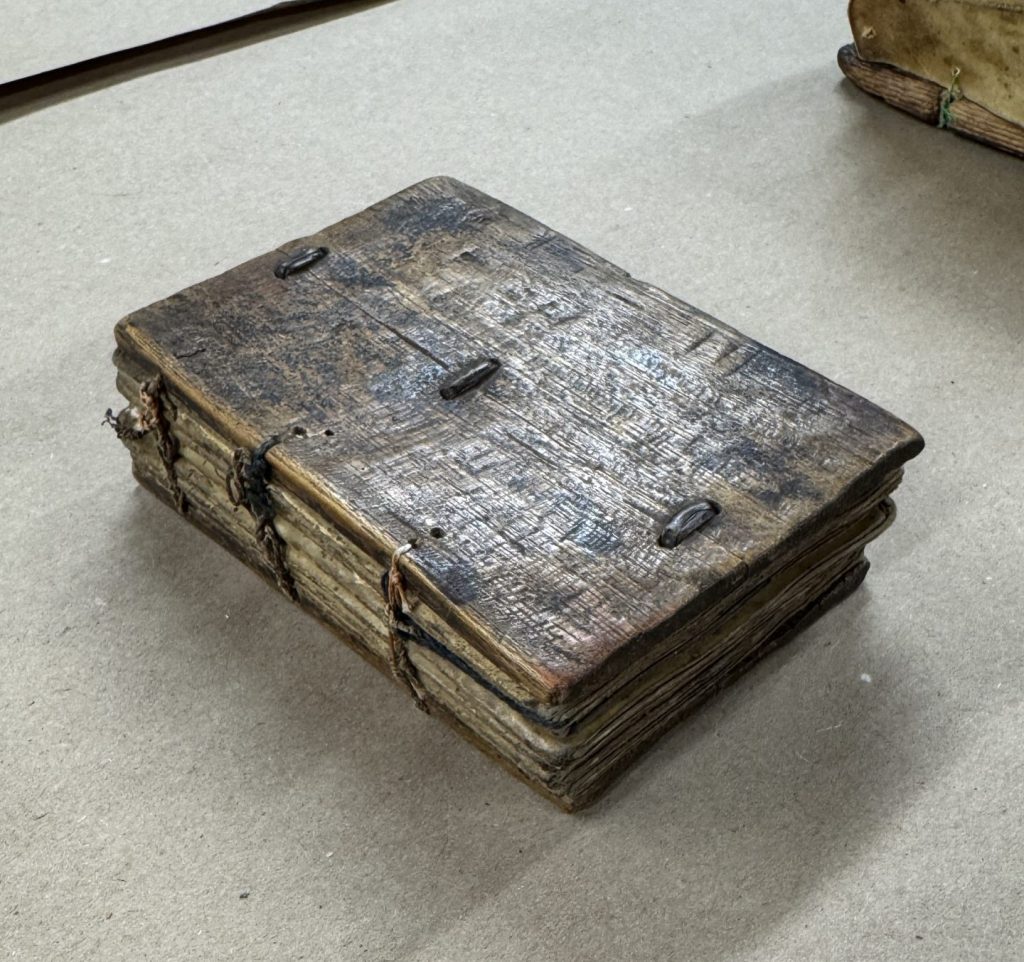
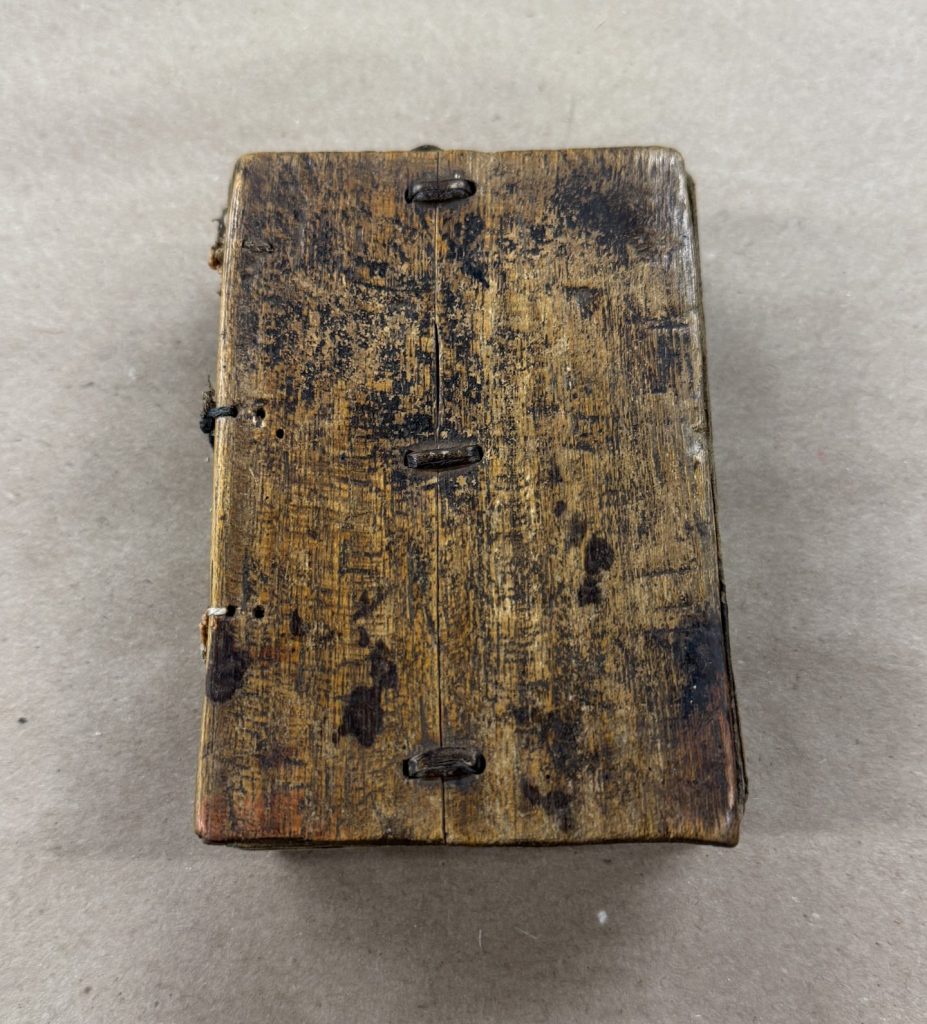
Bill also had two exemplars of Ethiopian binding, both of which showed traits we would be replicating throughout the class; a smaller volume (pictured in the first gallery below, belonging to Todd Pattison) and a larger binding (pictured in the second gallery below, belonging to Bill).


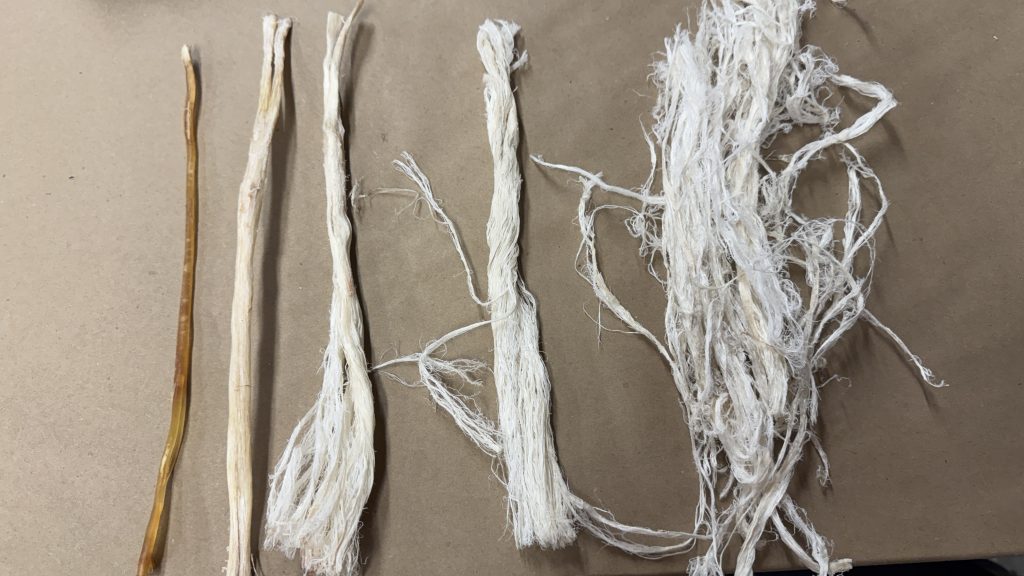
The class was a true immersive experience in Ethiopian bookbinding, with Bill really aiming to give us a taste of as many aspects of the tradition as they possibly could. From thread making out of deer sinew and parchment to hand-drilling our tunnels in our wooden boards with a heated awl, though for practicality sake and the sake of our poor awls, we just did that as a practice on a sample board and we used a pin-vise and a gimlet to drill and bore the holes for the rest of our models. Bill even constructed their own parchment adze, an Ethiopian took used to remove the hair from the skin of the hide, from a branch found at OxBow (see below).


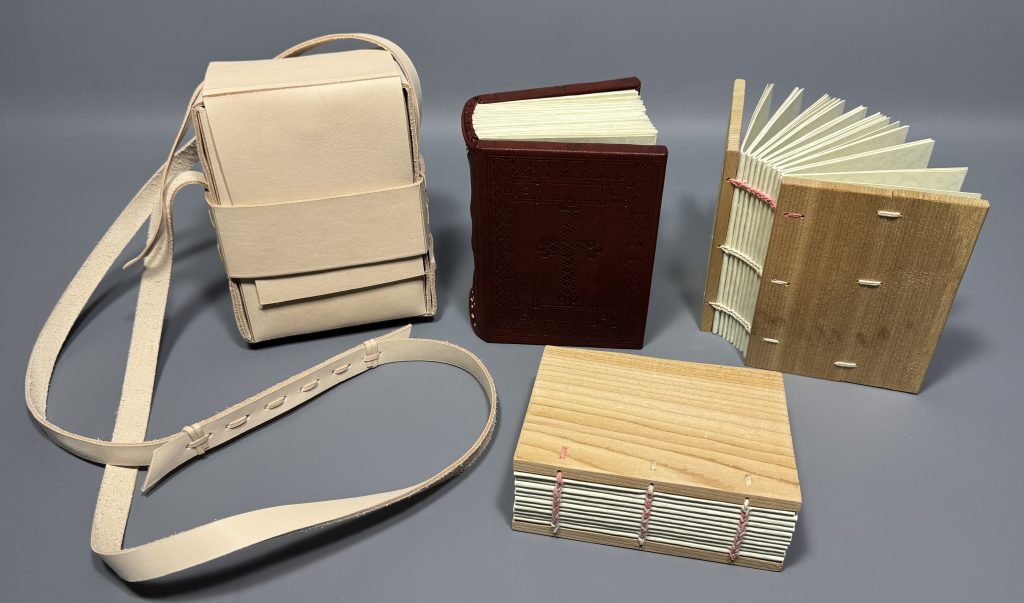
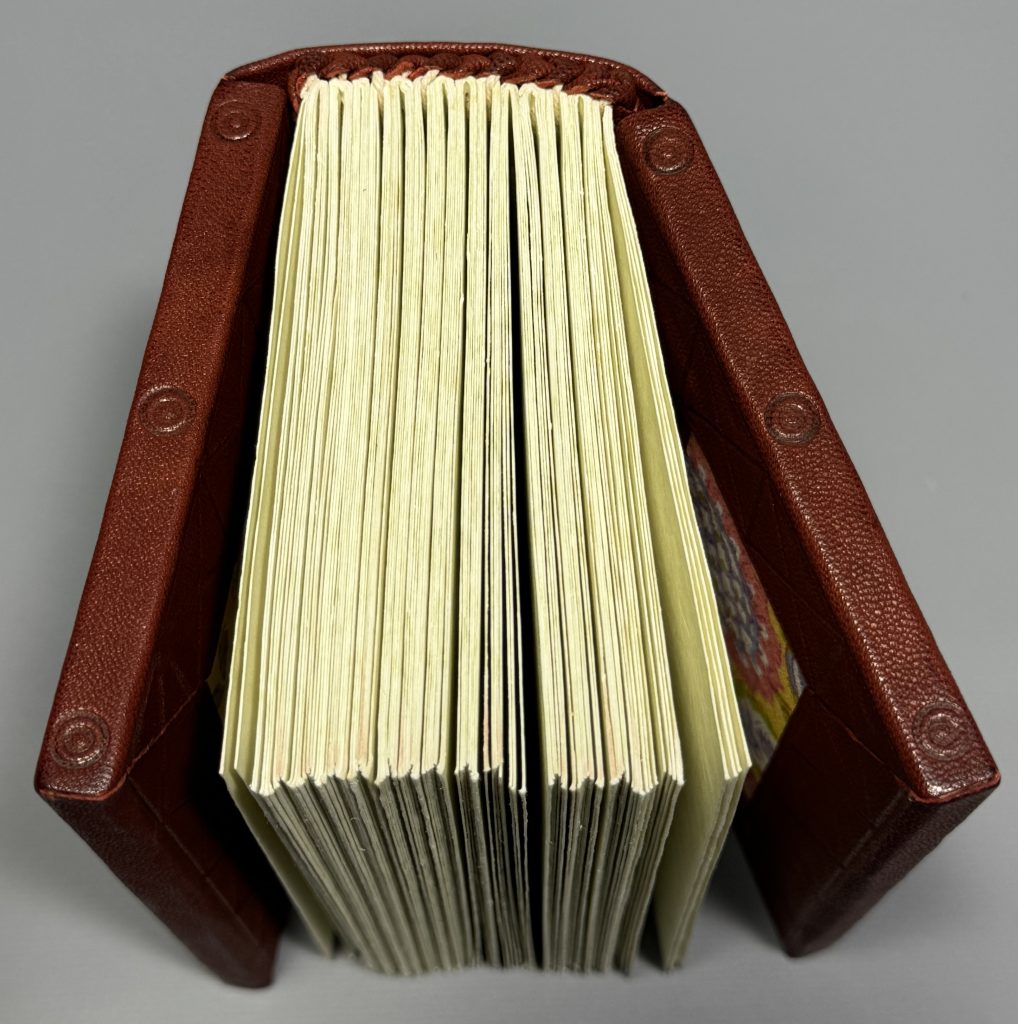
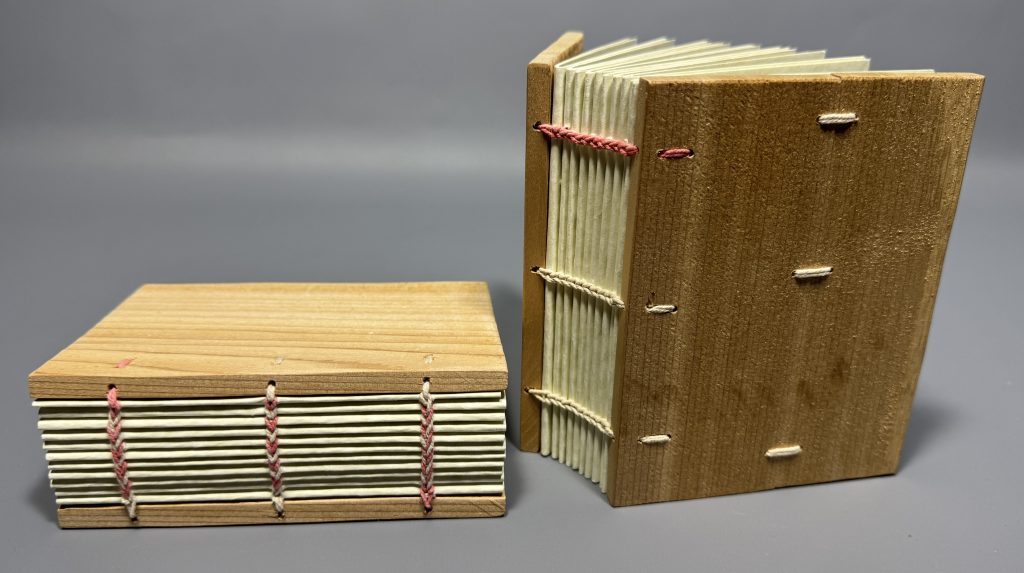
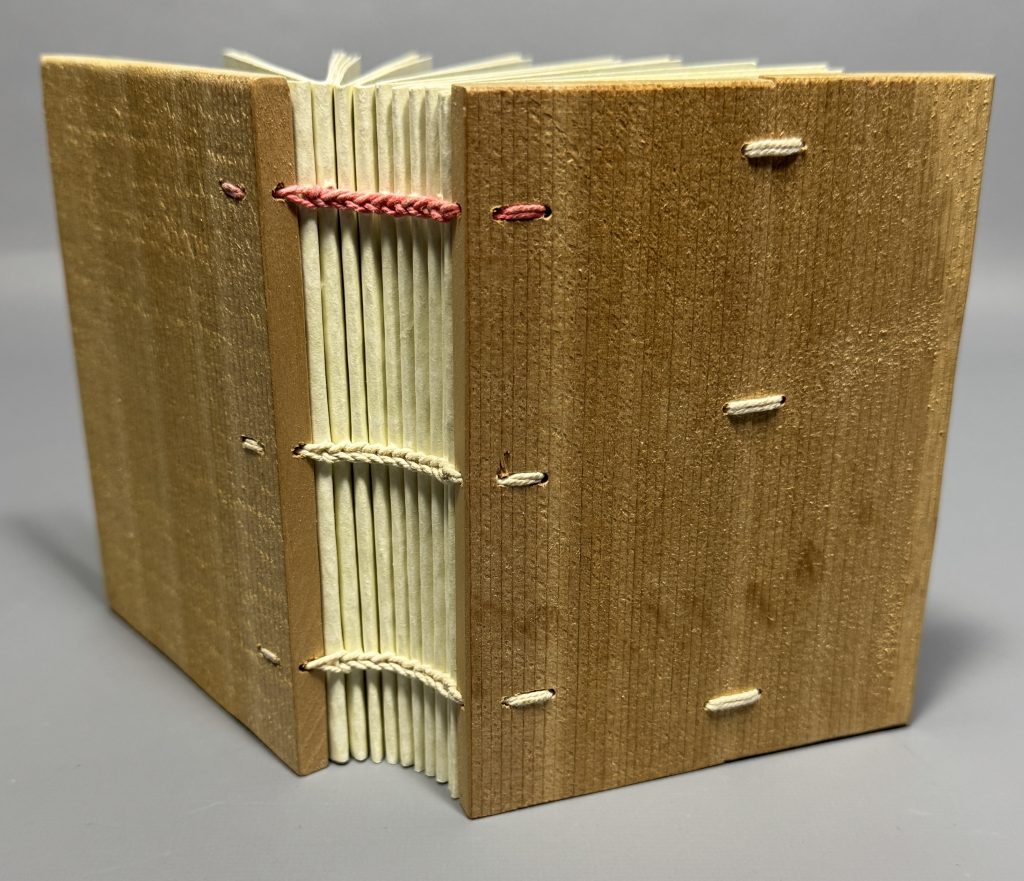
Throughout the workshop we made two primary wooden board models with paired station sewing (four sewing stations, using 4 needs and two lengths of thread) and the “typical lacing hole arrangement” which is the most commonly seen example of board attachment (and what is used on the two exemplars). Of the two primary models we were creating, one was to be covered in leather. Prior to covering we added textile board linings and leather patches. Once covered, we created leather endbands that were then attached to the inner joints and anchored along the head and tail. The model was then blind tooled. Naturally, Bill had a plethora of historical examples of tooling designs for the class to look at for inspiration.
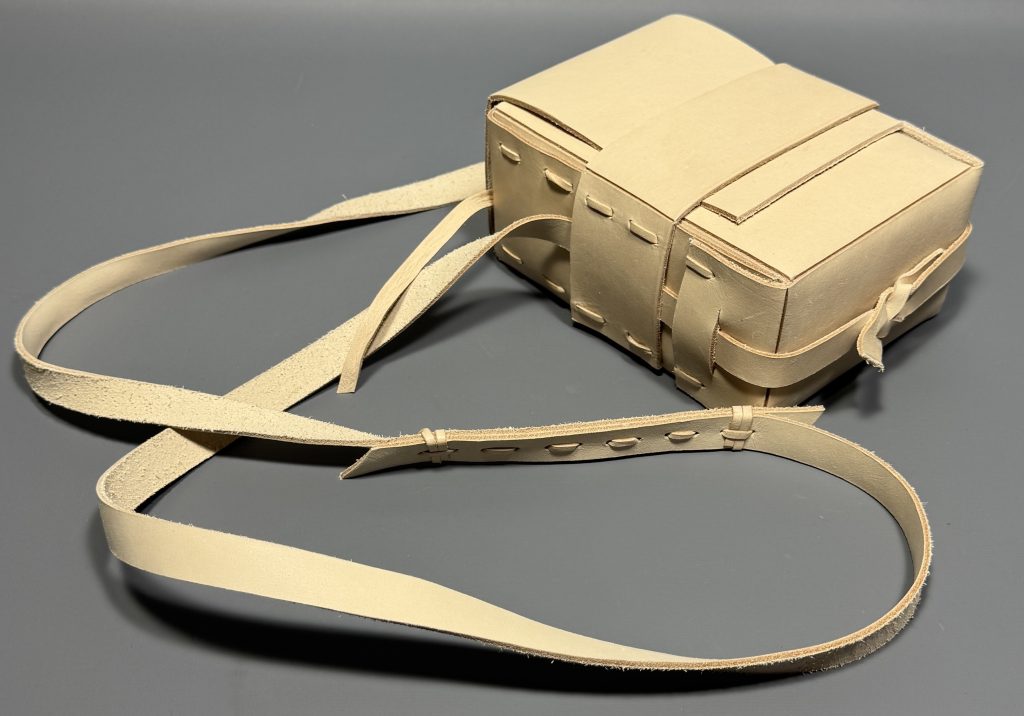
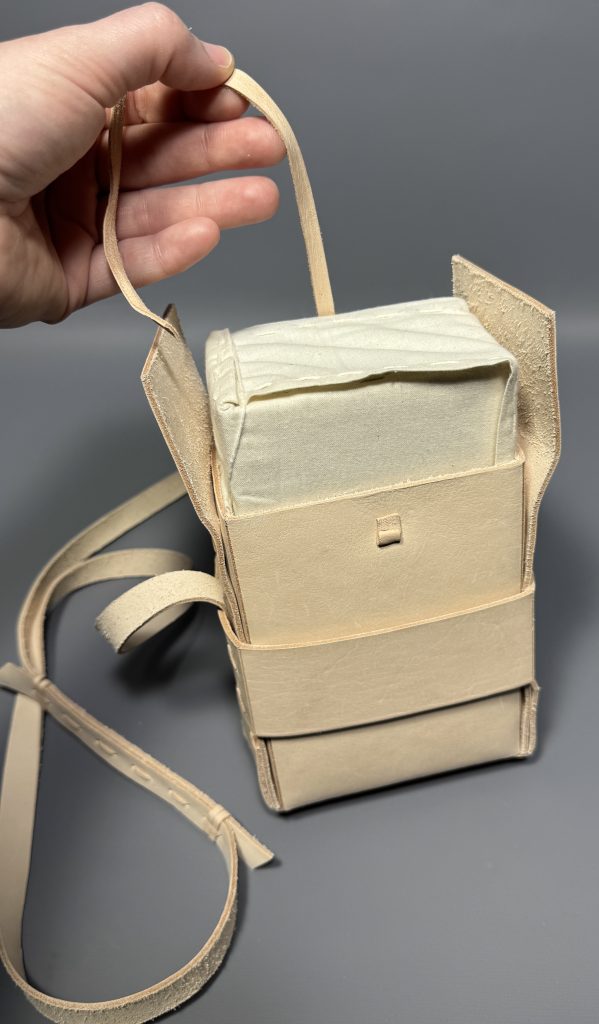
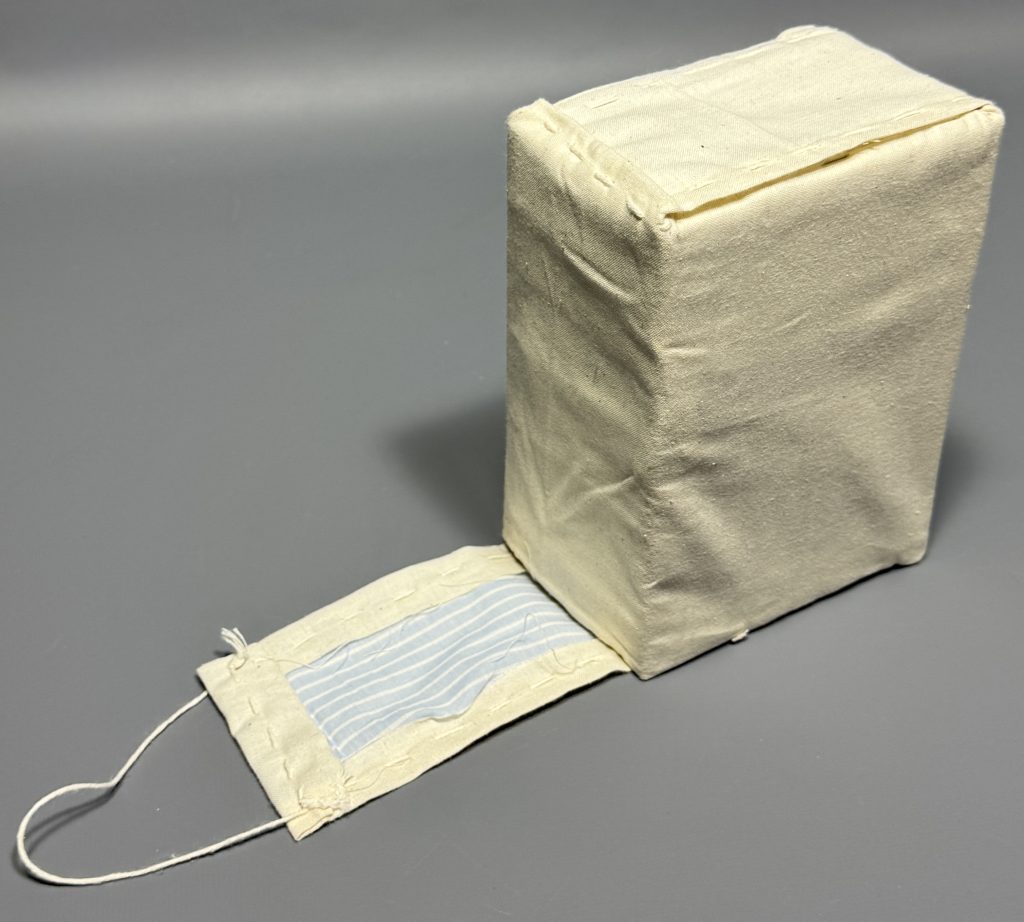
In addition, we could also make a textile over-cover, which I opted to do for my second model, since the over-cover is sewn around the book and meant to stay on. And then on the final day we made leather satchels. I was one of the few who opted for the more strenuous double-walled satchel (for my second model), which meant punching through three layers of thick leather in multiples sections of the satchel, but I’m very happy with how the satchel turned out. It even has a pull string to allow you to remove the book more easily, as it is meant to be a snug fit (which mine is!).
Bill also prepared additional boards and text blocks for class participants, if they were interested, encouraging us to try three station sewing at our leisure. For those who were interested, we dyed some cotton thread red in order for us to better see the various three station sewing patterns. Of those, I tried the hook variation and the pick-up variation. I also split the board of one of these models so that I could repair it it with a common thread repair.
Finished Models


Overall, it was a wonderful experience, and I walked away with so much knowledge and appreciation for the traditions, materials I worked with, and the new people I met.
If you haven’t checked out the two reels recapping my experience at PBI on the Preservation Lab Instagram, I highly recommend taking a couple minutes to watch them:
Session one recap:
Second session recap:
Jessica Ebert – Assistant Conservator
A huge thank you to my supervisor, Holly Prochaska, for her continuous support in my professional development and to my Associate Dean, Brian Gray, and UC Libraries for the financial support for this impactful experience. And also thank you to the Ohio Preservation Council for the development grant which help to subsidize some of the funding as well.