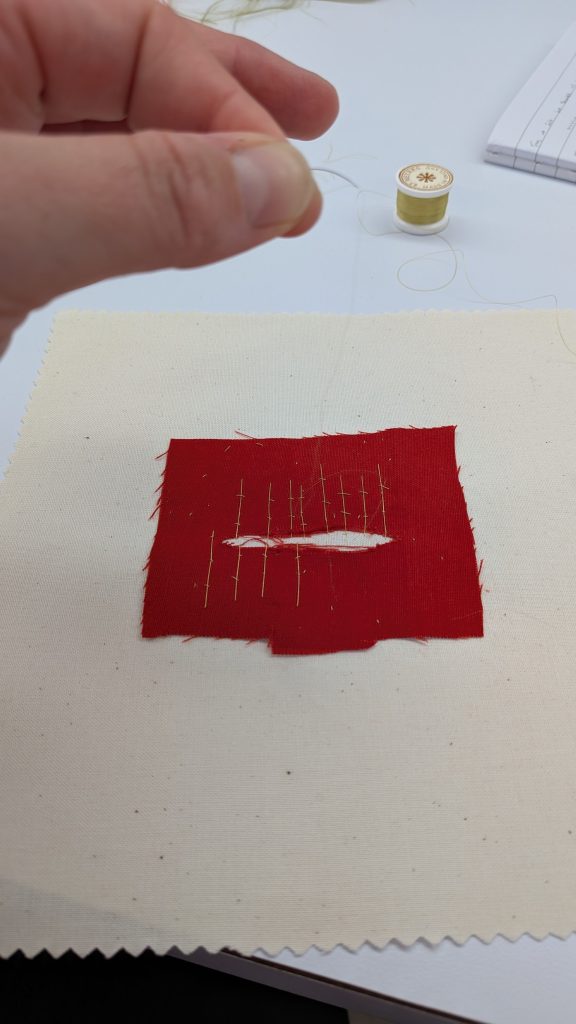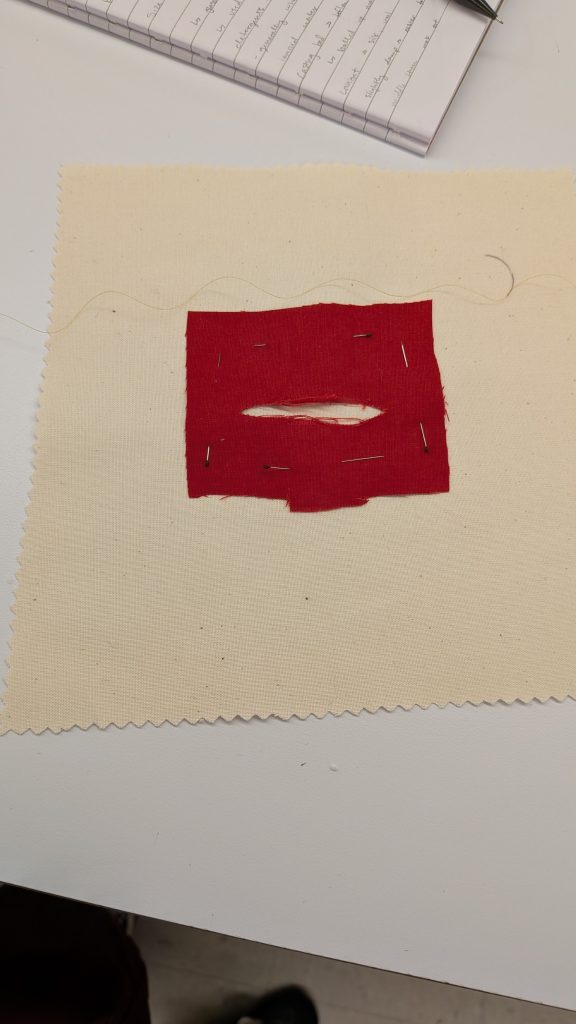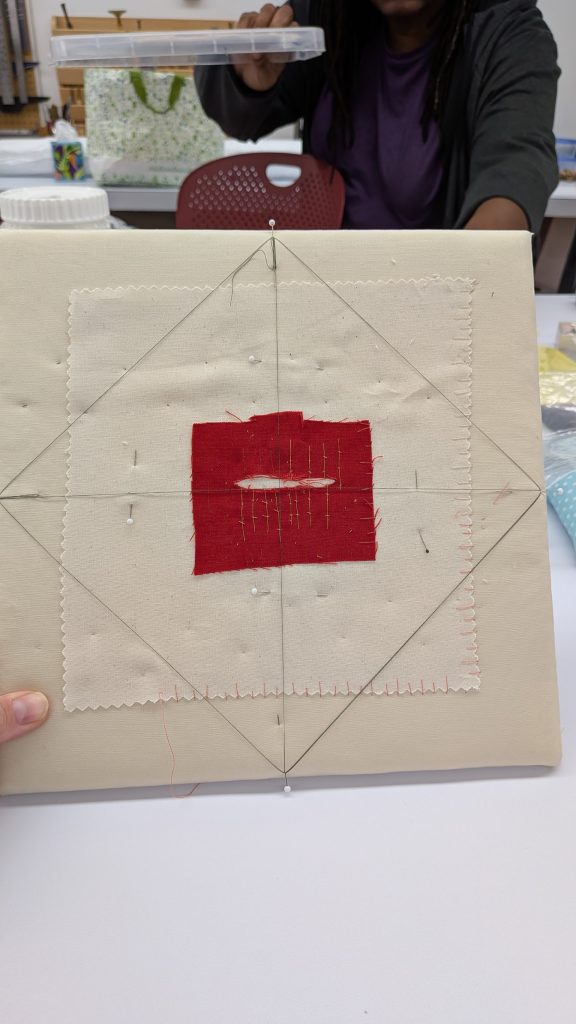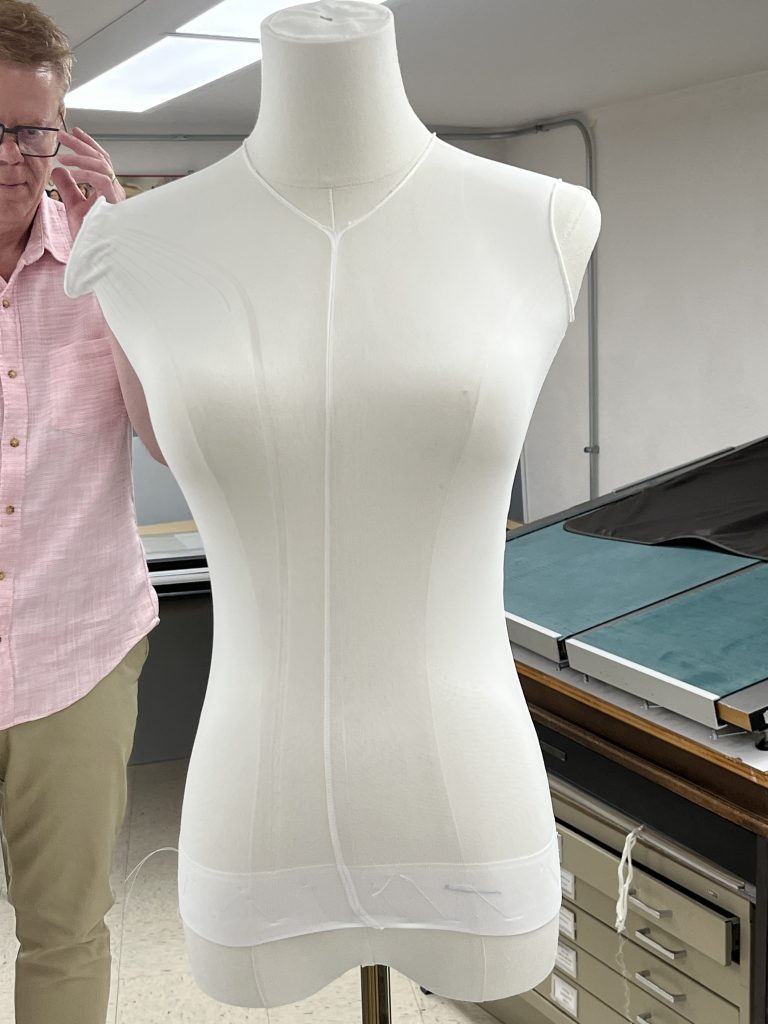
Libraries are known as places of learning, but what if that education came not just from the material within the books, but from the material of the books? The Preservation Lab, with its management by the University of Cincinnati, is in a unique position to provide its renowned book and paper conservation as well as training and experience for prospective students interested in the many fields involved therein. This summer, I had the incredible opportunity to work with the lab through the university’s co-op program, where I was able to bridge the gap between learning and doing, furthering my own career in an opportunity that is unfortunately rare for the field.
What is Cooperative Education (Co-op)?
The University of Cincinnati claims the invention of the co-op, which combines traditional academic learning with career-relevant workplace experience, with a strong emphasis placed on paid opportunities. For me, a student getting a degree in Art History, I was given the option to opt into the program after my first year. I’m expected to complete 2 career relevant co-ops during my next few summer semesters, which seems like a win-win situation to me; getting paid in money and course credits? Sign me up! There’s just a little problem I was only briefly aware of as someone intending to pursue a higher degree in art conservation: pre-program opportunities are rare, competitive, and frugal.
You see, conservation seems to have a bit of a pre-program problem when it comes to education; a graduate degree from an accredited university is a basic credential required for most professional conservator positions. However, many programs (such as the University of Delaware’s Winterthur program, for instance) require at least 400 hours of practical conservation experience to apply to their program. So, if you need the degree to get experience, but need the experience to get the degree, how does anyone proceed? The Preservation Lab is the perfect opportunity for such experiences, and I feel incredibly lucky to have had the honor of being their first co-op student. With a large supply of general collection items with minor conservation needs, the lab is uniquely equipped to provide hands-on experience to students like me without the liability of having some college student handle a precious piece of history.
Traditional Learning Paired with Workplace Experience
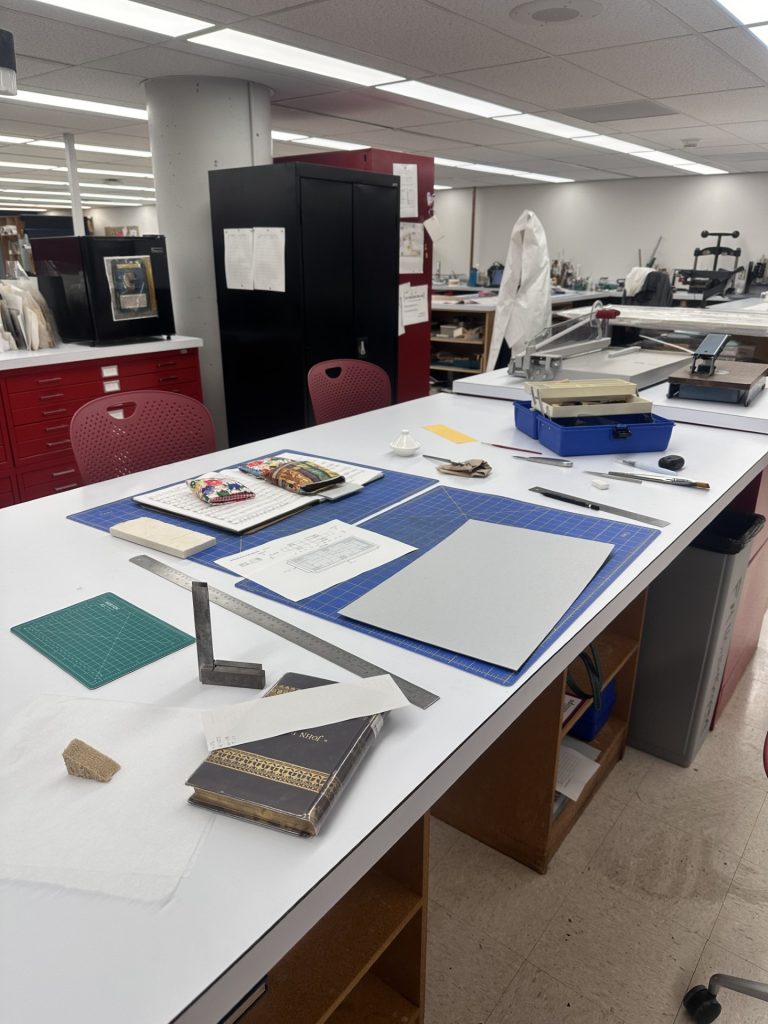
My day-to-day work with the Preservation Lab involved a lot of, well, books! If you’re new to what the lab does, we help stabilize and preserve the various media which circulates throughout the University of Cincinnati’s libraries, as well as to other cultural institutions in a smaller capacity. From 15th century choir books, to the plethora of DAAP student projects, you might be surprised with how many unique items come through the lab! We may be called a book and paper conservation lab, but the cabinet full of objects being currently worked on argues the true scope of the lab.
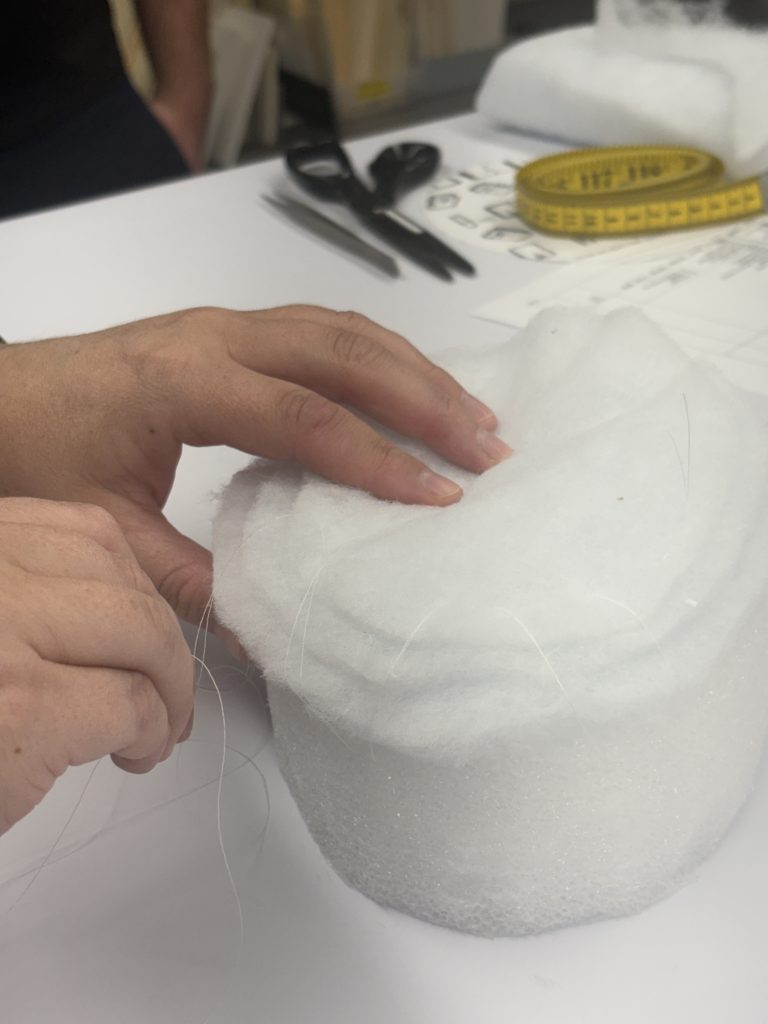
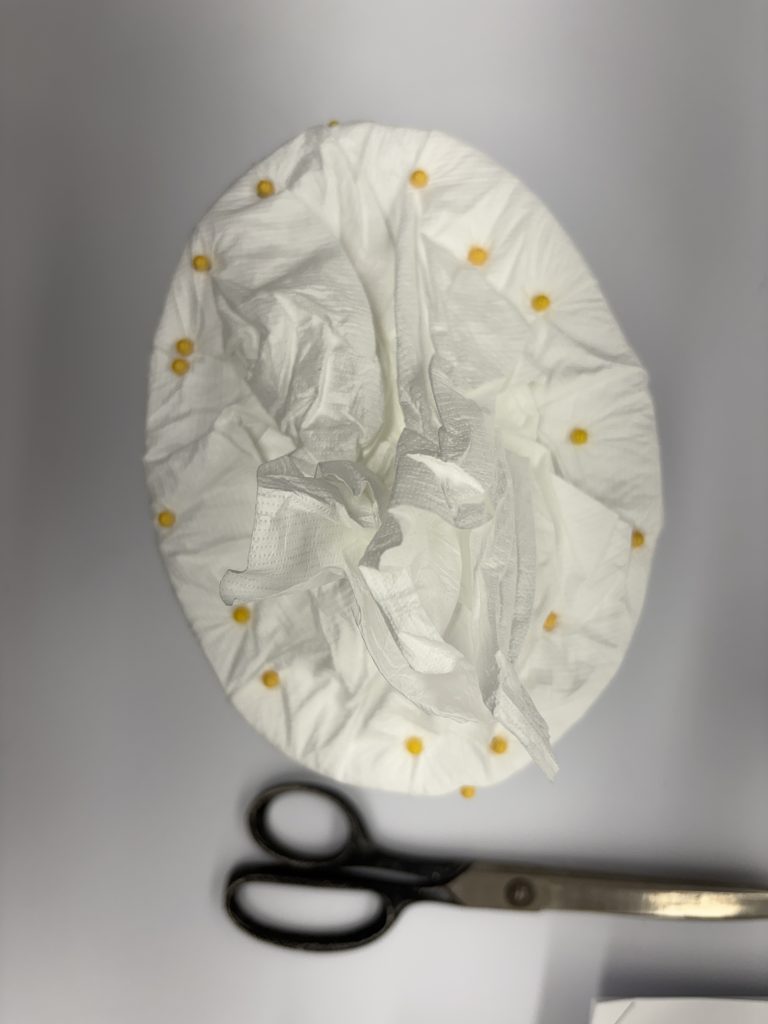
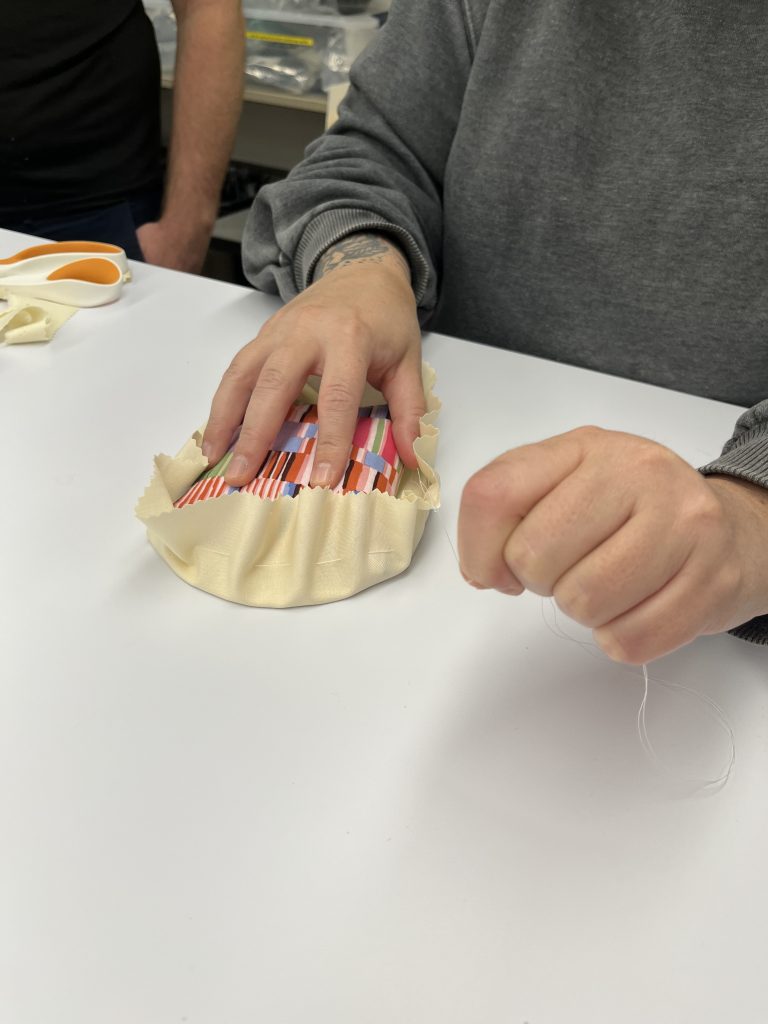
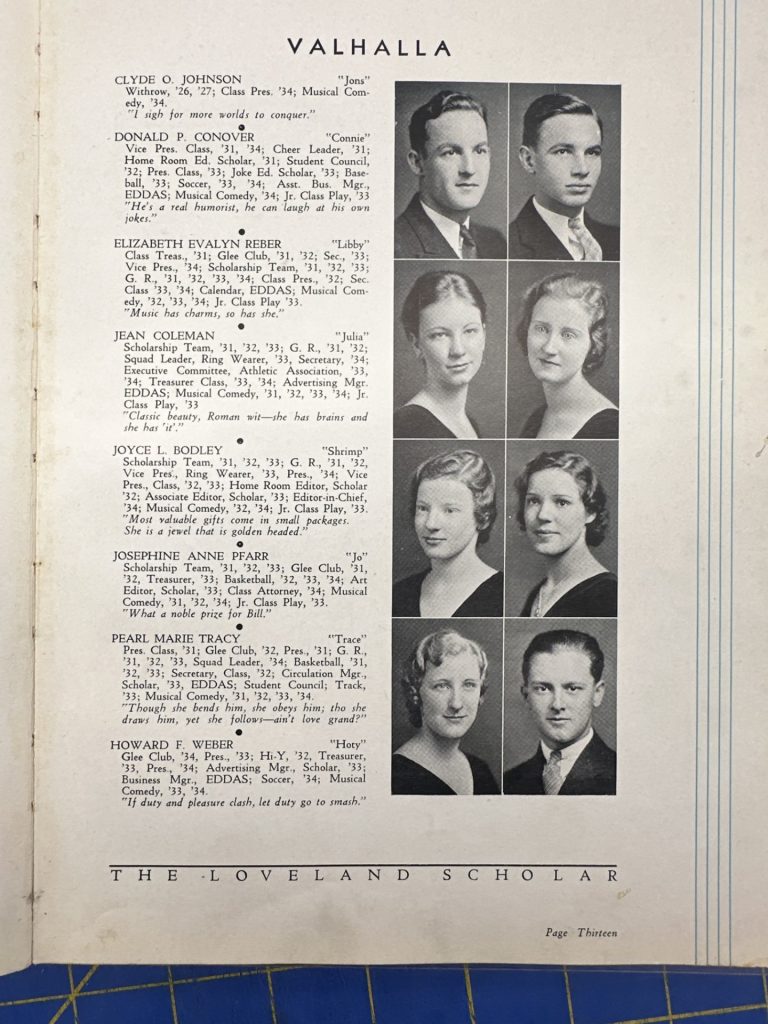
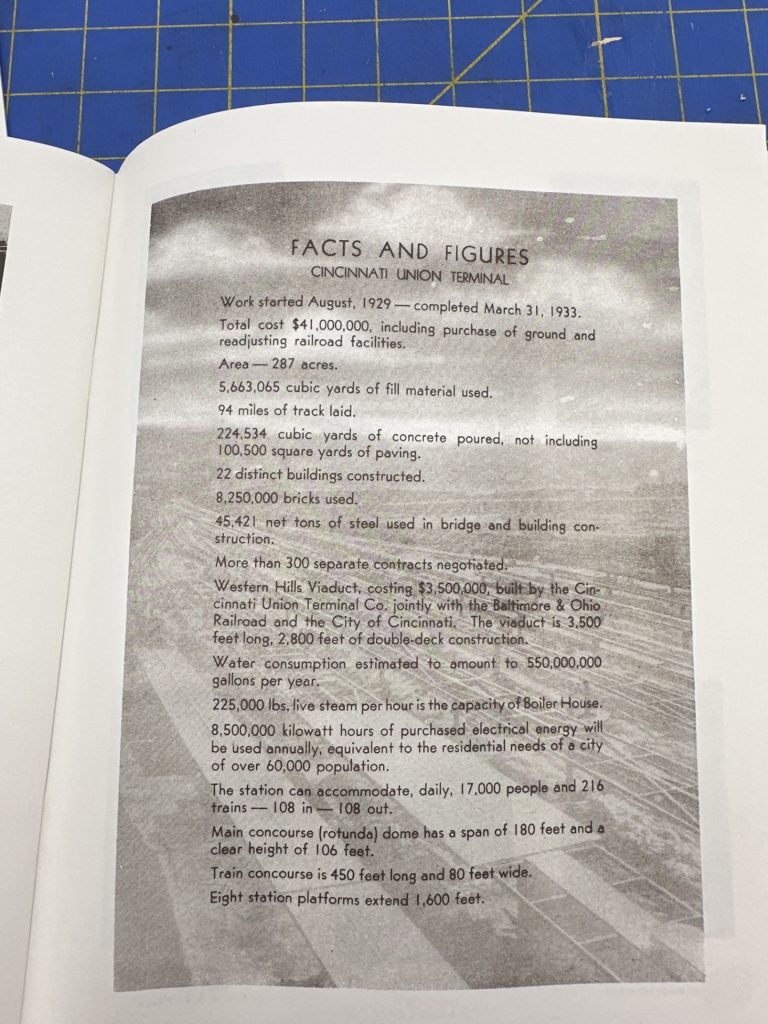
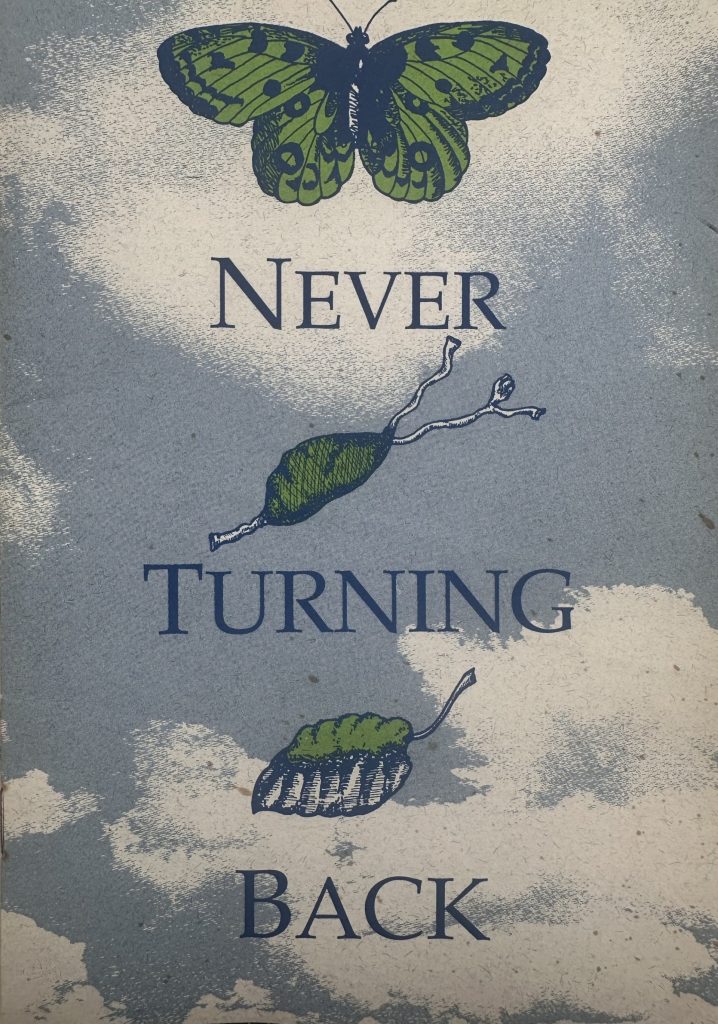
Of course, as a student, I’m relegated to the projects which are much less delicate. Which is definitely a good thing, since even handling those special collection items is harrowing to me (you really don’t want sweaty palms when holding something older than your country). Instead, I work primarily with the general collection – more modern books which are pulled from shelves for minor TLC. The bulk of my work has been making custom enclosures for these books – pamphlets, jackets, and boxes which protect the materials in various ways – a very satisfying work, as I get to make a snug little home for these worn editions which are so obviously loved. In fact, in my roughly 250 hours of work over the summer, I’ve created over 280 custom enclosures! Gives you a little glimpse into the volume of items which come through the lab. You may think that being in the general collection means these items are much less interesting than the special collection, but if you’re a sentimental little person like I am, you may just find yourself crying over a local high school yearbook from the 30’s (specific for no reason, of course). The UC libraries are chock-full of interesting history, and with the majority of it being local, I find myself developing even more love for my home city of Cincinnati. My interest in conservation was sparked by a love for the smaller stories, the personality which hides in everything created by humans. These books are the epitome of that.
The True Benefits of the Co-op Model
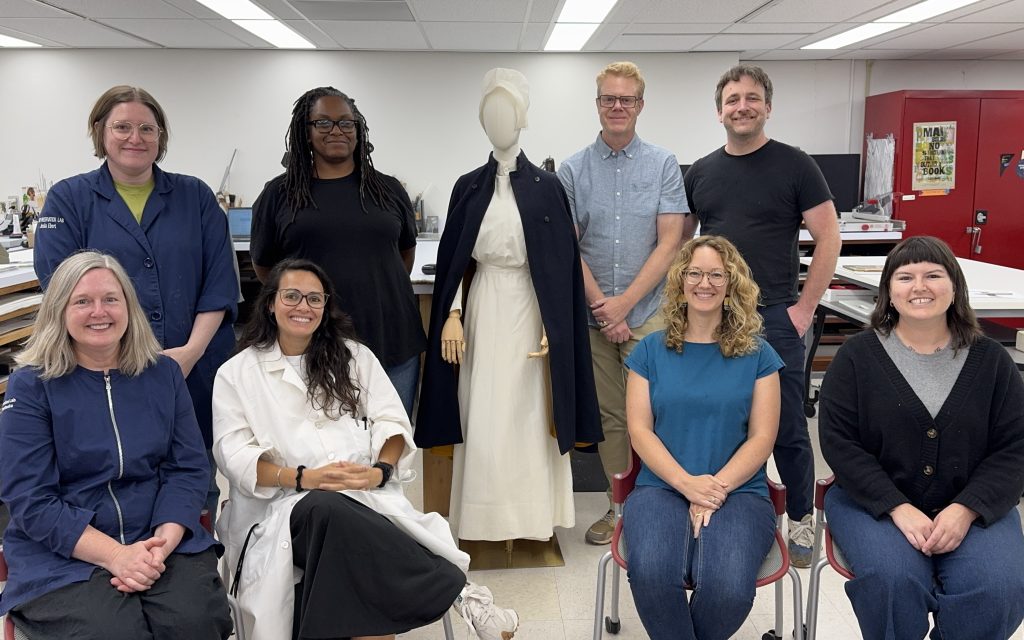
My summer has, truly, been absolutely packed with learning. Whether it was making the various enclosures the lab uses to protect books, or reading the history of books/paper making, there wasn’t a single day where I hadn’t anything new to go over. Being in an open lab environment was also a great boon. I often spent my time gawking at some of the special collection items being worked on and loved being able to pick Jessica or Nicole’s brain in their decision-making process. Cat would bring me over to look at bugs caught in the lab’s pest management traps under a microscope (creepy!) and Matt demoed matting systems with me, each contributing to this atmosphere of learning and camaraderie that I could only hope for. I never felt like my status as a student put me underneath any of the staff, and this allowed me to understand myself as a conservator already. No longer was I hoping to get into art conservation, I was here!
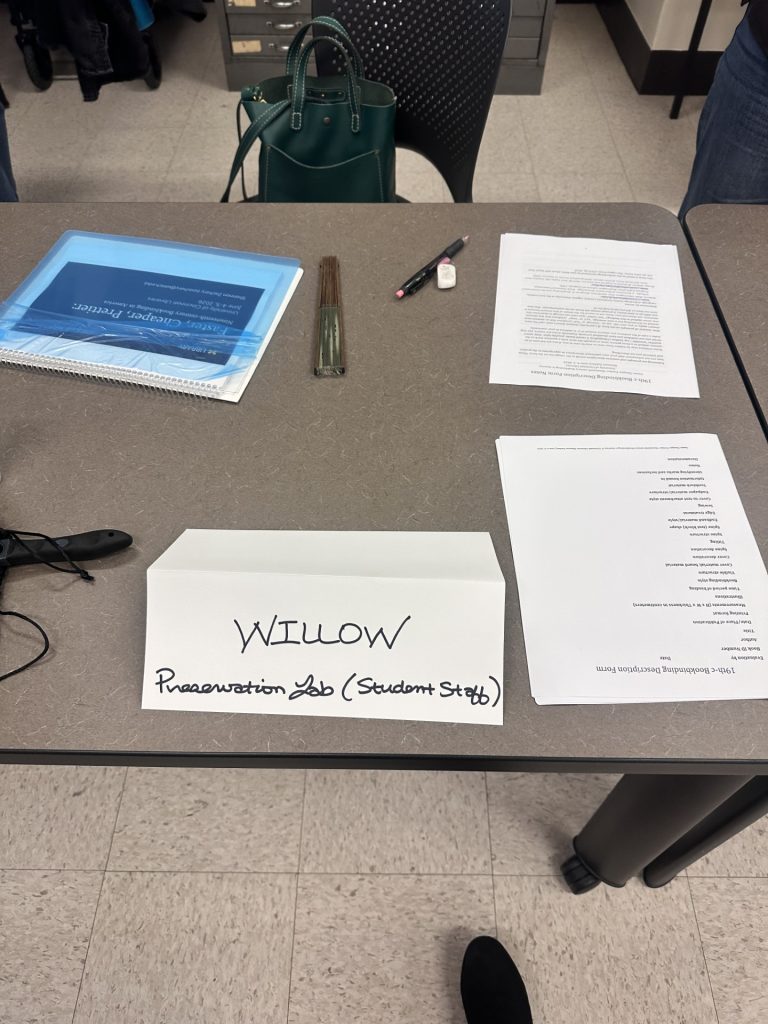
One of the highlights of my summer was participating in a workshop on identifying 19th-century books taught by Shannon Zachary. Only a few weeks into the co-op, the opportunity to learn with the rest of the lab left me with a strong sense of belonging among them, one that contributed heavily to the actualization I mentioned earlier. This was the moment where I really realized just how effective co-op learning was. It’s not just about getting the opportunity to gain relevant skills, but to participate in a field I thought would take several years to get to.
The End of Summer
And so, all things must come to a close. With the end of summer meaning the end of my co-op, I feel the transition back to my academics easier than it’s ever been; I’m so much more motivated and energized! I’m so relieved that I don’t even have to say goodbye to the lab, as I’ll be continuing my work with them throughout the rest of my time at UC. Who knows, maybe I’ll even be back for my next summer co-op?
Writing this all on my last day has me quite sentimental to tell you the truth. I’m so appreciative for this opportunity, and I feel I’ve truly fallen in love with the Preservation Lab. I can’t believe the solution to my Pre-program Problem came in such a meaningful opportunity.
Until next time – Willow Haitch (Co-op Conservation Student)
Sources:
- Art Conservation (MS) | Art Conservation | College of Arts & Sciences | University of Delaware
- Become a Conservator: Graduate Programs – American Institute for Conservation
- Become a Conservator: Pre-Program – American Institute for Conservation
- College of Cooperative Education and Professional Studies | University of Cincinnati
Check out Willow’s day-in-the-life reel on the Lab’s Instagram: