Tag Archives: Storage and Handling

Grooved Disc Media Storage Solutions

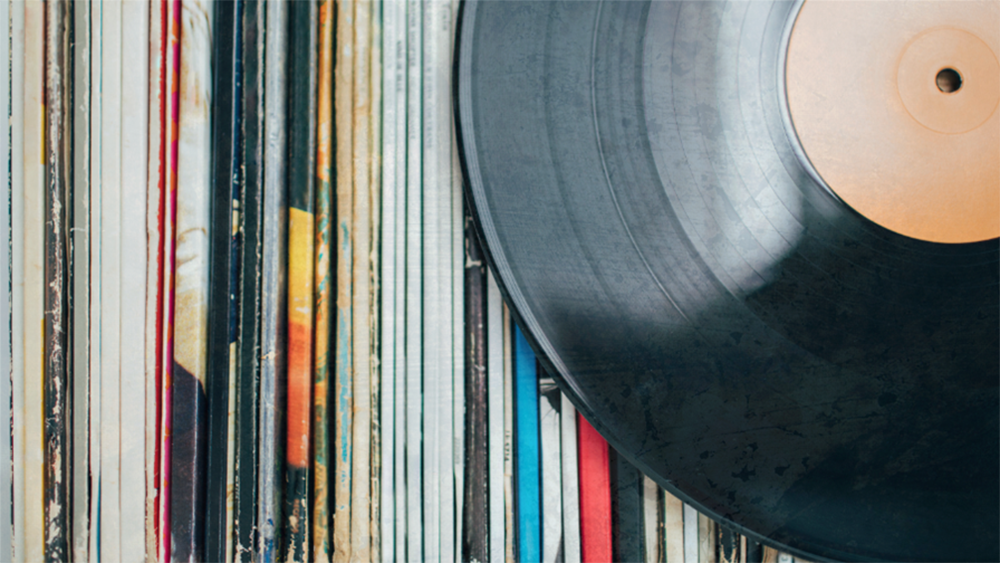
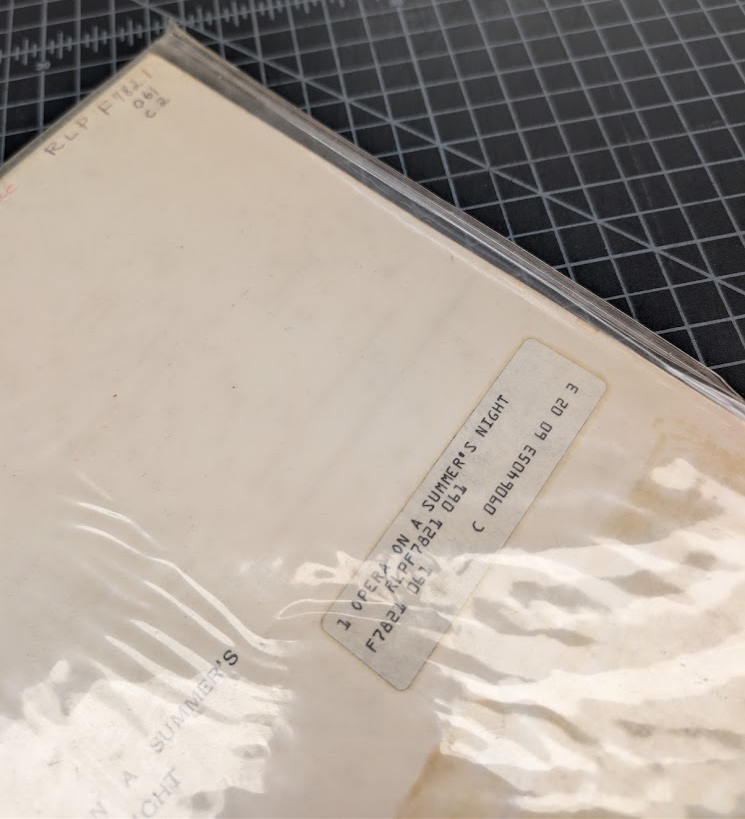
Record album in front of vertical sleeved albums.

Grooved Disc Media

Although The Preservation Lab is primarily a book and paper lab, we often receive items that fall outside this realm and are required to do a little research and get creative. I was recently assigned a small collection of various grooved disc media that required archival storage solutions. “Grooved disc media” is an umbrella term that encompasses any type of sound recording that features small grooves cut into its surface that a stylus then passes over to produce an audio signal. Think vinyl records, shellac discs, 45s and more. Another term I like that covers multiple varieties of grooved discs is the term “records”, which I will use interchangeably with “grooved discs” for the remainder of this post.

Considerations

Until this point, we had not received any grooved disc media requiring new housing at the Lab. In situations like this, I like to do a bit of research and figure out what is required of the housing to determine what is required for safe storage. We found several trustworthy sources that provided tips for what to do as well as what not to do. The most important ones are as follows:

  • First and foremost, any grooved disc should be stored upright. When multiple discs are placed on top of each other, their collective weight can compound quickly. This weight can then slowly compress the grooves on the discs and result in loss of media.
  • Grooved discs should have their old plastic sleeves, both inner and outer, replaced with archival plastic sleeves. Older records often have non-archival plastic outer sleeves that are susceptible to warping over time. This can lead to the discs themselves warping, affecting playback speeds which can lead to further degradation. We ended up purchasing these Original Master Sleeves and Archival Record Sleeves, both made by Mofi Mobile Fidelity Sound Lab.
A plastic album sleeve that is curling around the edges.
A non-archival plastic outer sleeve. Notice how the plastic is starting to curl along the edge.
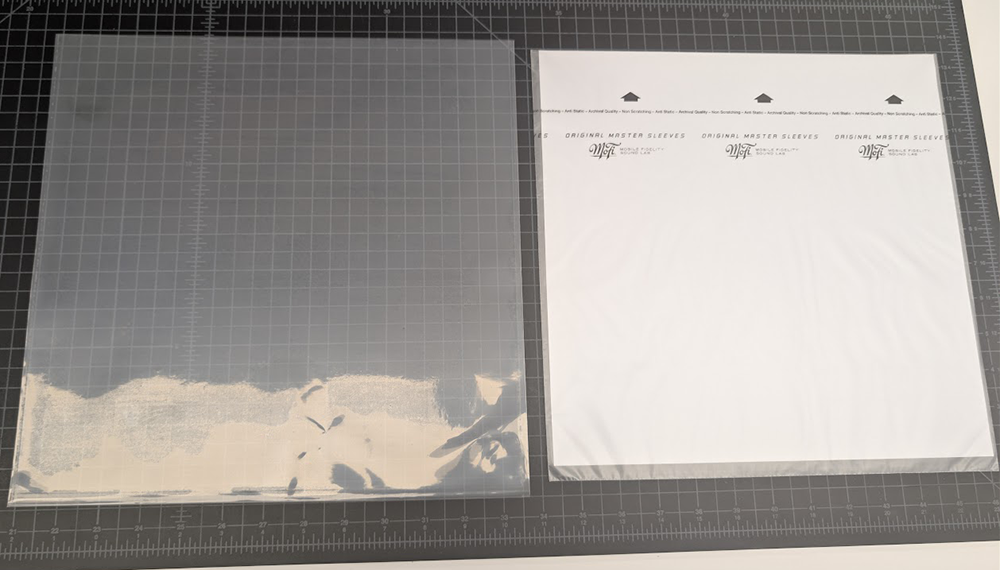
Two new archival sleeves, the outer sleeve is on the left and the inner sleeve is on the right.
A new archival plastic outer sleeve (left) next to a new archival plastic inner sleeve (right).
  • The original cardboard sleeves should be retained if desired and if they contain any information or artwork related to the recording. However, it is advisable to store these separate from the sleeved records, or at least with the record inside a protective archival inner sleeve before placing it inside the cardboard. These cardboard sleeves can sometimes foster mold growth in high humidity environments.
  • Ideal relative humidity for the storage environment is between 30-50% with fluctuations not exceeding +/- 5% in a 24-hour period.

Solutions

After learning all these considerations, assistant conservator Catarina Figueirinhas came up with the following solution.
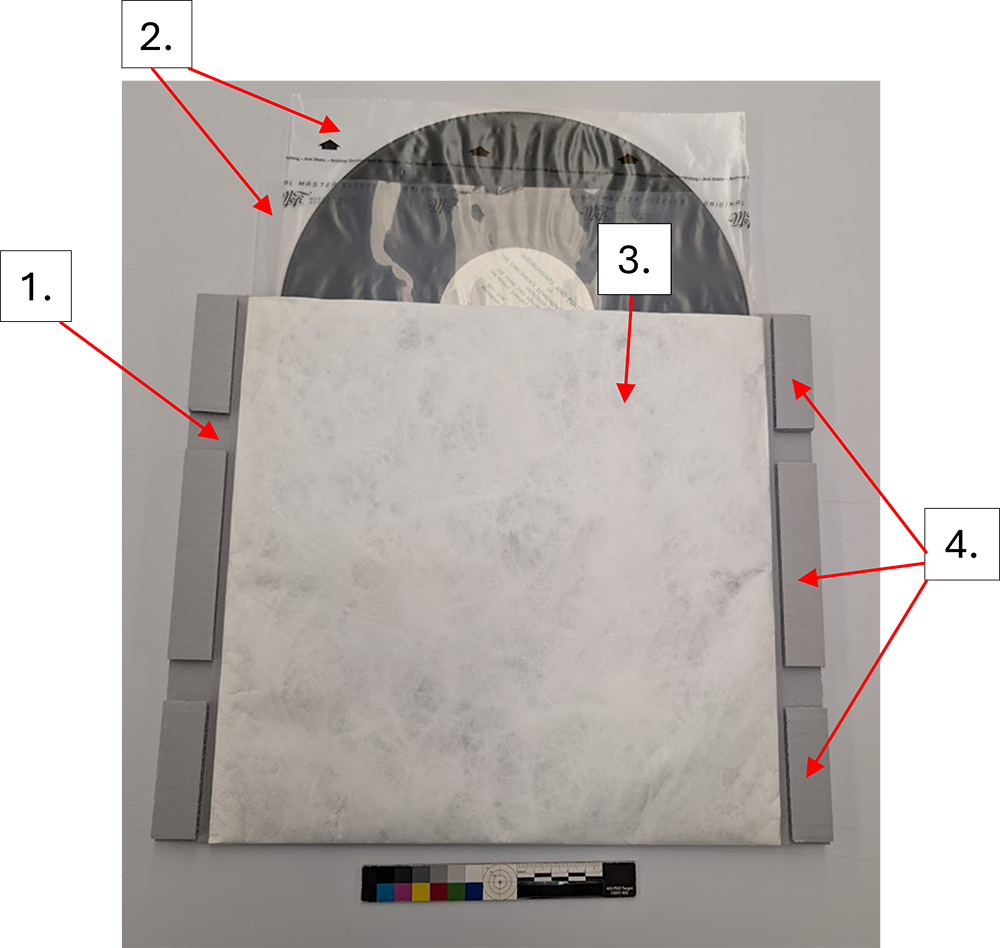
The finished sleeving system for each albums with numbers indicating to various parts of the system.
The tray and its various components that was designed to hold the records in their new archival sleeves.
  1. Individual corrugated board trays were constructed for each disc. Corrugated board was chosen because it is lightweight, inexpensive, and relatively strong. They were cut slightly oversized to provide room for protective bumpers to the left and right of where the sleeves will be attached.
  2. Each disc was placed inside its own archival inner sleeve. These are the sleeves that Mofi refers to as “Original Master Sleeves”. Each disc inside its inner sleeve was then placed inside the archival outer sleeves, which Mofi refers to as “Archival Record Sleeves”. In cases where a cardboard sleeve was present, they would also be placed inside these plastic outer sleeves. The disc’s inner sleeve should protect it from coming into contact with the non-archival cardboard, and the plastic outer sleeve will also help protect the cardboard from damage.
  3. A final pocket was constructed of Tyvek to store each disc inside its sleeves, which was then adhered to the corrugated board trays using PVA.
  4. To prevent any potential abrasion to the discs while sliding them in and out of their final enclosure, several small, corrugated board bumpers were added to the left and right of each attached Tyvek pocket that were thicker than the pocket and all its contents.
  5. A single corrugated board banker’s style box was constructed to house each disc/tray in the series.
  6. To help with removal, Tyvek tape pull tabs were added to each individual tray.
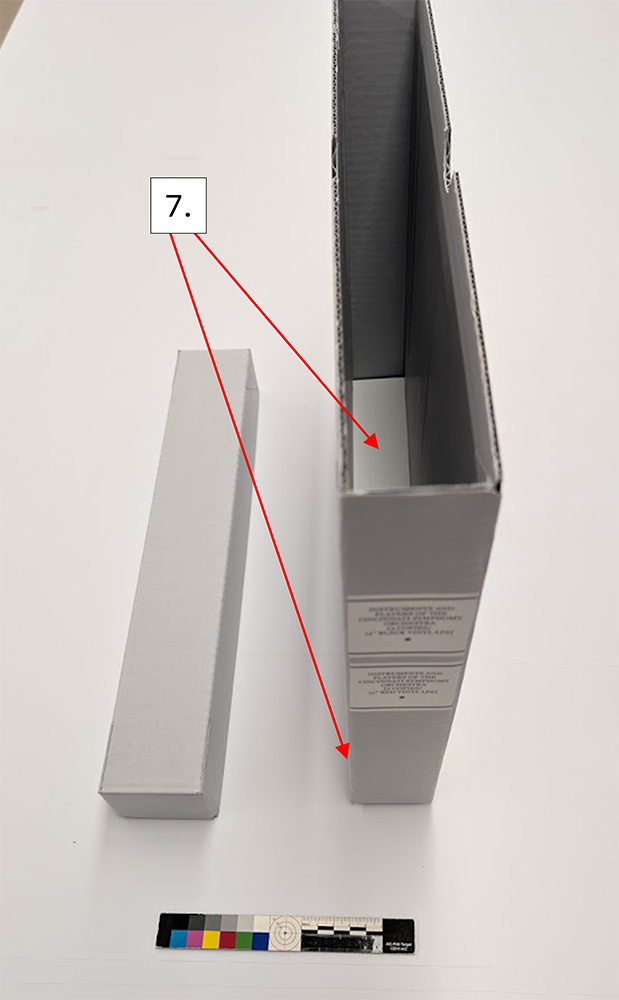
  7. After adding all the trays and their discs to the banker’s box, it was discovered that the box was quite top-heavy and prone to tipping over. To combat this, I added a strip of Dibond (a composite material consisting of a polyethylene core sandwiched between two pieces of aluminum sheeting) to both the bottom of the inside of the box and to the underside of it as well. This provided extra weight to the bottom and added some nice stability. For future enclosures of this nature, I will make the box thicker, adding fill if necessary. This make it more stable without the need to weight the bottom of the box.
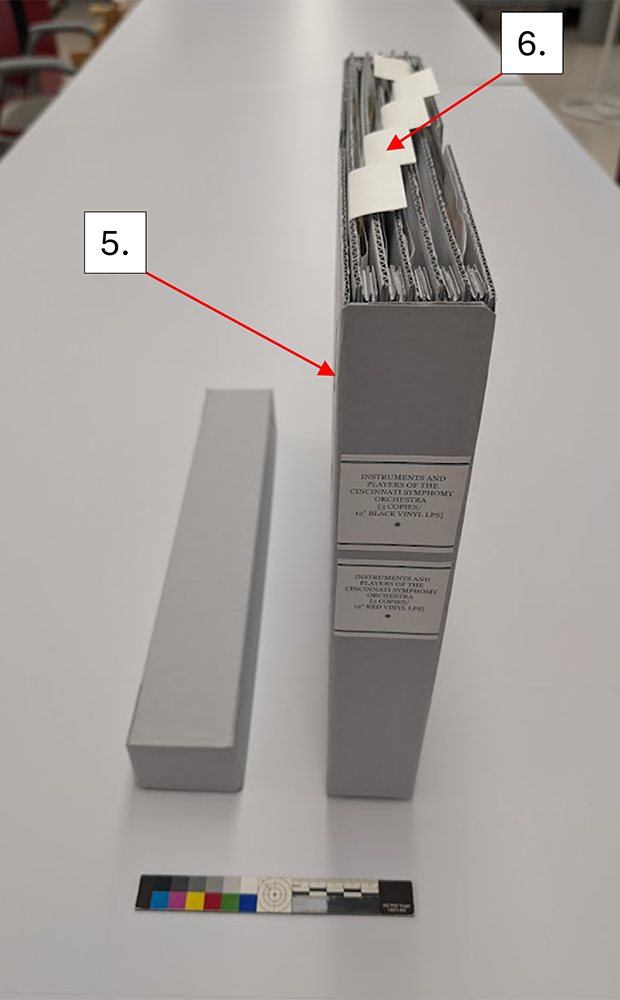
Assembly of the box with various trays with tabs which allow for easy removal from the enclosure. Components are numbered in the photo.
The banker’s box style enclosure with its lid removed to reveal the contents.
Inside of the enclosure to show the Dibond on the bottom of the enclosure, labeled 7.
The banker’s style box with its trays removed revealing a piece of Dibond lining the bottom. An additional piece of Dibond has been added to the underside of the box for added stability.

Final Thoughts

Although this storage solution will almost certainly continue to evolve as I make more of them, I was very happy with how the first batch turned out. Part of the fun of creating new storage solutions is figuring out what works and what doesn’t and adjusting accordingly.

On a side note, I realize that some readers of this post may be concerned for their record collections as they do not have a conservation lab at their disposal to construct an enclosure like this. To that I would say that any of the storage considerations mentioned that are achievable, such as storing discs upright and in new archival sleeves will go a long way in ensuring the longevity of your collections.

A huge thank you is deserved to both conservator Ashleigh Ferguson-Schieszer and assistant conservator Catarina Figueirinhas, who helped me brainstorm on this project.

Sources

Image References

Allegheny River / Capt. J.W. McLaughlin

How to store a 15ft paper scroll?

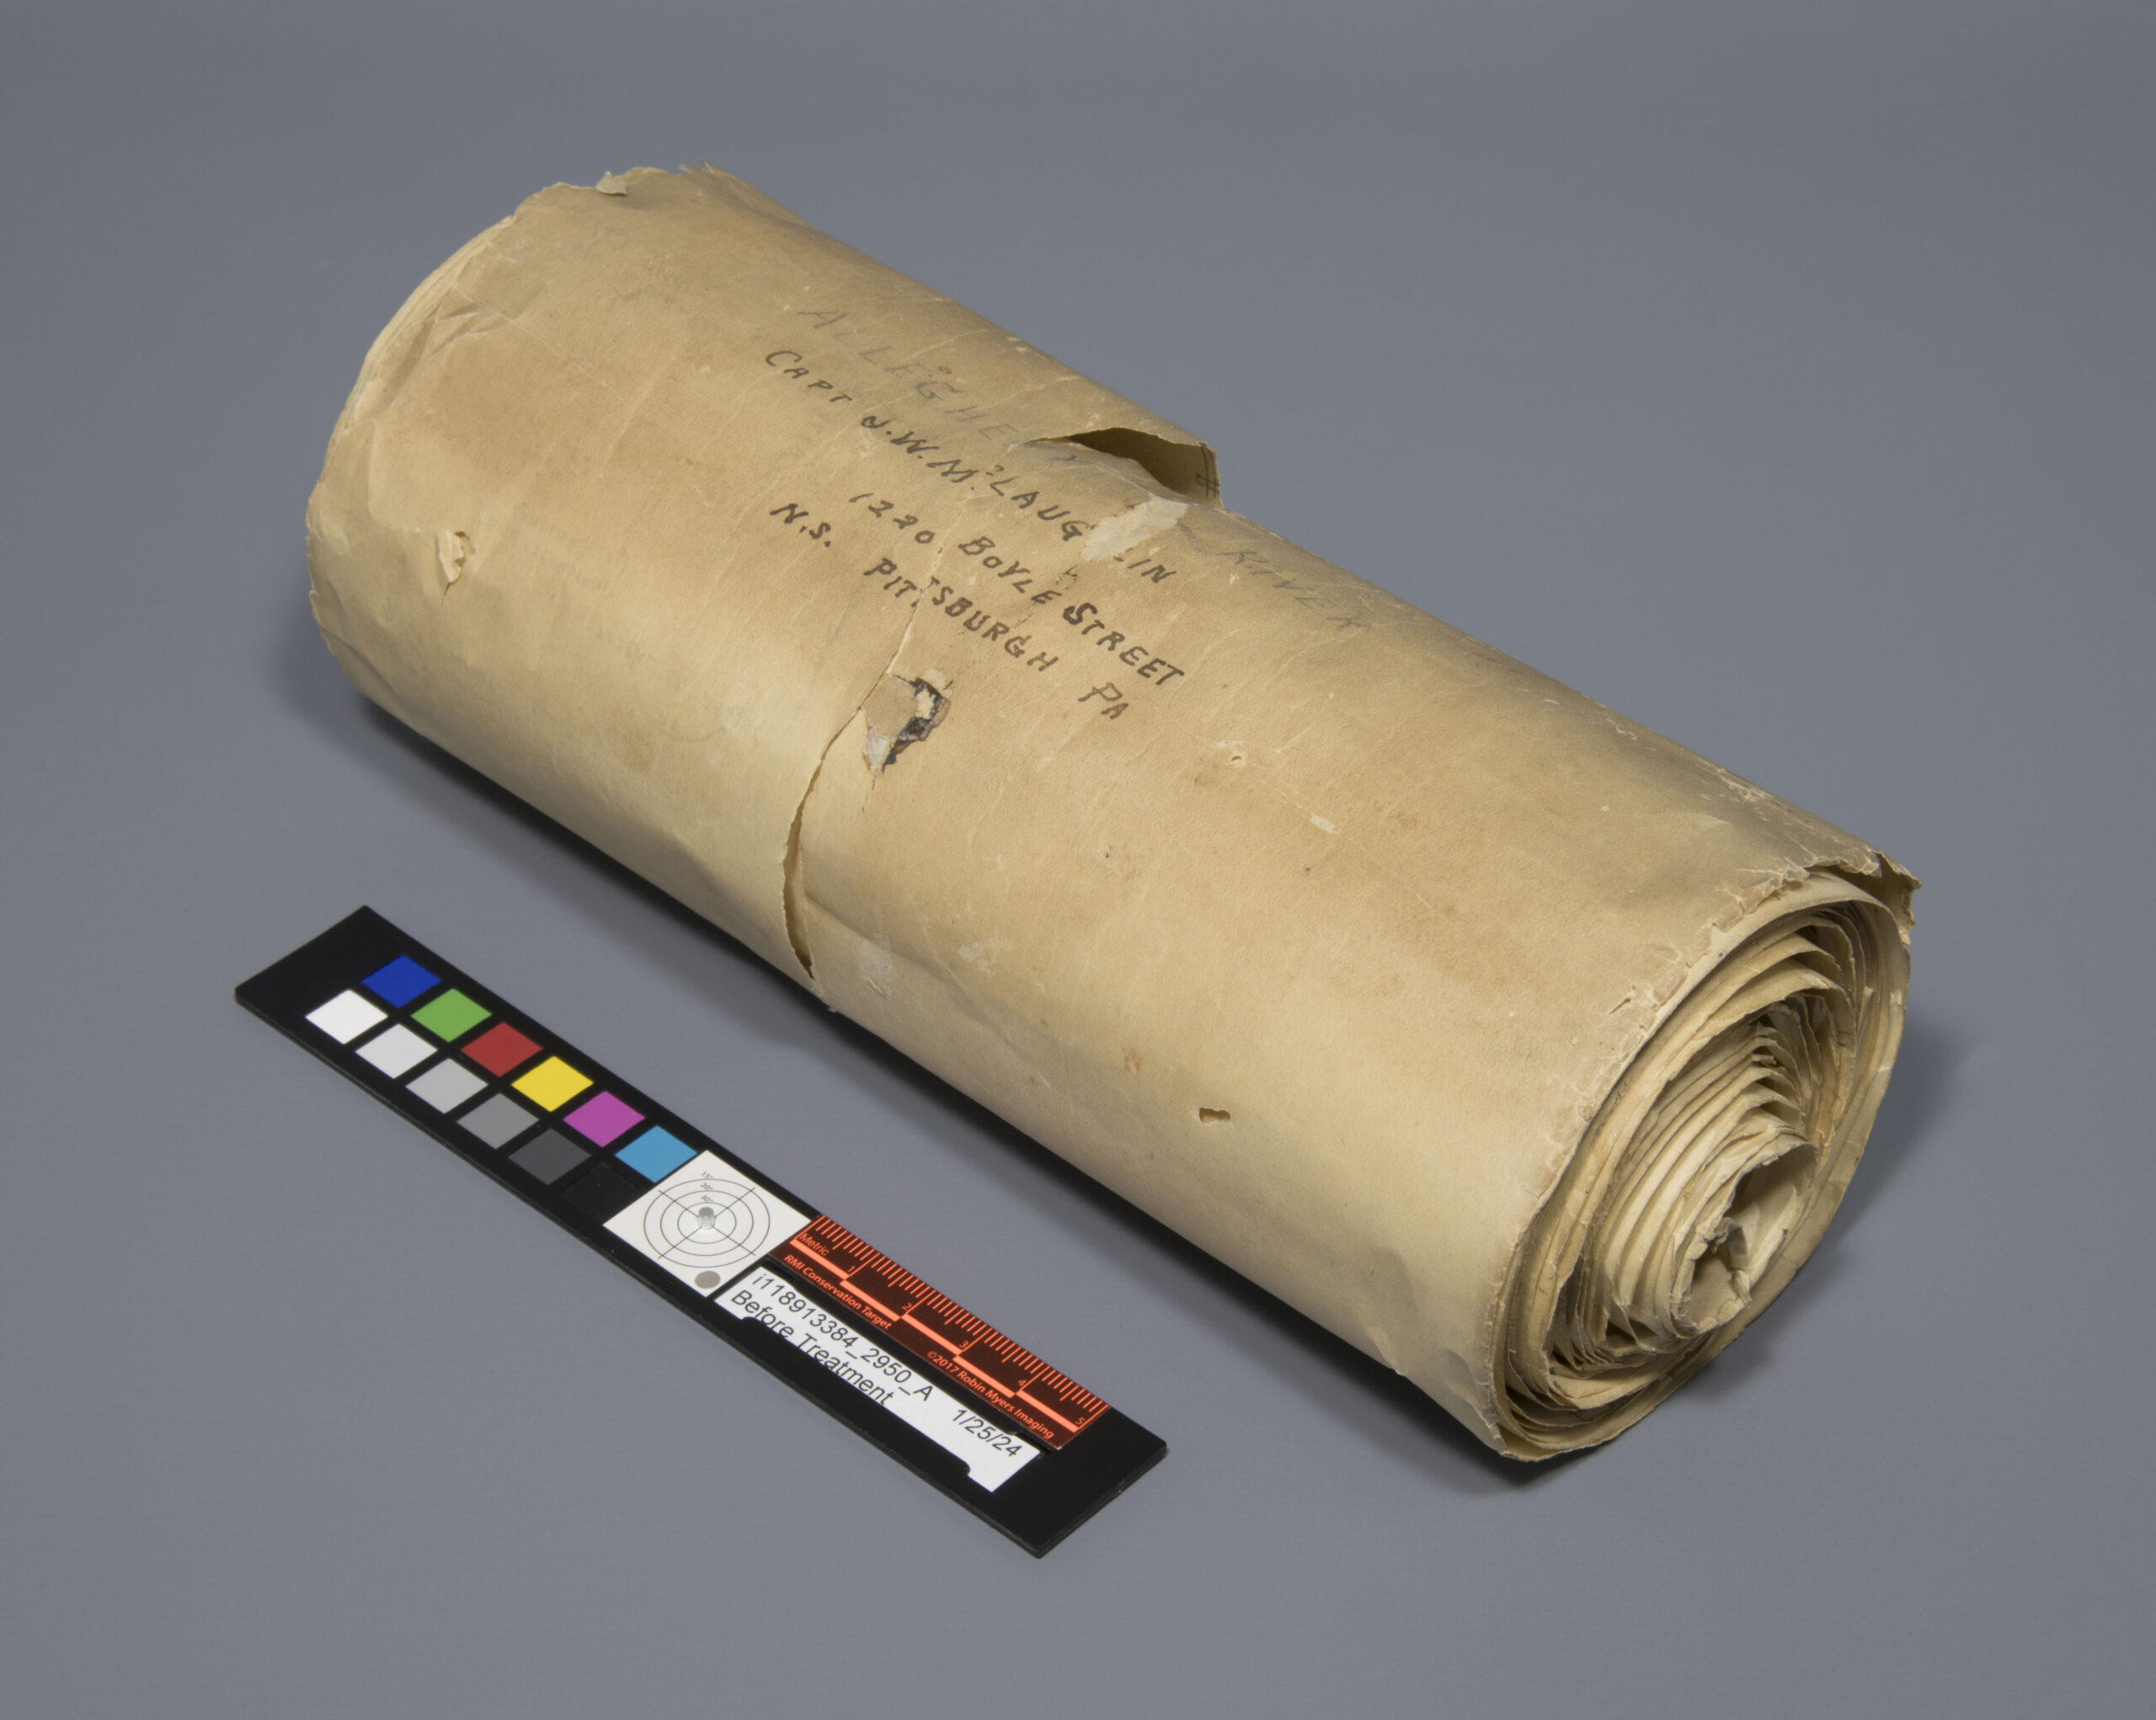
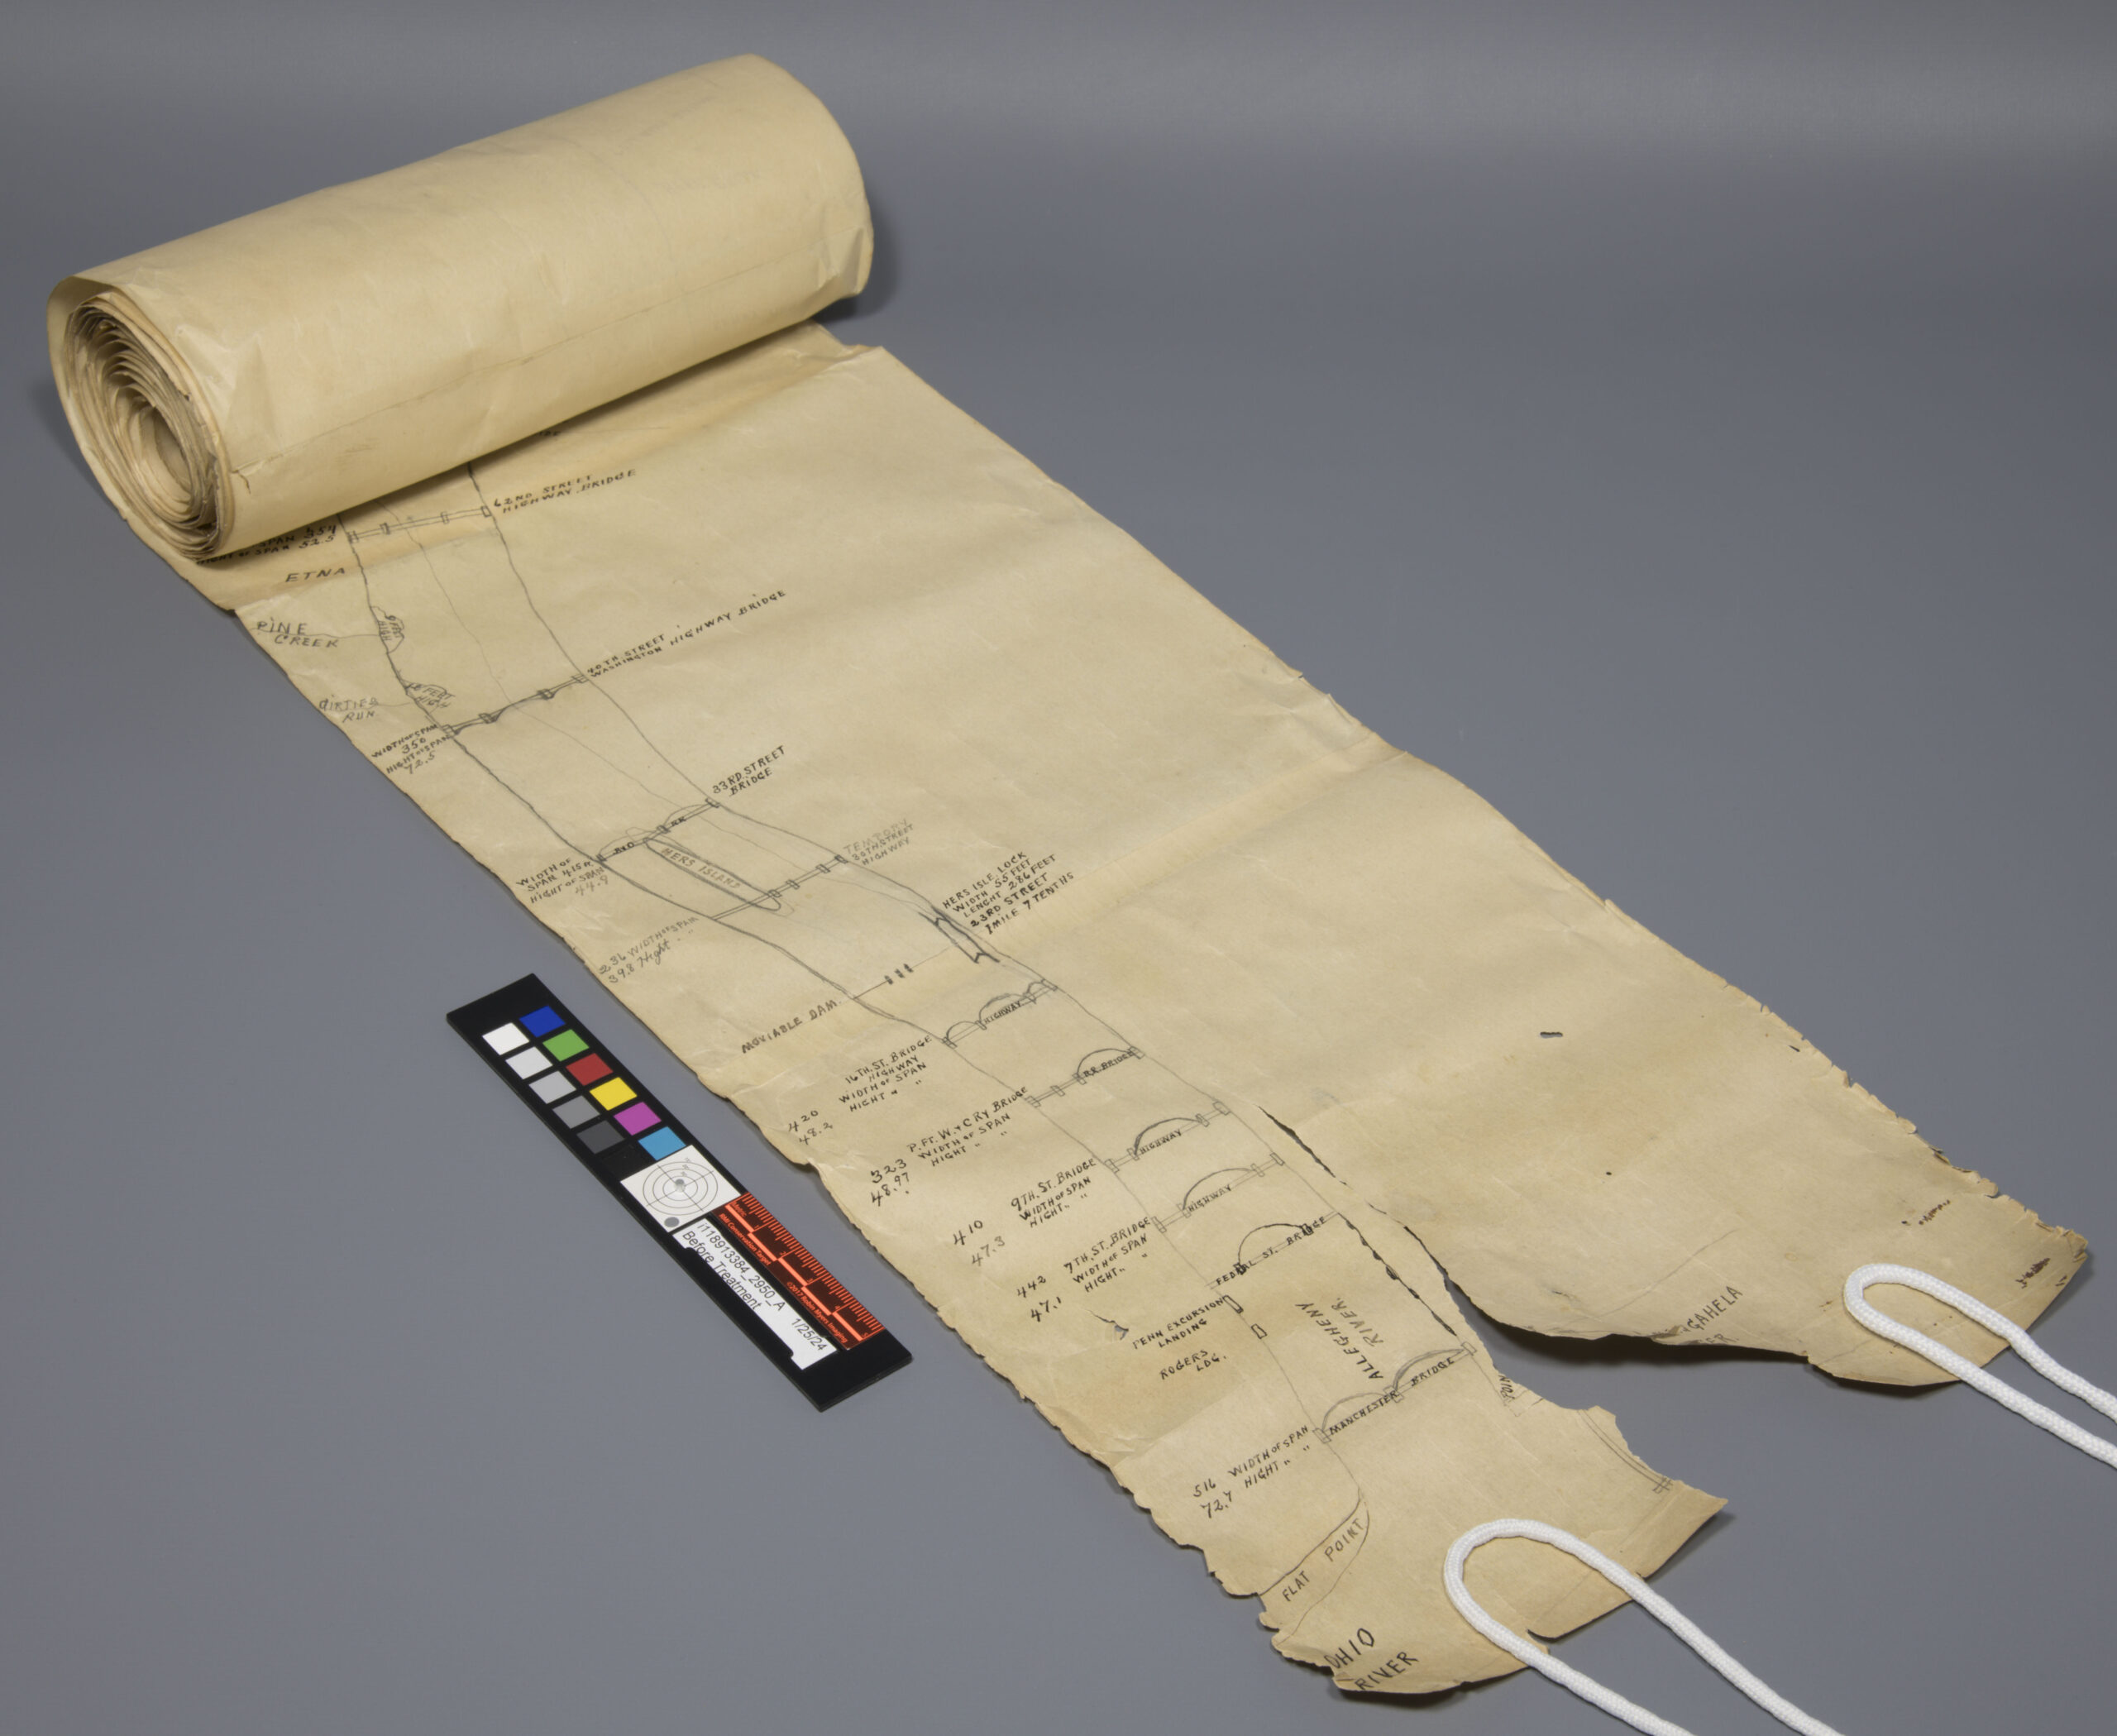
Back in October of 2024, we received something slightly more unusual from the Cincinnati and Hamilton County Public Library, a 15-foot-long, hand-drawn rolled map of the Allegheny River. Yes, fifteen feet.  This map was created by joining smaller sheets edge-to-edge, forming one continuous scroll that looked more like a treasure map than your typical library item.

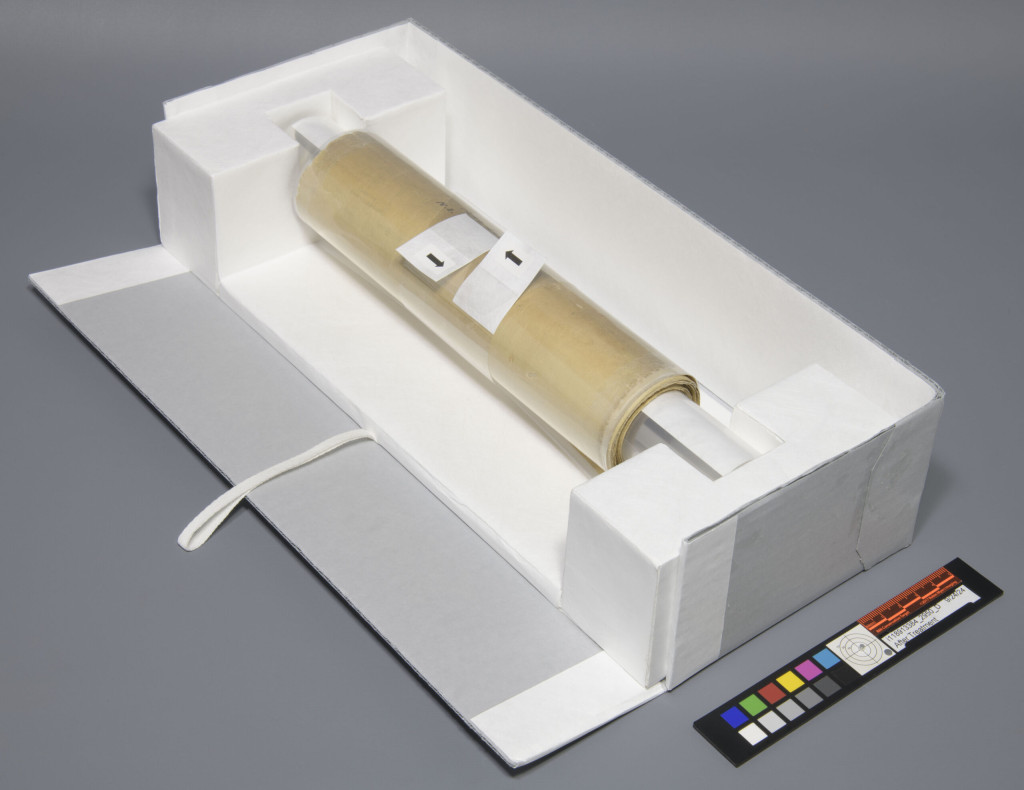
Scroll with photography target in front of it

A dilemma quickly followed, how do I create a housing solution that’s safe and functional, but won’t turn future handling into a logistical nightmare? Like many libraries, they didn’t have a 15-foot shelf just waiting for this (because who does?), so storing it flat was out. Storing it rolled became our only real option. The enclosure needed to be secure and protective for the map, and ideally, easy and elegant to display when needed.

First things first, some stabilization treatment. Before tackling the housing design, the scroll underwent conservation treatment to mend small tears and fill losses, particularly at the “beginning” and “end” (depending on which direction you follow the river). Once stabilized, it was ready for some housing trials.

scroll partially unrolled
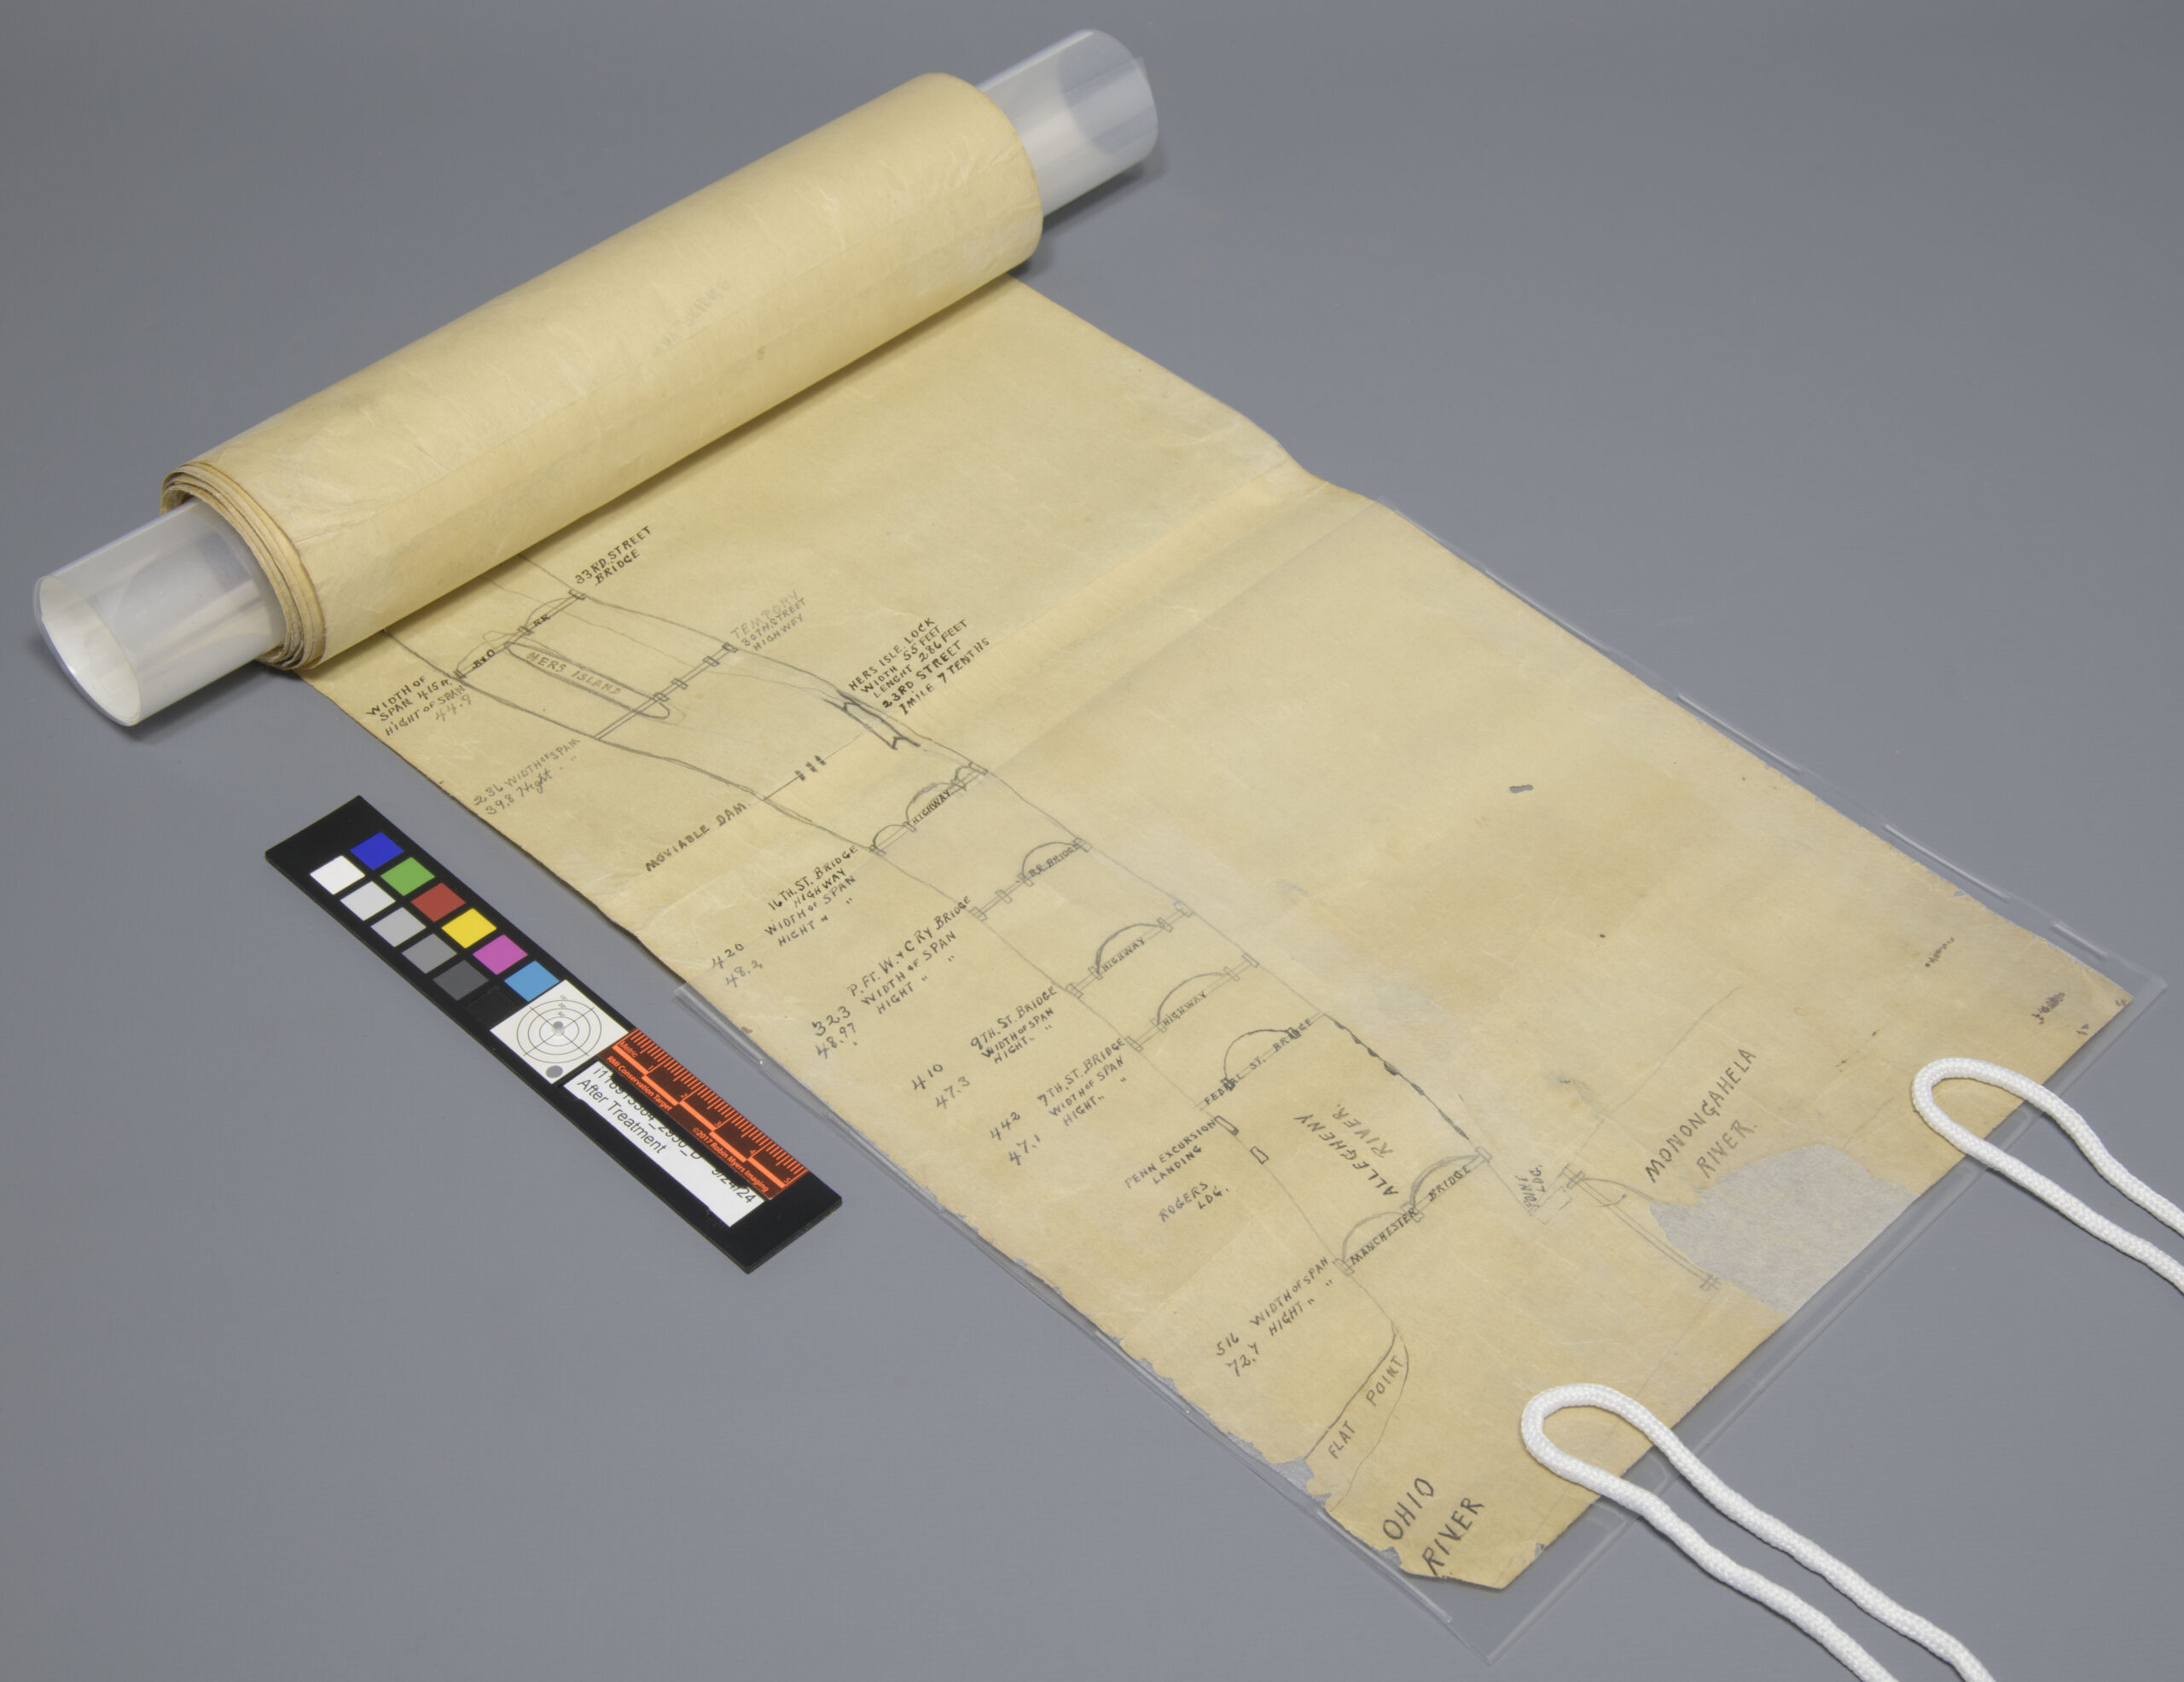
Before Treatment – Large loss and tear at one end.
scroll partially unrolled
After Treatment – Large loss repaired and map rolled around the polyester cylinder core.

While researching solutions online, I stumbled upon a fantastic blog post by J.M. Iacchei from the Cornell University Library Conservation Lab (link here). Their approach to scroll housing was clever, practical and elegant, and it just gave me the spark I needed to create our own version.

Here is how we rolled:

  • A support core – To give the scroll structure while rolling, I created a polyester cylinder core with a polyethylene sling. The sling supports one end of the scroll as it begins to wrap around the core, providing gentle guidance and protection as you start to roll the map. The map can be easily inserted into the sling to begin rolling.
Allegheny River / Capt. J.W. McLaughlin
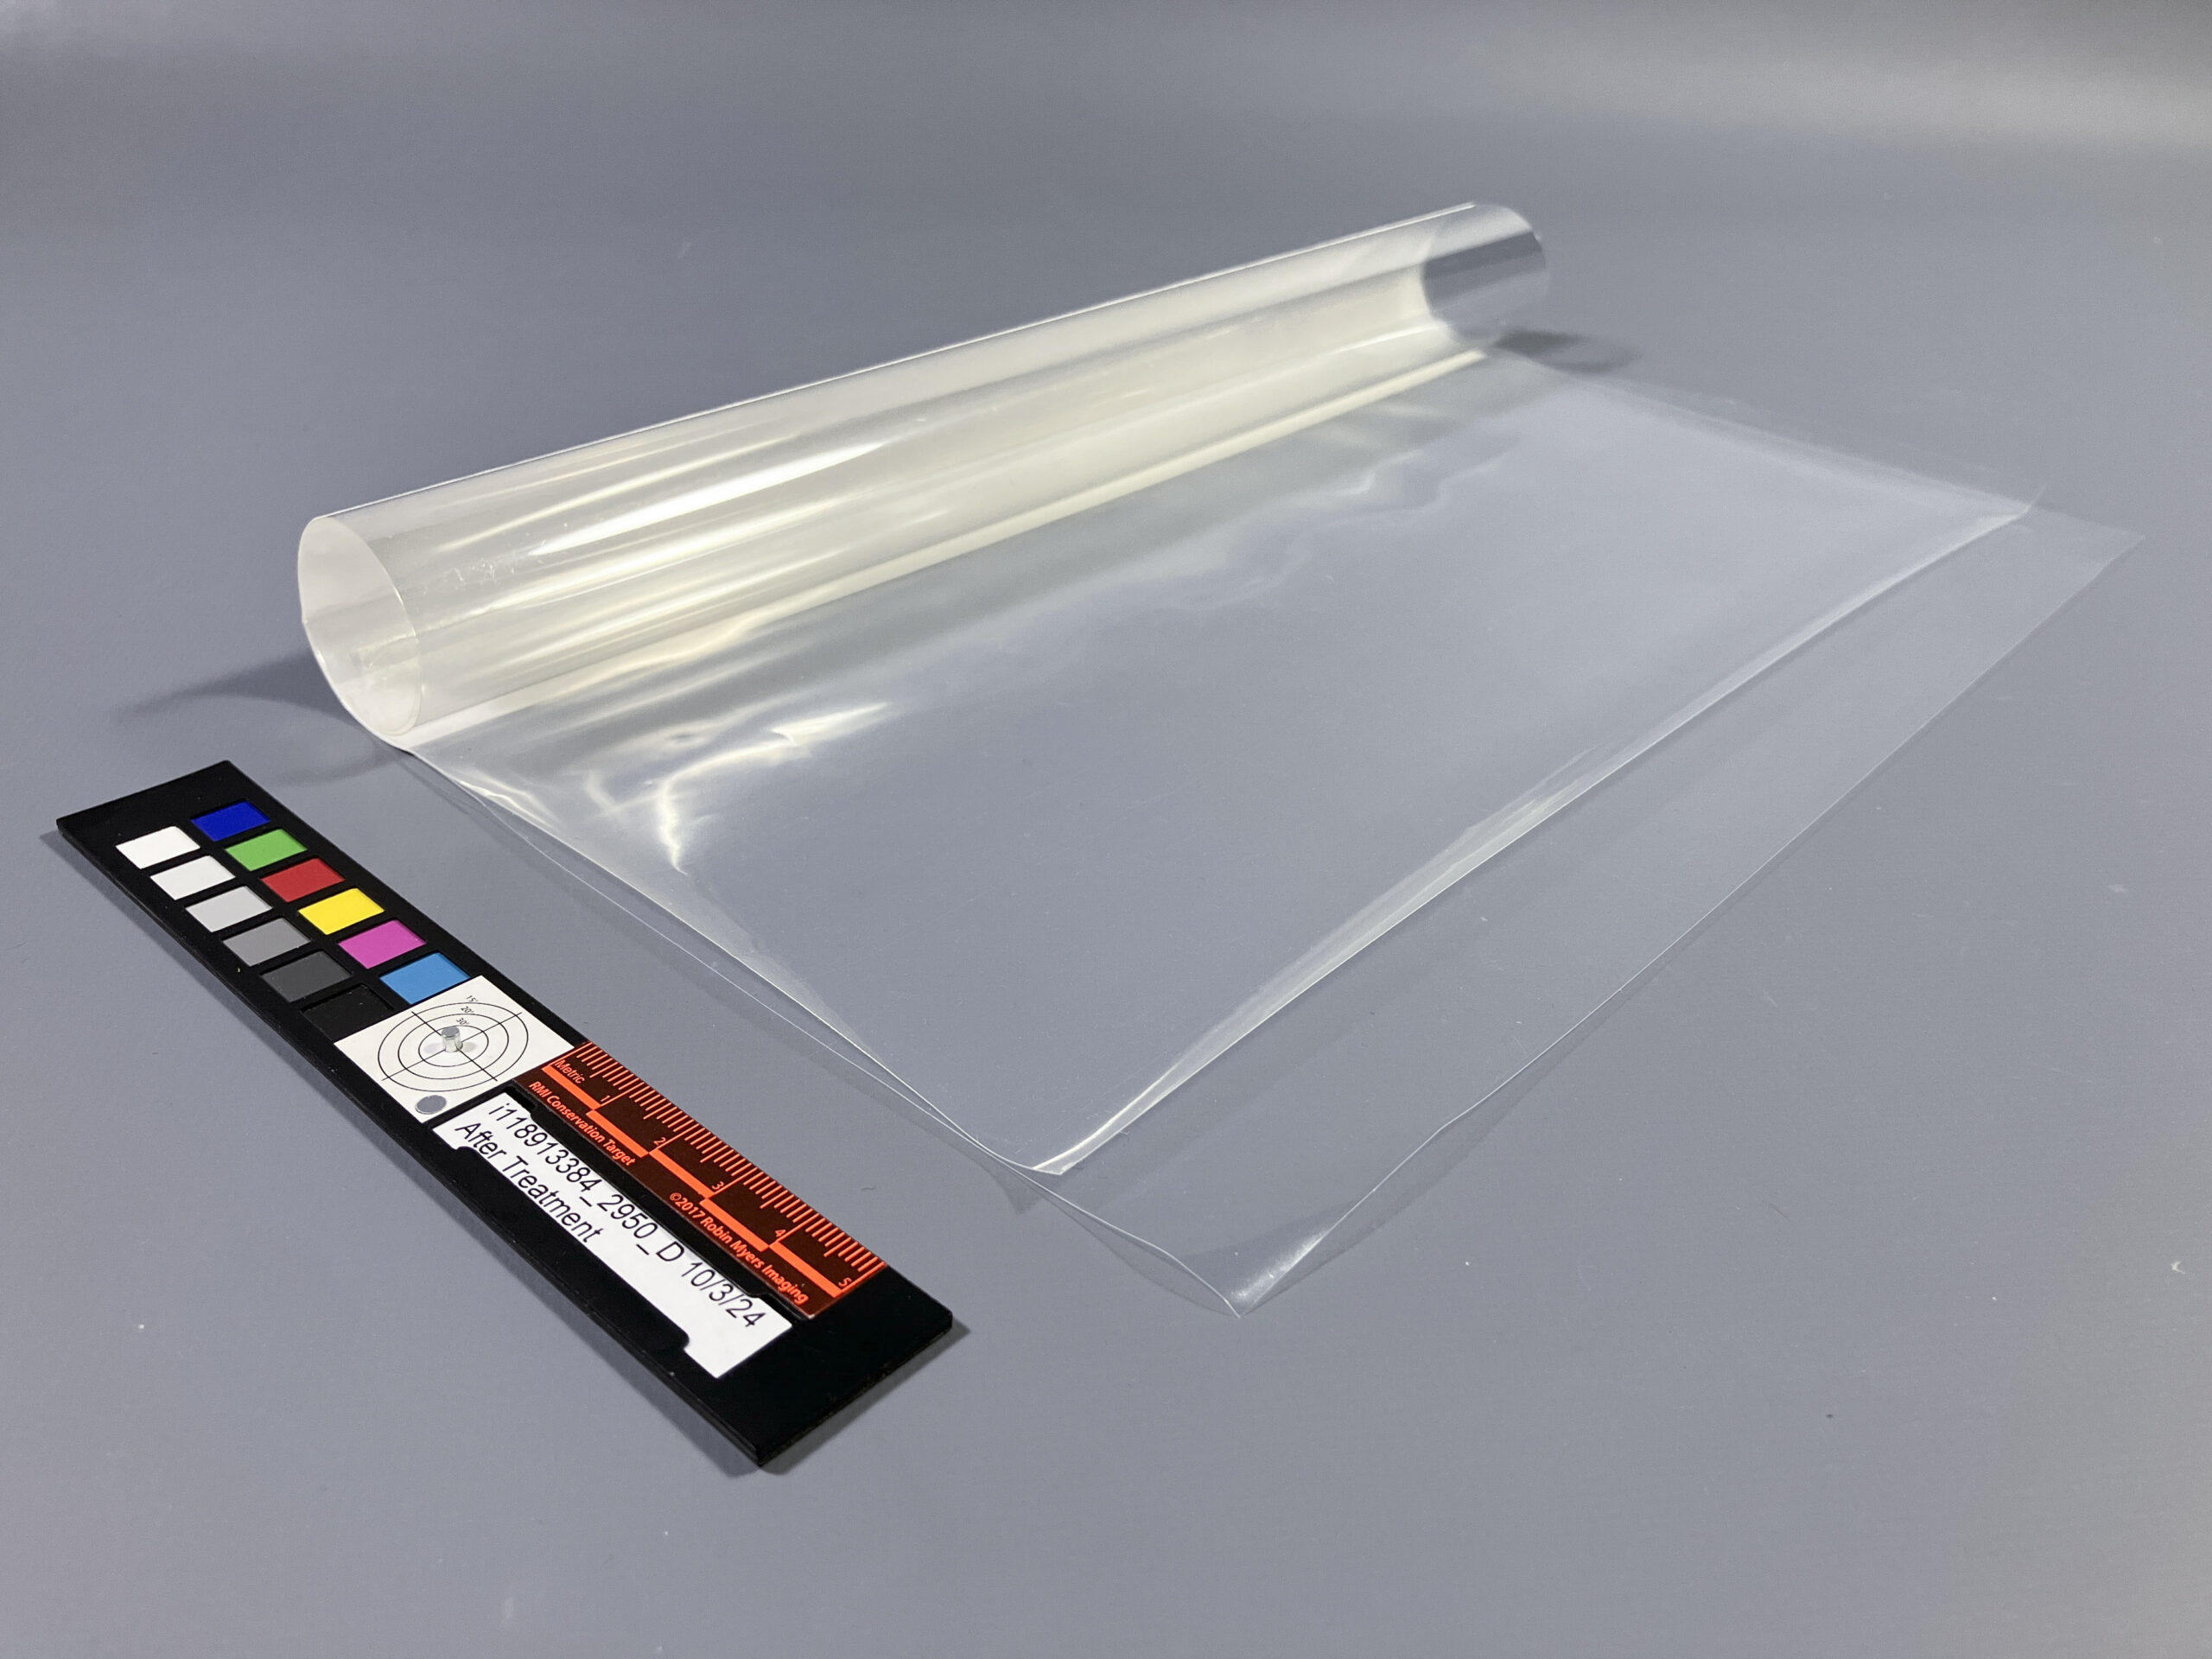
Polyester cylinder core with a polyethylene sling to secure one end of the map.
Allegheny River / Capt. J.W. McLaughlin
The end can be easily inserted into the sling and supported as the map is rolled around the polyester core.
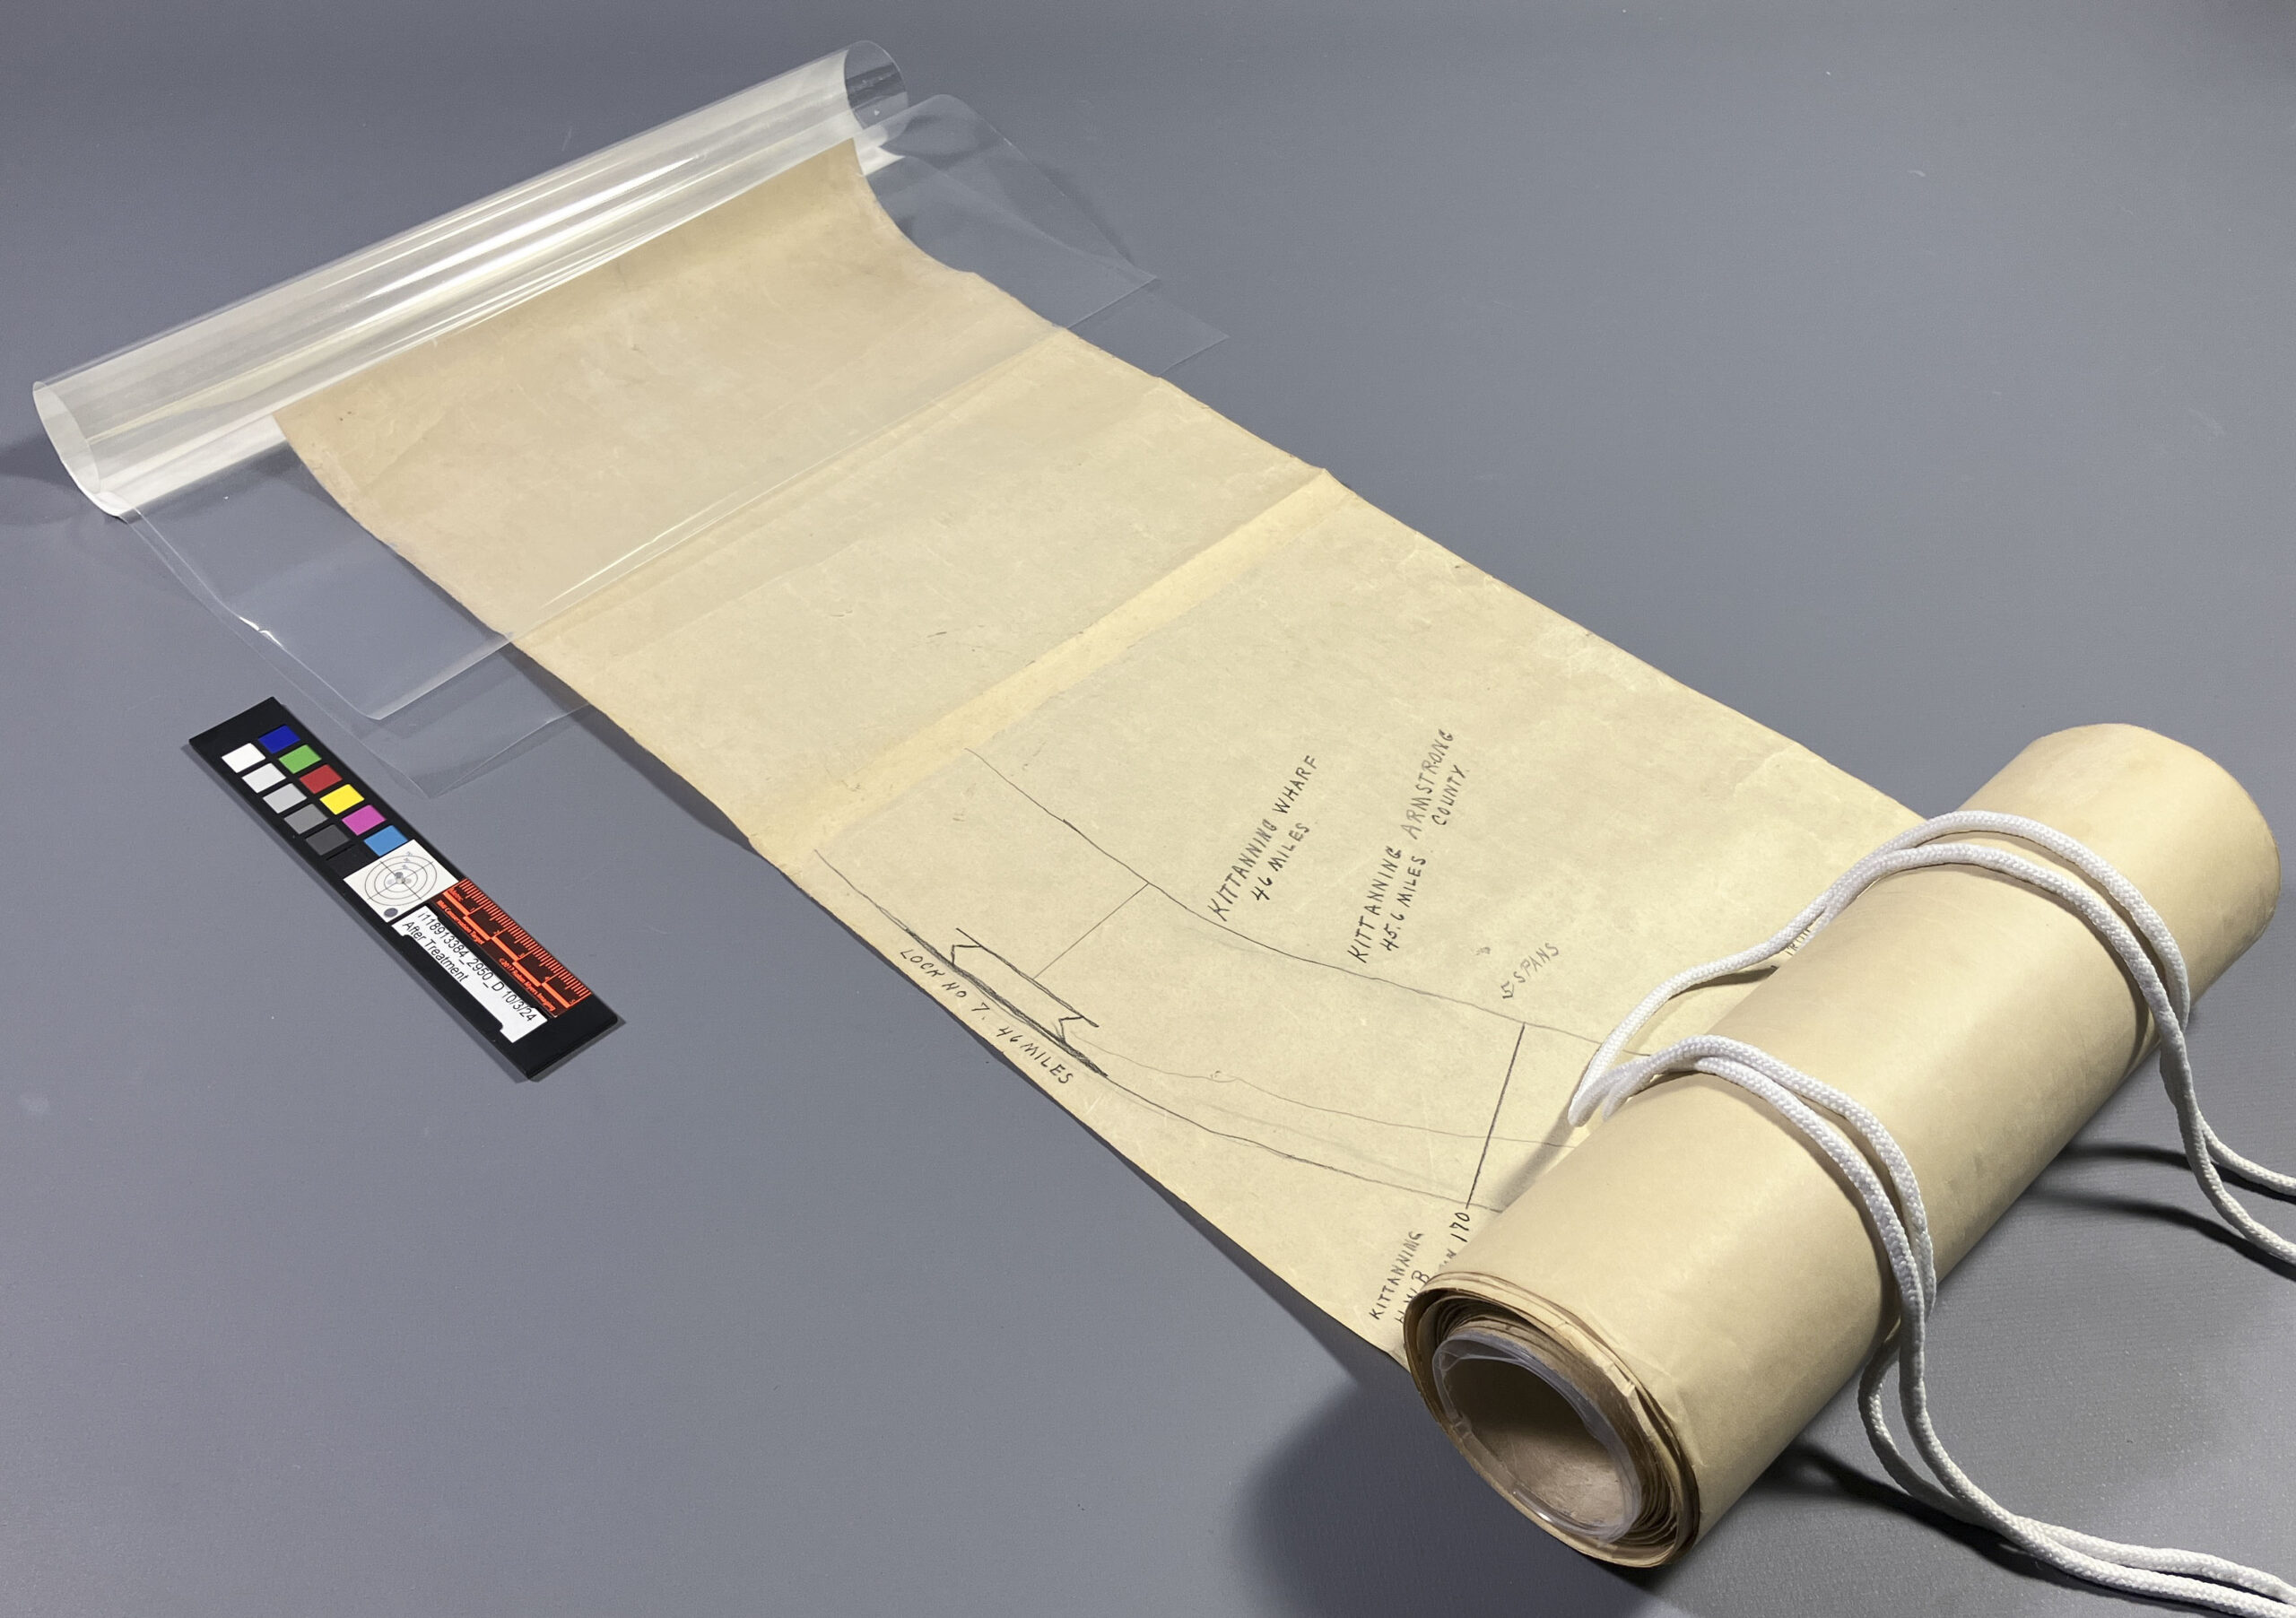
  • Protection of the ends – The opposite end of the scroll was placed into a soft, transparent polyethylene pocket. It’s flexible, unobtrusive, and doesn’t need to be removed, even during after treatment photography.
Scroll partially unrolled
The other end of the map is protected with a polyethylene pocket that is flexible and offers support to the fragile end of the map.
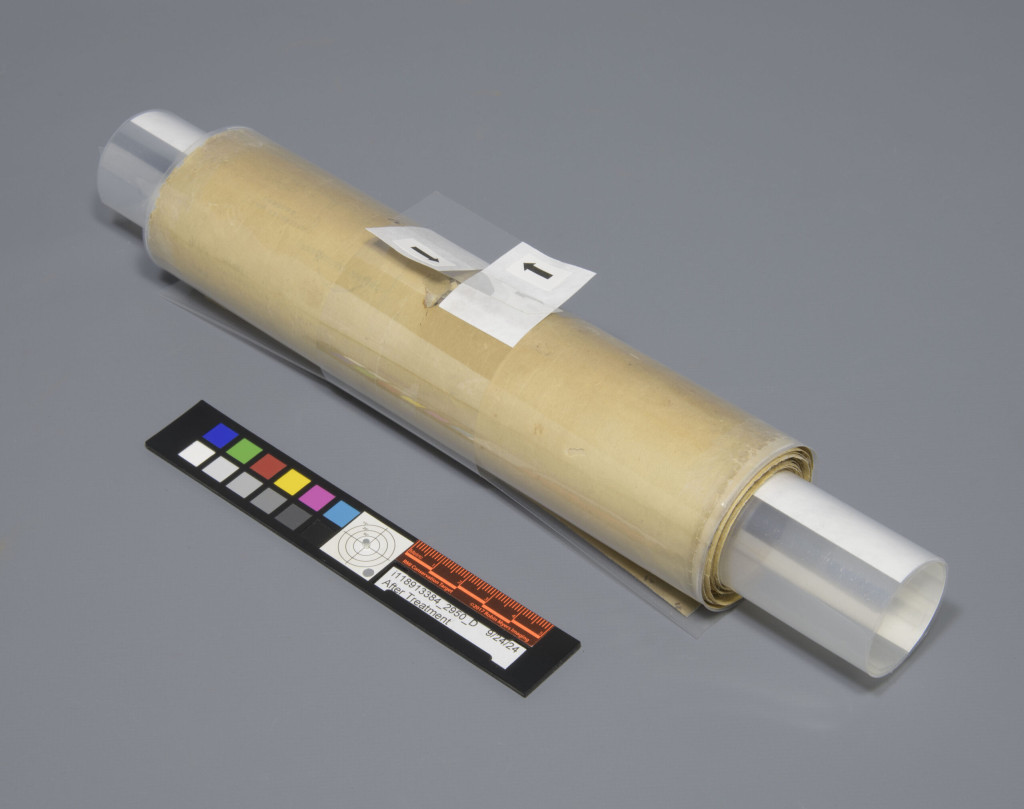
  • Keep it rolled – Once fully rolled, the scroll was secured with a polyester belly band. The polyethylene pocket helped protect the scroll surface from any abrasion caused by the belly band.
rolled scroll with belly band to hold it in place
The rolled map is secured with a polyester belly band.
  • Display ready? – For display,I built a removable tray that cradles the rolled scroll without letting it rest directly on a surface. This tray doubles as a mini display platform, so the scroll can be partially unrolled and supported during handling and exhibit. Functional and elegant.
Rolled scroll secured within an enclosure tray
Display tray that offers support to the rolled map for long term storage.

I also tested a few other methods along the way, like supporting the entire scroll in a single 15-foot polyester sheet or sandwiching it between two. But the seams where the map’s original sheets were joined caused additional creases with those solutions.  In the end, supporting the scroll in its entirety just wasn’t viable, so I pivoted to protecting the ends and letting the core do the heavy lifting.

Also: cutting two 15-foot-long sheets of Mylar by hand? Let’s just say I don’t recommend it… and I definitely don’t miss it.

Here is what a 15ft paper map looks like:

Catarina Figueirinhas – Assistant Conservator

The Protective Power of Interleaving

You might know the importance of a protective enclosure, but how often to you consider the quality of storage materials?  In fact, the composition of storage materials plays a significant role in the preservation of archival collections.  But how?
Since storage plays a passive role, the positive and negative interactions of storage materials may not be readily apparent.  Chemical reactions that occur between library and storage materials are often a slow process, spanning over a number of months or years before a visual change occurs.  Without the gratification of seeing immediate effects, many may not realize how some storage materials can be problematic, let alone the ramifications for using non-archival materials.
The Protective Power of Interleaving
 
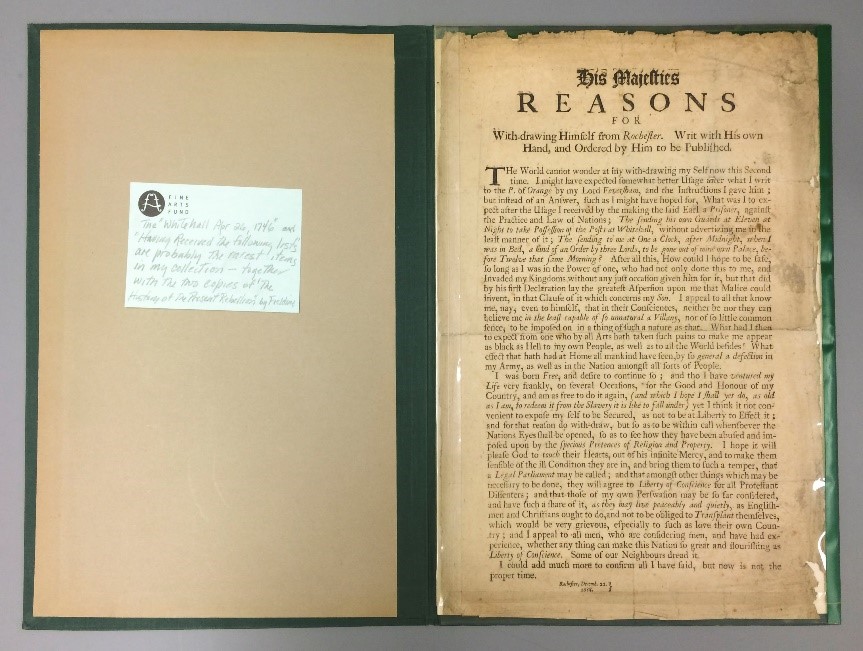
To illustrate some of the effects, I thought I’d share a vivid example of protection from acidic materials during storage. The following photograph shows the positive effects of archival buffering paper (also known as interleaving), as well as the danger of using non-archival boards and tapes – even when they are not in direct contact with the object!
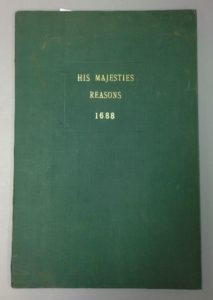
The protected object is a 17th century printed broadside.  It’s a single sheet of paper with printed black text on the front.  The broadside was stored for many years in a green cloth-covered portfolio.

The Protective Power of Interleaving

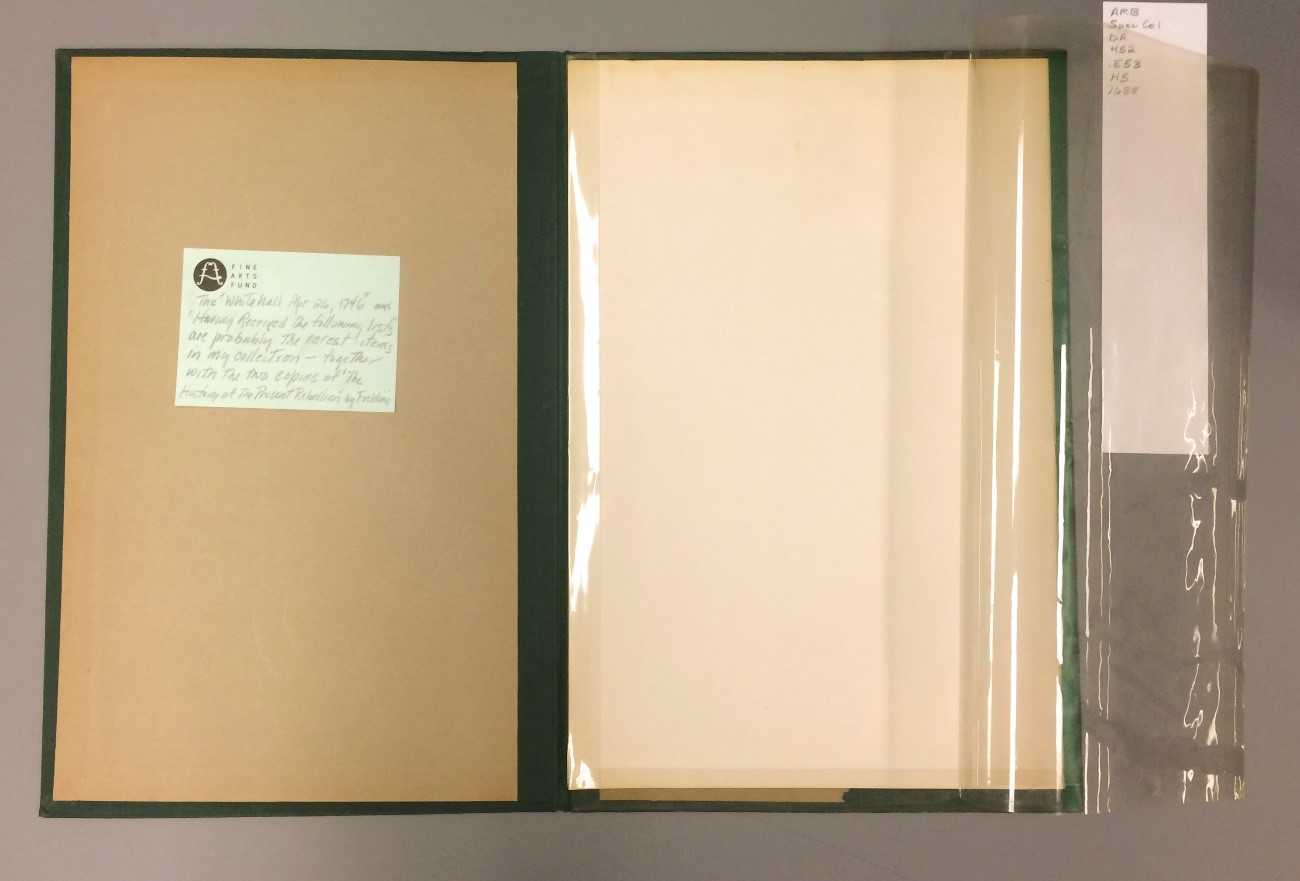
Within the portfolio, the broadside was secured beneath with folded sheets of plastic film with a blank sheet of paper.  You can see the plastic film is attached to the portfolio around the edges with green tape.


The Protective Power of Interleaving

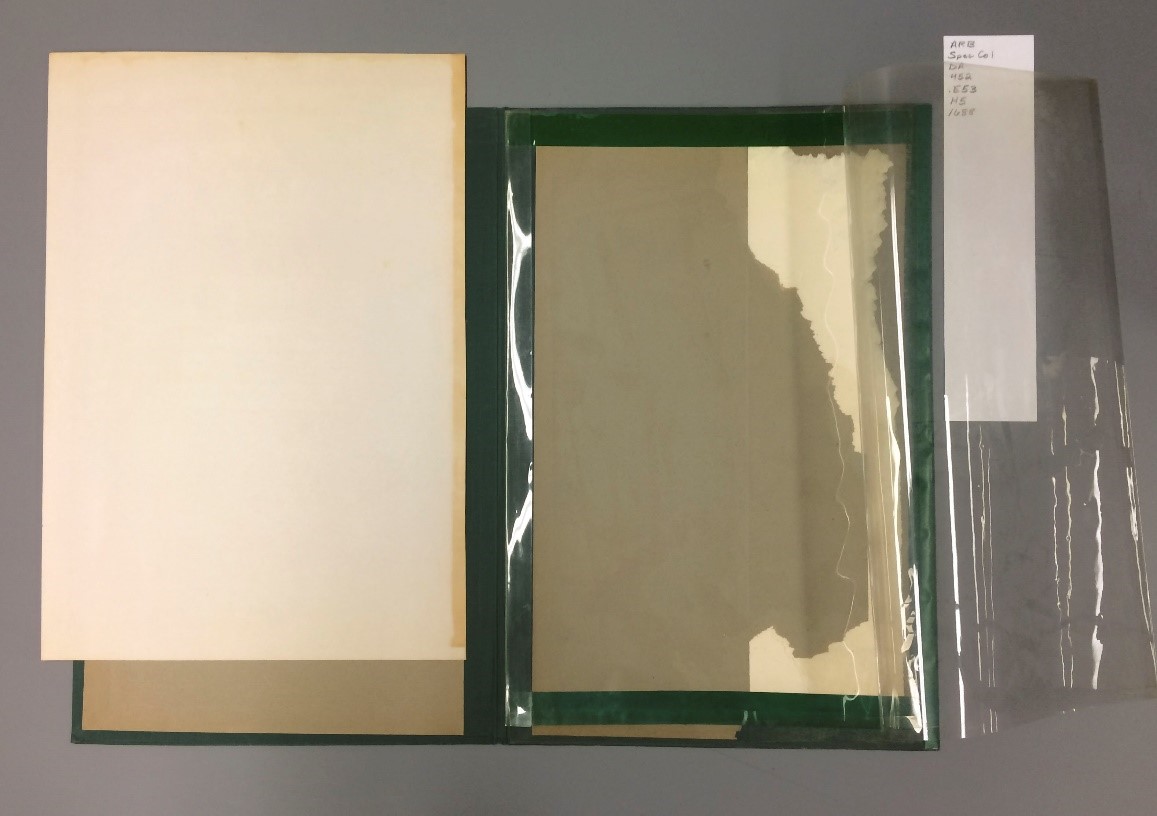
This image shows the front of the blank sheet of paper stored side the plastic film, below the broadside. The plastic has yellowed overtime.


The Protective Power of Interleaving

Here, the blank sheet is removed, revealing yellowish-brown discoloration around the top and right edge. This discoloration aligns perfectly with the green tape that is adhered on top of the plastic –located on the top and right side of the plastic.


The Protective Power of Interleaving

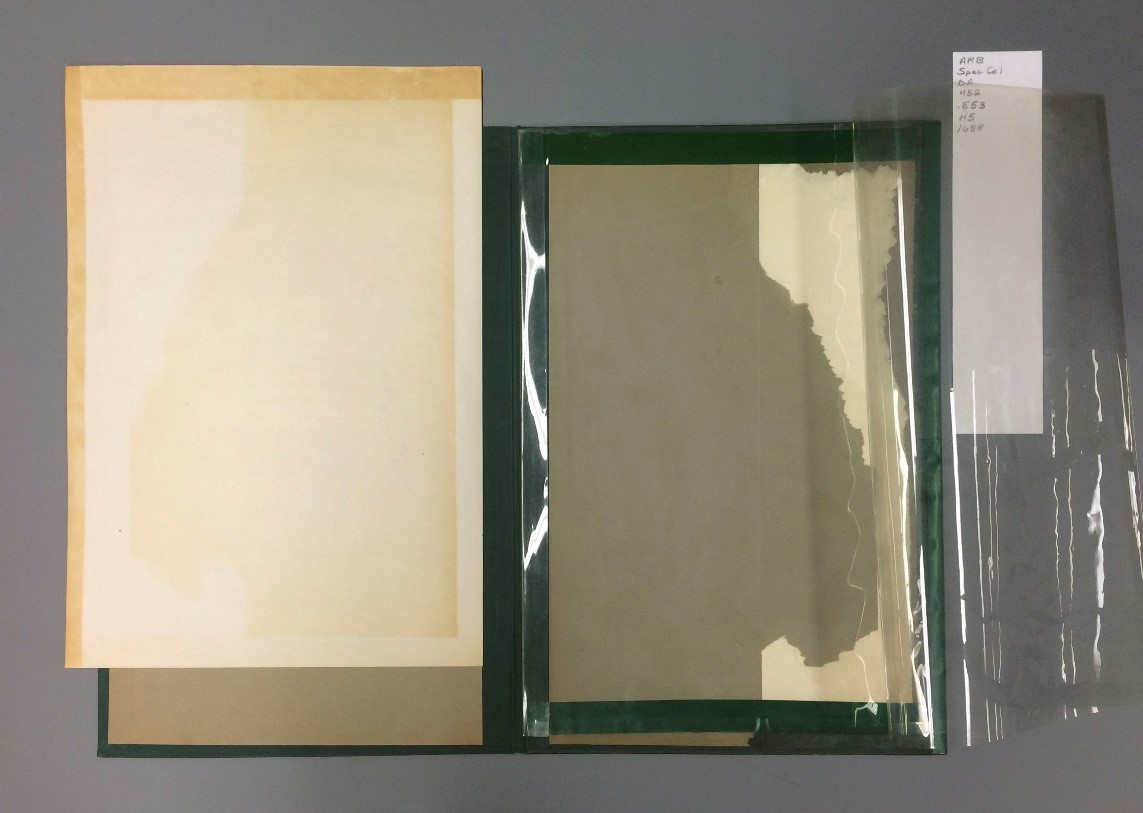
When you flip the paper over, the back of the blank sheet shows even more discoloration. In fact, the discoloration is a mirror image of the materials below the plastic! This has occurred because the plastic is “breathable.” The materials below are all acidic, except for the white fragments of paper, which protected a portion of the paper from turning brown.


The interleaving paper served two purposes here:

  1. Acts as a support for the broadside when handled.
  2. The interleaving served as a sacrificial barrier that absorbed the bulk of acidic off-gassing from the non-archival paper and tape.

In summary, this enclosure is an excellent example of how different materials can interact with one another in nuanced ways, and how plastic is actually a permeable barrier to gasses overtime!
General storage tips:

Ashleigh Ferguson Schieszer (PLCH) —- Book and Paper Conservator

Prepping for a Shift

Stack shifts and moves are an inevitability in libraries.  Collections change.  Spaces change, more often than not becoming too small for the collection(s).  And in the end a shift of collections is imminent.  For most collections these stack shifts do not require the intervention of a conservation lab.  Periodical bindings moving to another floor?  It happens all the time and that’s that.  But when special collection items are shifted or moved, the Preservation Lab generally plays a part.  So when UC’s Archives and Rare Books Library decided to move and shift the bulk of their oversized special collections between stack levels the Lab was contacted to play a part in the prep work.
The plan? To measure and box as many unstable or unwieldy oversized books that will be moving between floors or shifting within narrow, restrictive shelving stacks before the move in April.  In order to keep our current workflow of treatments (both general circulating and special collections) for both institutions going, it was decided that a couple of lab staff would measure the books on-site (ARB Library), have corrugated enclosures created through our commercial bindery vendor, and then as the boxes were received the staff would match up the books with the boxes.  Three staff members, Holly Prochaska (librarian), Veronica Sorcher (technician), and myself, took on the duty of assessing the books and taking measurements for those we felt could easily hinder the move or be damaged further by handling and moving.

MeasuringSetup

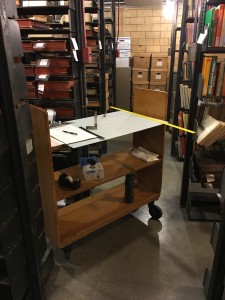
Measuring in the stacks and making do with the space you have.


At this point we are about half way through the process.  We’ve measured over 750 books for enclosures!  We enlisted one of our trusty student assistants to record all the data so that we could send it off to the commercial binder.  The first batch of 150 boxes arrived and were matched up with the books earlier this week.  And luckily, our error rate was actually very low, even with that first batch where we were still figuring out the kinks of measuring in confined spaces and often dim lighting!
What’s the workflow like?  Each person has list of numbers that correspond to the number the binder prints on the inside of the enclosure, per our request.  For each number, the staff member records the call number (to be printed on the spine of the box), along with the height, width and thickness of the book.  A flag with that number written on it (in pencil, of course) is then placed in the book so that it is visible on the shelf and clearly recognizable when matching the boxes to the books.  So far, the process has worked pretty well.
What kinds of things are we prepping for storage and handling?  Prime candidates for move-prep housing include…

  • Any book previously tied with cotton tying tape, usually to hold a detached/loose board or textblock in place.
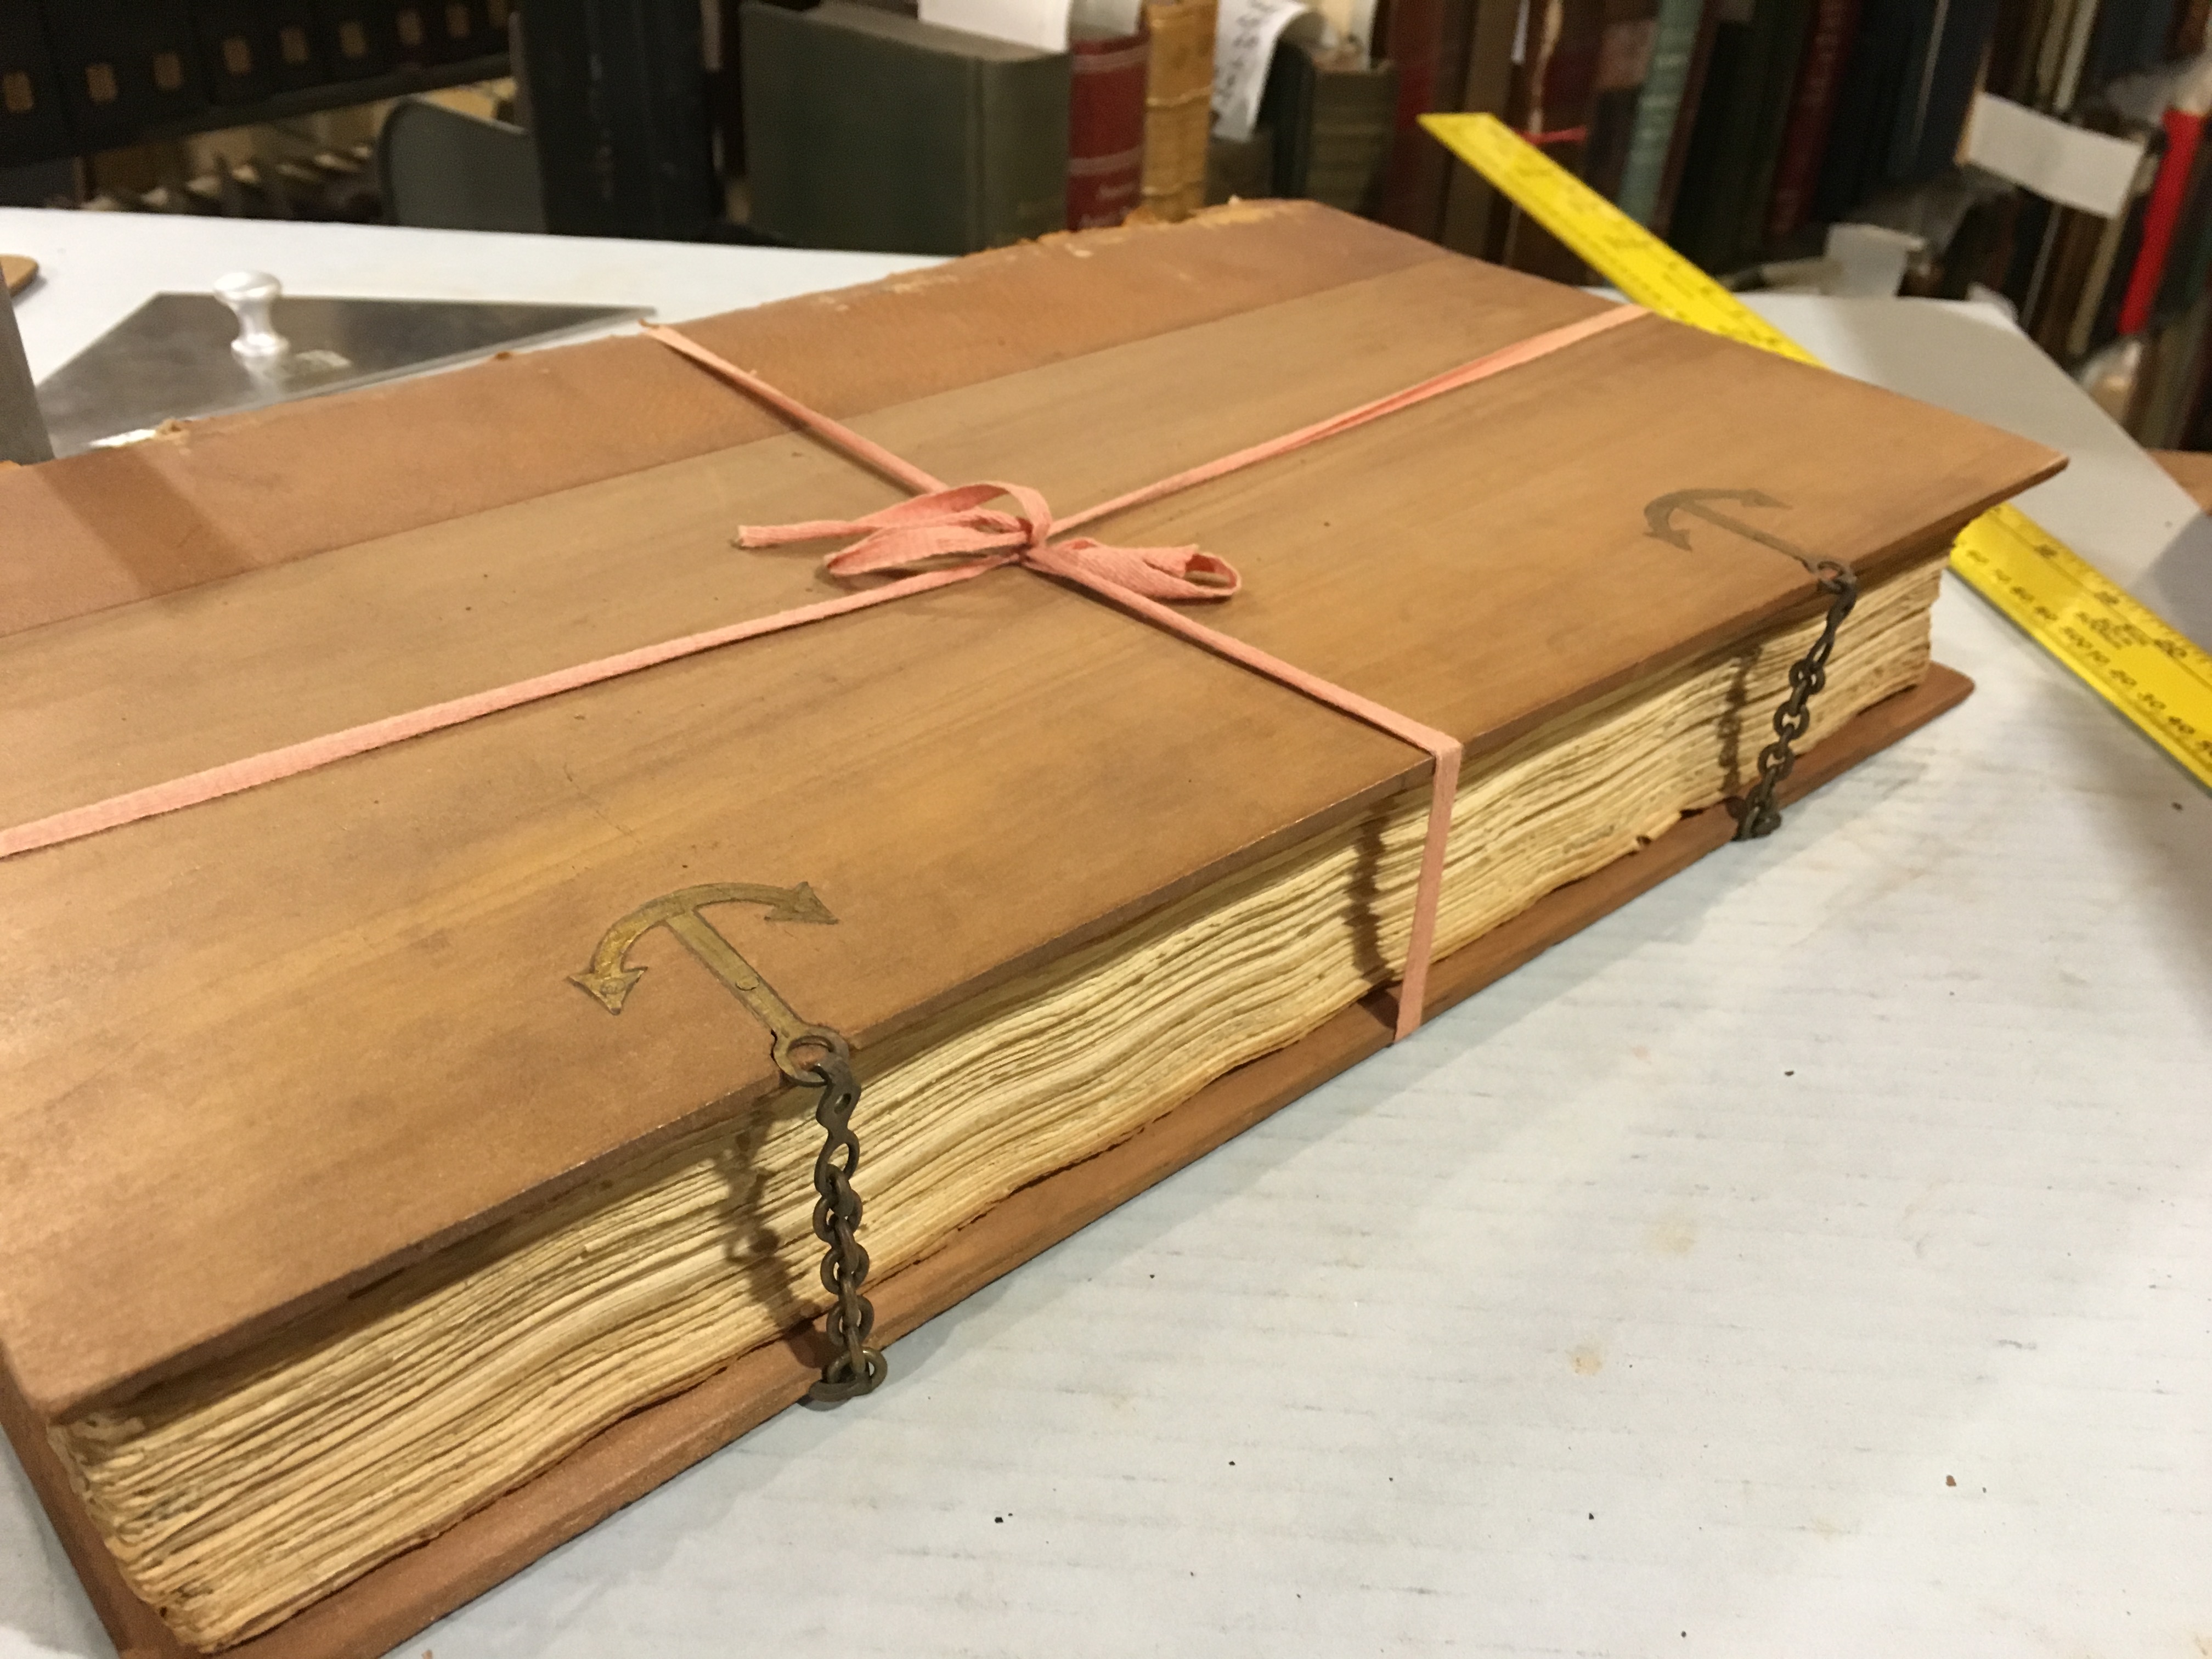
    In this case, boards were detached from the spine/textblock. But let’s just talk about the reason I really took a photo of this book on Christopher Columbus…the anchor clasps and catches! How cool are those?

    In this case, boards were detached from the spine/textblock. But let’s just talk about the reason I really took a photo of this book on Christopher Columbus…the anchor clasps and catches! How cool are those?

  • Any book with loose, detached, or protruding parts that could be abraded, damaged further, or lost during the move.
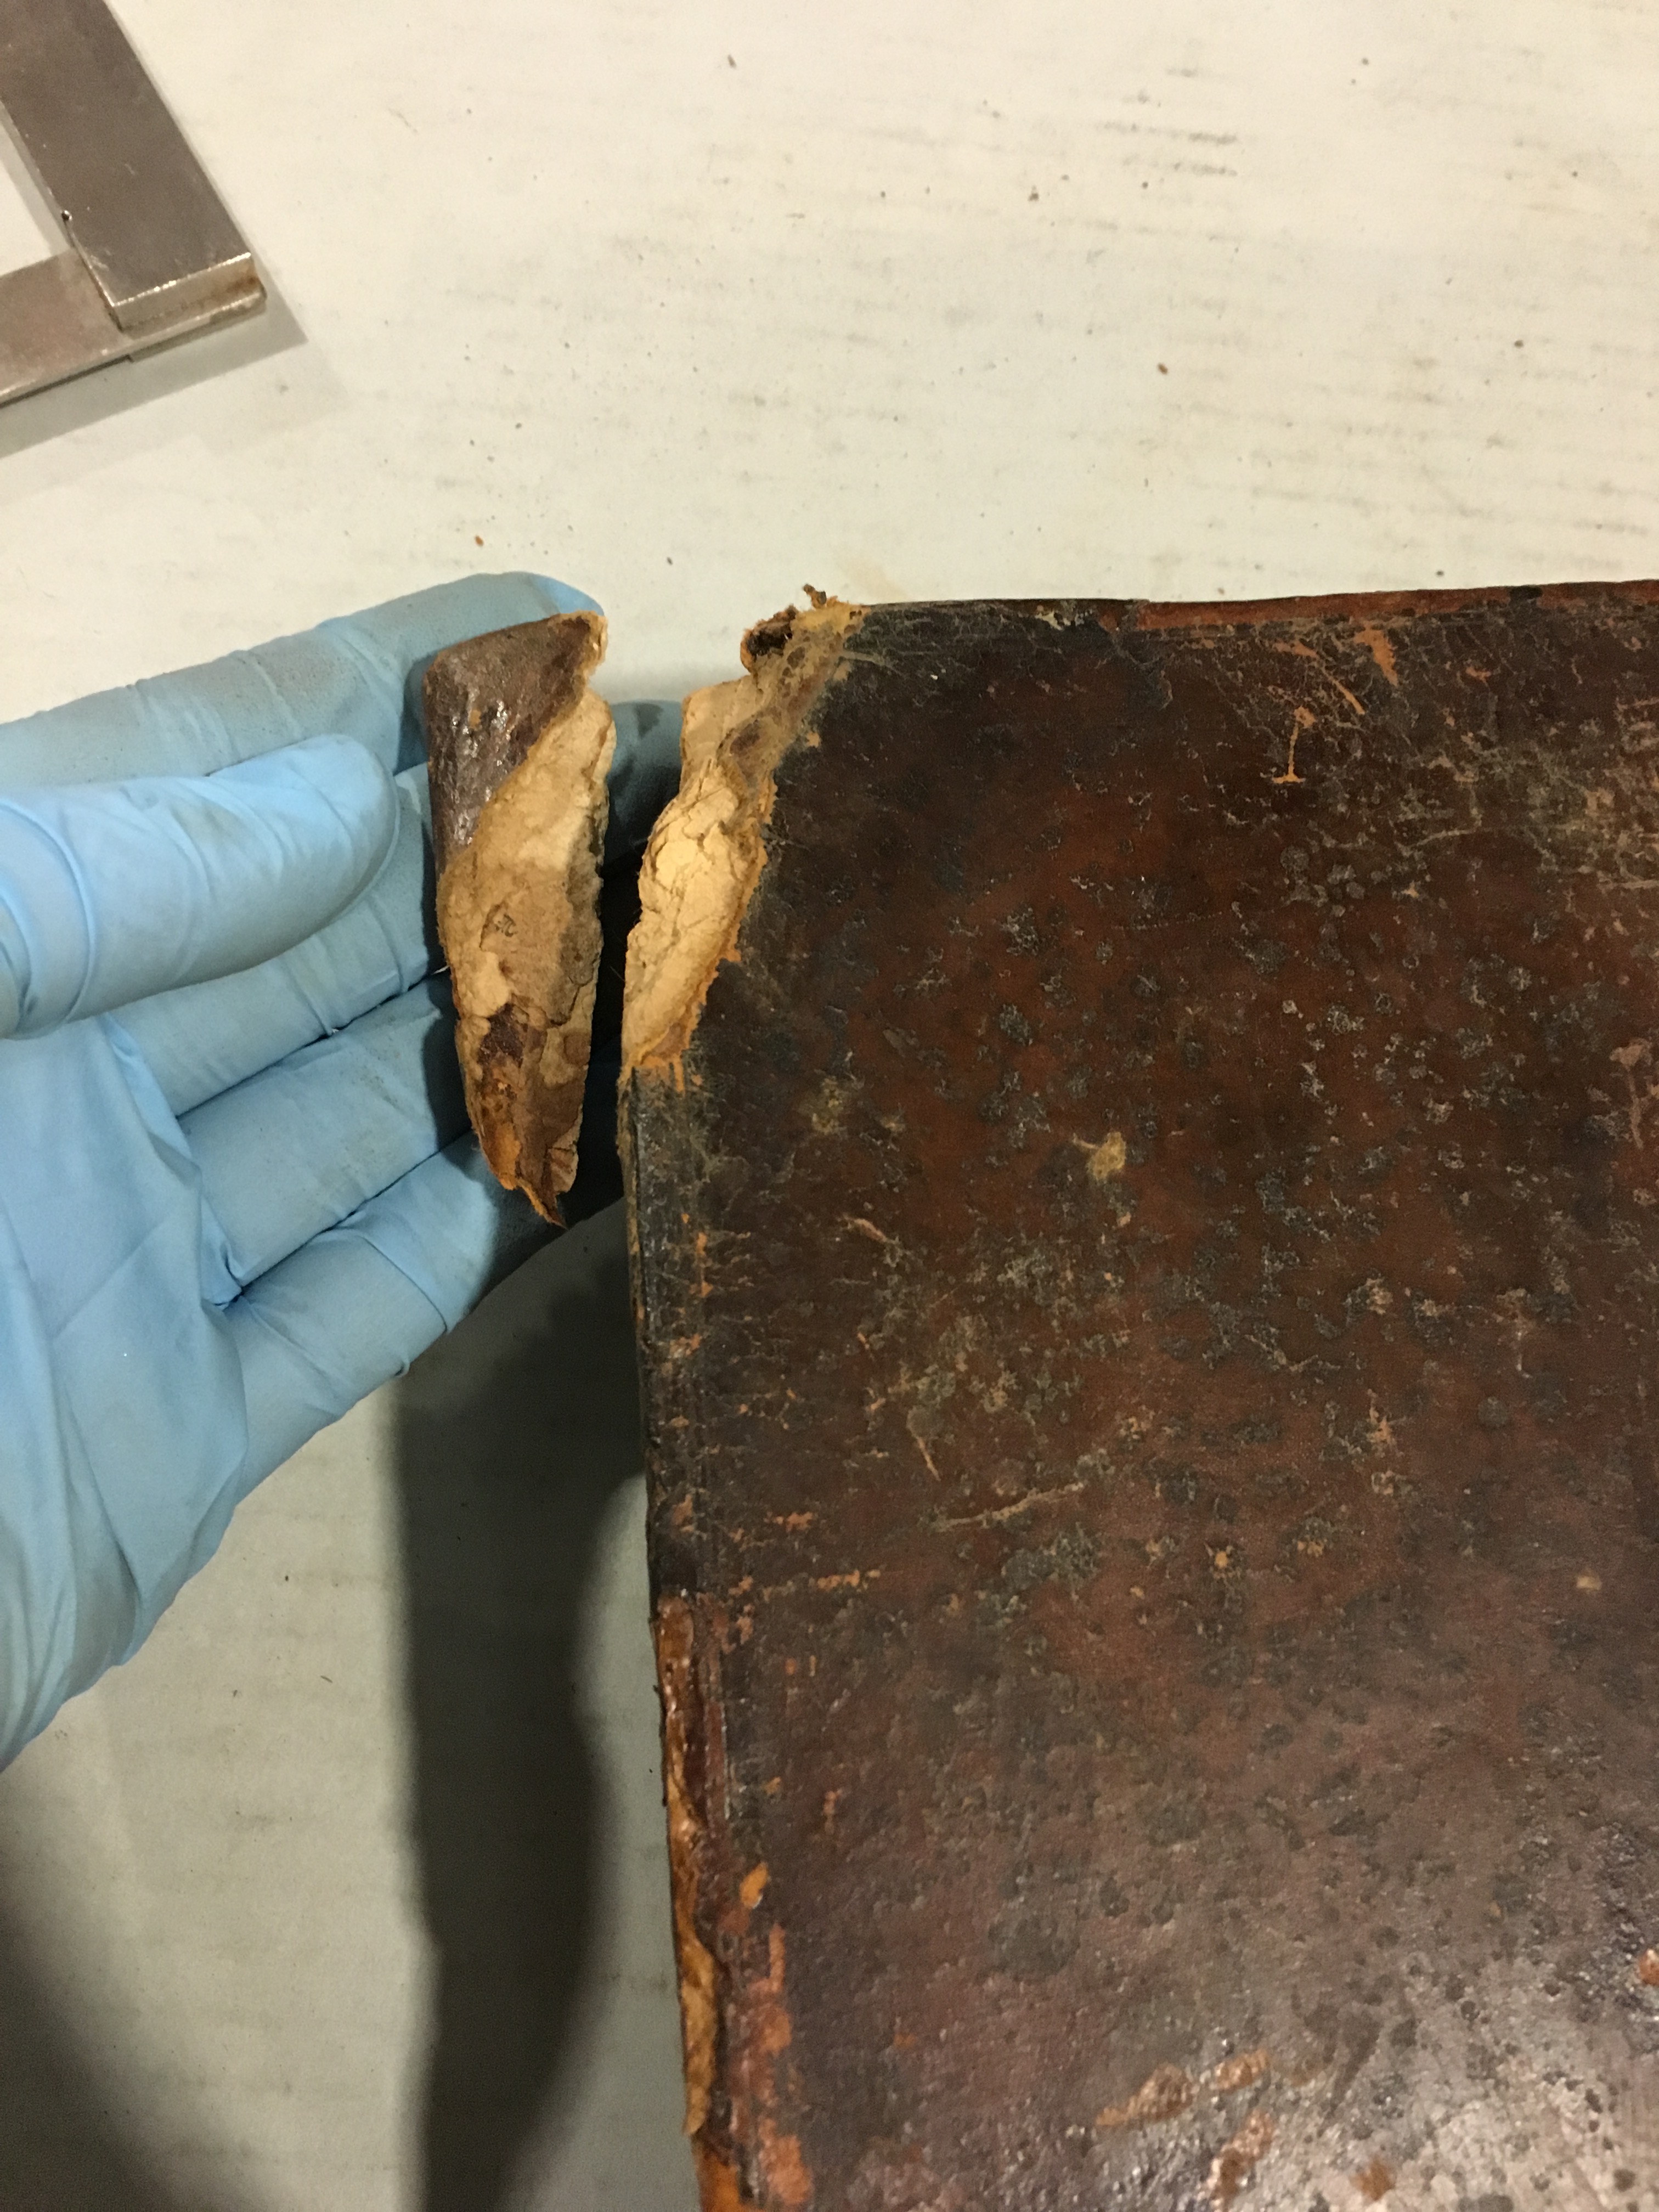
    When I originally pulled this book off the shelf the measure it the corner was nowhere to be found, but I found it a couple shelves down resting on top of another book.

    When I originally pulled this book off the shelf the measure it the corner was nowhere to be found, but I found it a couple shelves down resting on top of another book.

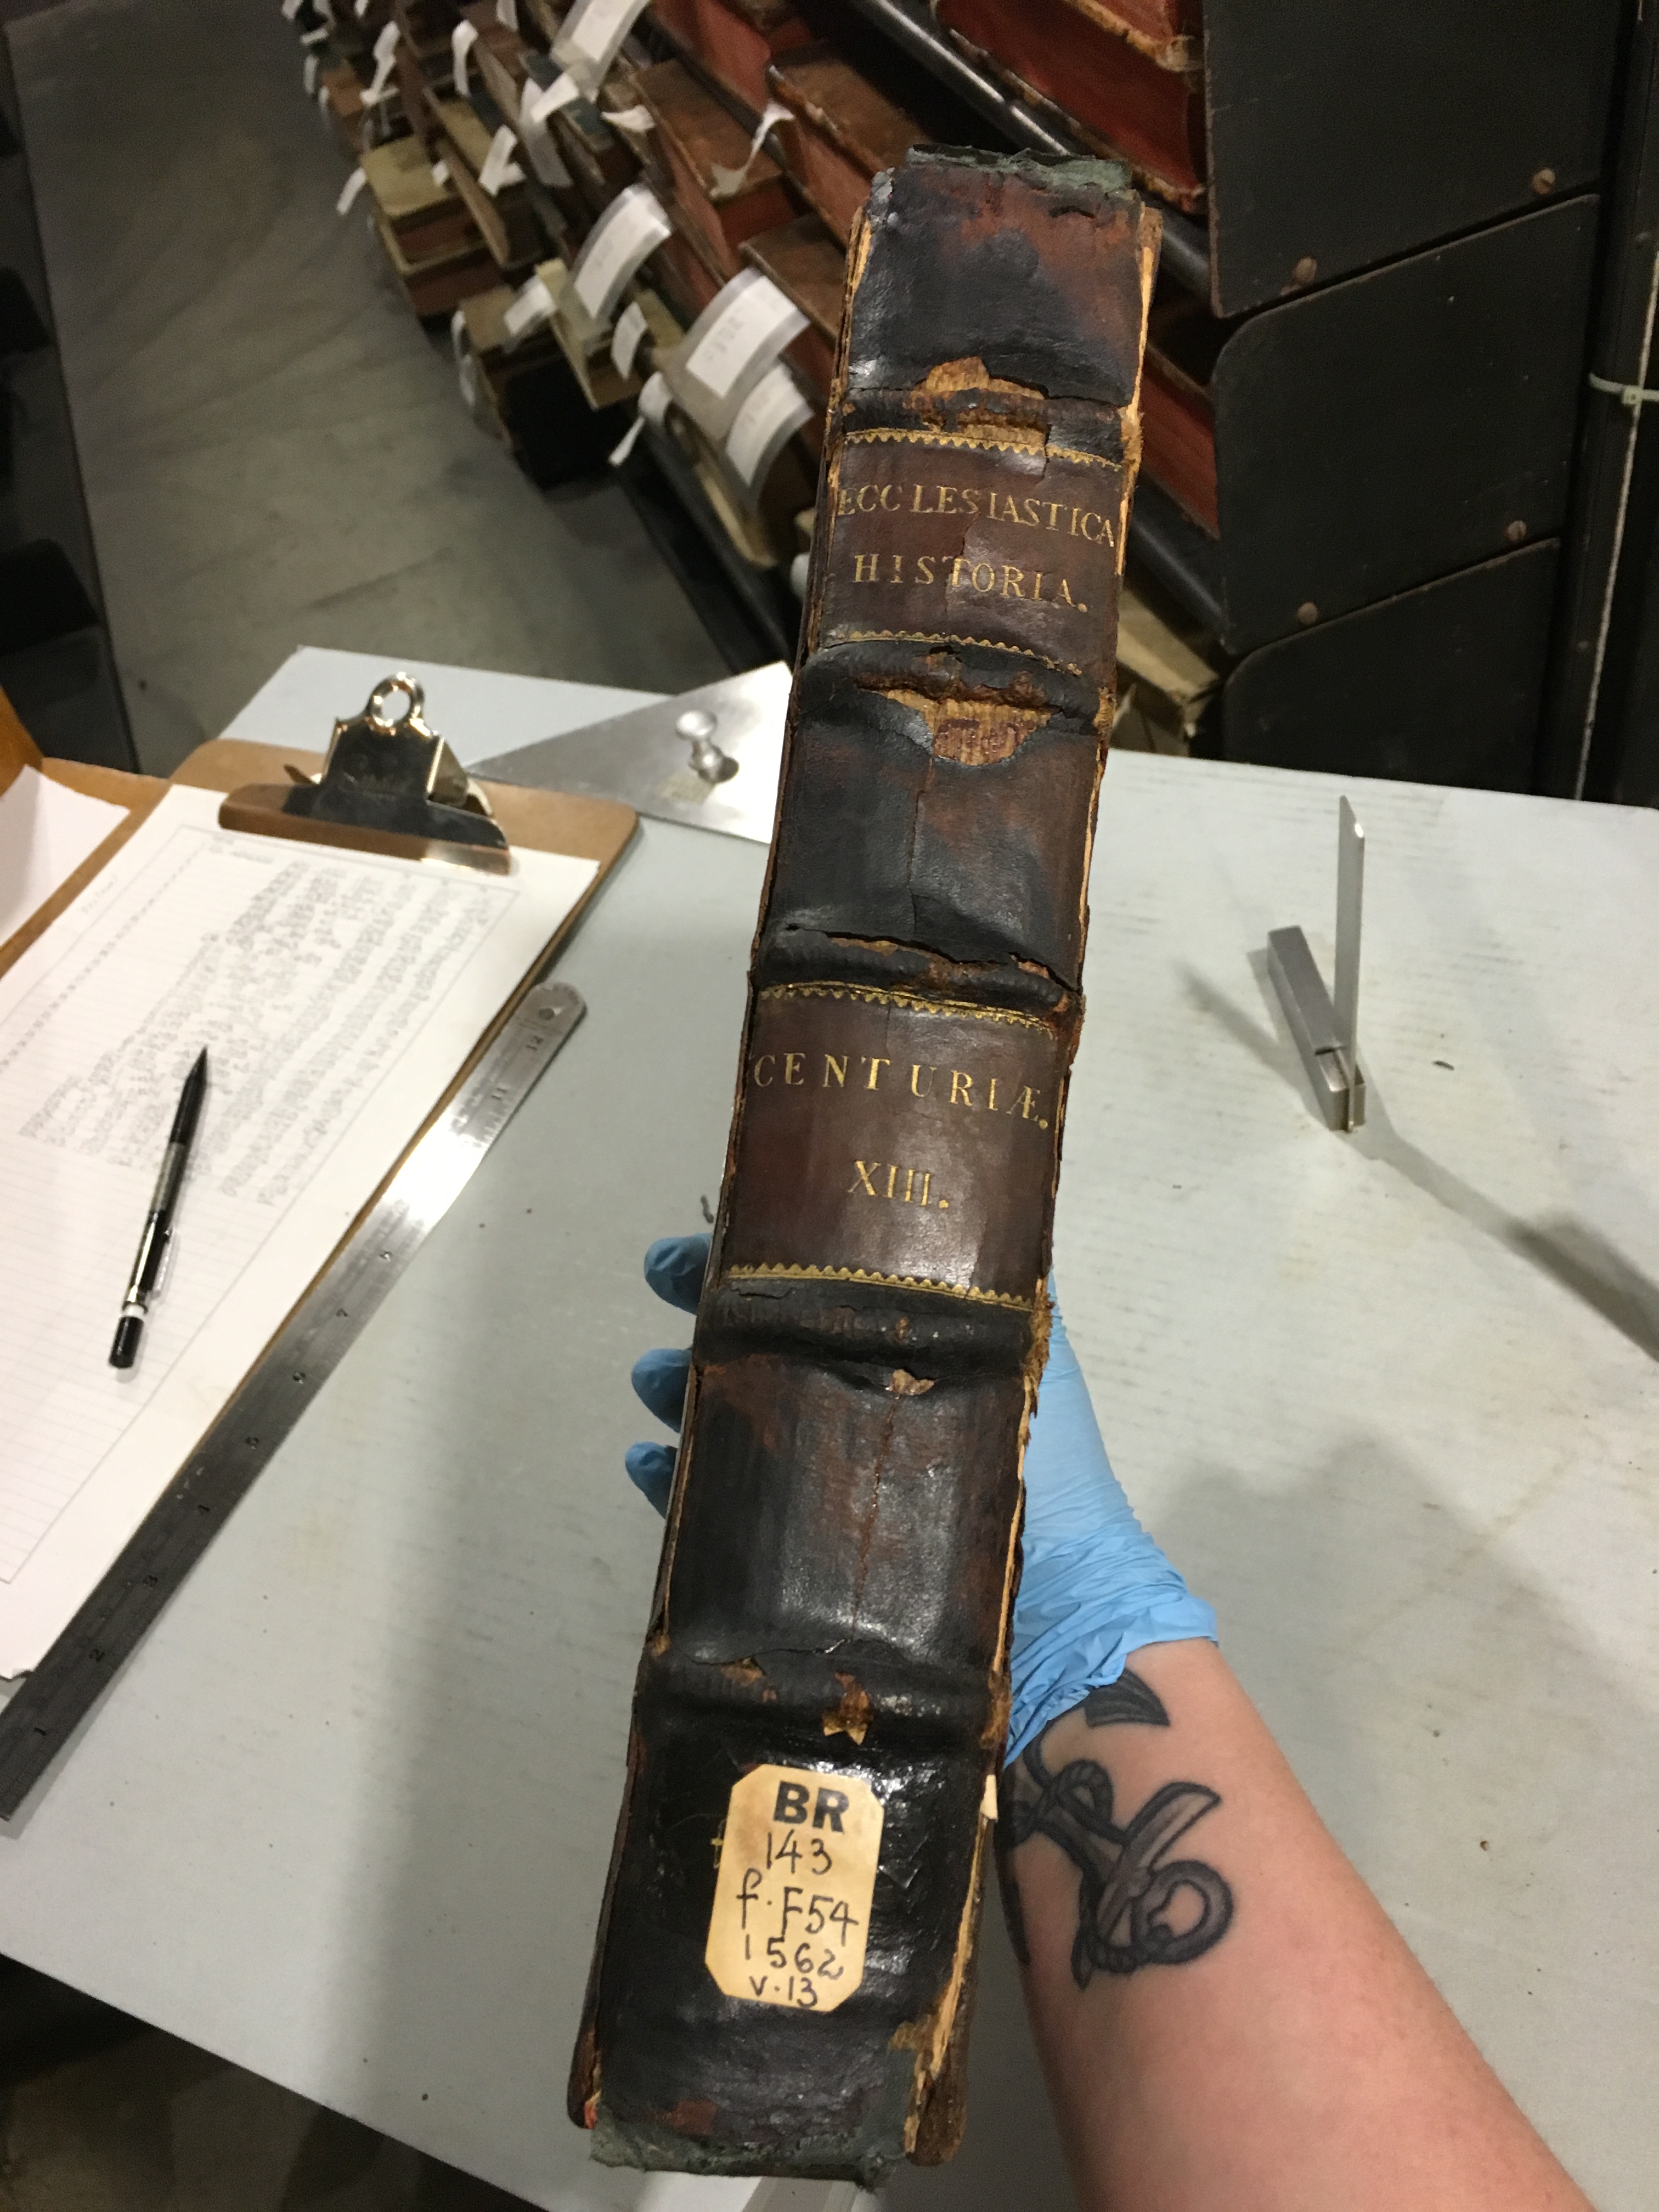
  • Any extremely fragile or flimsy books, including extremely oversized, thin bindings or bindings with fragile paper or degraded leather covers.
    This full leather binding must have been fire damaged at some point. The leather on the spine was so fragile and would crack and break if you looked at it the wrong way.

    This full leather binding must have been fire damaged at some point. The leather on the spine was so fragile and would crack and break if you looked at it the wrong way.

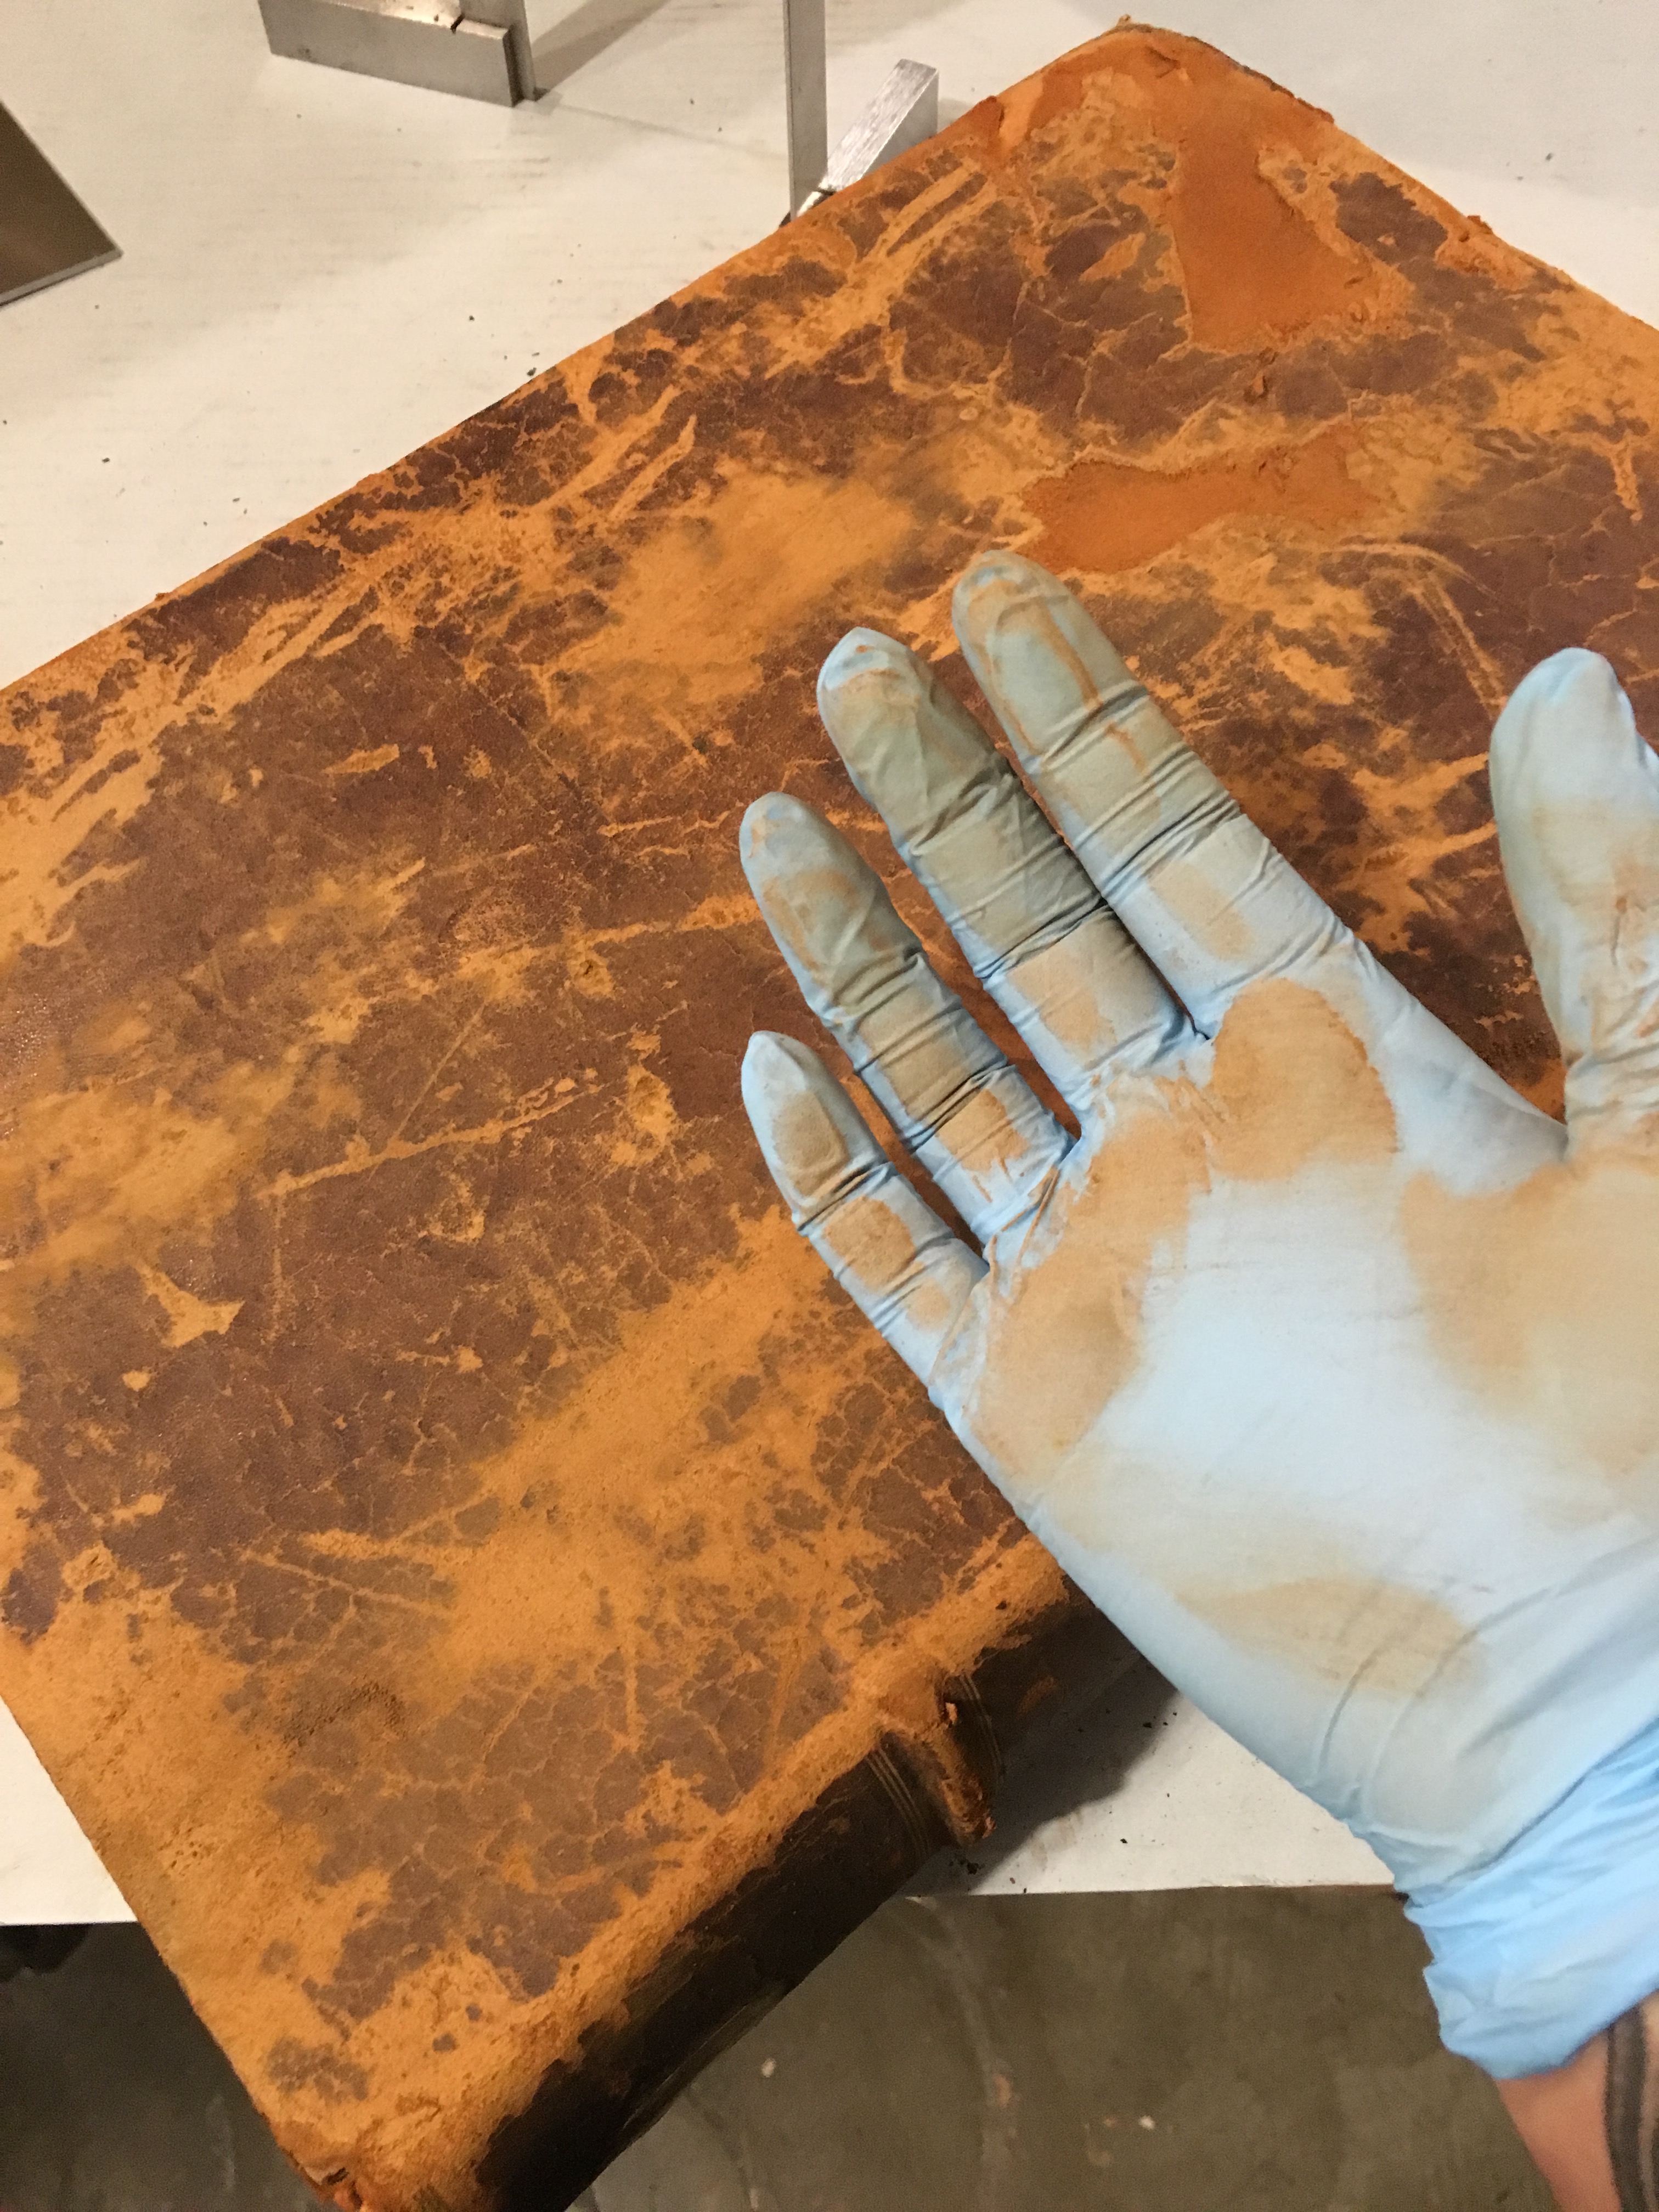
  • The evil monster known as RED ROT!
    RedRot_2

    Obviously not all books with red rot were boxed, especially those with very minor cases. But books like this, where the movers and every book in the surrounding area would be covered in a red layer of degraded leather…those get boxes!

If you’re interested in seeing more snapshots from our adventures of measuring in ARB, check out the Preservation Lab’s Instagram, here.
Jessica Ebert (UCL) – Conservation Technician