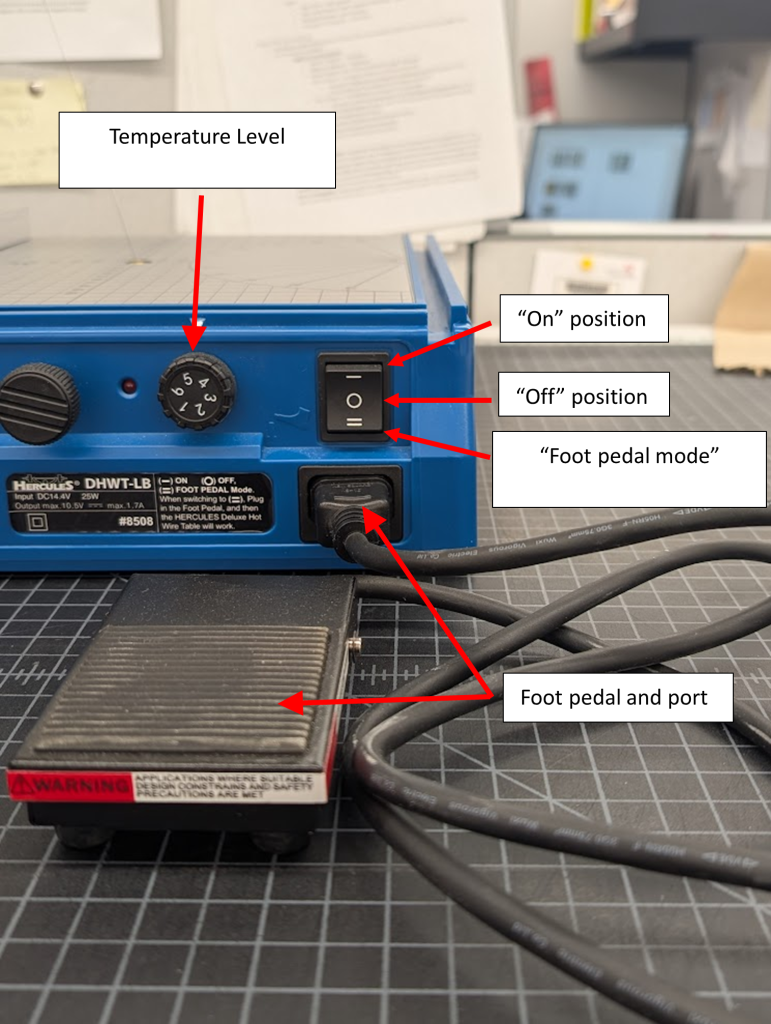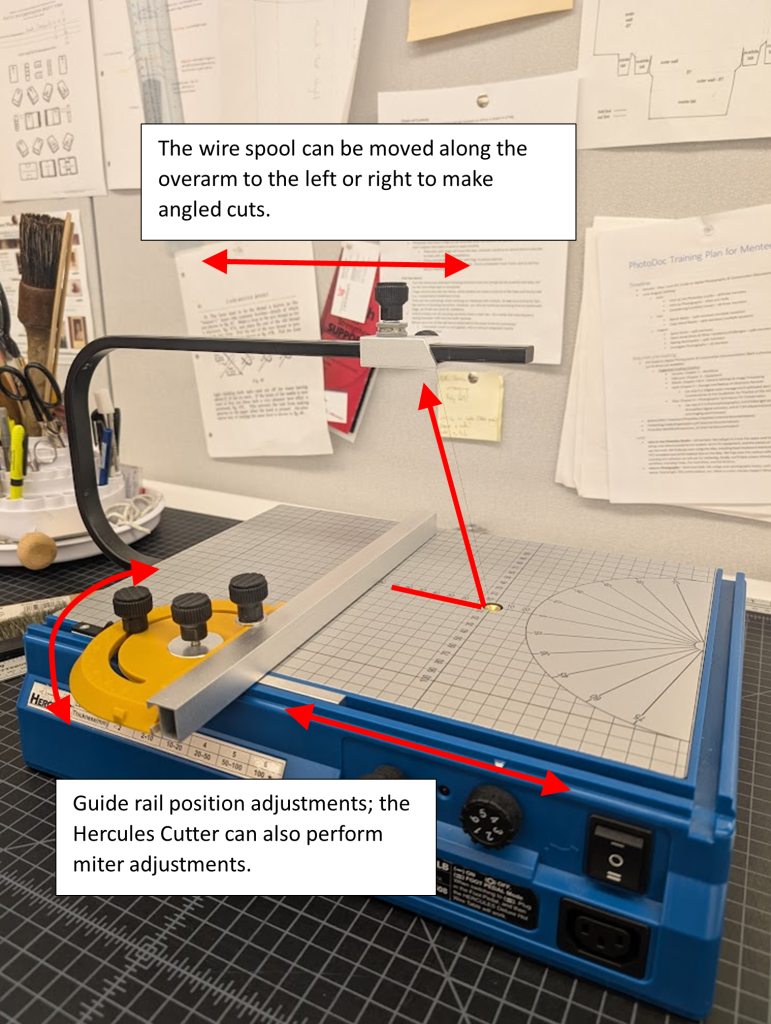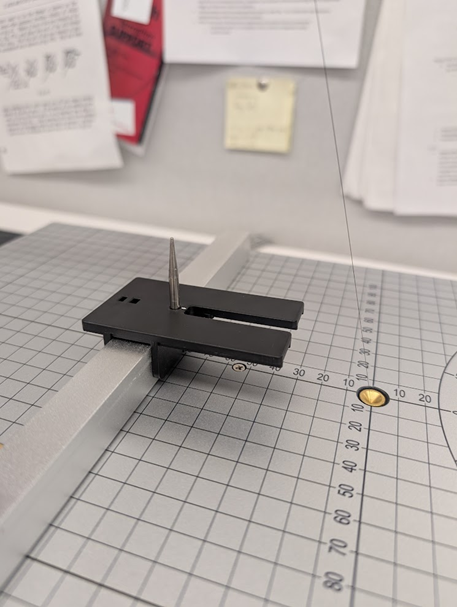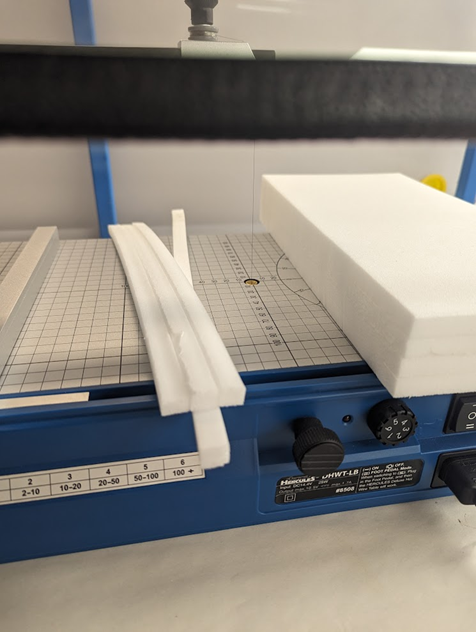
An alternate title to this blog could be, “That time we X-rayed medieval choir book at the UC Medical Center, and then the pandemic happened I forgot to write a blog post about it”. Oops!
Let’s rewind the story back to mid-2019, when our Associate Conservator, Ashleigh, expressed interest in radiography on a beautiful, oversized choir book from the Classics Library. I, at the time, was the Photographic Documentation Specialist and had never carried out or assisted with any radiography projects, so I was very keen to start reaching out to anyone I could think of on West and East campus who might have access to such equipment. The most logical answer, UC Health, proved to be the winning one when finally the Director of Diagnostic Radiology put me in contact with the Enterprise Director of Imaging, who said yes to my request, and ultimately put me in contact with my main contact for the project, the Radiology Manager at UC Medical Center.
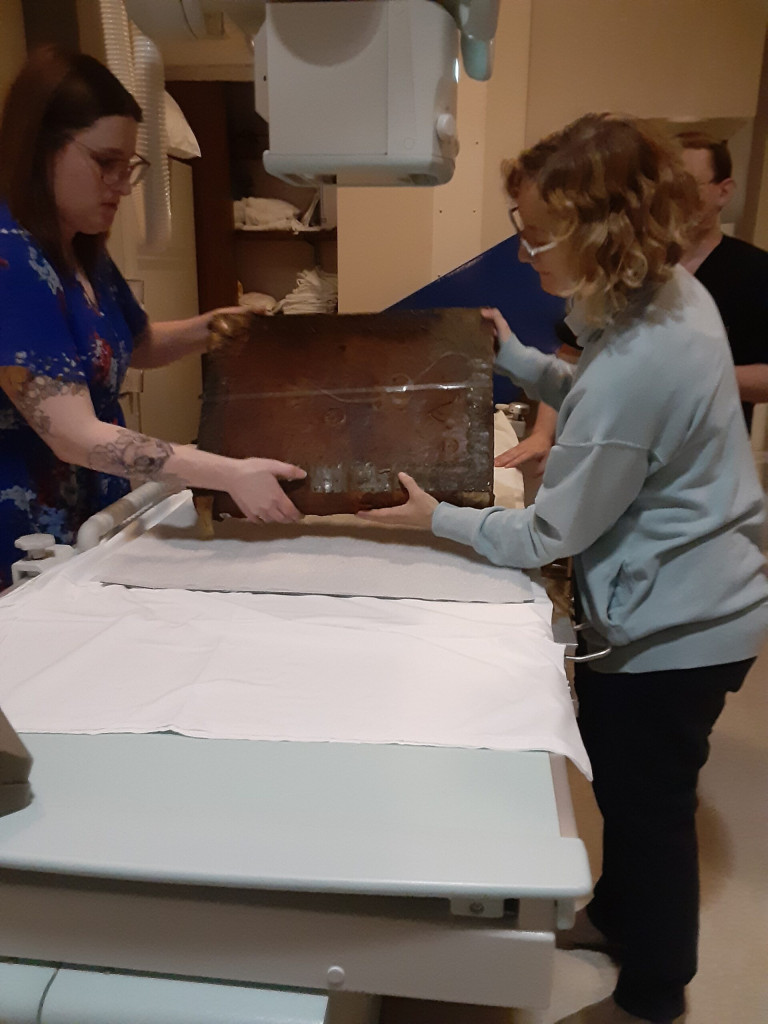
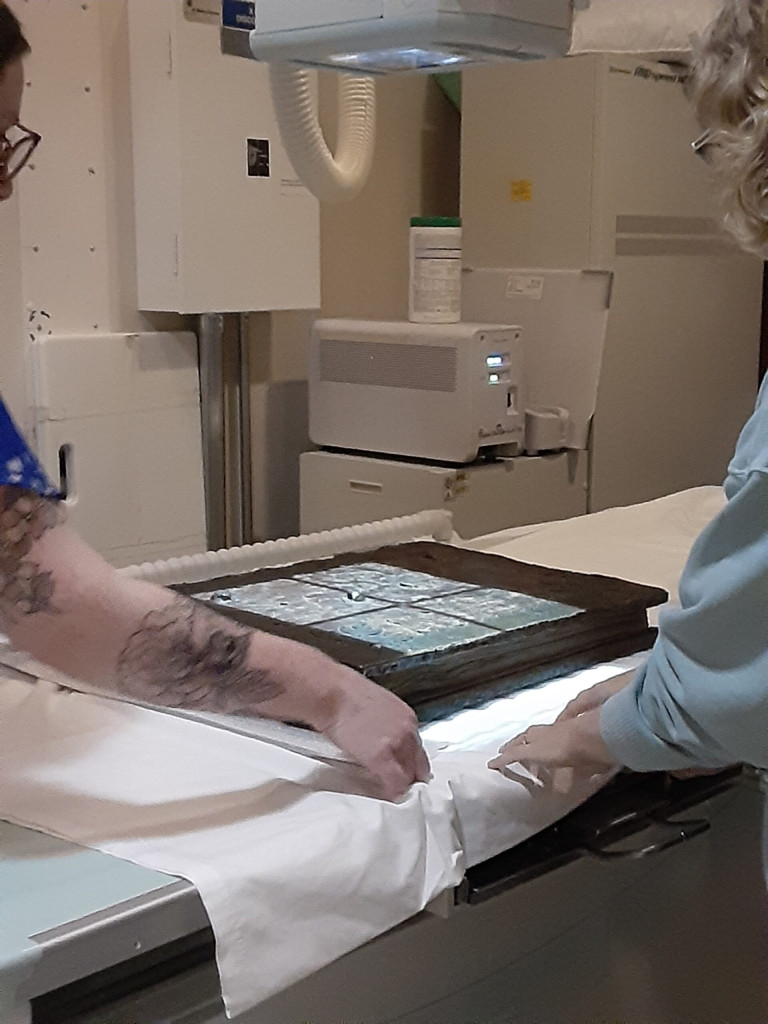
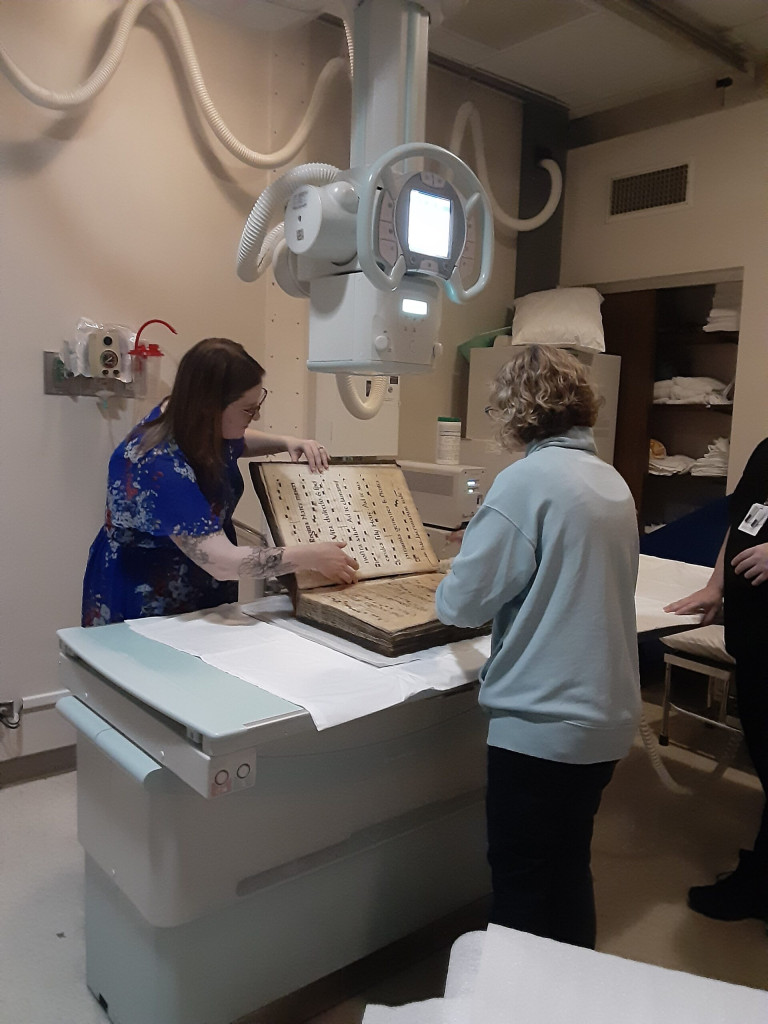
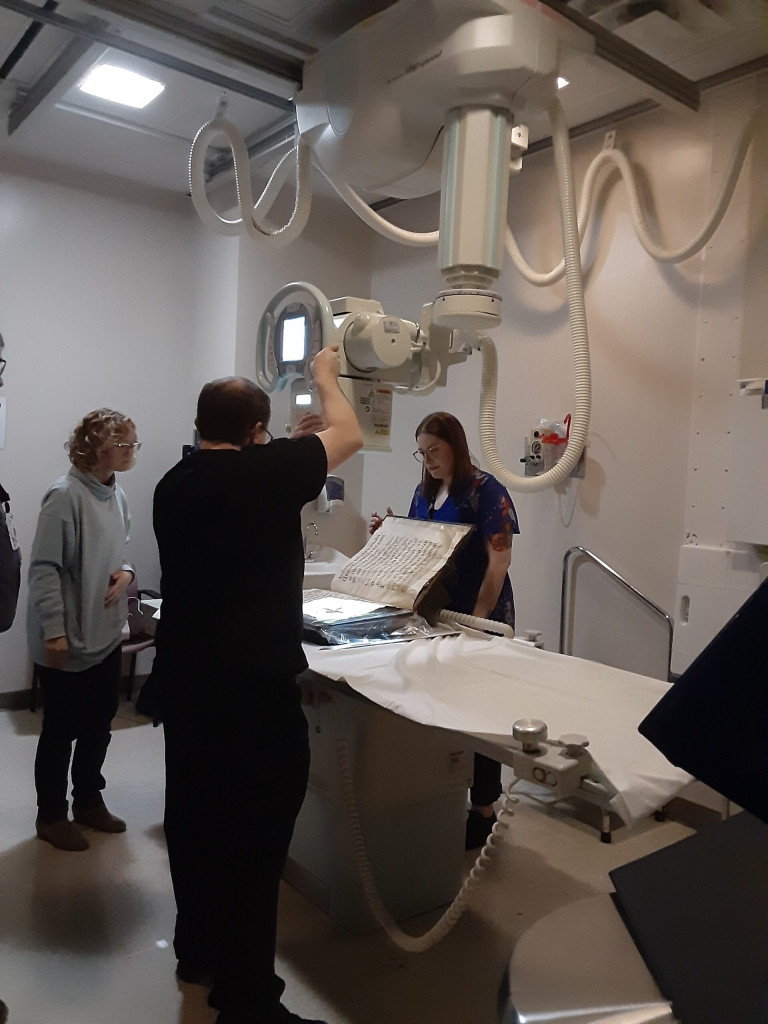
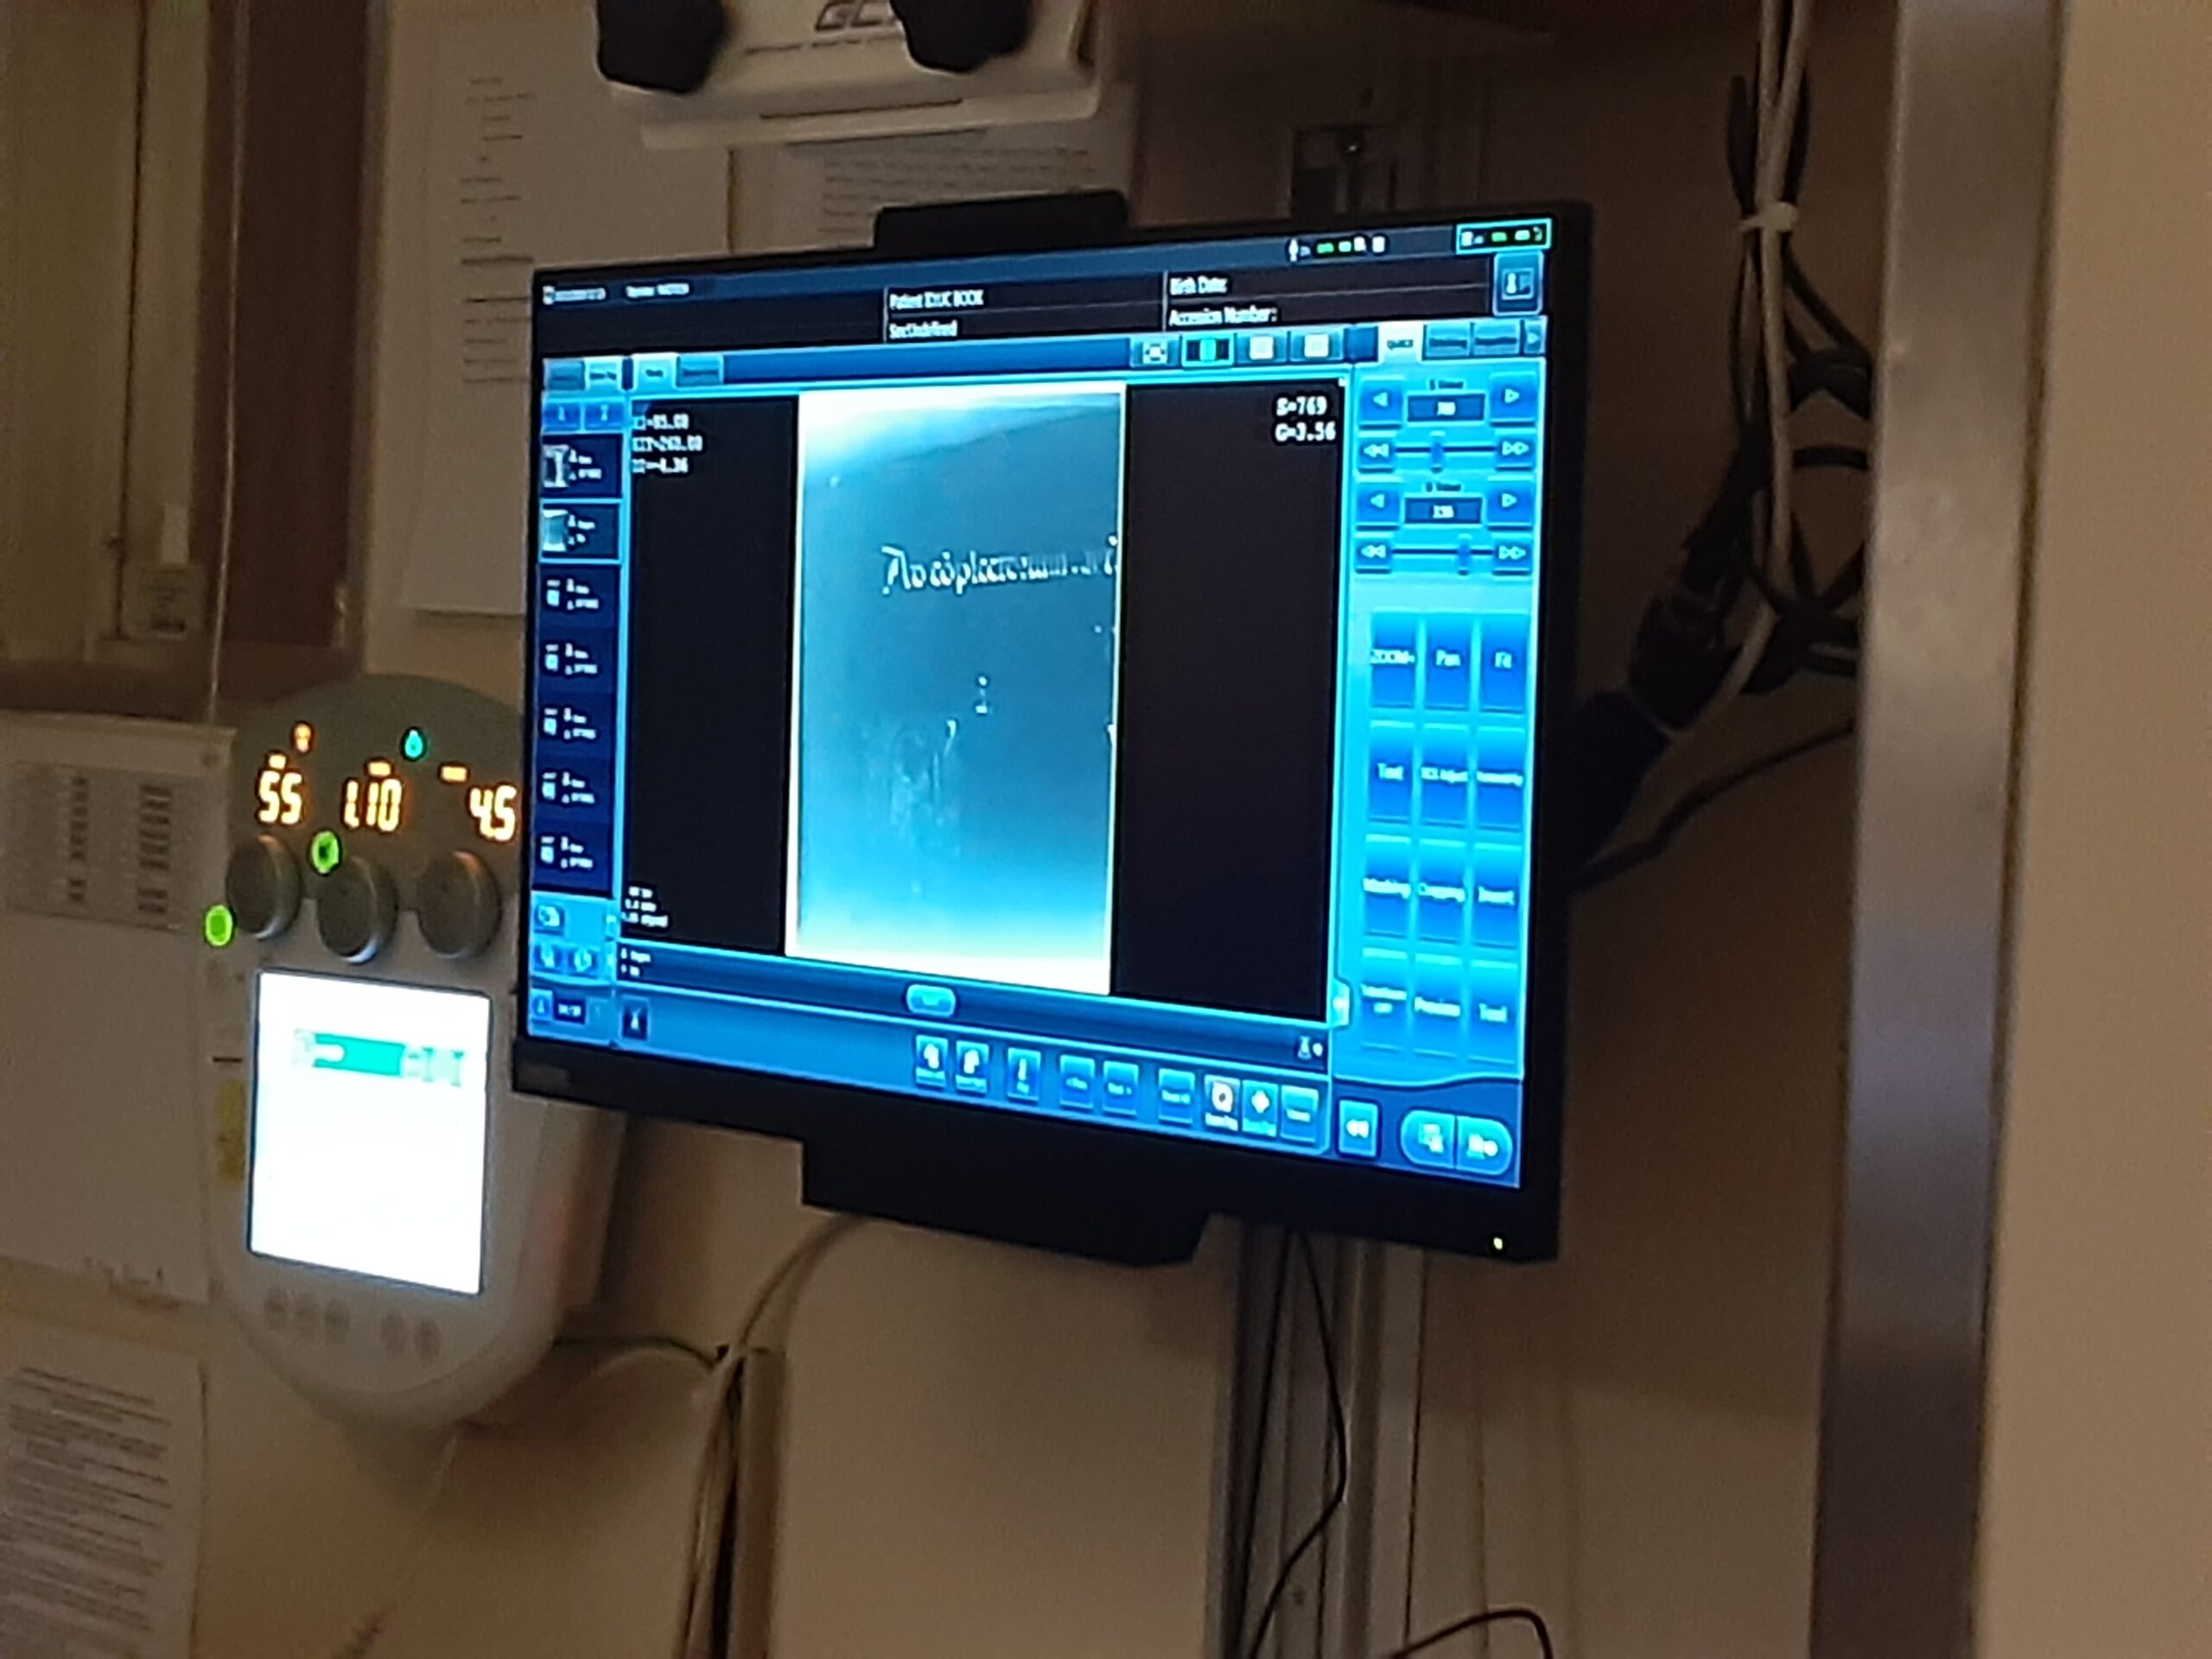
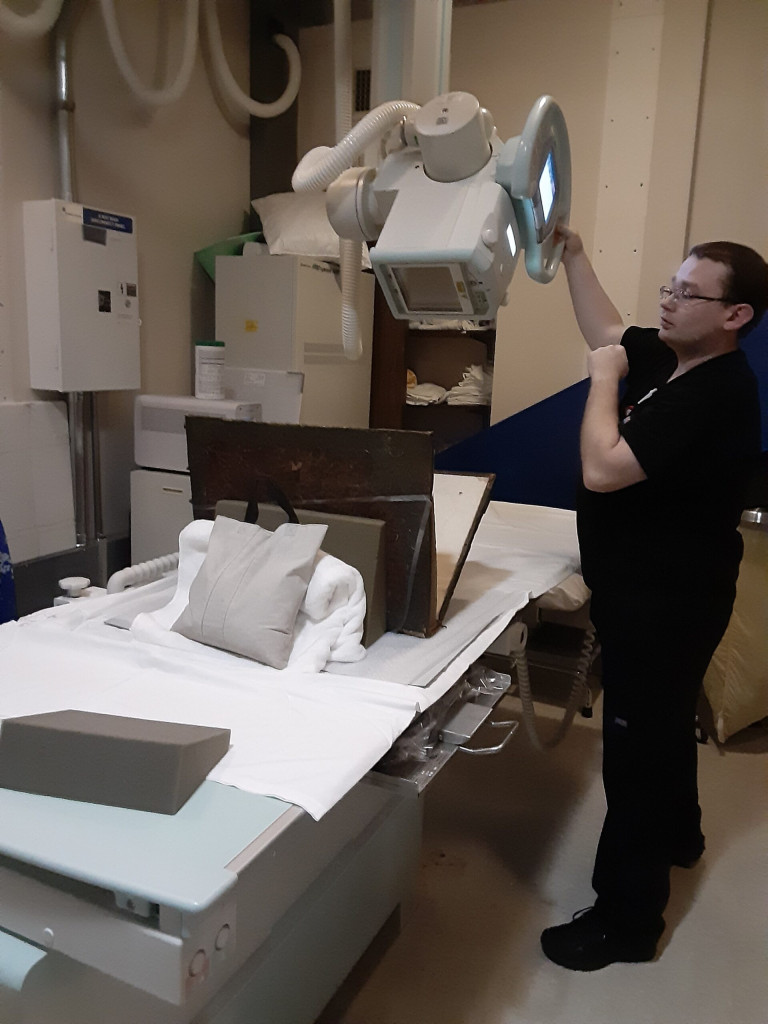
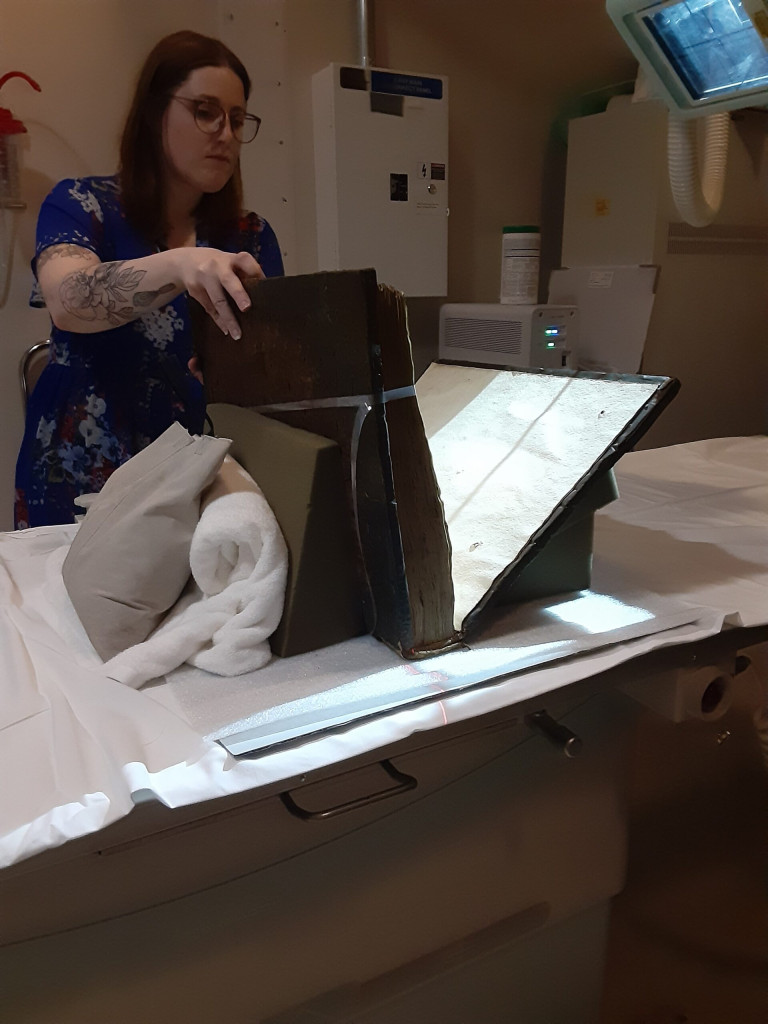
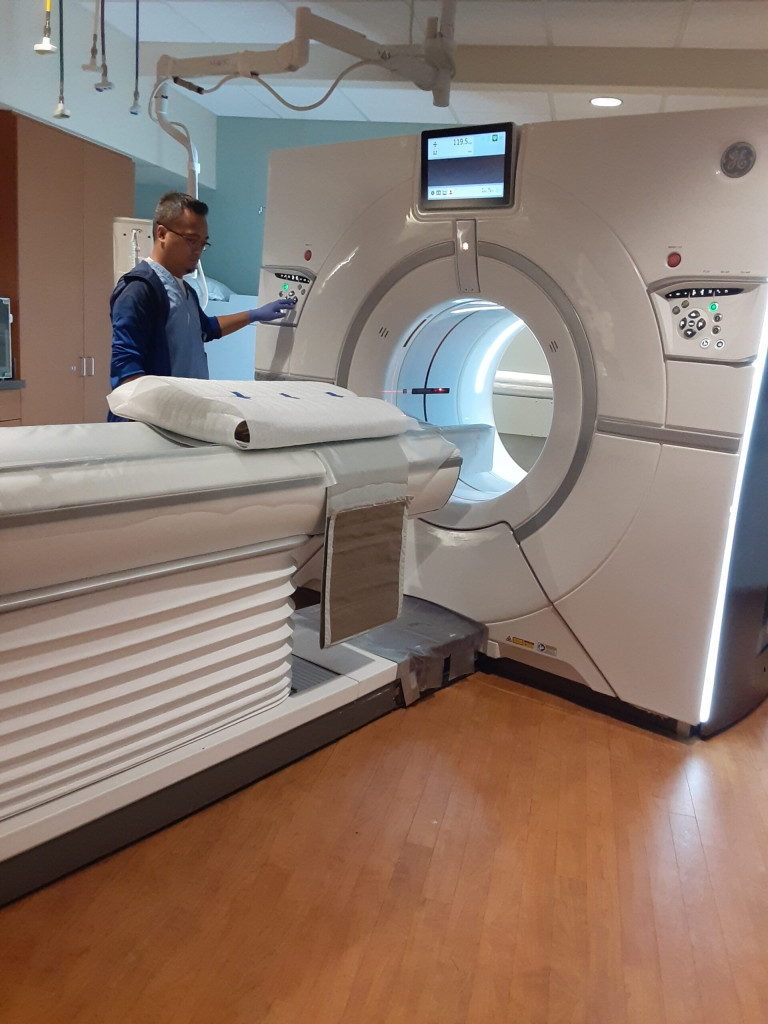
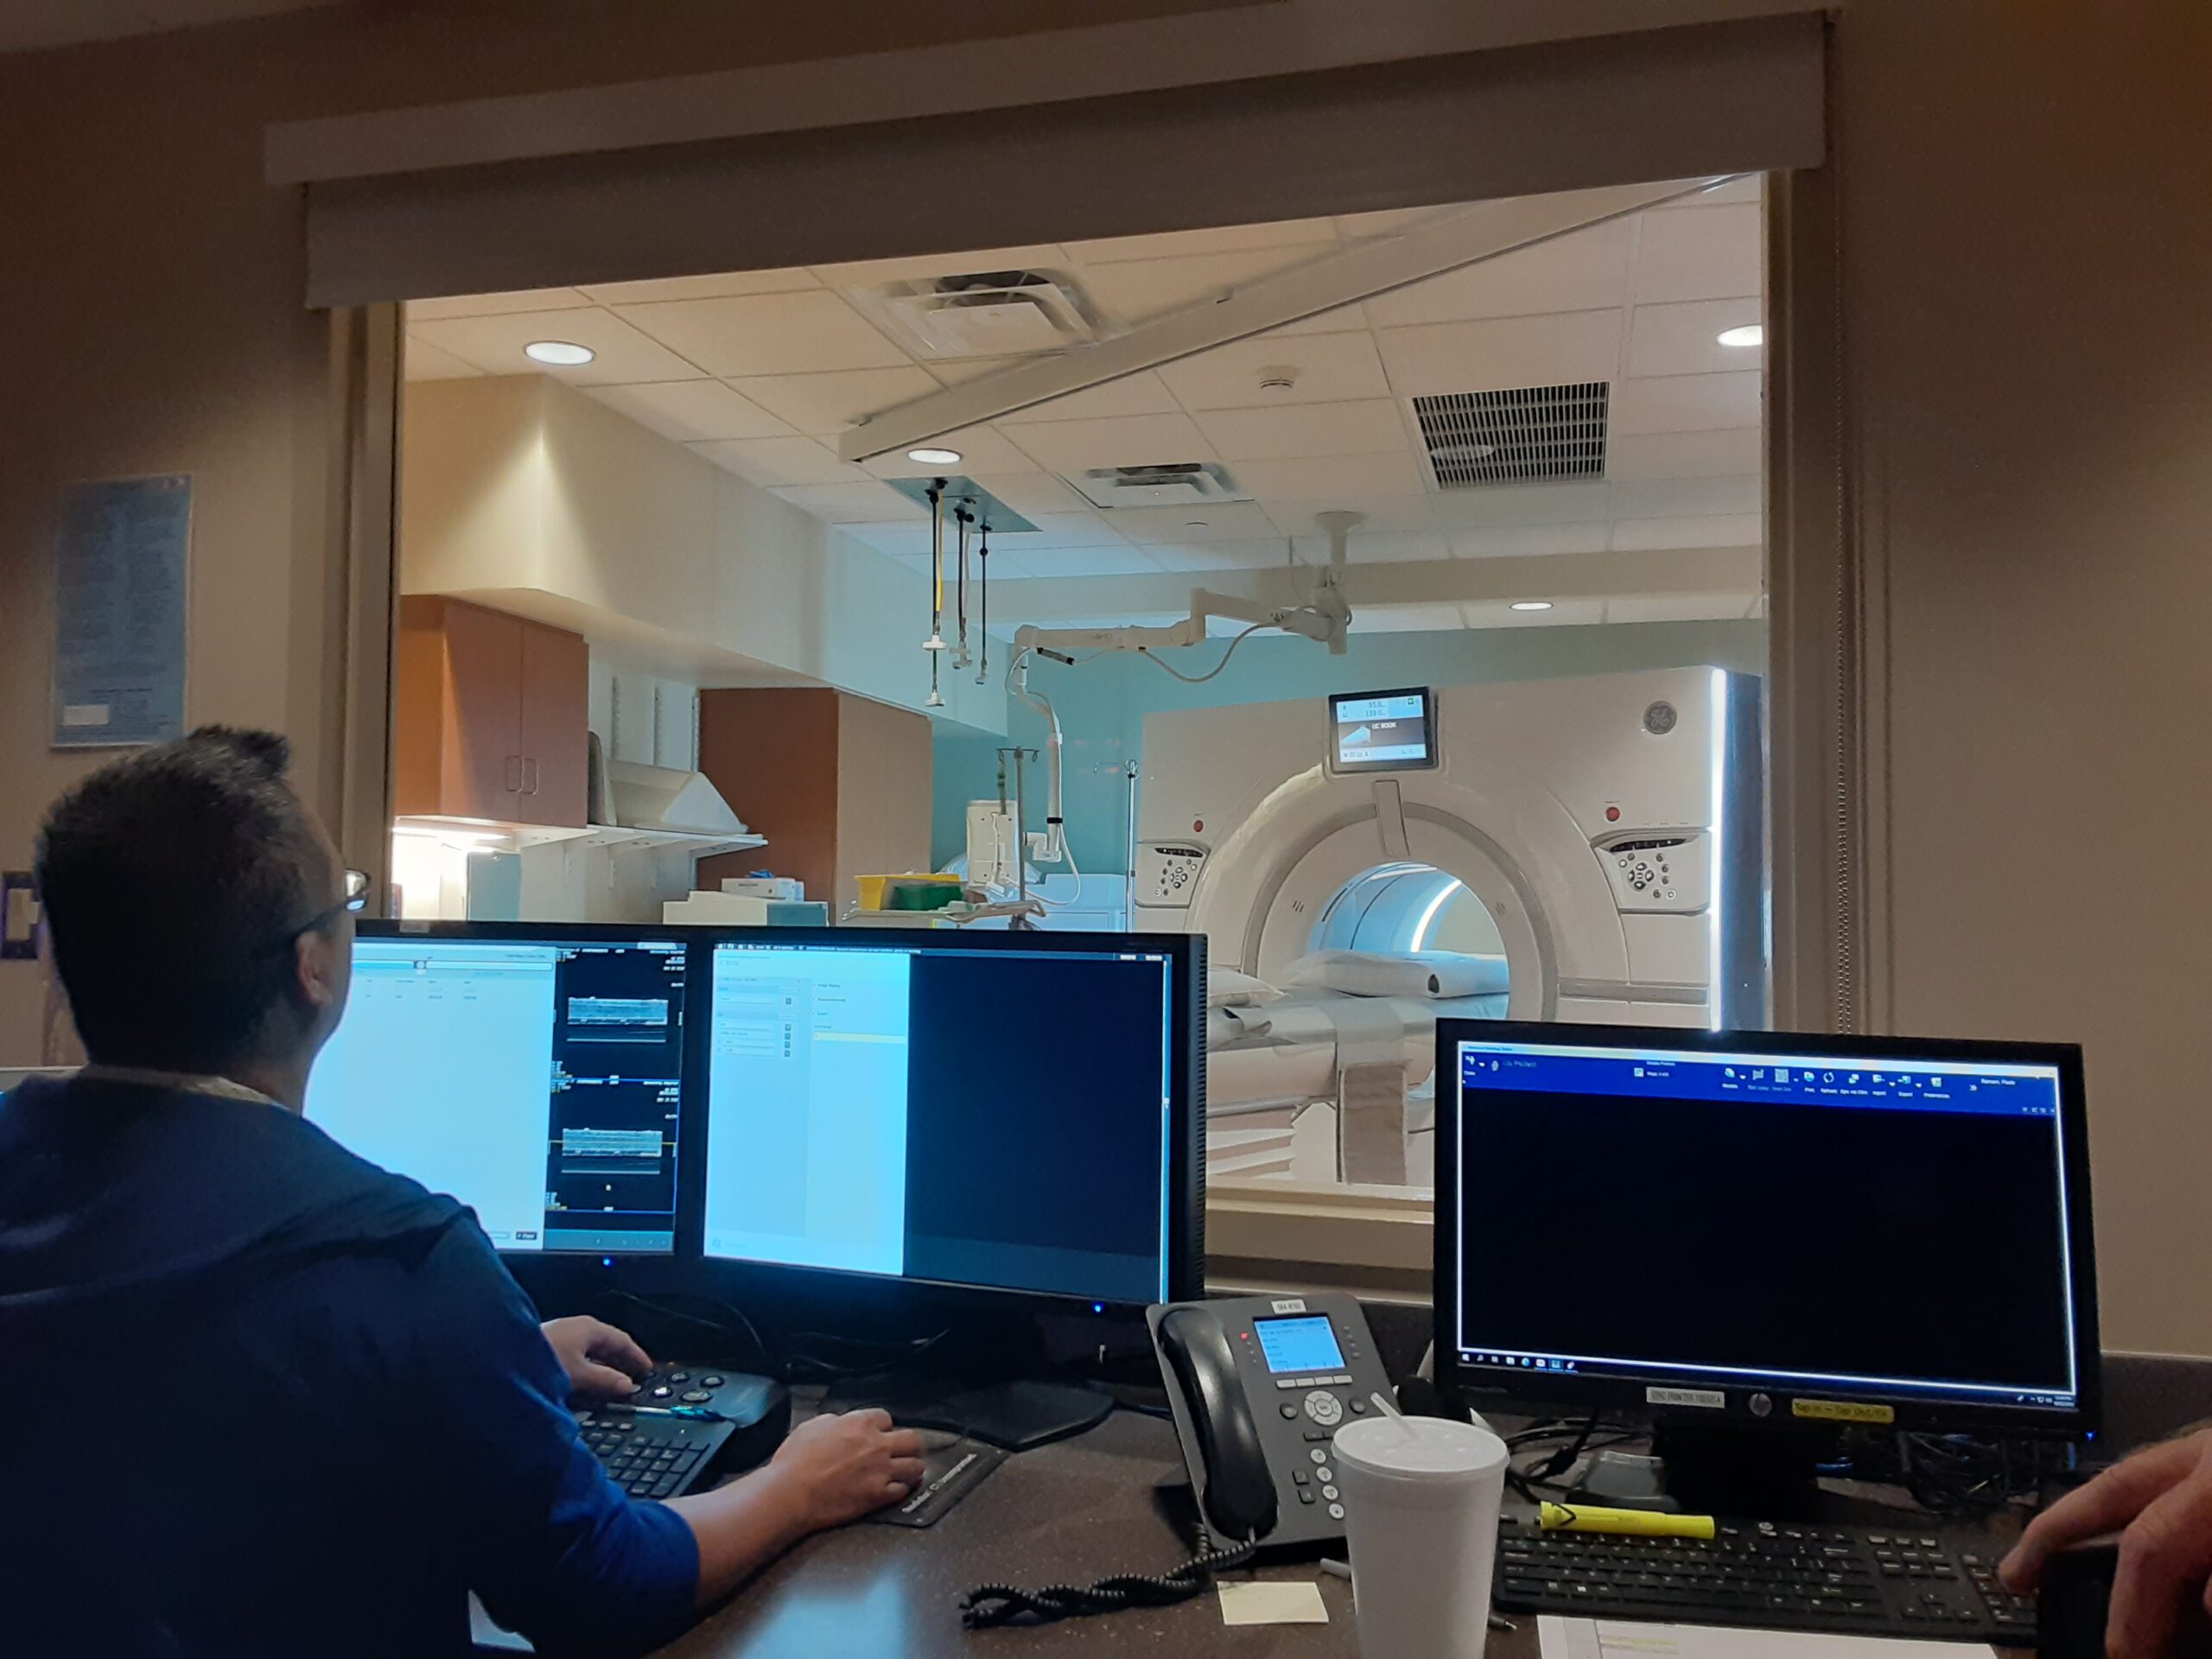
The date was set, October 22, 2019. Ashleigh, Holly and I packed up the heavy, choir book and carefully transported it from West campus to East campus to be imaged. The UC Health staff were beyond friendly, and I think they got a kick out of imaging the oversized leather volume. The technician really worked with us to adjust the intensity of the radiography depending on what we were trying to capture, whether it was the cover, the sewing and the supports, or the illuminated text (which was a little harder to capture with their equipment).
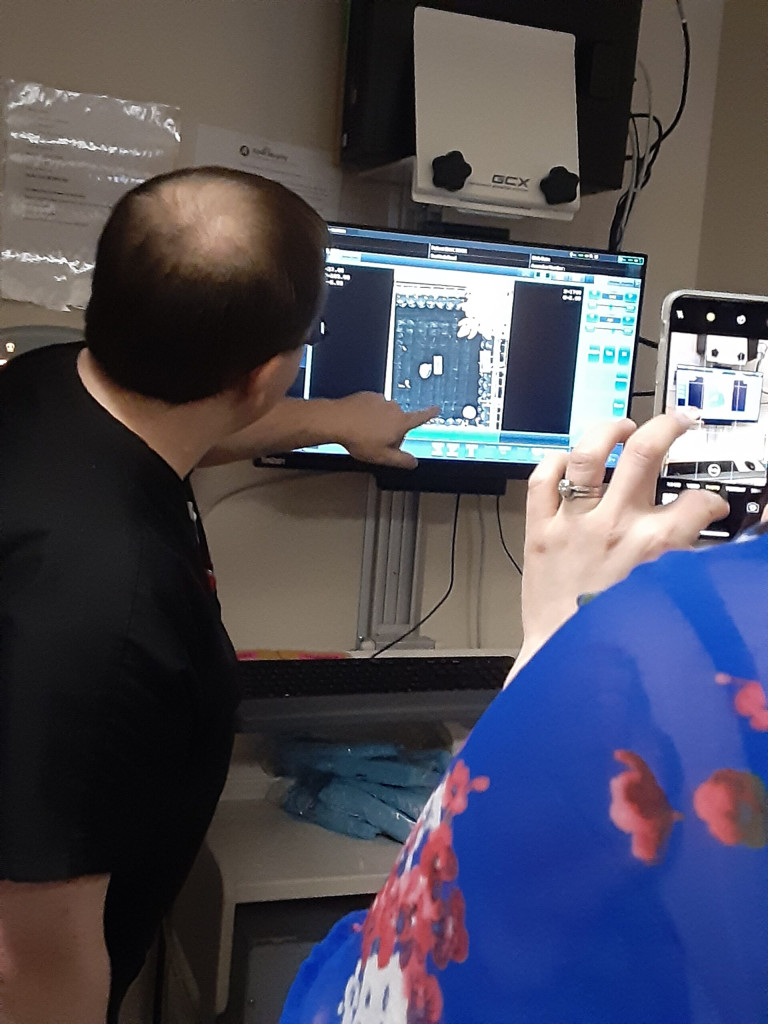
Aligning the bookViewing the first imagesPositioning the coverThe technician position the equipment for the optimal scanAttempting to image the illuminated textRepositioning the volumeImaging the spineRepositioning the volume to image spine
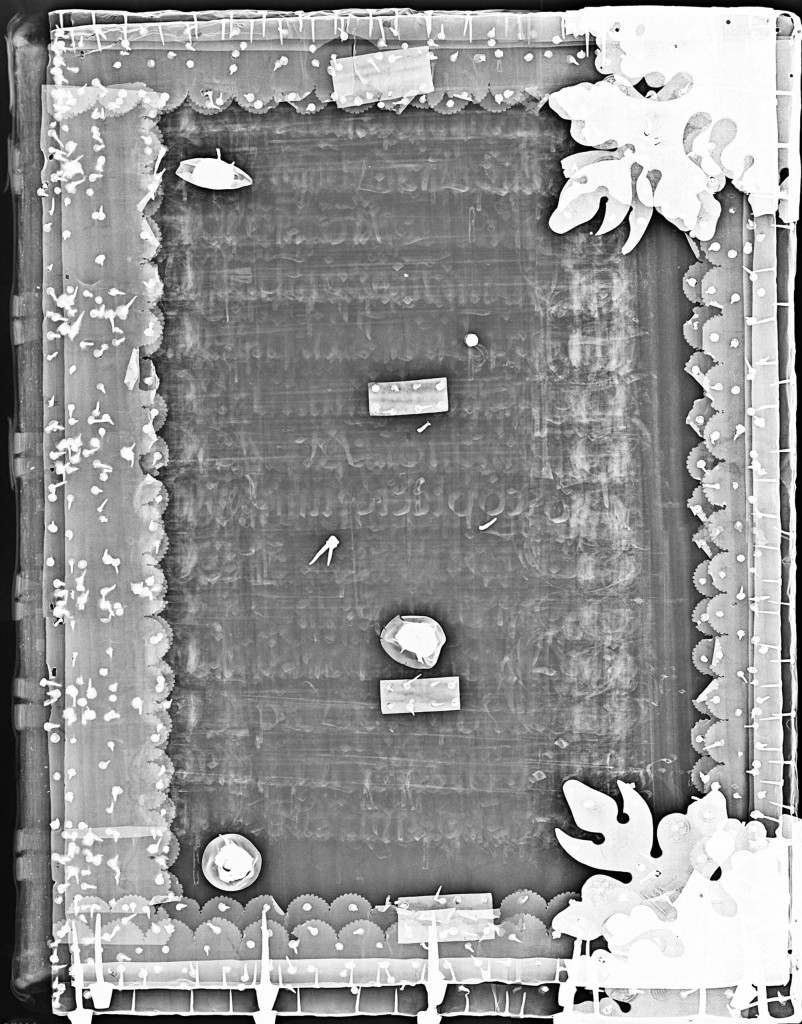
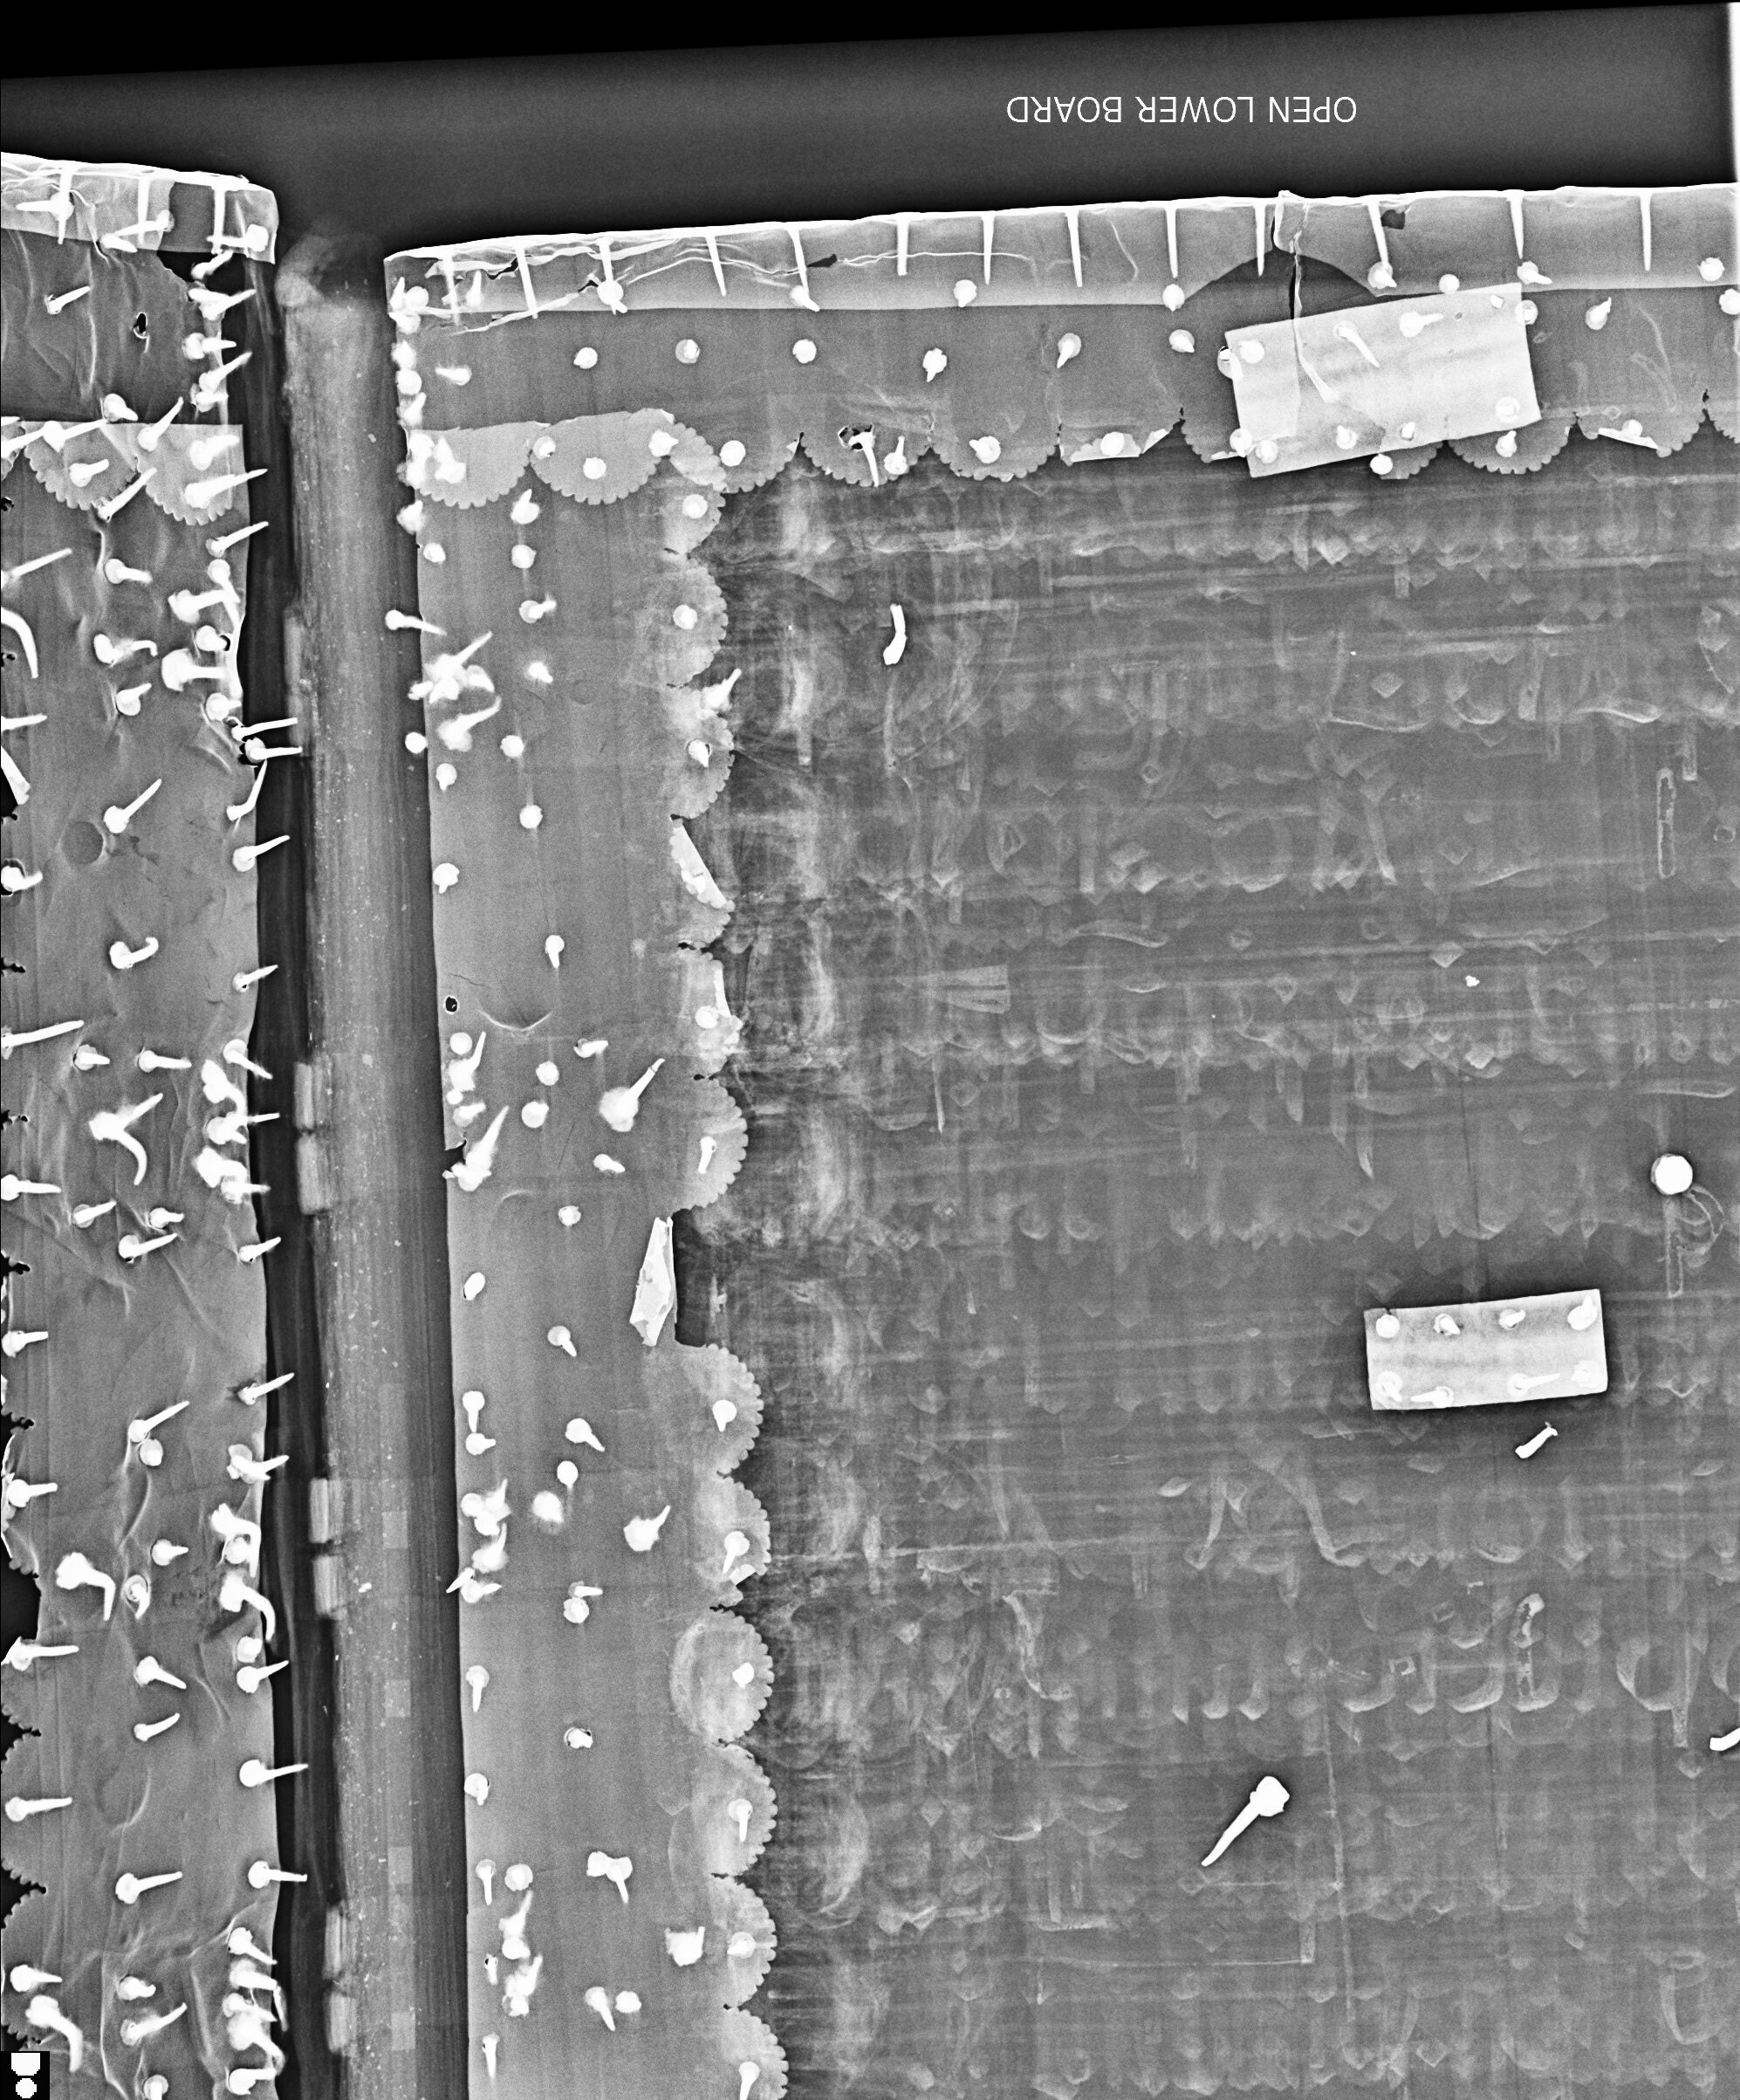
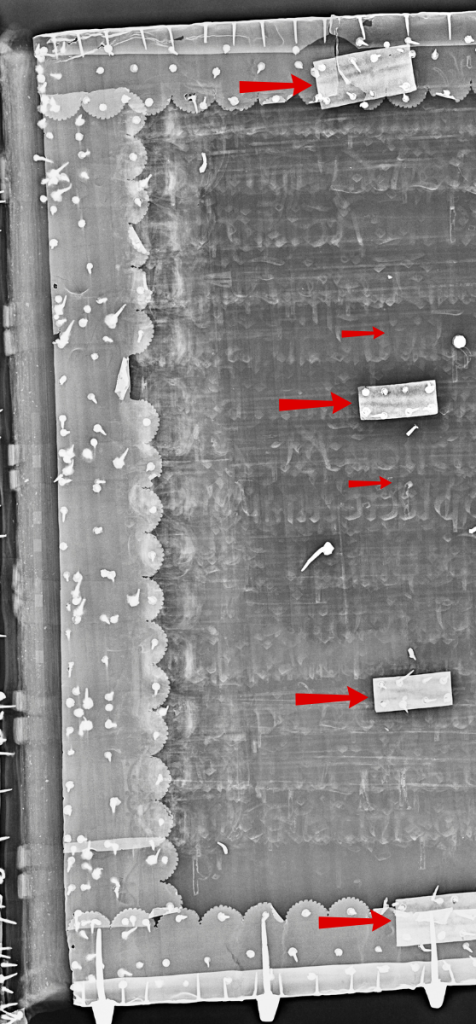
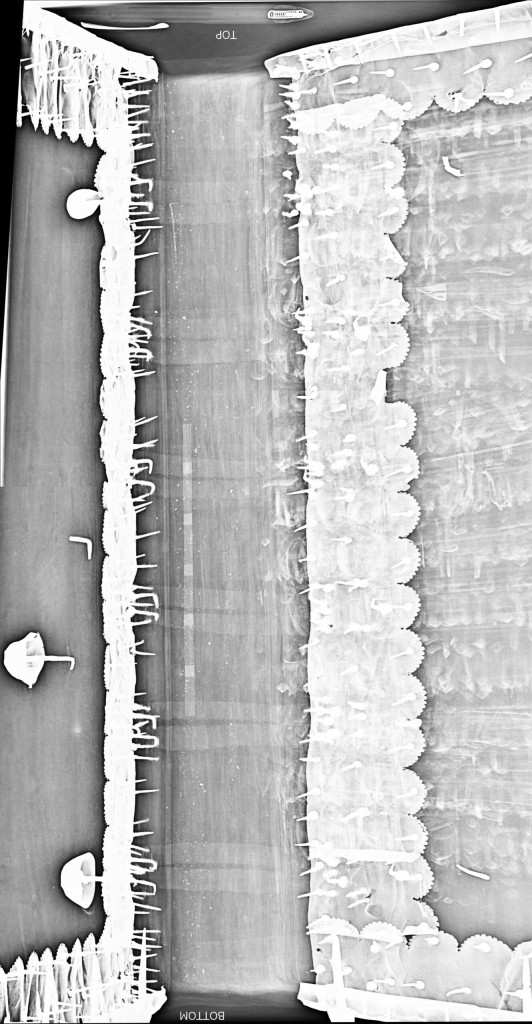
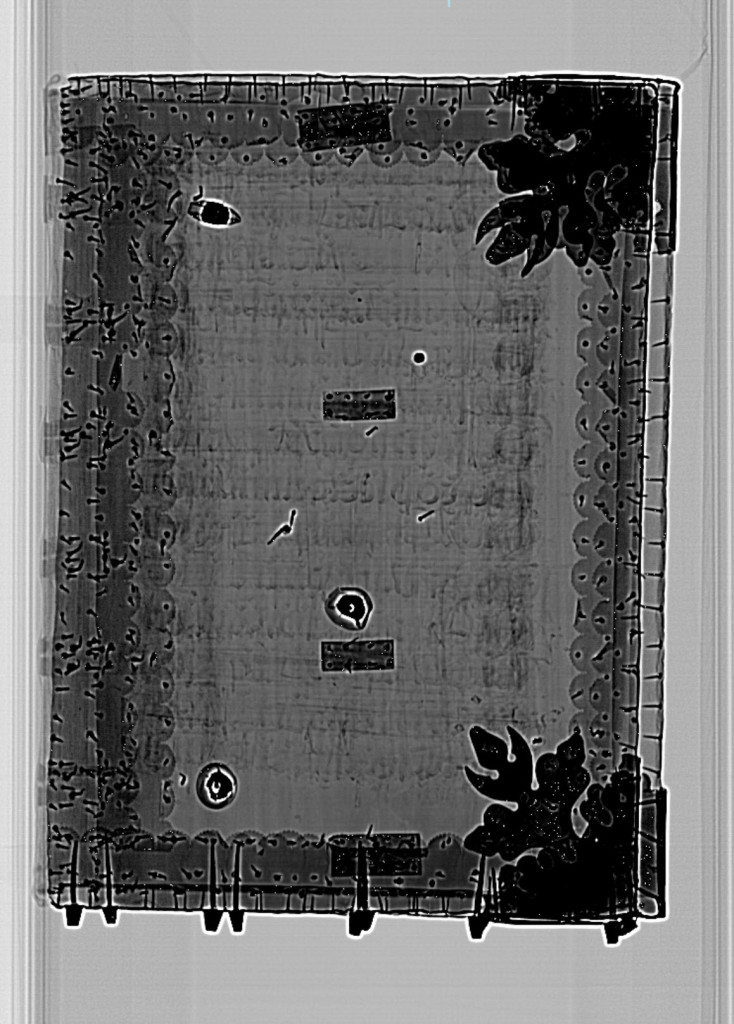
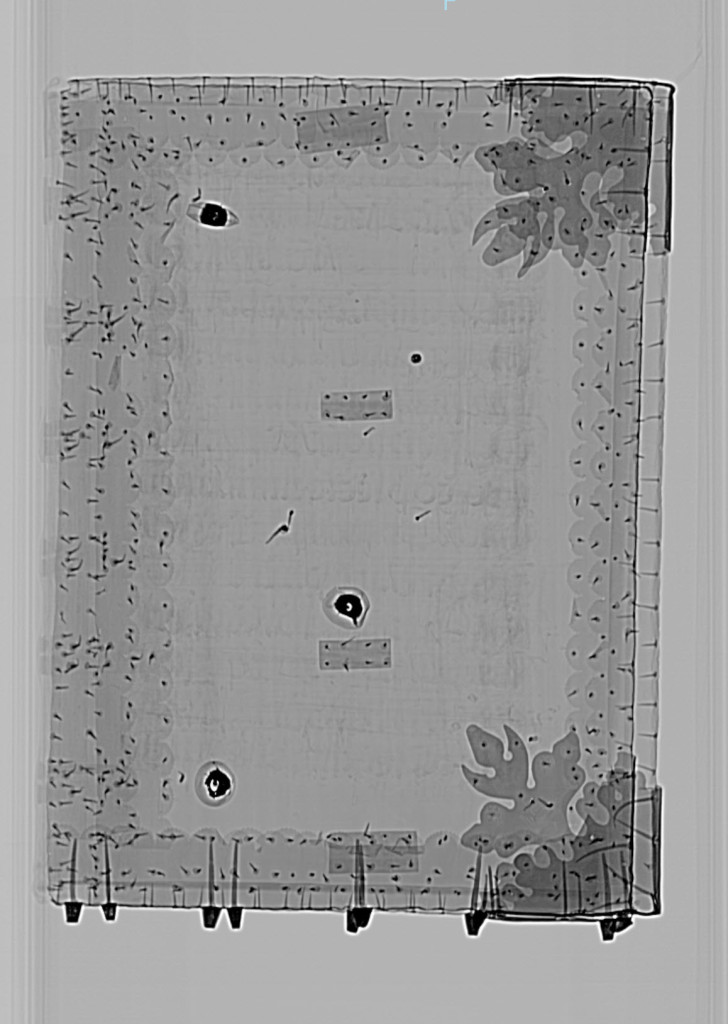
Overall, we discovered…a lot of nails, split thong supports, and on the lower board, four mends to the wooden board that appear to be bracing a split in the wood that is running vertically.
Detail of lower board with cover openDetail of lower board with cover open
The larger red arrows indicate metal braces while the smaller red arrows indicate the crack in the wooden board.
Image of the spine which allows you to see the split thong supports and you can even see the tattle-tape security strip!
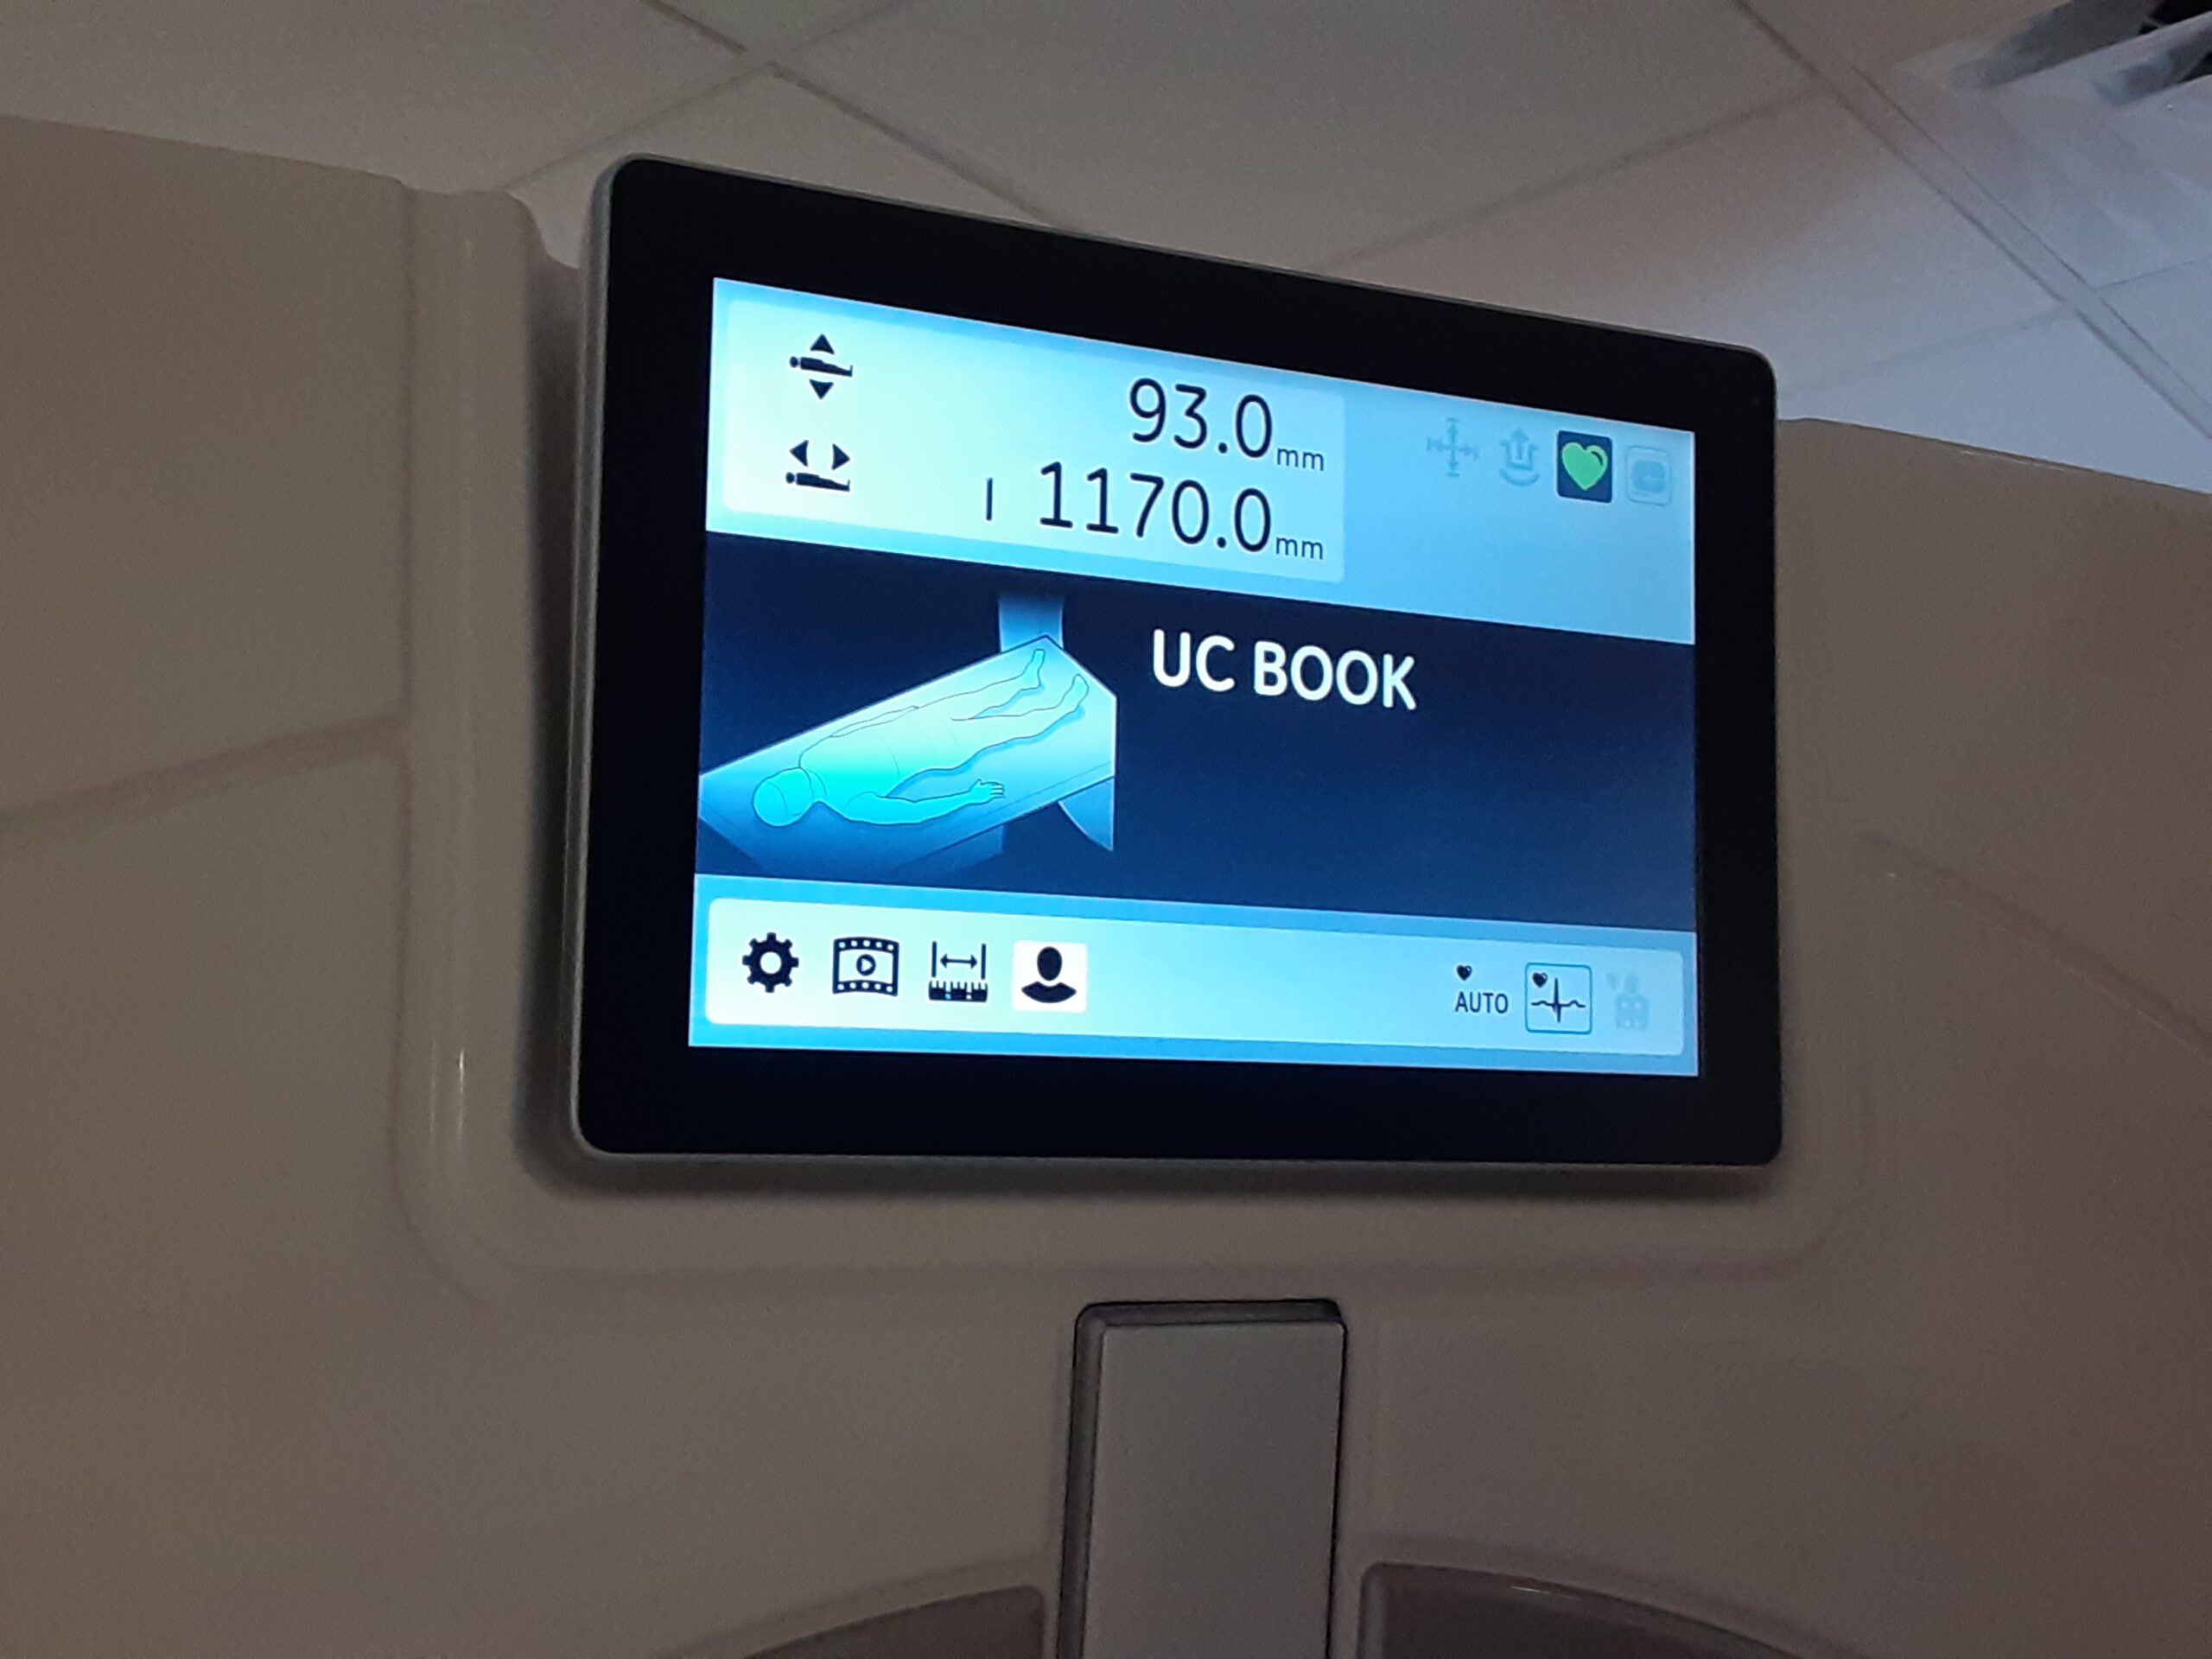
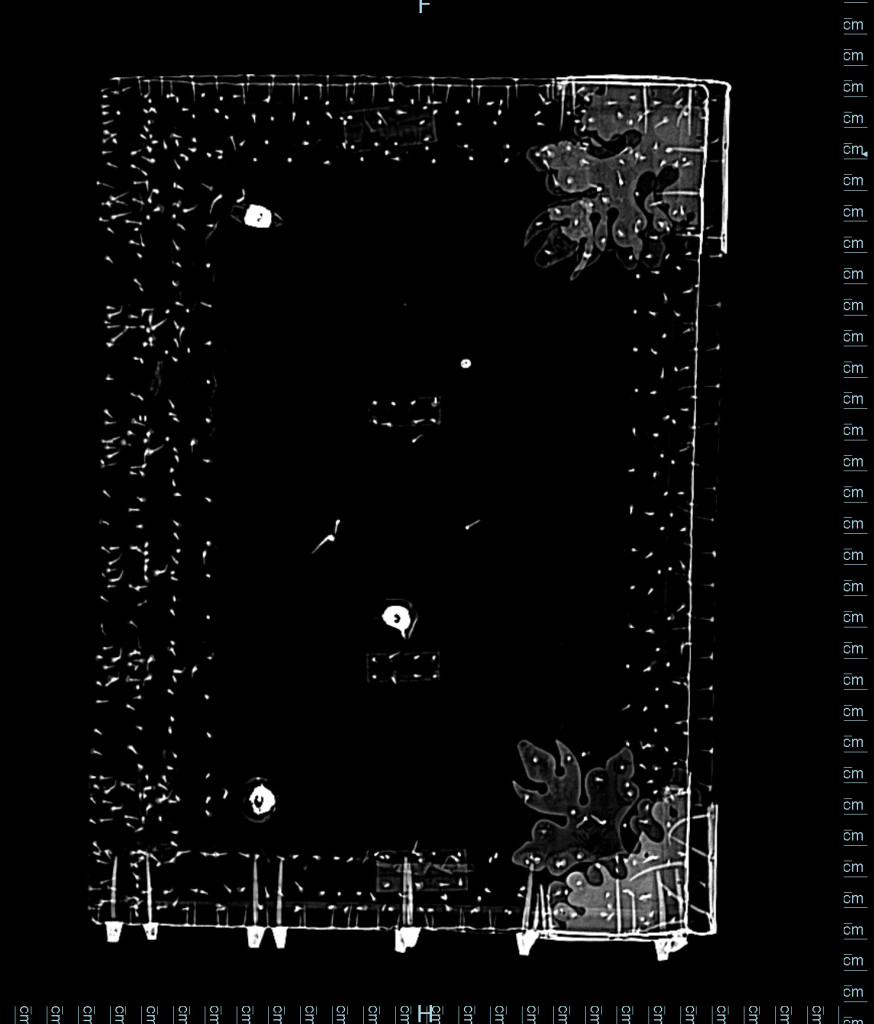
Then following the radiography session, they were kind enough to ask if we would also like to place the volume in the CT scanner. Since the scanner could easily and safely accommodate the volume while keeping it wrapped in foam, we jumped at the chance!
We received all the imaging files on two CDs from UC Health, and then I went about making heads and tails of it. The radiography images were fairly straightforward. For the most impactful imaging, namely of the spine, upper and lower boards, I created composite images using the panorama feature in Photoshop to merge the images. For example, each cover consisted of four separate images.
With the CT imaging, the CD came with a reviewer software (Sorna) to view the files. Frankly, the CT scans were a little bit harder to comprehend, but nonetheless interesting. Ultimately the CT scanner allows you to view the various materials within the object. Whereas normally for the equipment that was used that would mean bones, organs and tissues, for the choir book that meant metal material like brass, leather, ink and pigment. Within the viewer function there was also an interactive component to the CT data as well, which allowed you to manipulate various levels to see various intensities, but even after a lot of trail and error and experimentation I found it very confusing, though I did get some interesting, and some less impactful, results. Let’s just say, I do not have a future as a CT technician! I’ll stick to my day job.
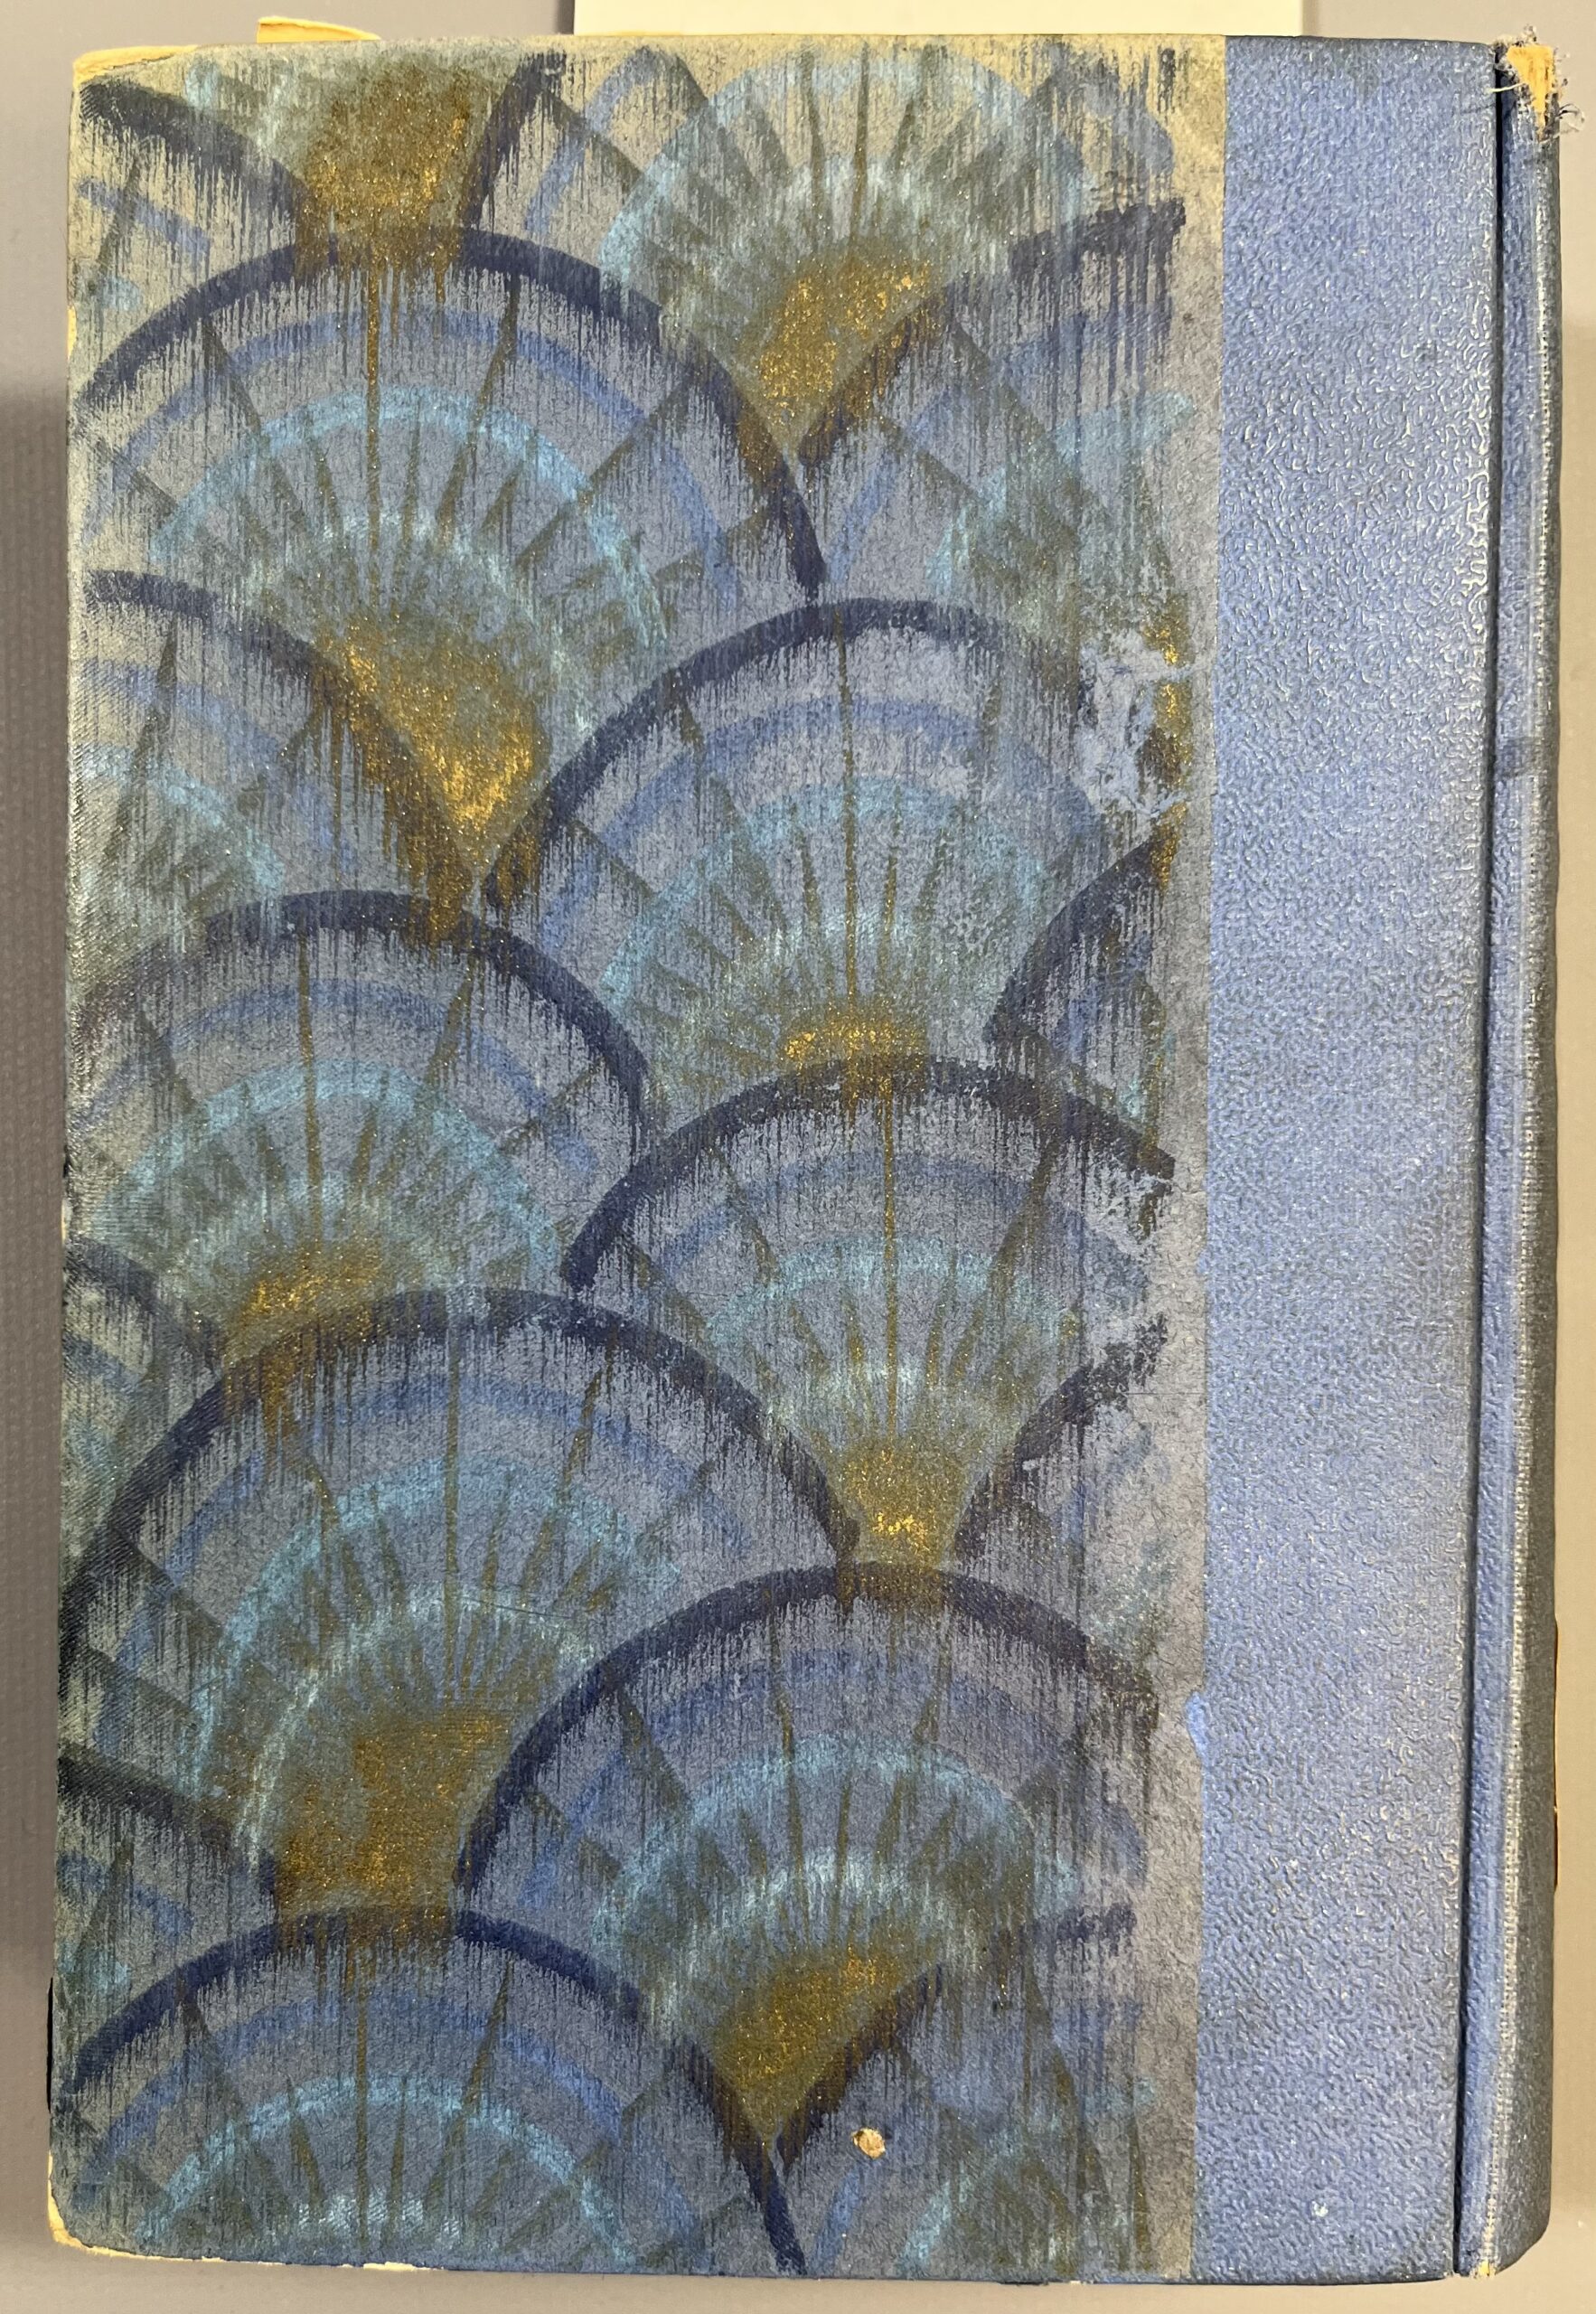
With so much special collections materials going through the lab, sometimes I forget to appreciate the beauty of general collection items. No such problem with this beauty – a stenciled book cover with splashes of gold.
I love pochoir, screen printing, and risograph (the stencil arts), so was thrilled to see this Greek monograph from 1899. It really reminds one of the intense labor that goes into the production of even one book and the subtle difference apparent in each one.
Holly Prochaska, Head, Preservation Services & Lab at the University of Cincinnati
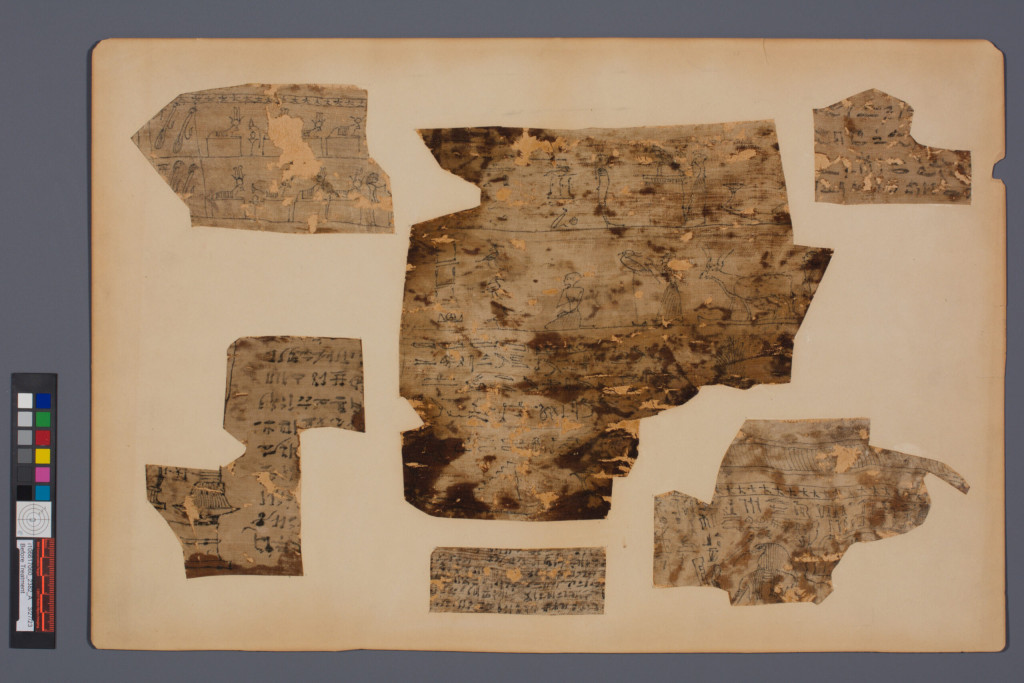
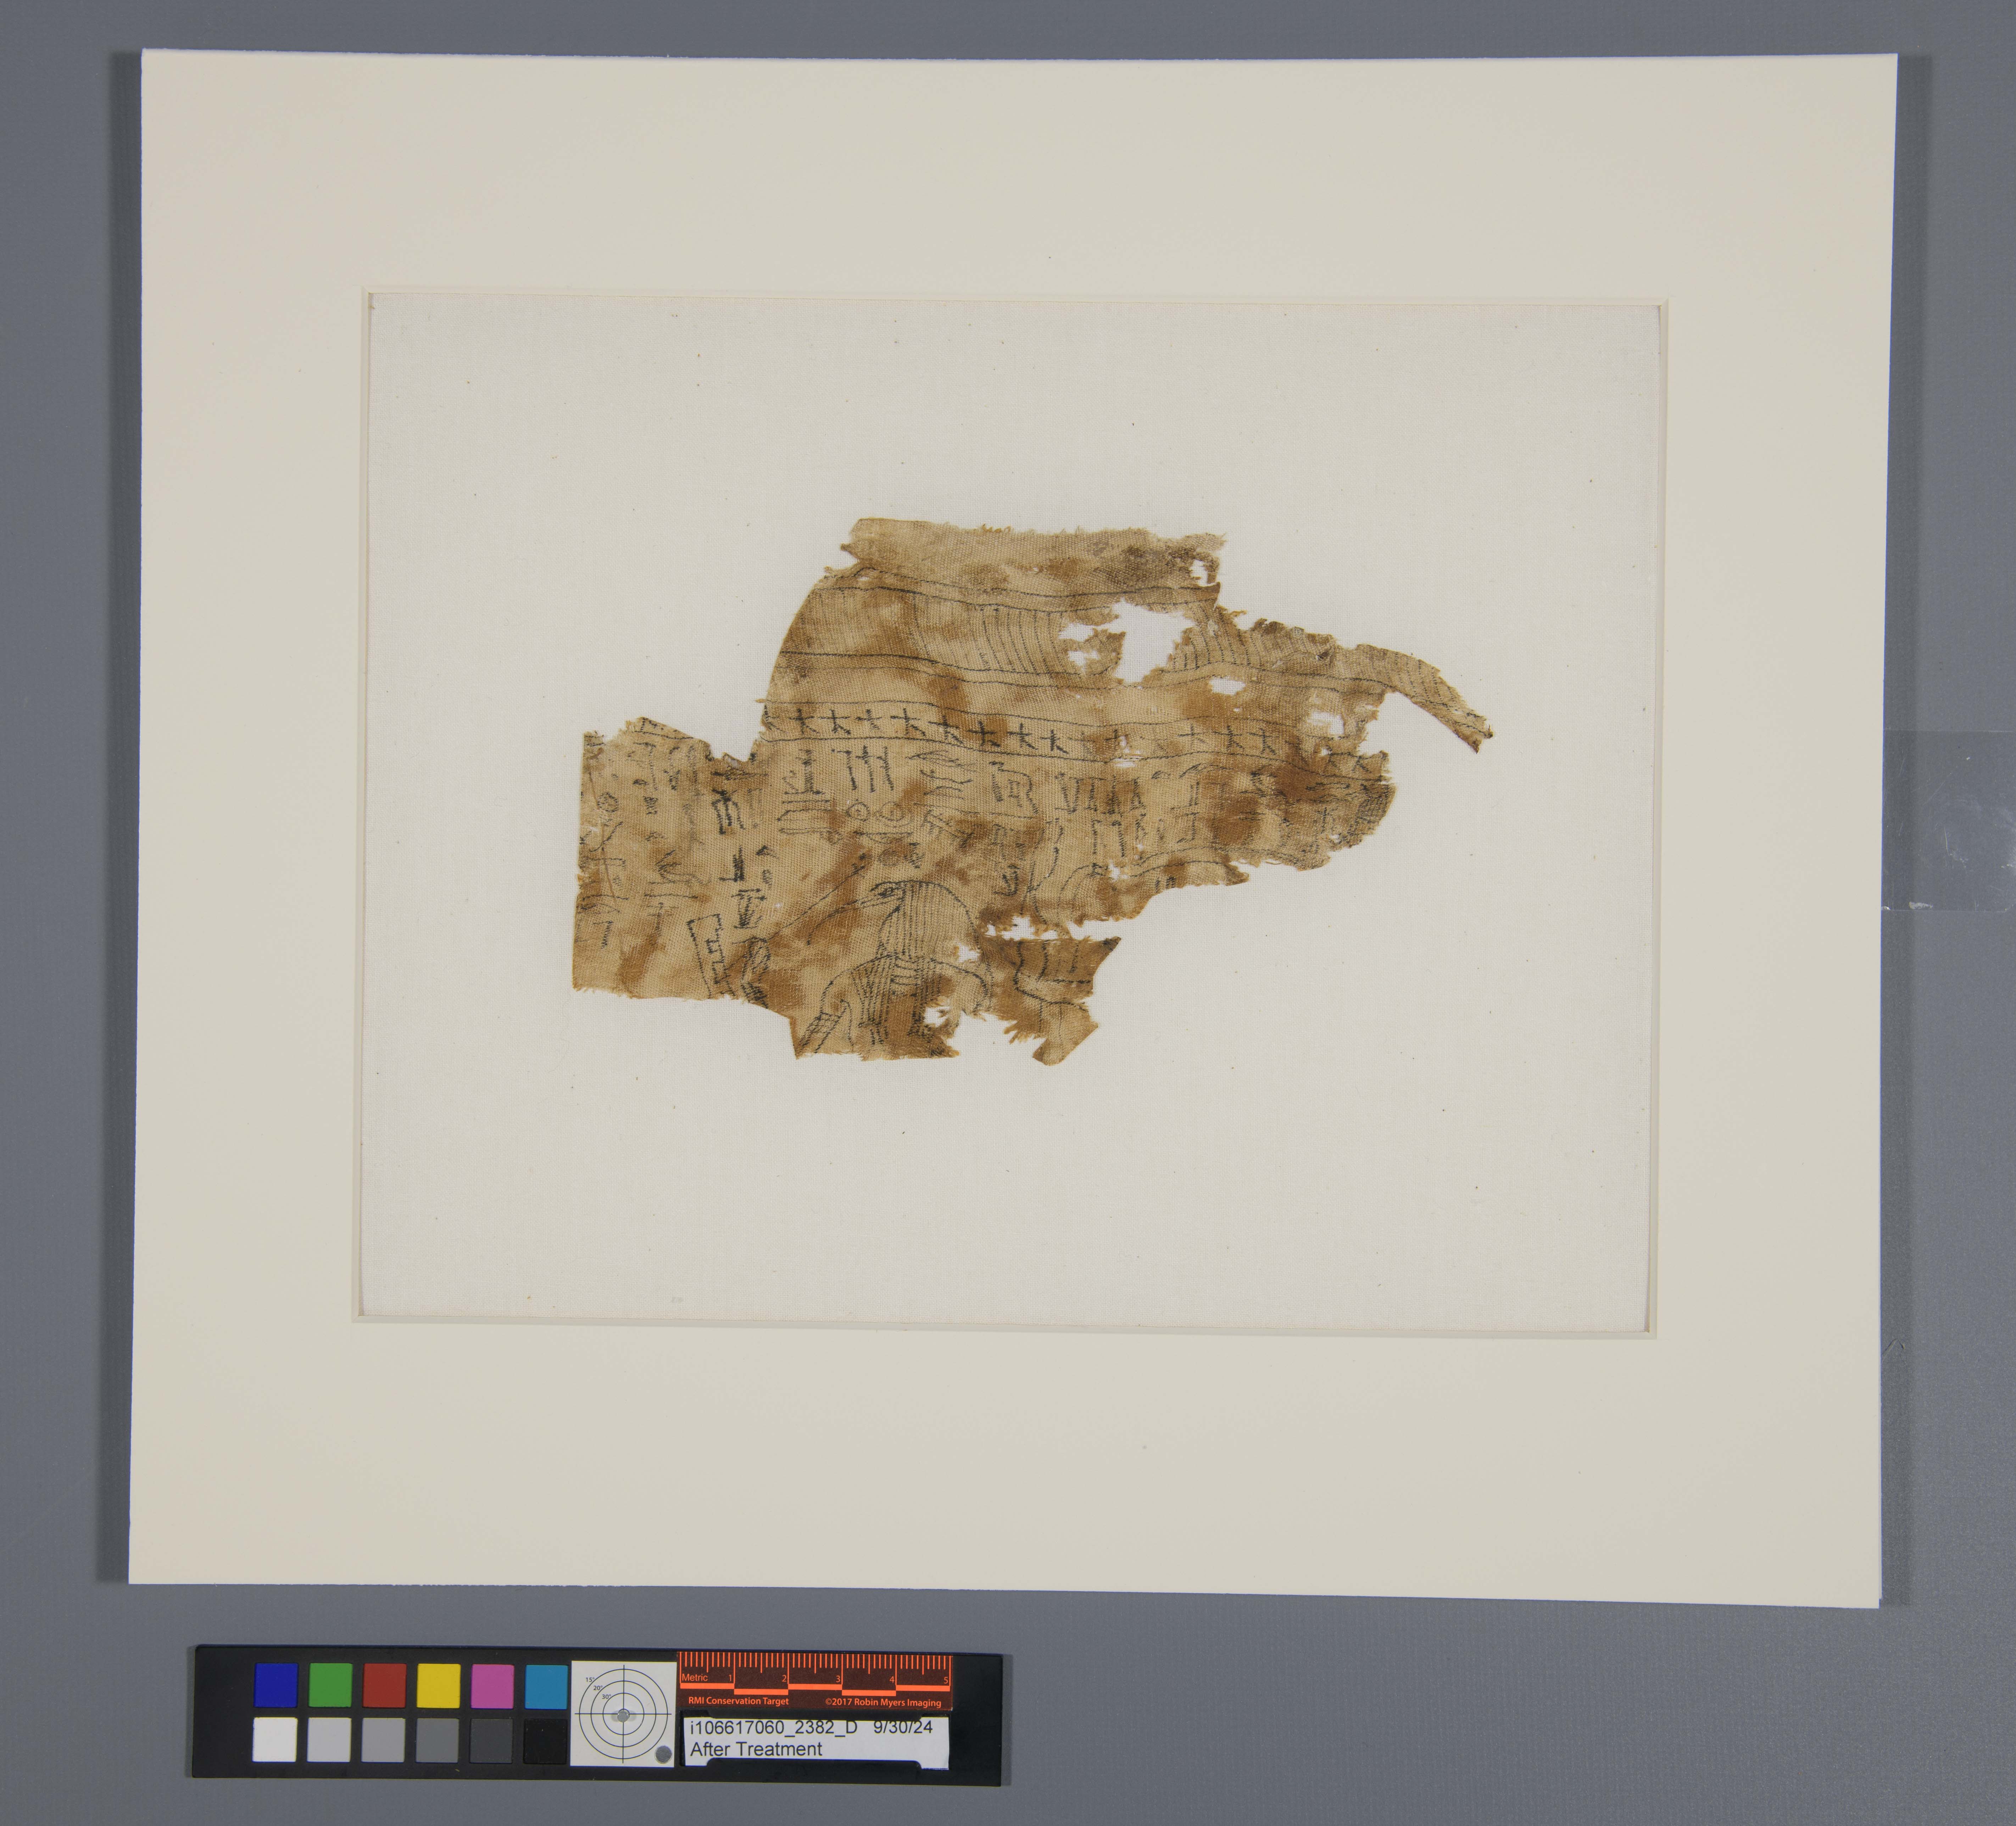
When a collection of Egyptian mummy bandage fragments at the Cincinnati and Hamilton County Public Library was found in an area used to store uncatalogued flat materials, the lab was asked to play a role in providing better stewardship.
Click the links below to jump to the following posts:
History – Historical information provided about the Egyptian inscriptions
Treatment – How the materials were treated after learning about their content
Storage Solutions – Individual solutions for separated fragments as well as storage as a collection
Conservation Treatment Consultations
Being a primarily book, paper, and photograph conservator, working on textiles comes up only intermittently as minor stabilization or housing. When these projects do arise, I tend to consult immediately with a textile conservator. This project was no different. Generously, Obie from the Cincinnati Art Museum kindly visited the lab to look at the fragments with me in person.
Initial Treatment Idea
Before consulting with Obie, my initial plan was to cut the overall board and separate the individual fragments. Once separated, I thought I might hinge the fragments to a backboard inside a sink matting system. I had briefly corresponded with a textile conservator at the MFA Boston who is familiar with ancient textiles and she confirmed this would be a sufficient option.
Testing
However, with Obie present, together we tested the solubility of the adhesives and likelihood of removing the fragments from the acidic board for better storage. Surprisingly, we determined removal was possible with the smallest amount of moisture!
Being familiar with backing removals and conserving degraded cloth covers (and now encouraged after having Obie’s support) I next went beyond spot testing and decided to perform a test treatment on one of the fragments to remove the backing board… with the caveat that I would stop at any point if I felt uncomfortable. Should I ever feel out of my element at any step, or have concerns that removing the textiles from the backing would not keep them intact, I knew I could always pivot to my initial solution of storing the mounted parts in mats.
Treatment
My new plan was now to first reduce the acidic backing board layer by layer. Once the backing was removed, I would assess if it was appropriate to remove the brown paper lining. (While my test treatment was performed on only one of the smaller fragments, images below are pulled from the actual treatment for better illustration).
Low and behold on my first fragment, treatment proceeded without a hitch.
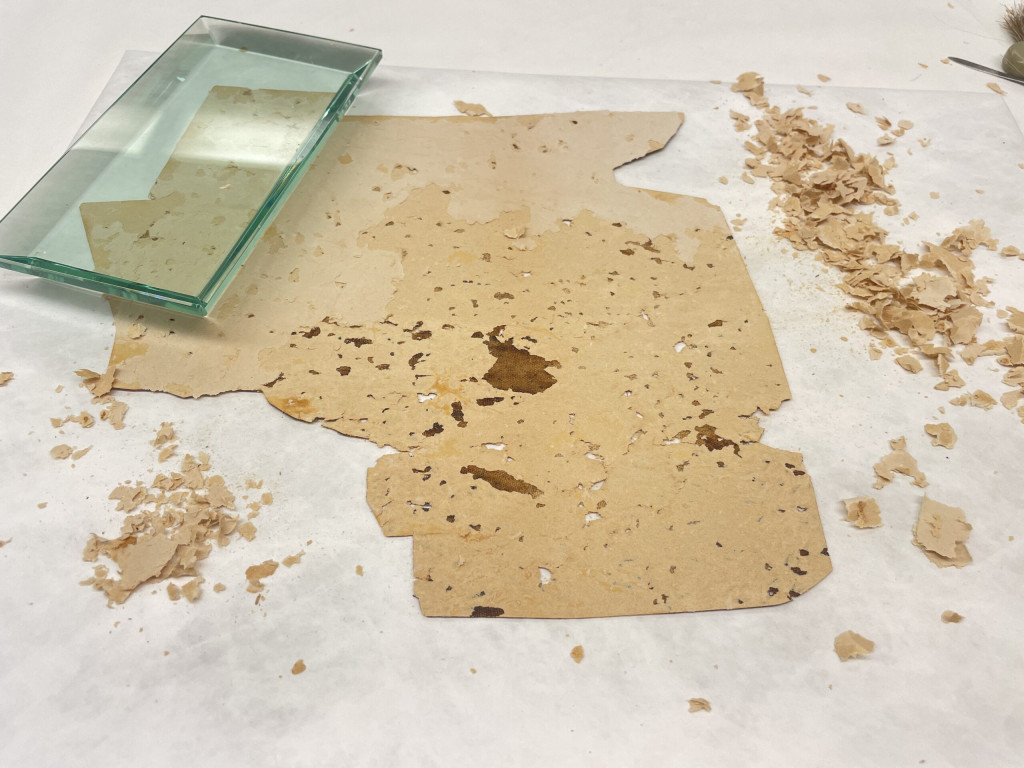
The board was removed slowly, layer by layer. The fragment was kept planar to prevent mechanical damage to the textile.
Before I knew it, it felt as though I was performing a regular backing removal on a photograph or document and soon found myself down to the final brown paper layer.
After removing multiple layers of board, the brown paper lining was revealed. Some areas of the brown paper were no longer adhered to the textile and readily released during mechanical removal while other areas remained more firmly attached.
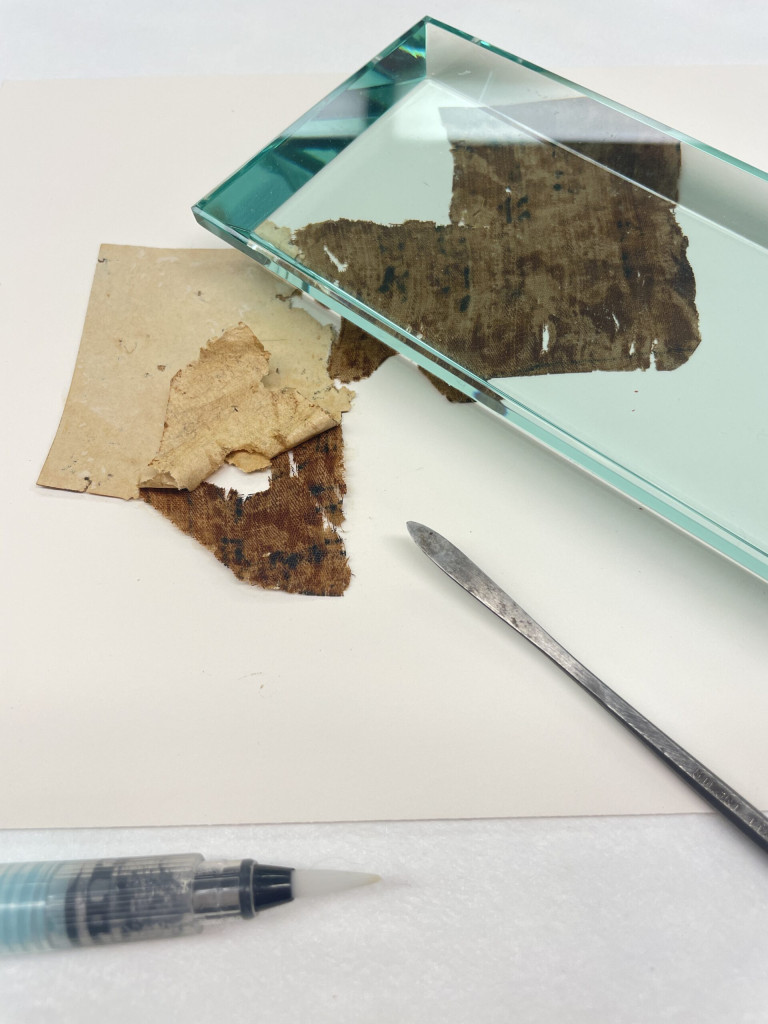
At this point, with the backing and lining parts removed as much as possible, I decided to test a corner of the paper backing with light moisture. To my surprise, the paper backing adhesive quickly reactivated, the lining lifted with little effort, and the humidification strengthened the fibers of the linen fragment. All of this eased fears the fragments might fracture during final treatment steps. Proceeding with treatment felt obtainable.
The final step was releasing the brown paper lining with moisture from a water pen and lifting the lining with spatulas.
With this new turn of events, I realized, if I ventured so far as to remove both the mounted board AND the paper backing, I’d need a new storage solution.
I halted treatment and went back to the drawing board to research storage enclosures (click here to jump to my post on storage solutions). Once I felt confident in selecting a method of storage for the loose textiles, I resumed treatment to remove the brown lining paper and proceeded with treatment on the rest of the fragments.
This is a time-lapse video showing how the brown paper lining was removed in stages. Localized humidification was applied from the back while mechanically separating the paper from the textile with spatulas.
Before Treatment
Collection is mounted to an acidic board with two of the fragments oriented upside down.
Normal Illumination, Before Treatment
After Treatment
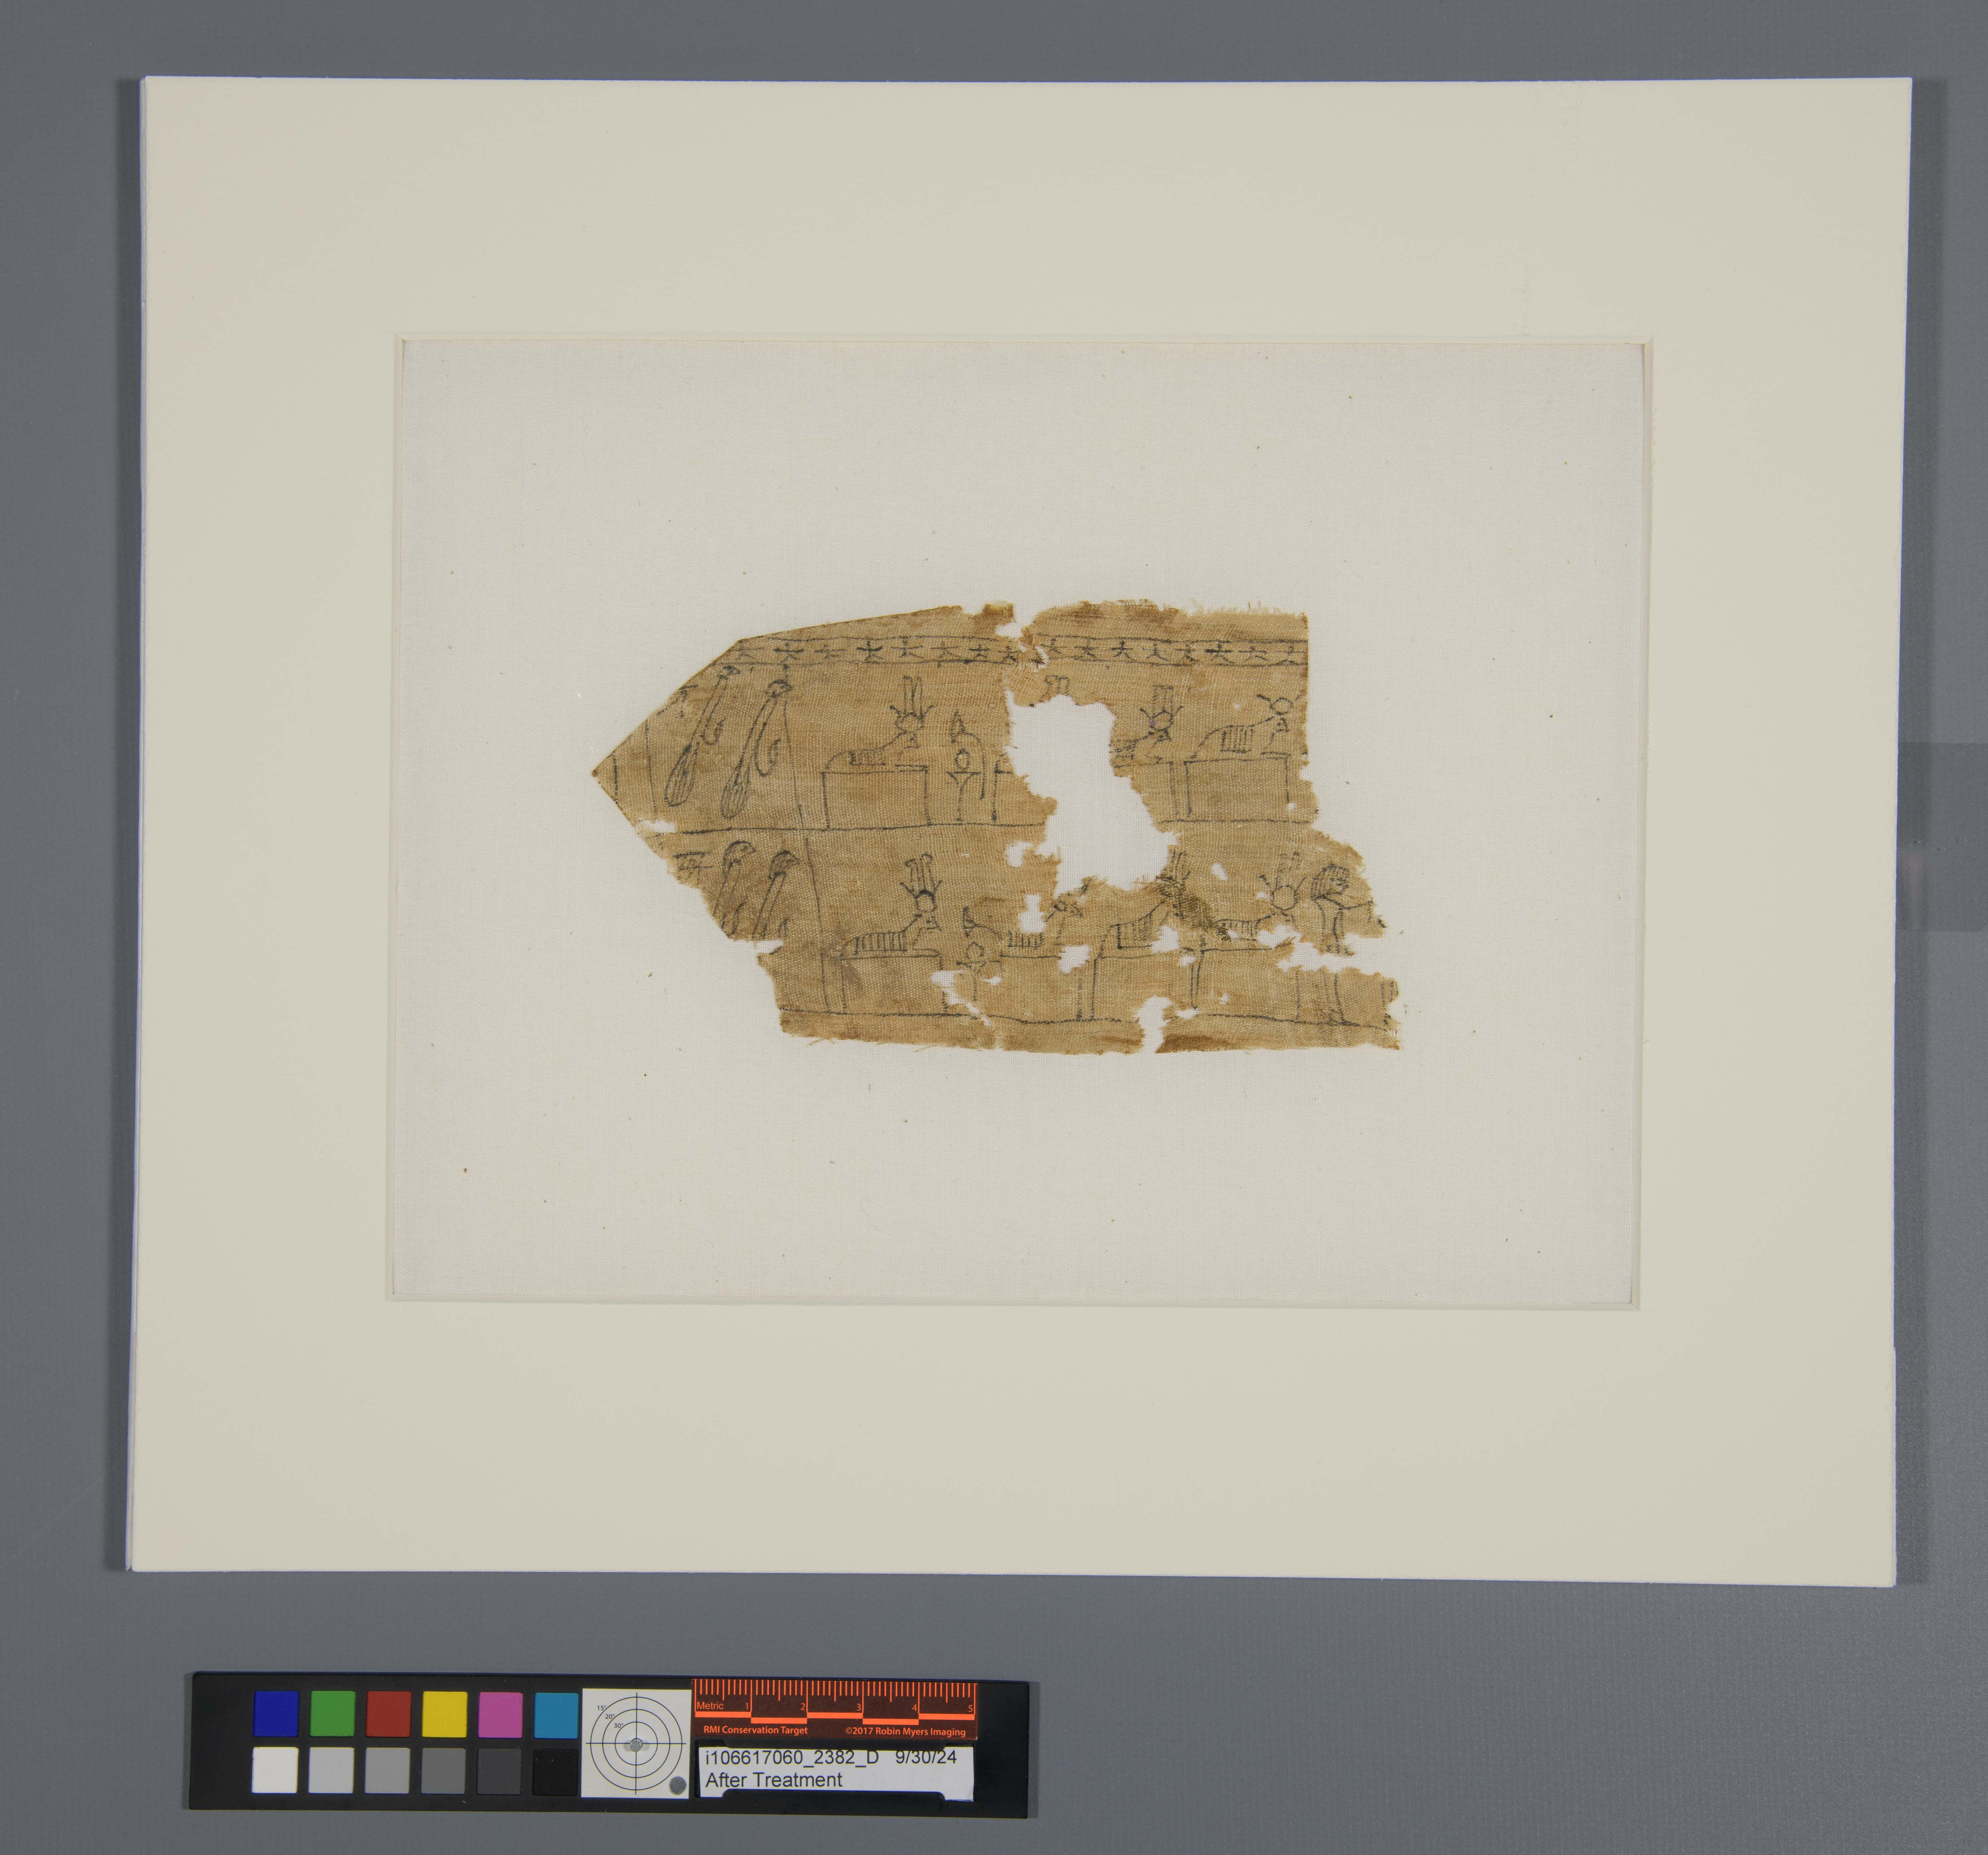
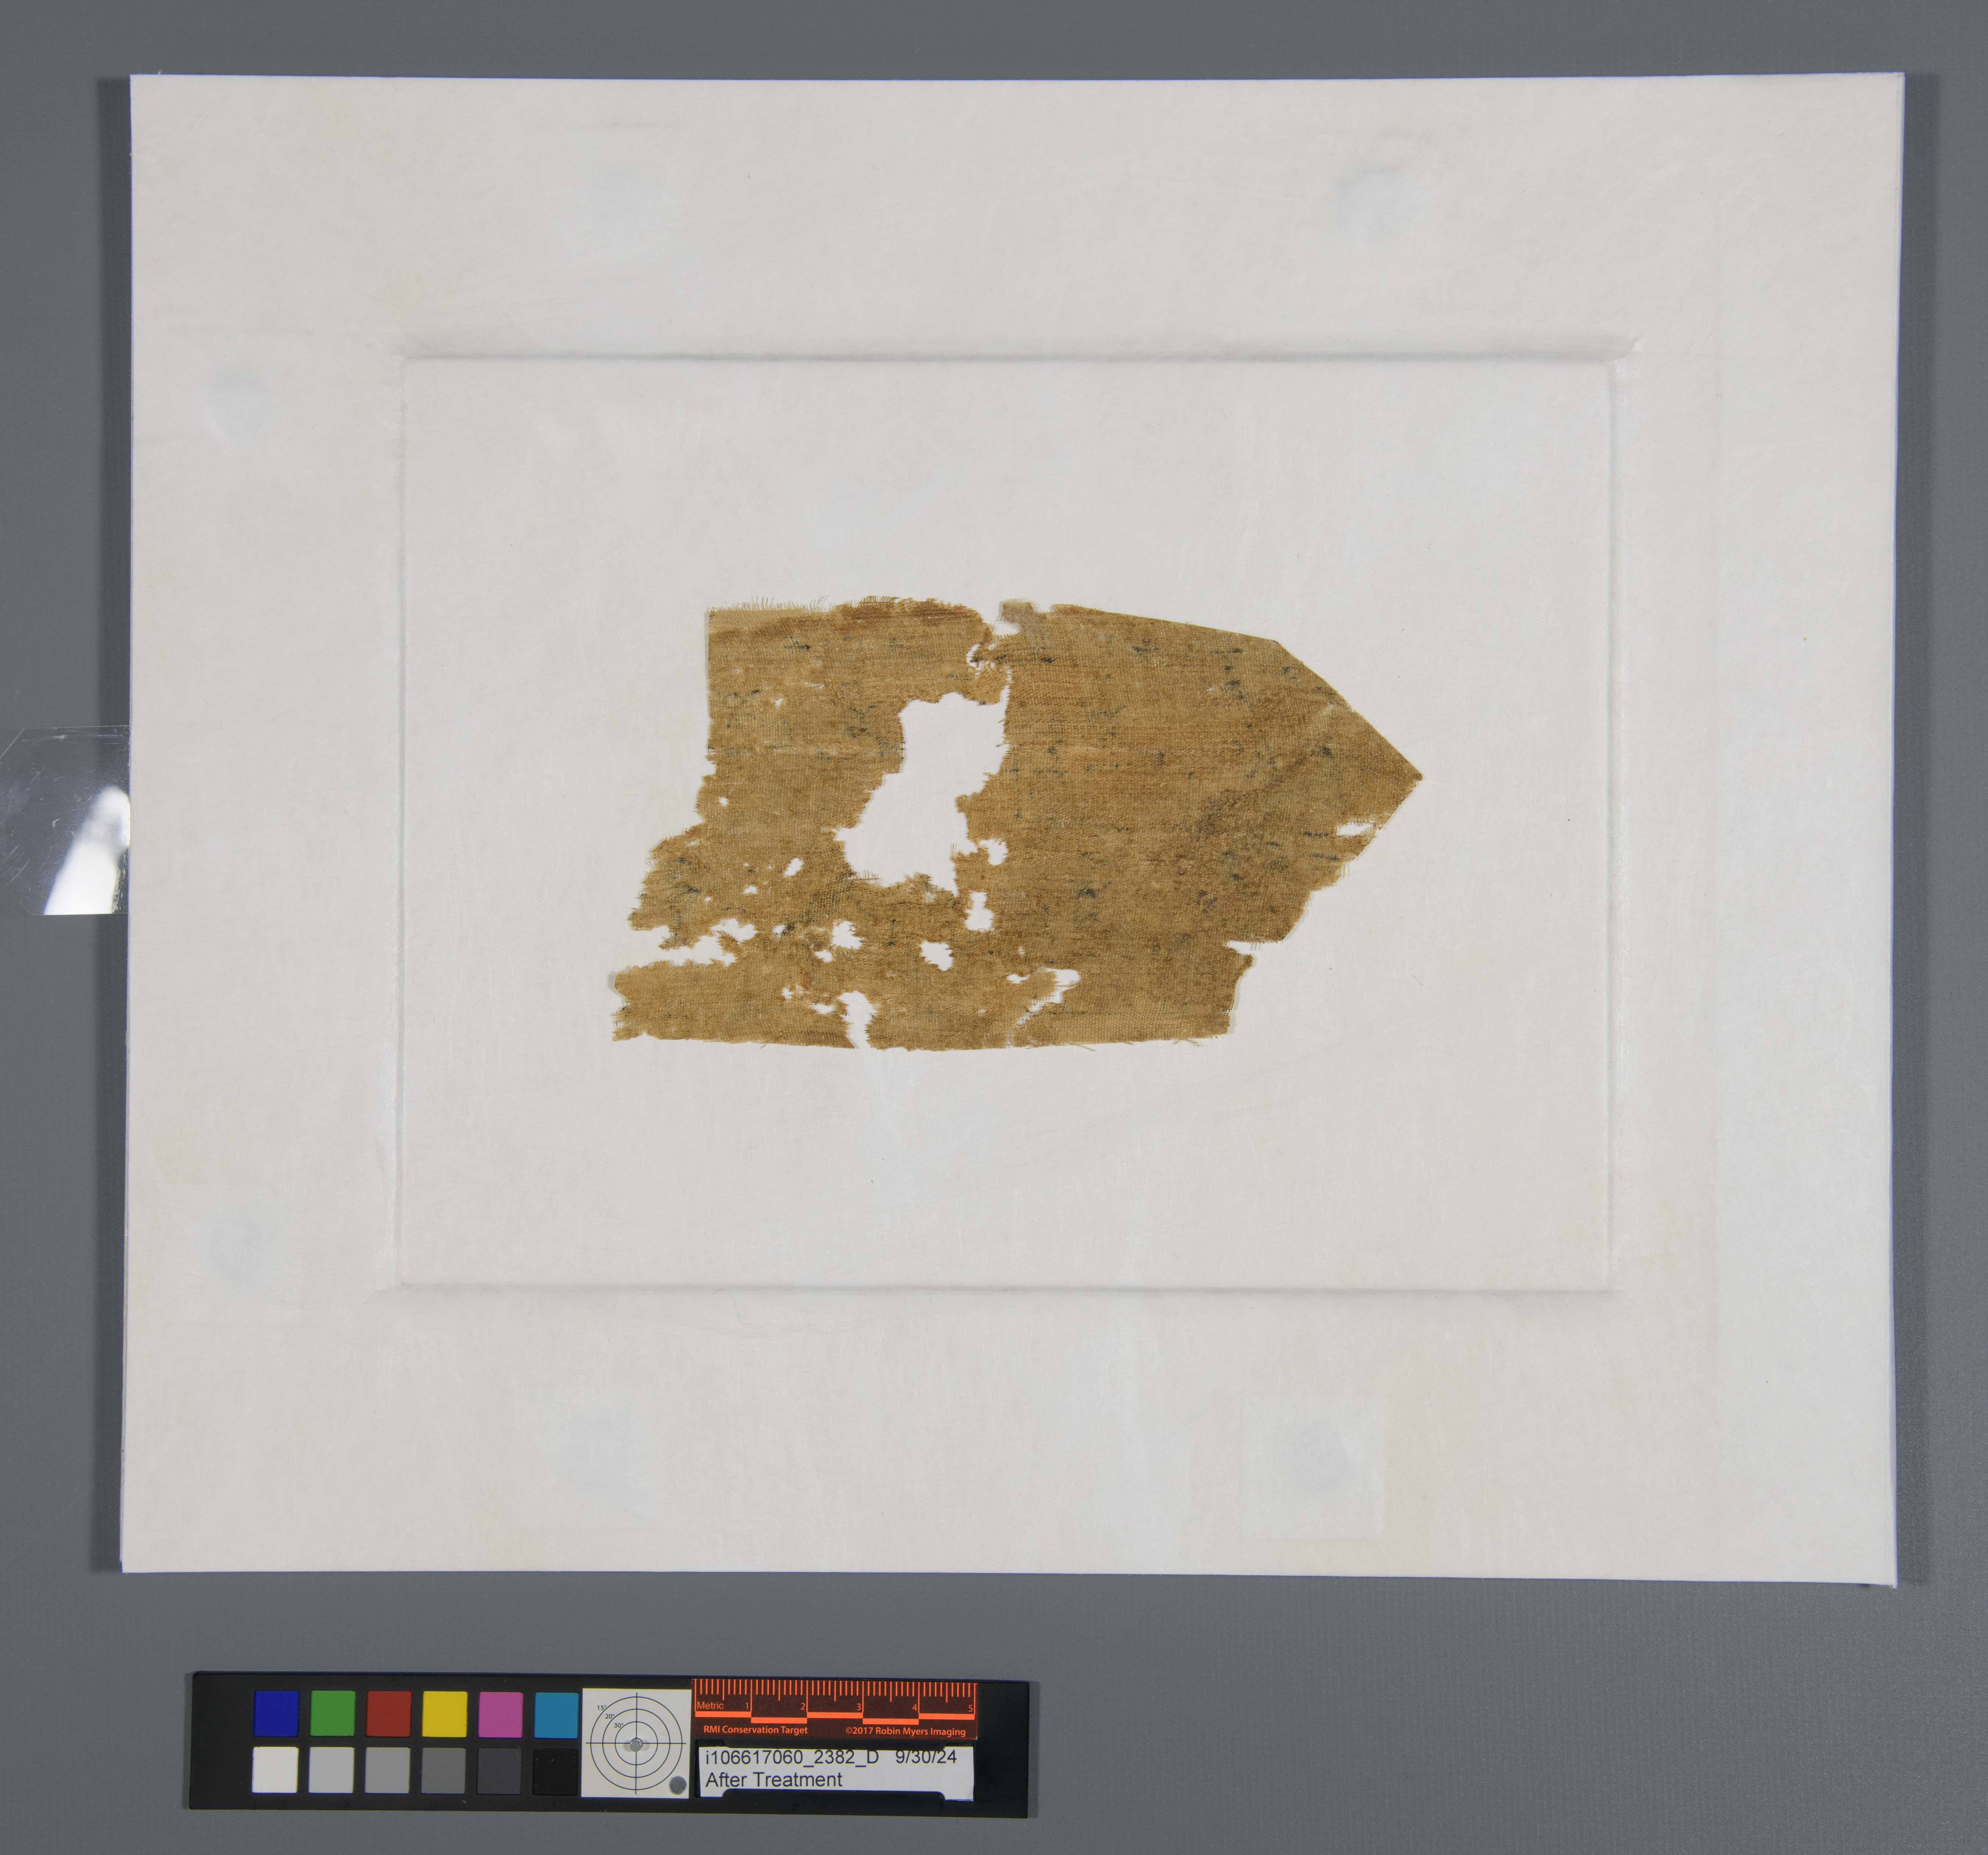
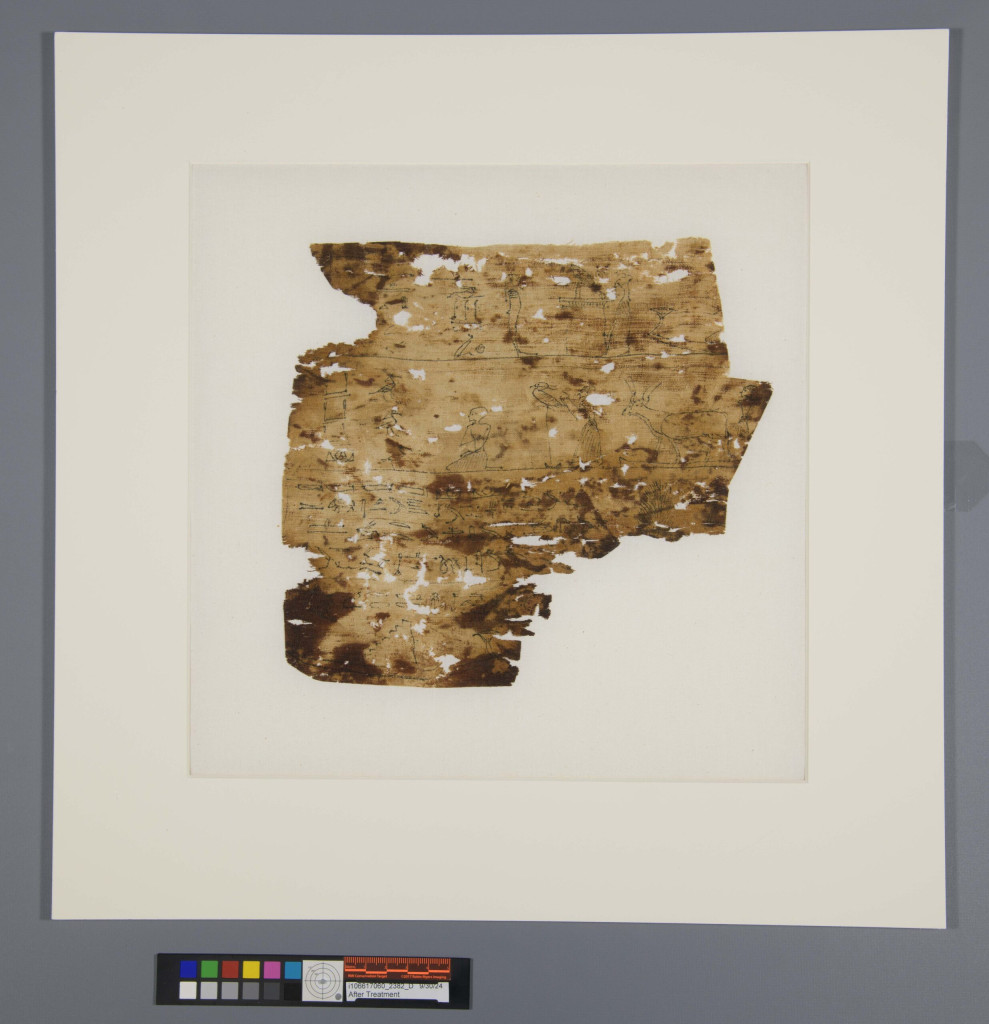
Fragments are stored individually in storage solutions that double as long-term housing. The enclosures facilitate handling as well as display. Being stored individually, the fragments are able to be grouped as necessary by their context.
When a collection of Egyptian mummy bandage fragments at the Cincinnati and Hamilton County Public Library was found in an area used to store uncatalogued flat materials, the lab was asked to play a role in providing better stewardship.
Click the links below to jump to the following posts:
History – Historical information provided about the Egyptian inscriptions
Treatment – How the materials were treated after learning about their content
Storage Solutions – Individual solutions for separated fragments as well as storage as a collection
Learning About the Collection
Before coming to the lab, the library knew little about the fragments. So first and foremost, I reached out to a handful of scholars to see if I could glean any information. I soon found myself engulfed in a journey of discovery with each colleague leading me to a new reference, sharing a collective wealth of knowledge.
History
With generous information provided by colleagues, the library learned the following about the fragments (fragment measurements below are with height and width at the widest points):
Normal Illumination
Raking Illumination
Ultraviolet Fluorescence
Infrared Radiation
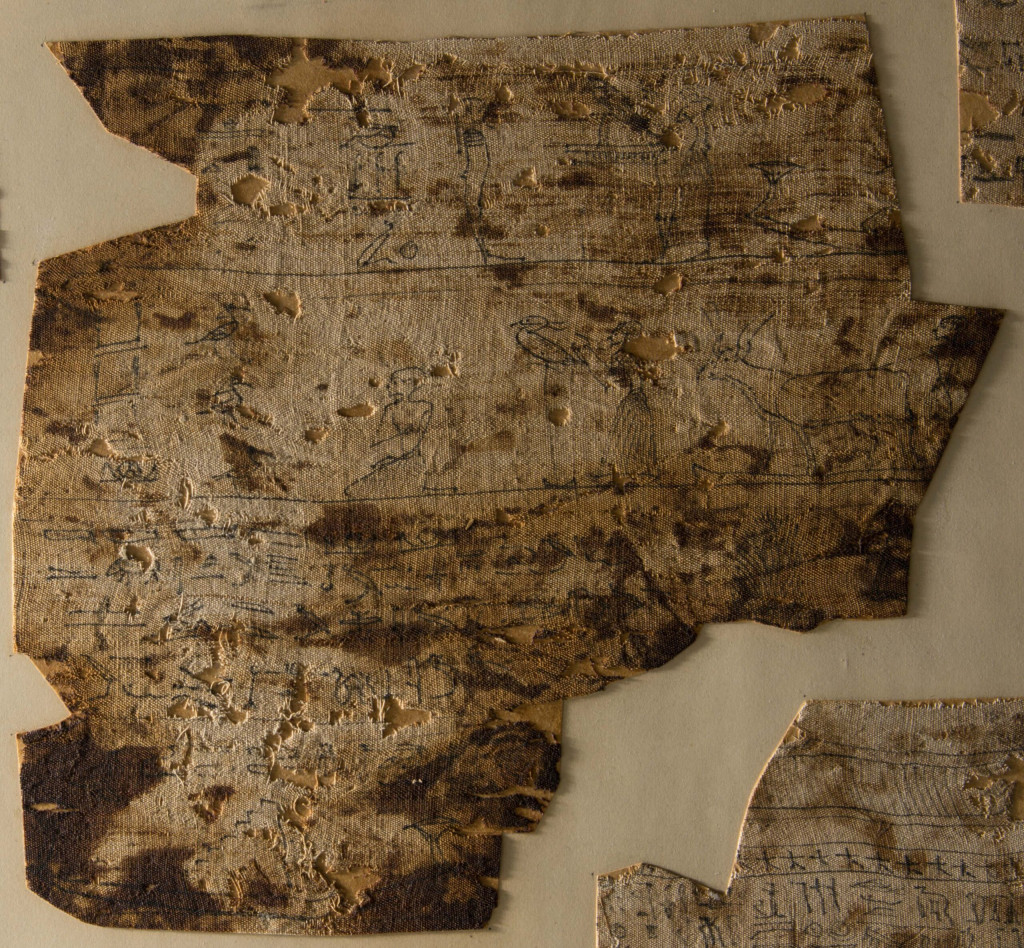
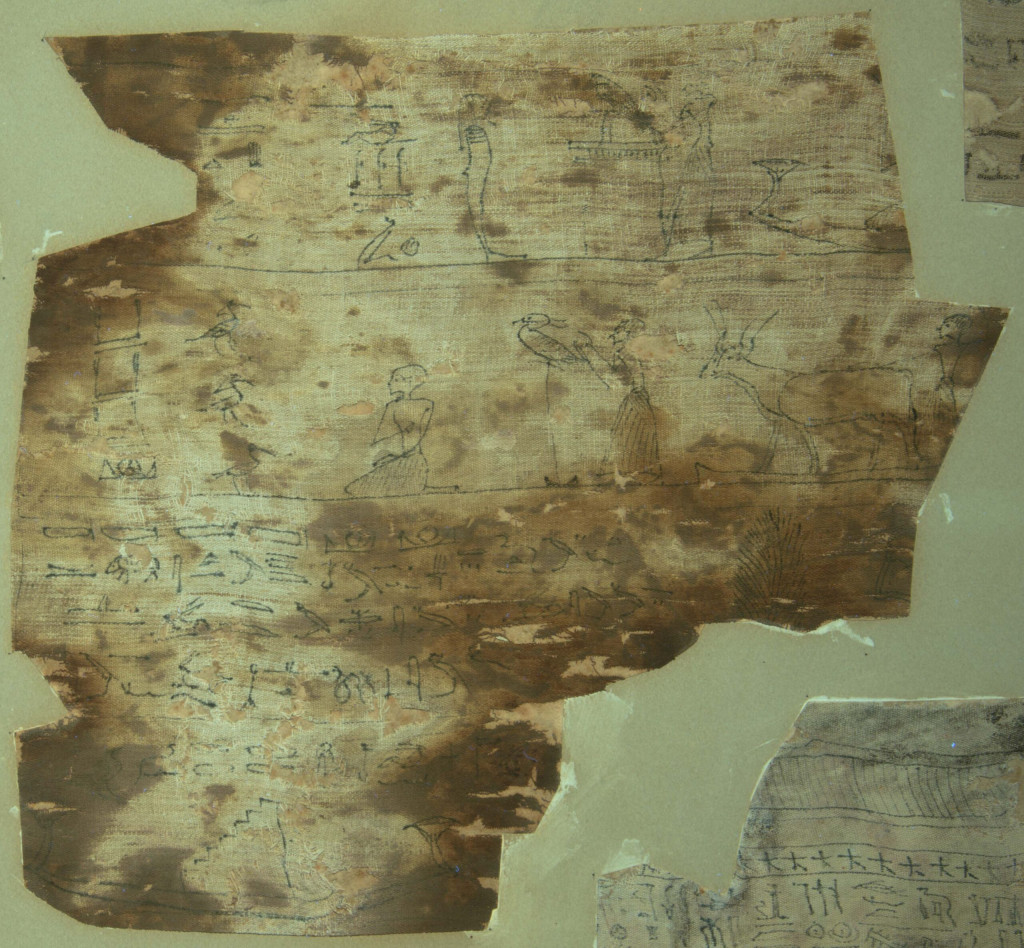
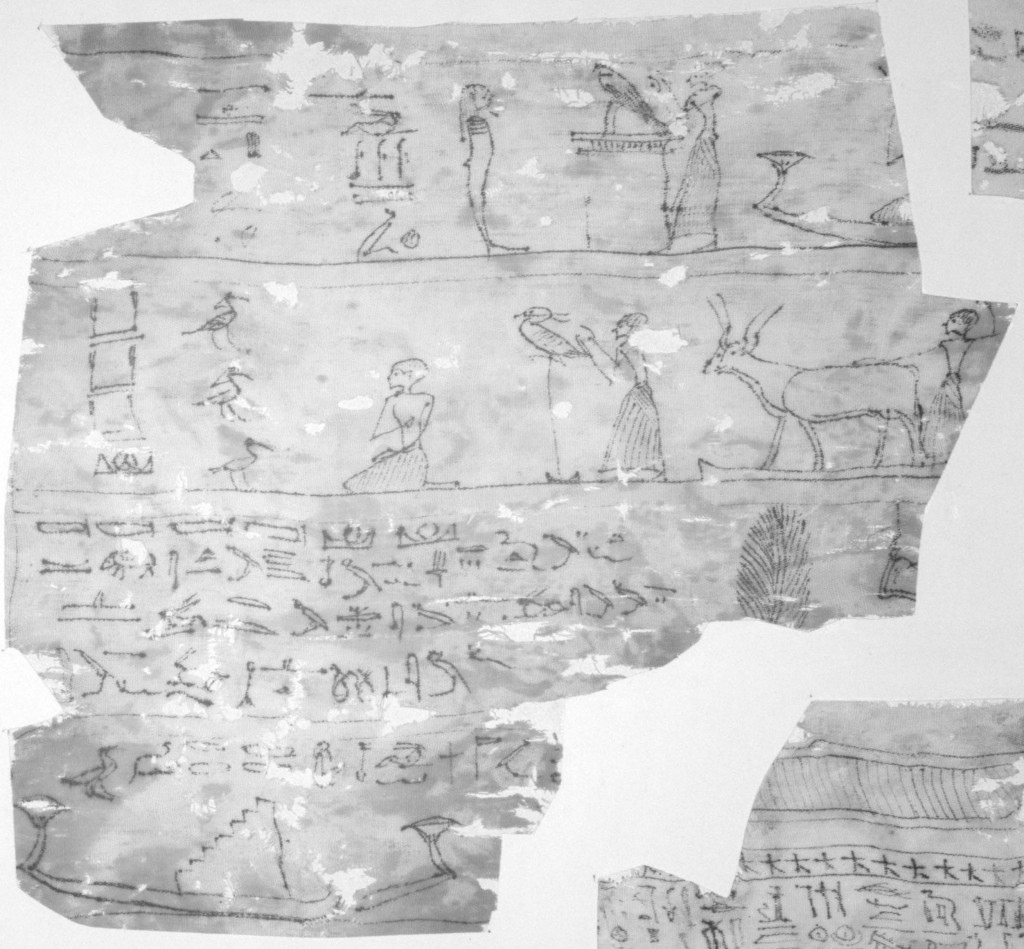
This is the center fragment. It contains Hieroglyphic script, measuring 21 x 23 cm. It’s part of a 3-piece set that belonged to a priest called Wennofer. The large scene in the middle belongs to Book of the Dead Spell 110 showing the deceased doing various things in the netherworld.
Normal Illumination
Raking Illumination
Ultraviolet Fluorescence
Infrared Radiation
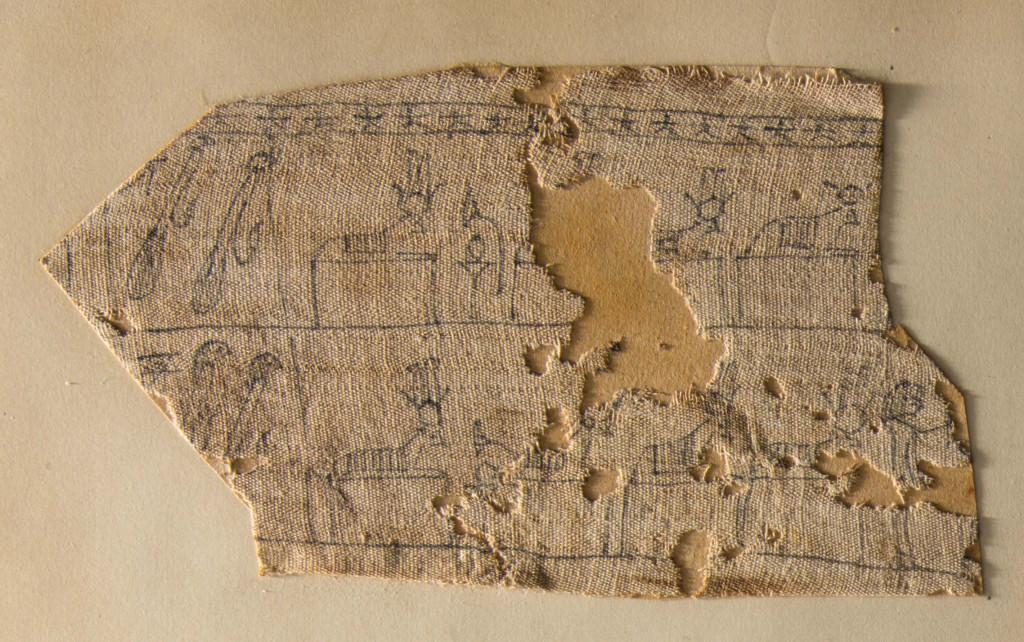
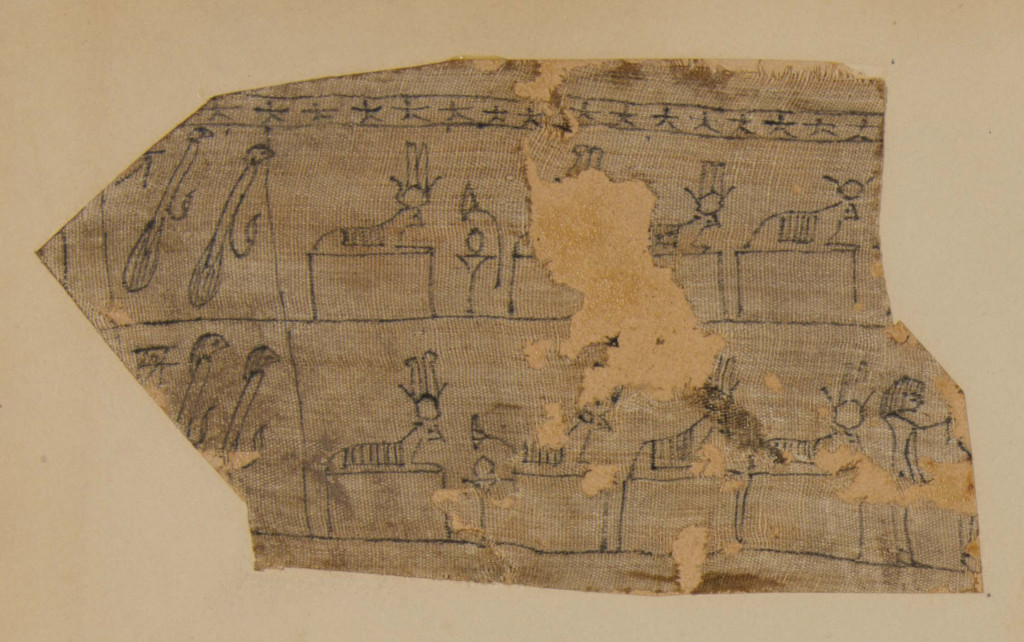
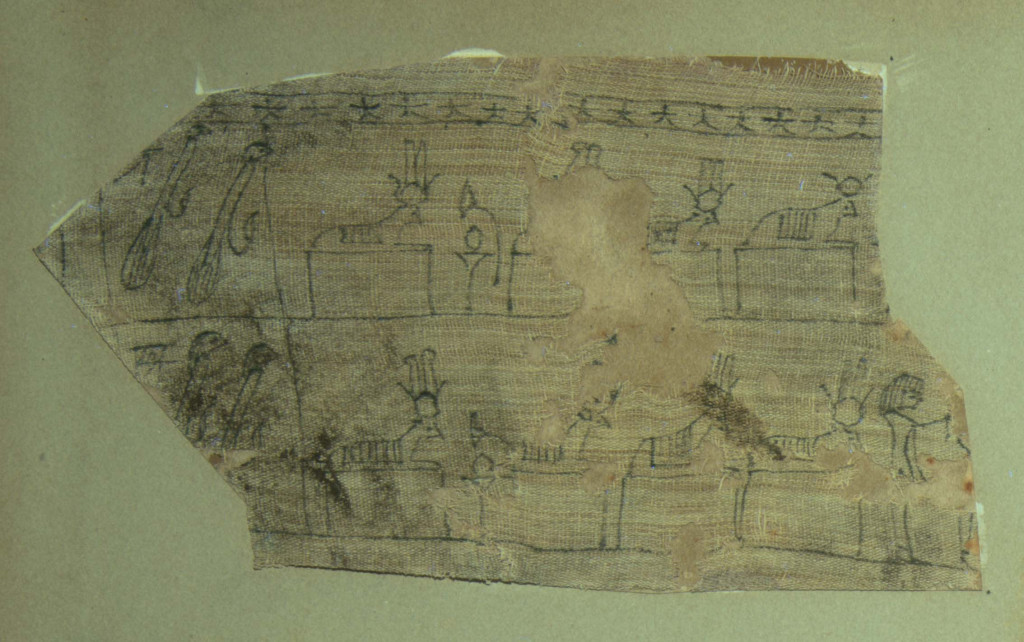
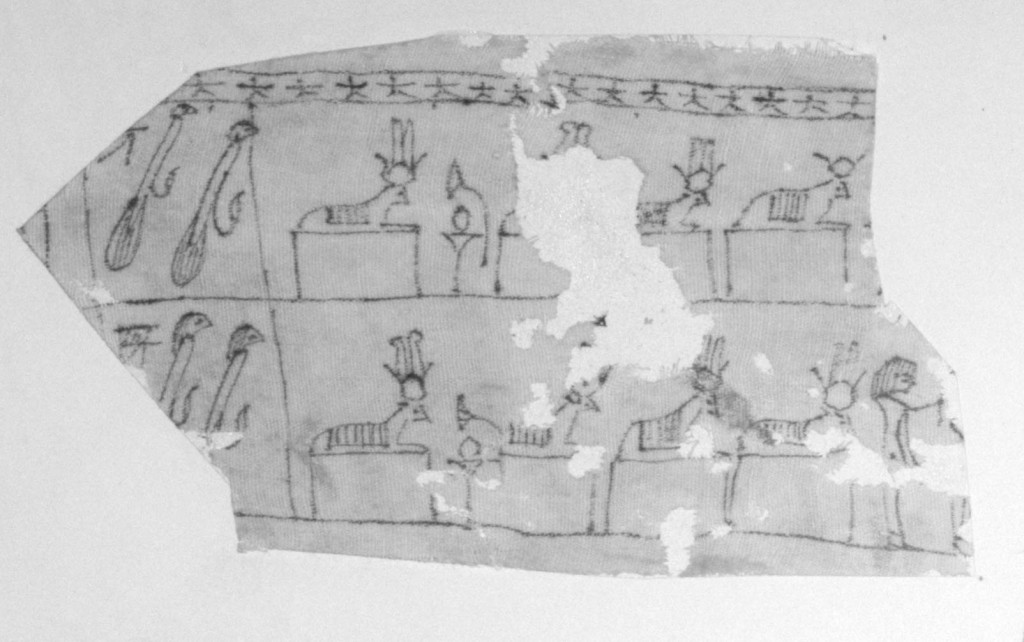
This is the upper left fragment. It measures 8 x 14 cm. Script contains images and no preserved text. This is part of the 3-piece set that also belonged to a priest called Wennofer. Images belong to the vignette of Book of the Dead Spell 148. “For making provision for a spirit in the realm of the dead” this spell provides the names of the Bull of Heaven and his seven cows, providing an eternal supply of food and beer.
Normal Illumination
Raking Illumination
Ultraviolet Fluorescence
Infrared Radiation
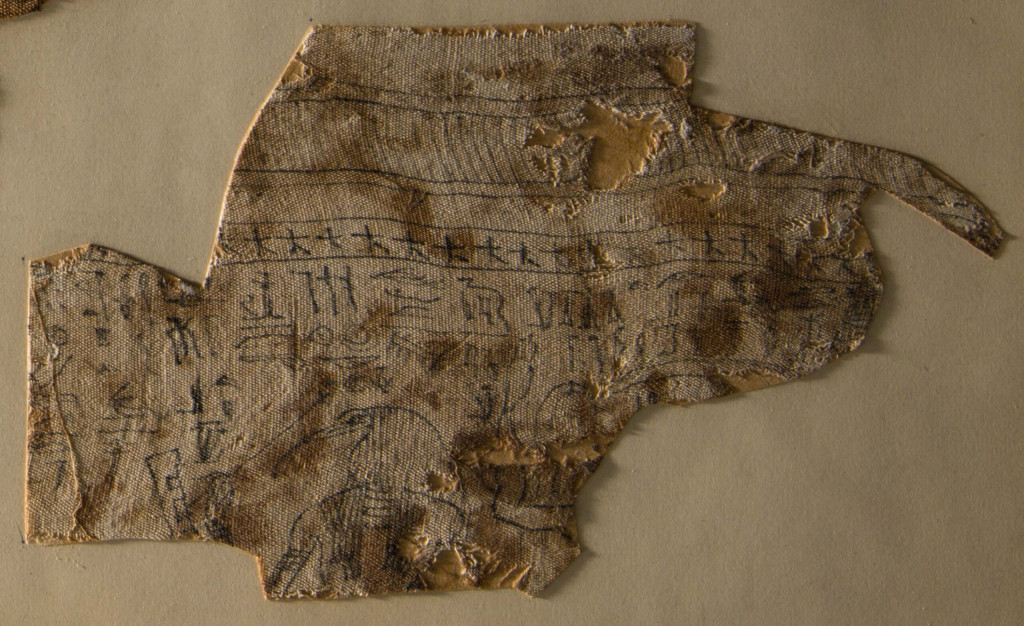
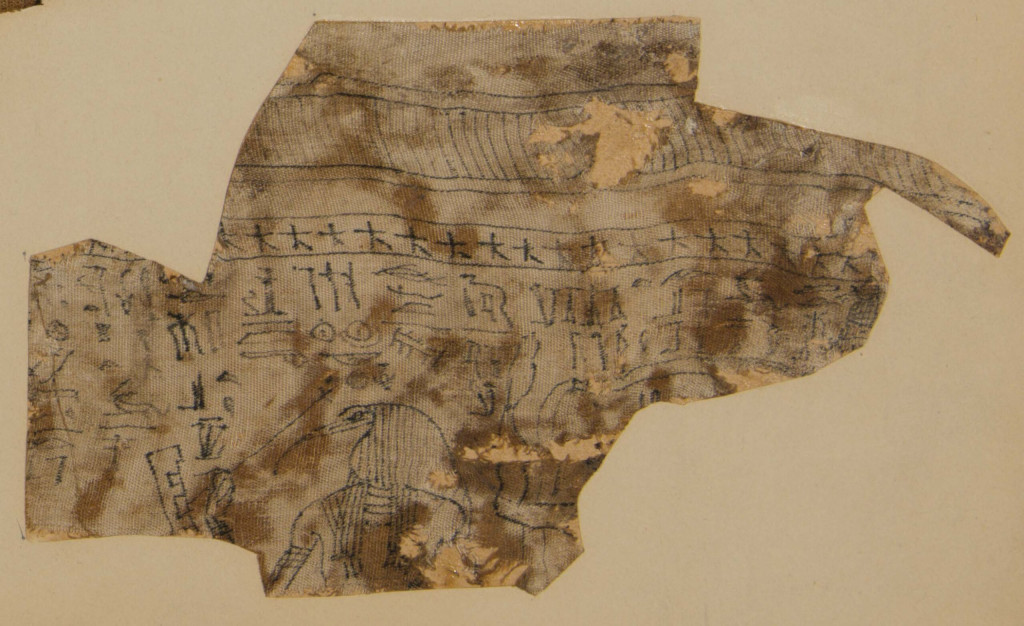
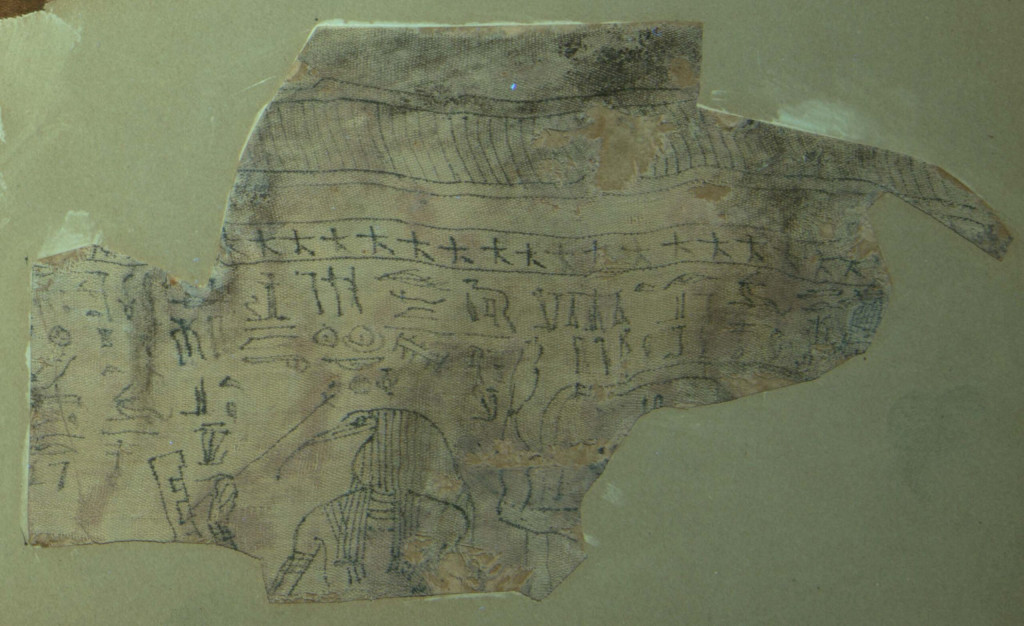
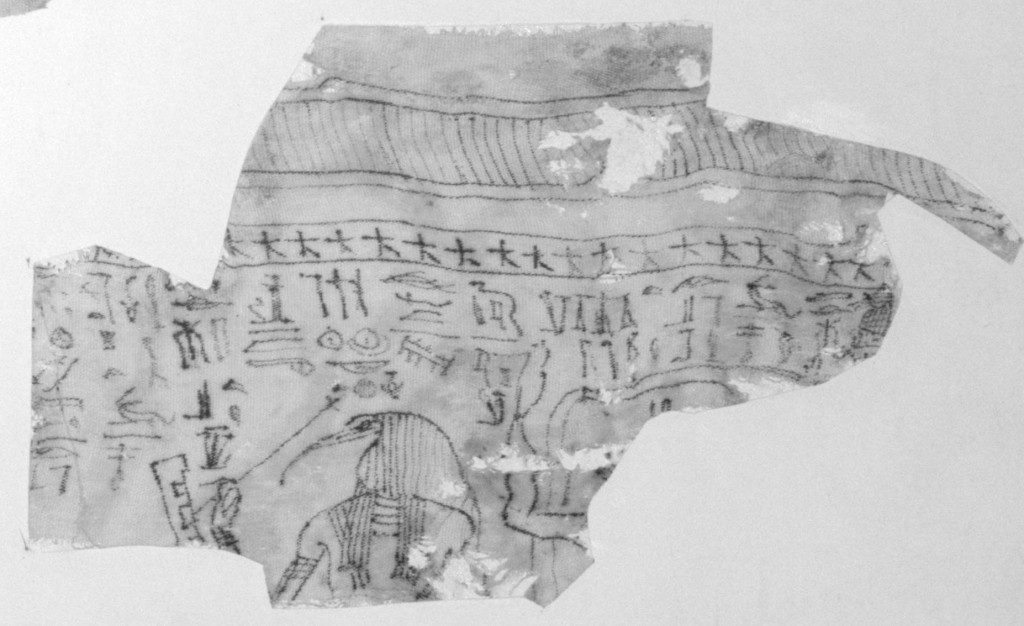
This is the bottom right fragment. It contains Hieroglyphic writing and measures approximately 10 x 17 cm, containing a Thoth god image. It’s the final part of the 3-piece set that belonged to a priest called Wennofer. Preserved images are part of the vignette of Book of the Dead Spell 125, the so-called judgement scene.
Normal Illumination
Raking Illumination
Ultraviolet Fluorescence
Infrared Illumination
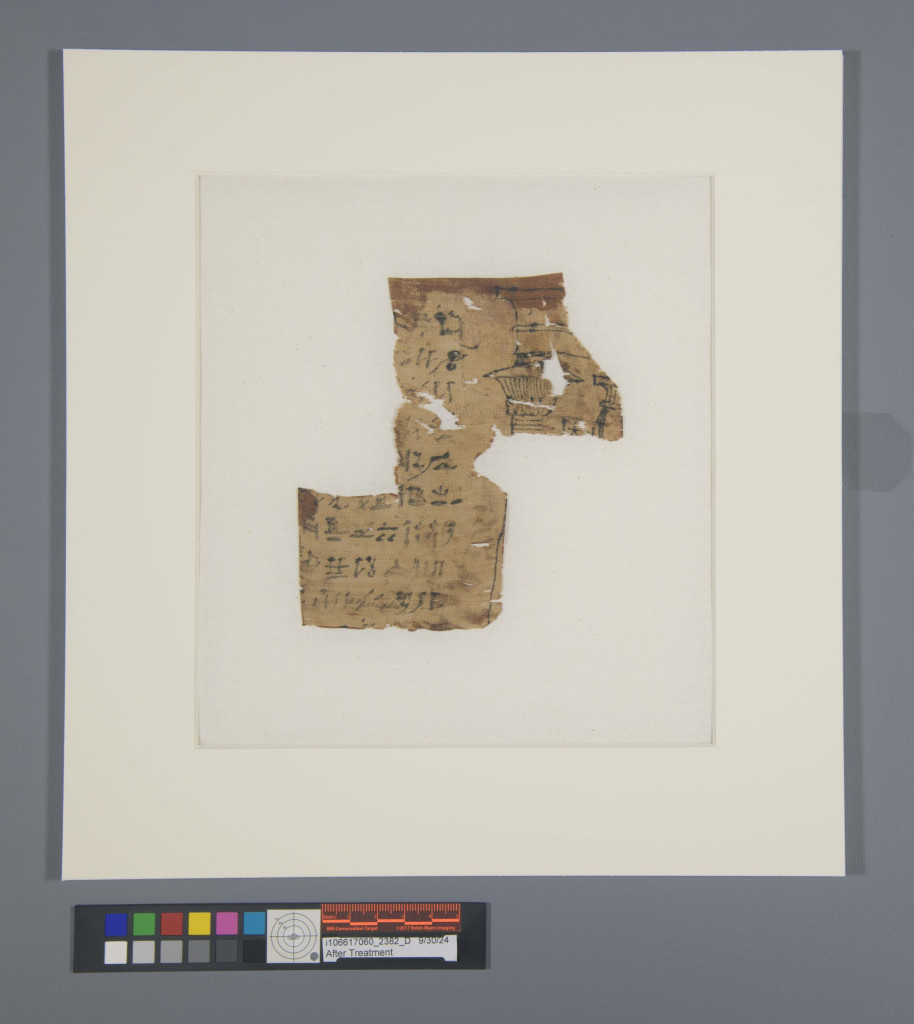
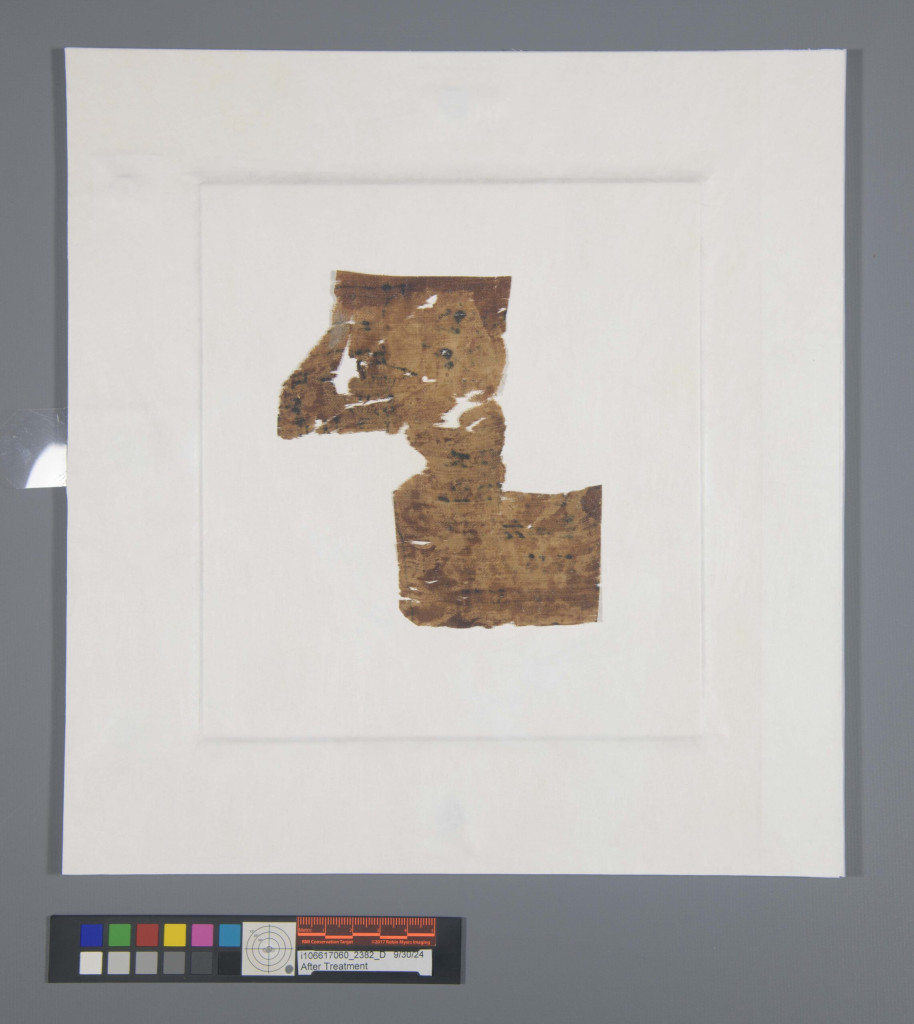
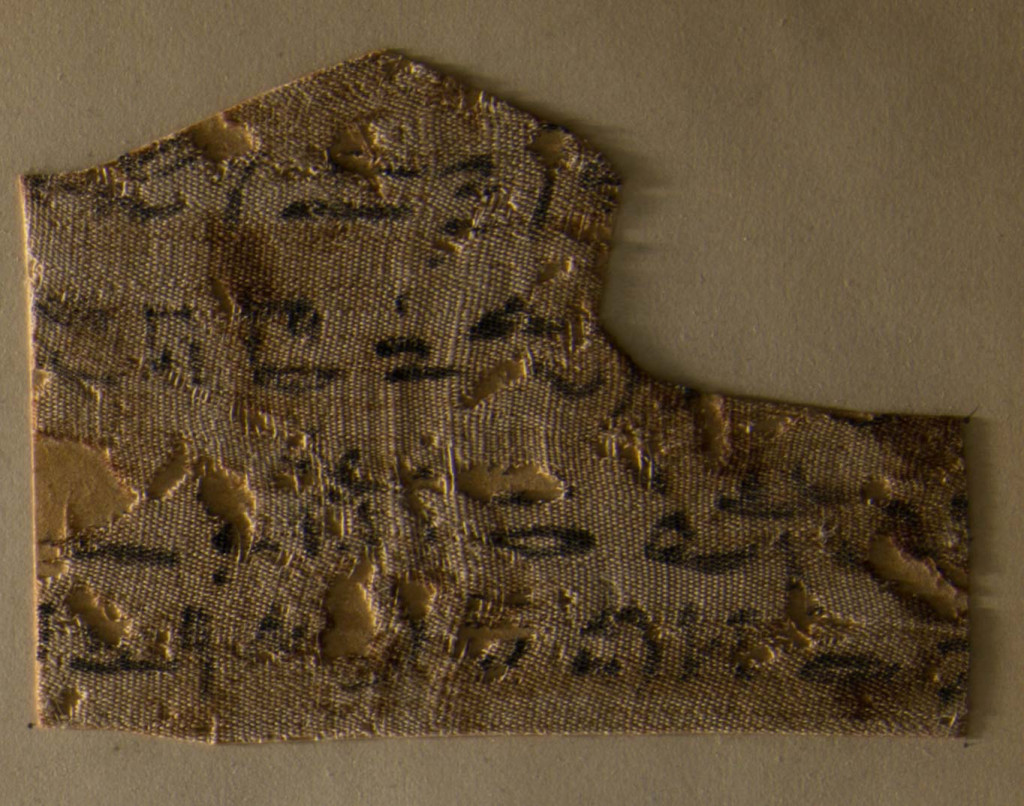
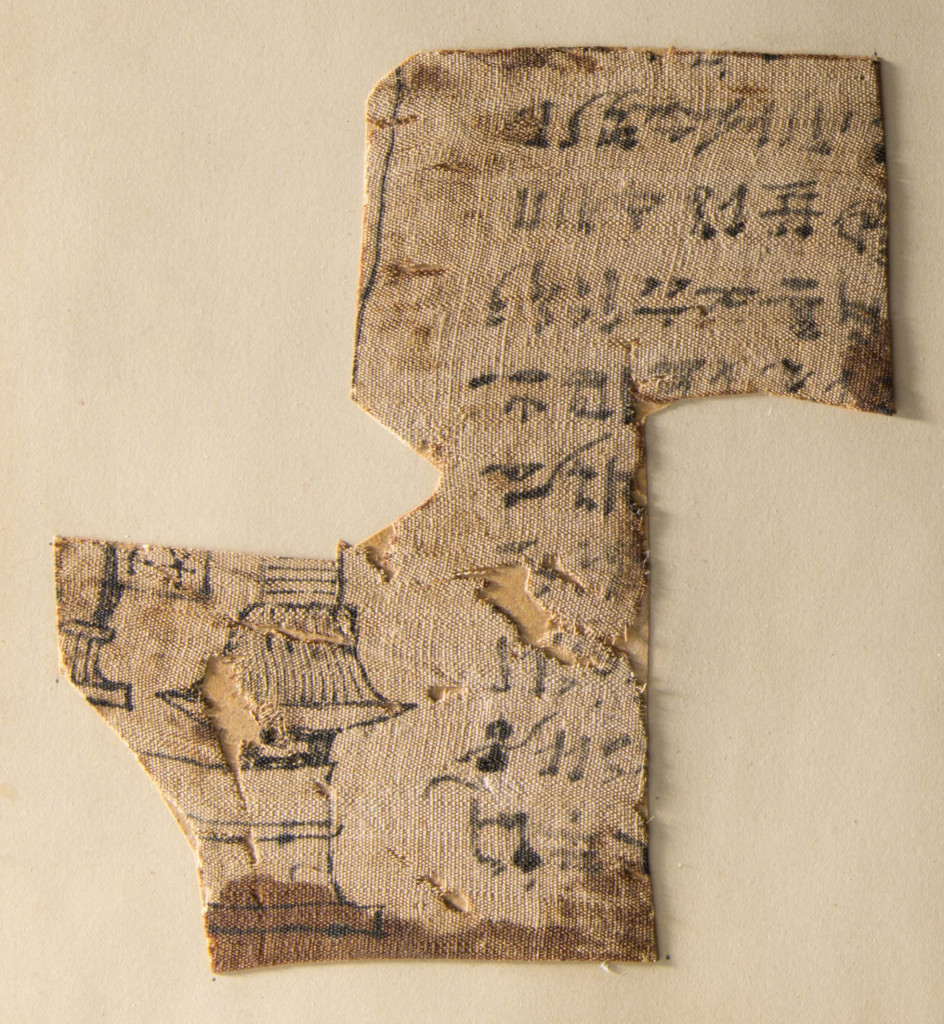
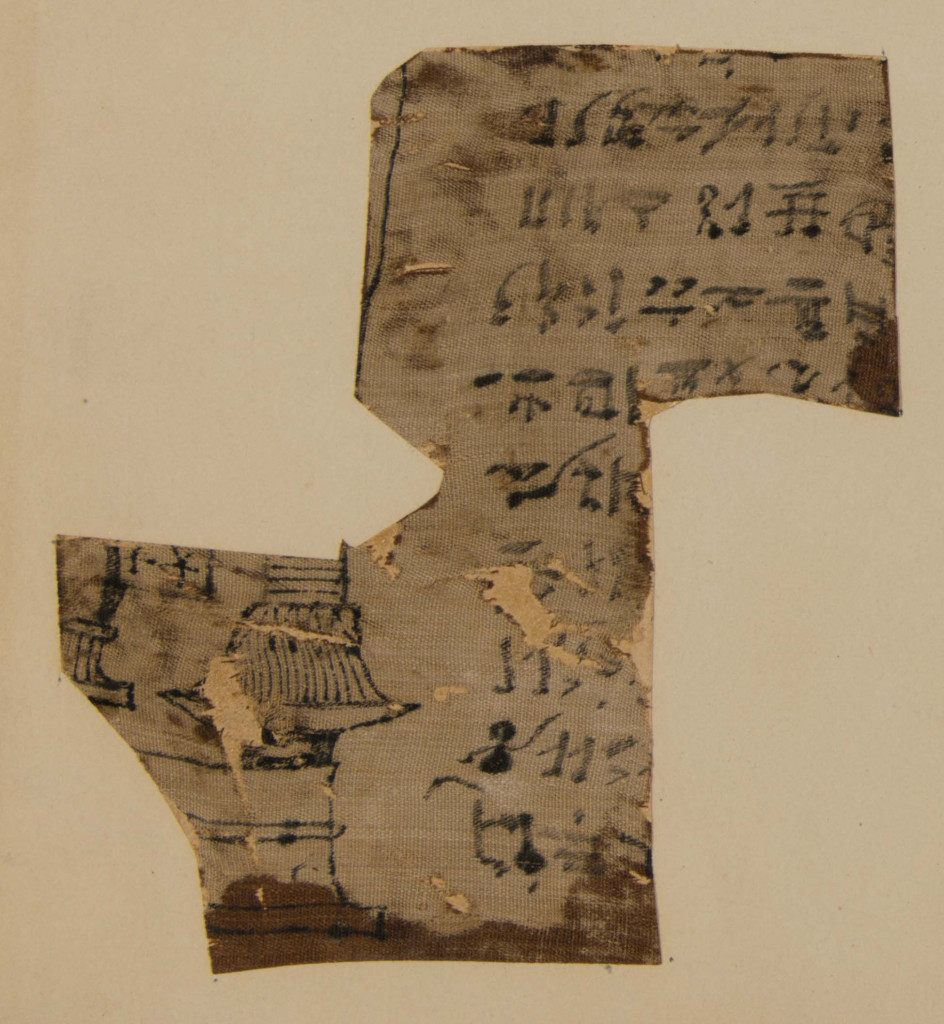
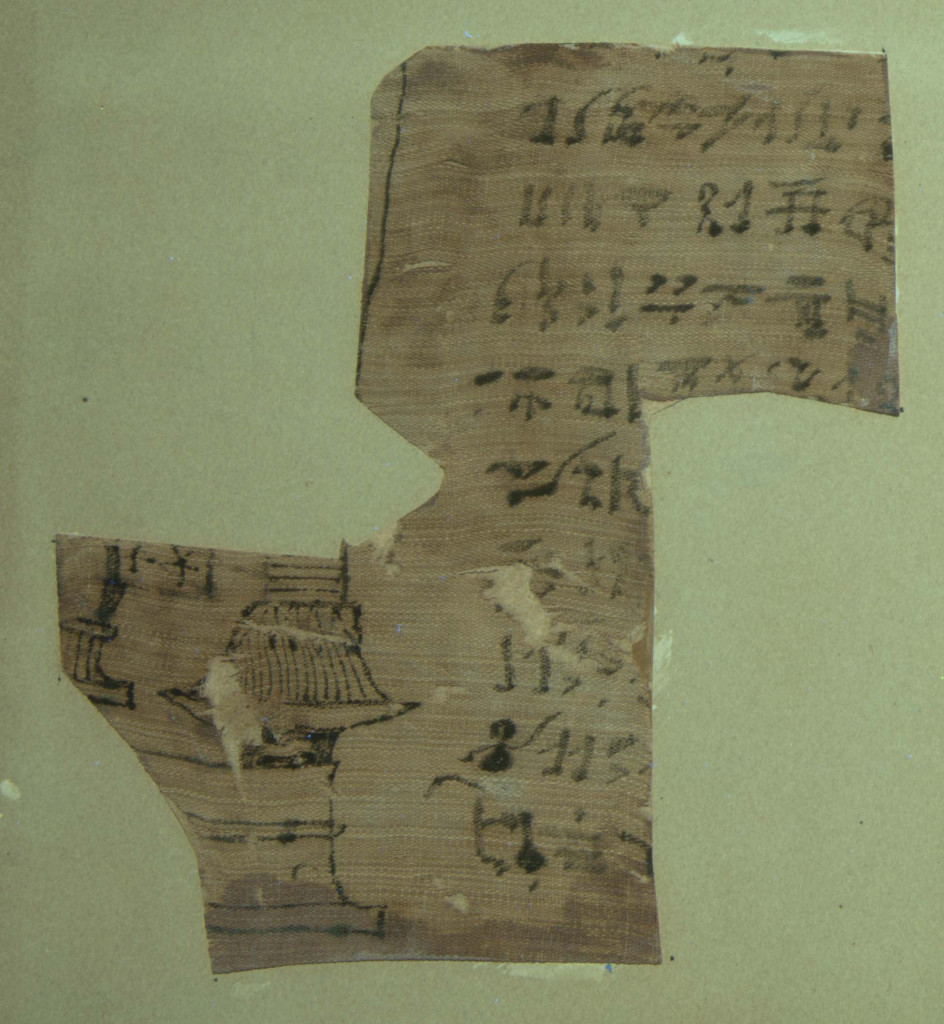
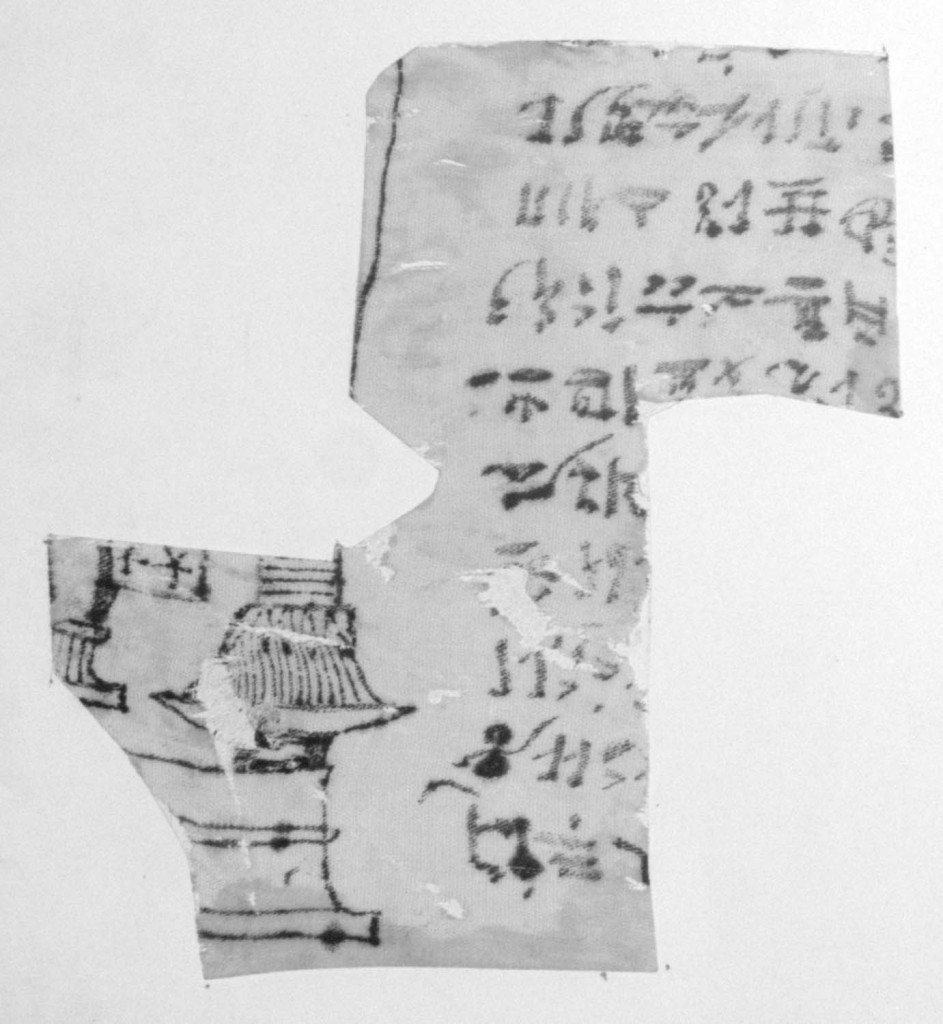
This is the bottom left fragment containing Hieratic script, however it is oriented upside down. It measures approximately 13 x 12 cm. There isn’t an owner’s name preserved so we’re unsure if it belongs with any other fragments in this collection. Images contain a shrine column, sections of Book of the Dead Spells 125 and 126, as well as traces of the vignette belonging to Book of the Dead Spell 125.
Normal Illumination
Raking Illumination
Ultraviolet Fluorescence
Infrared Radiation
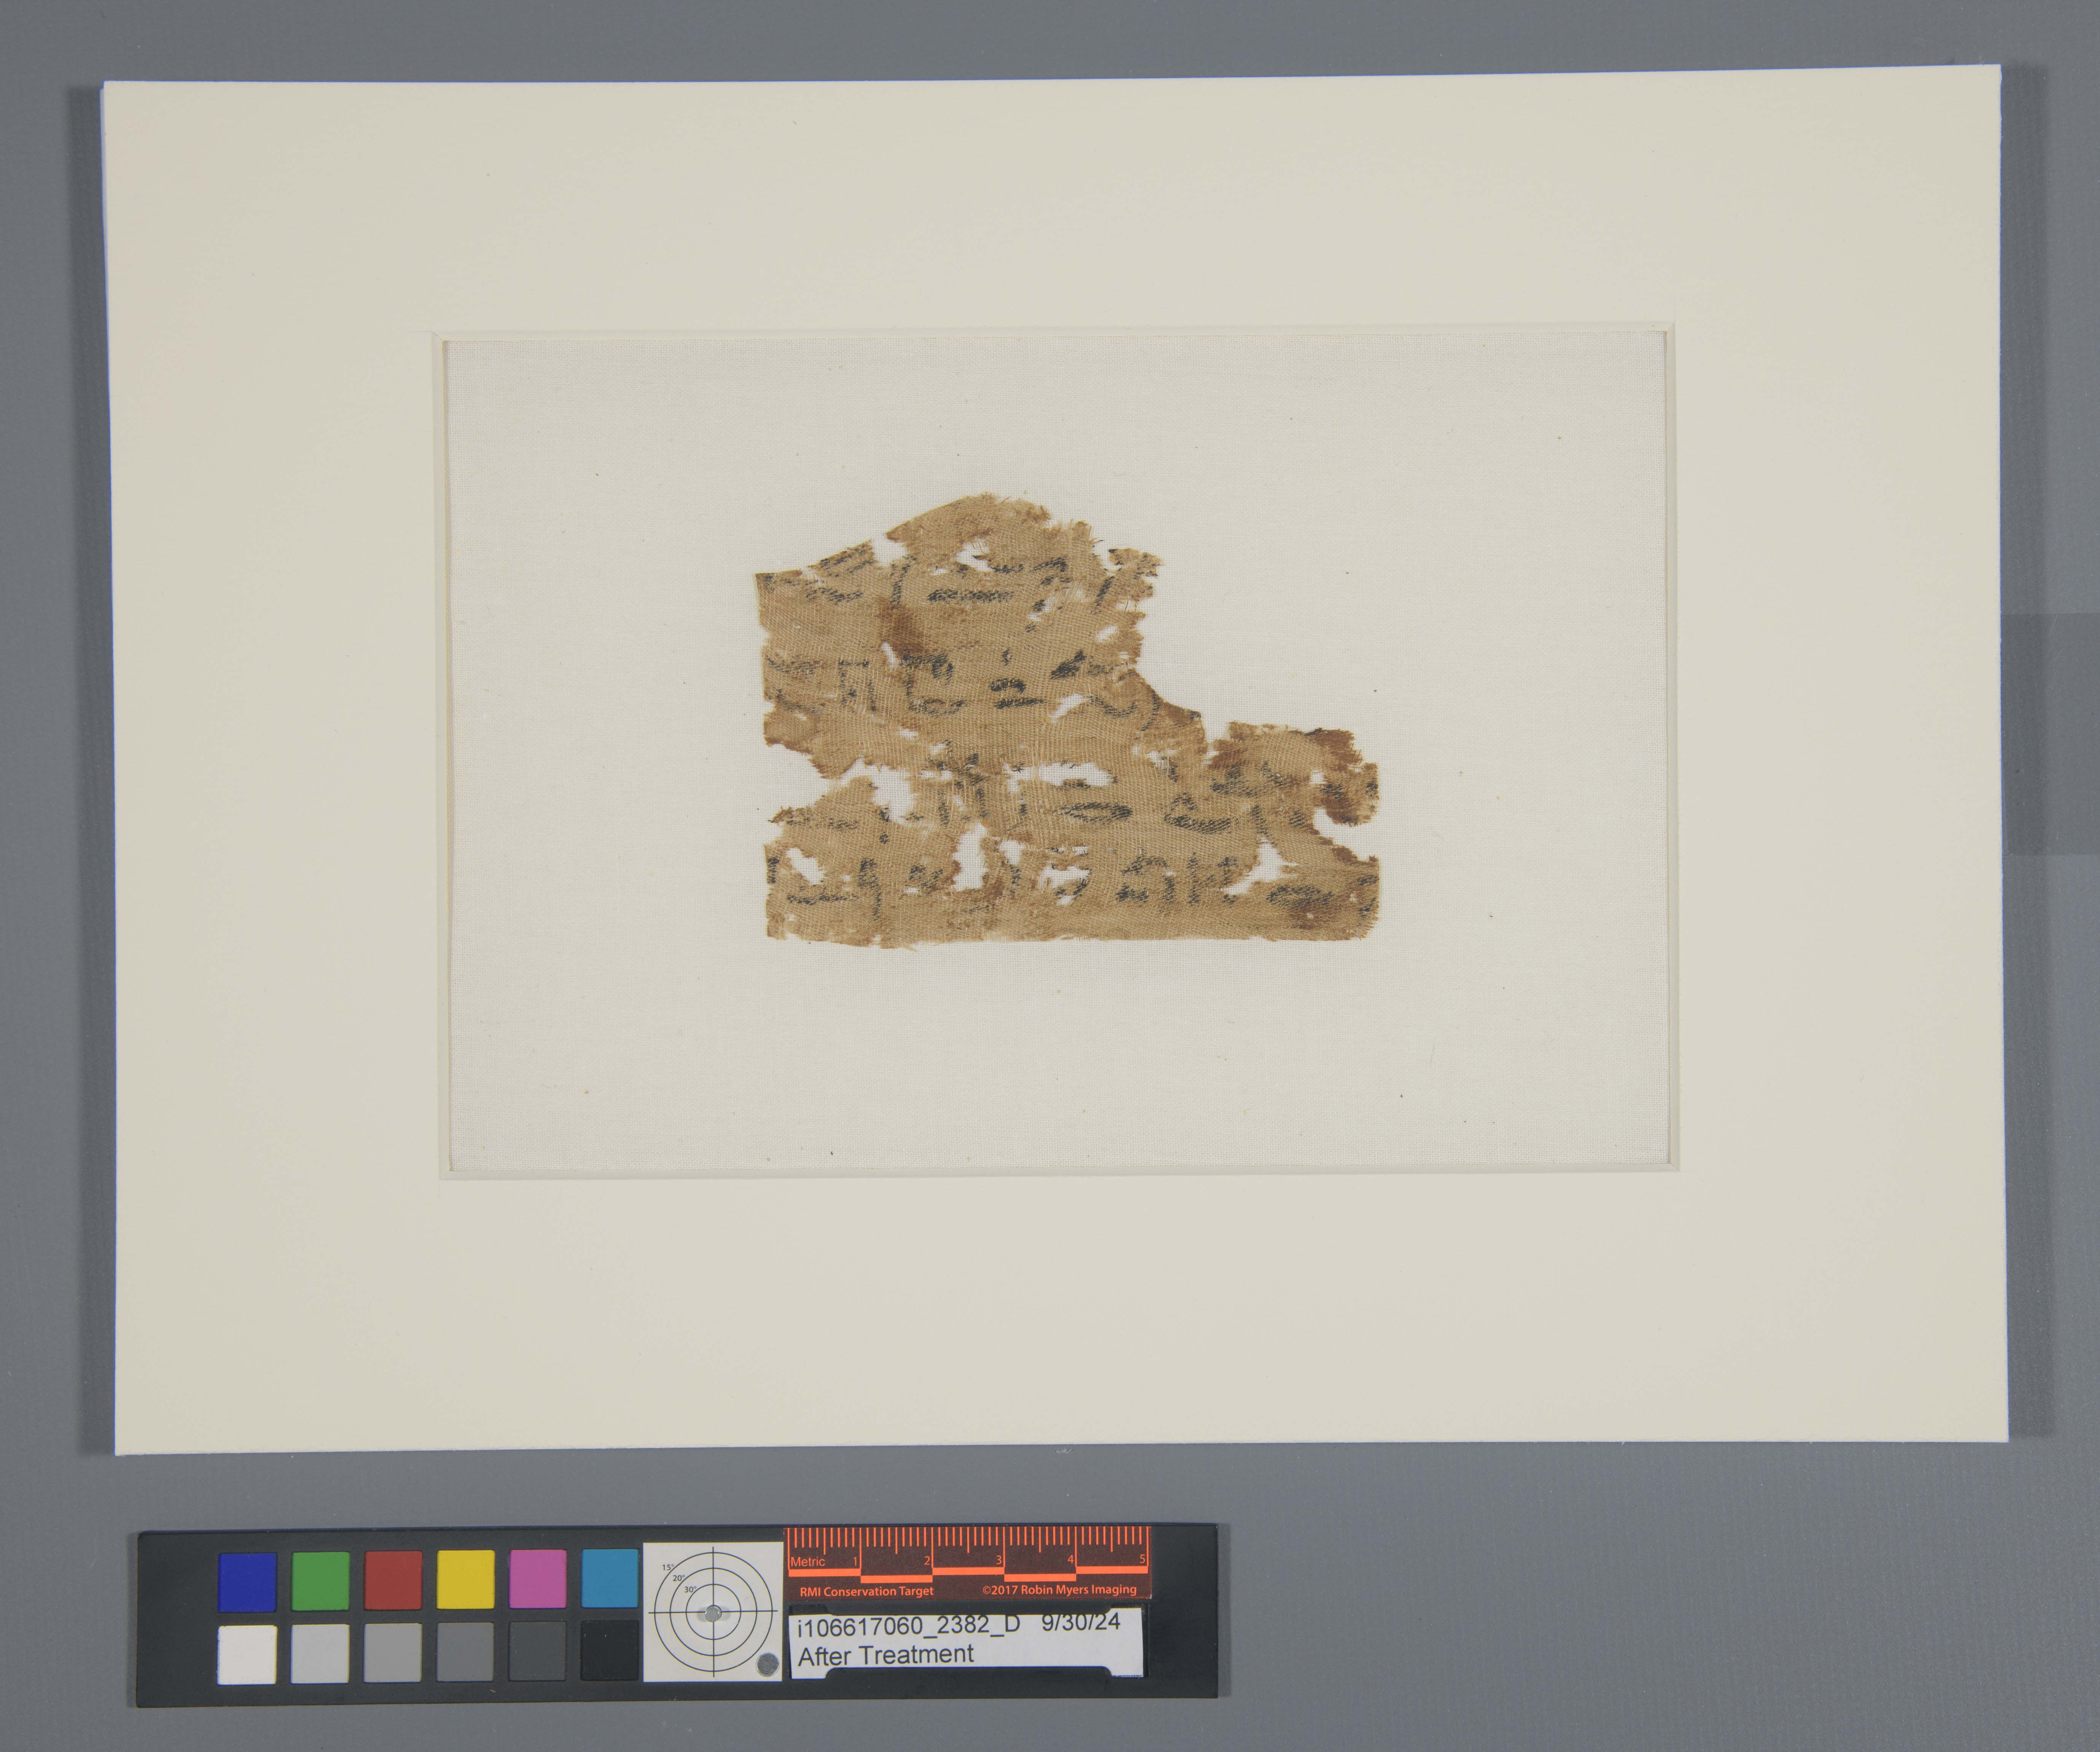
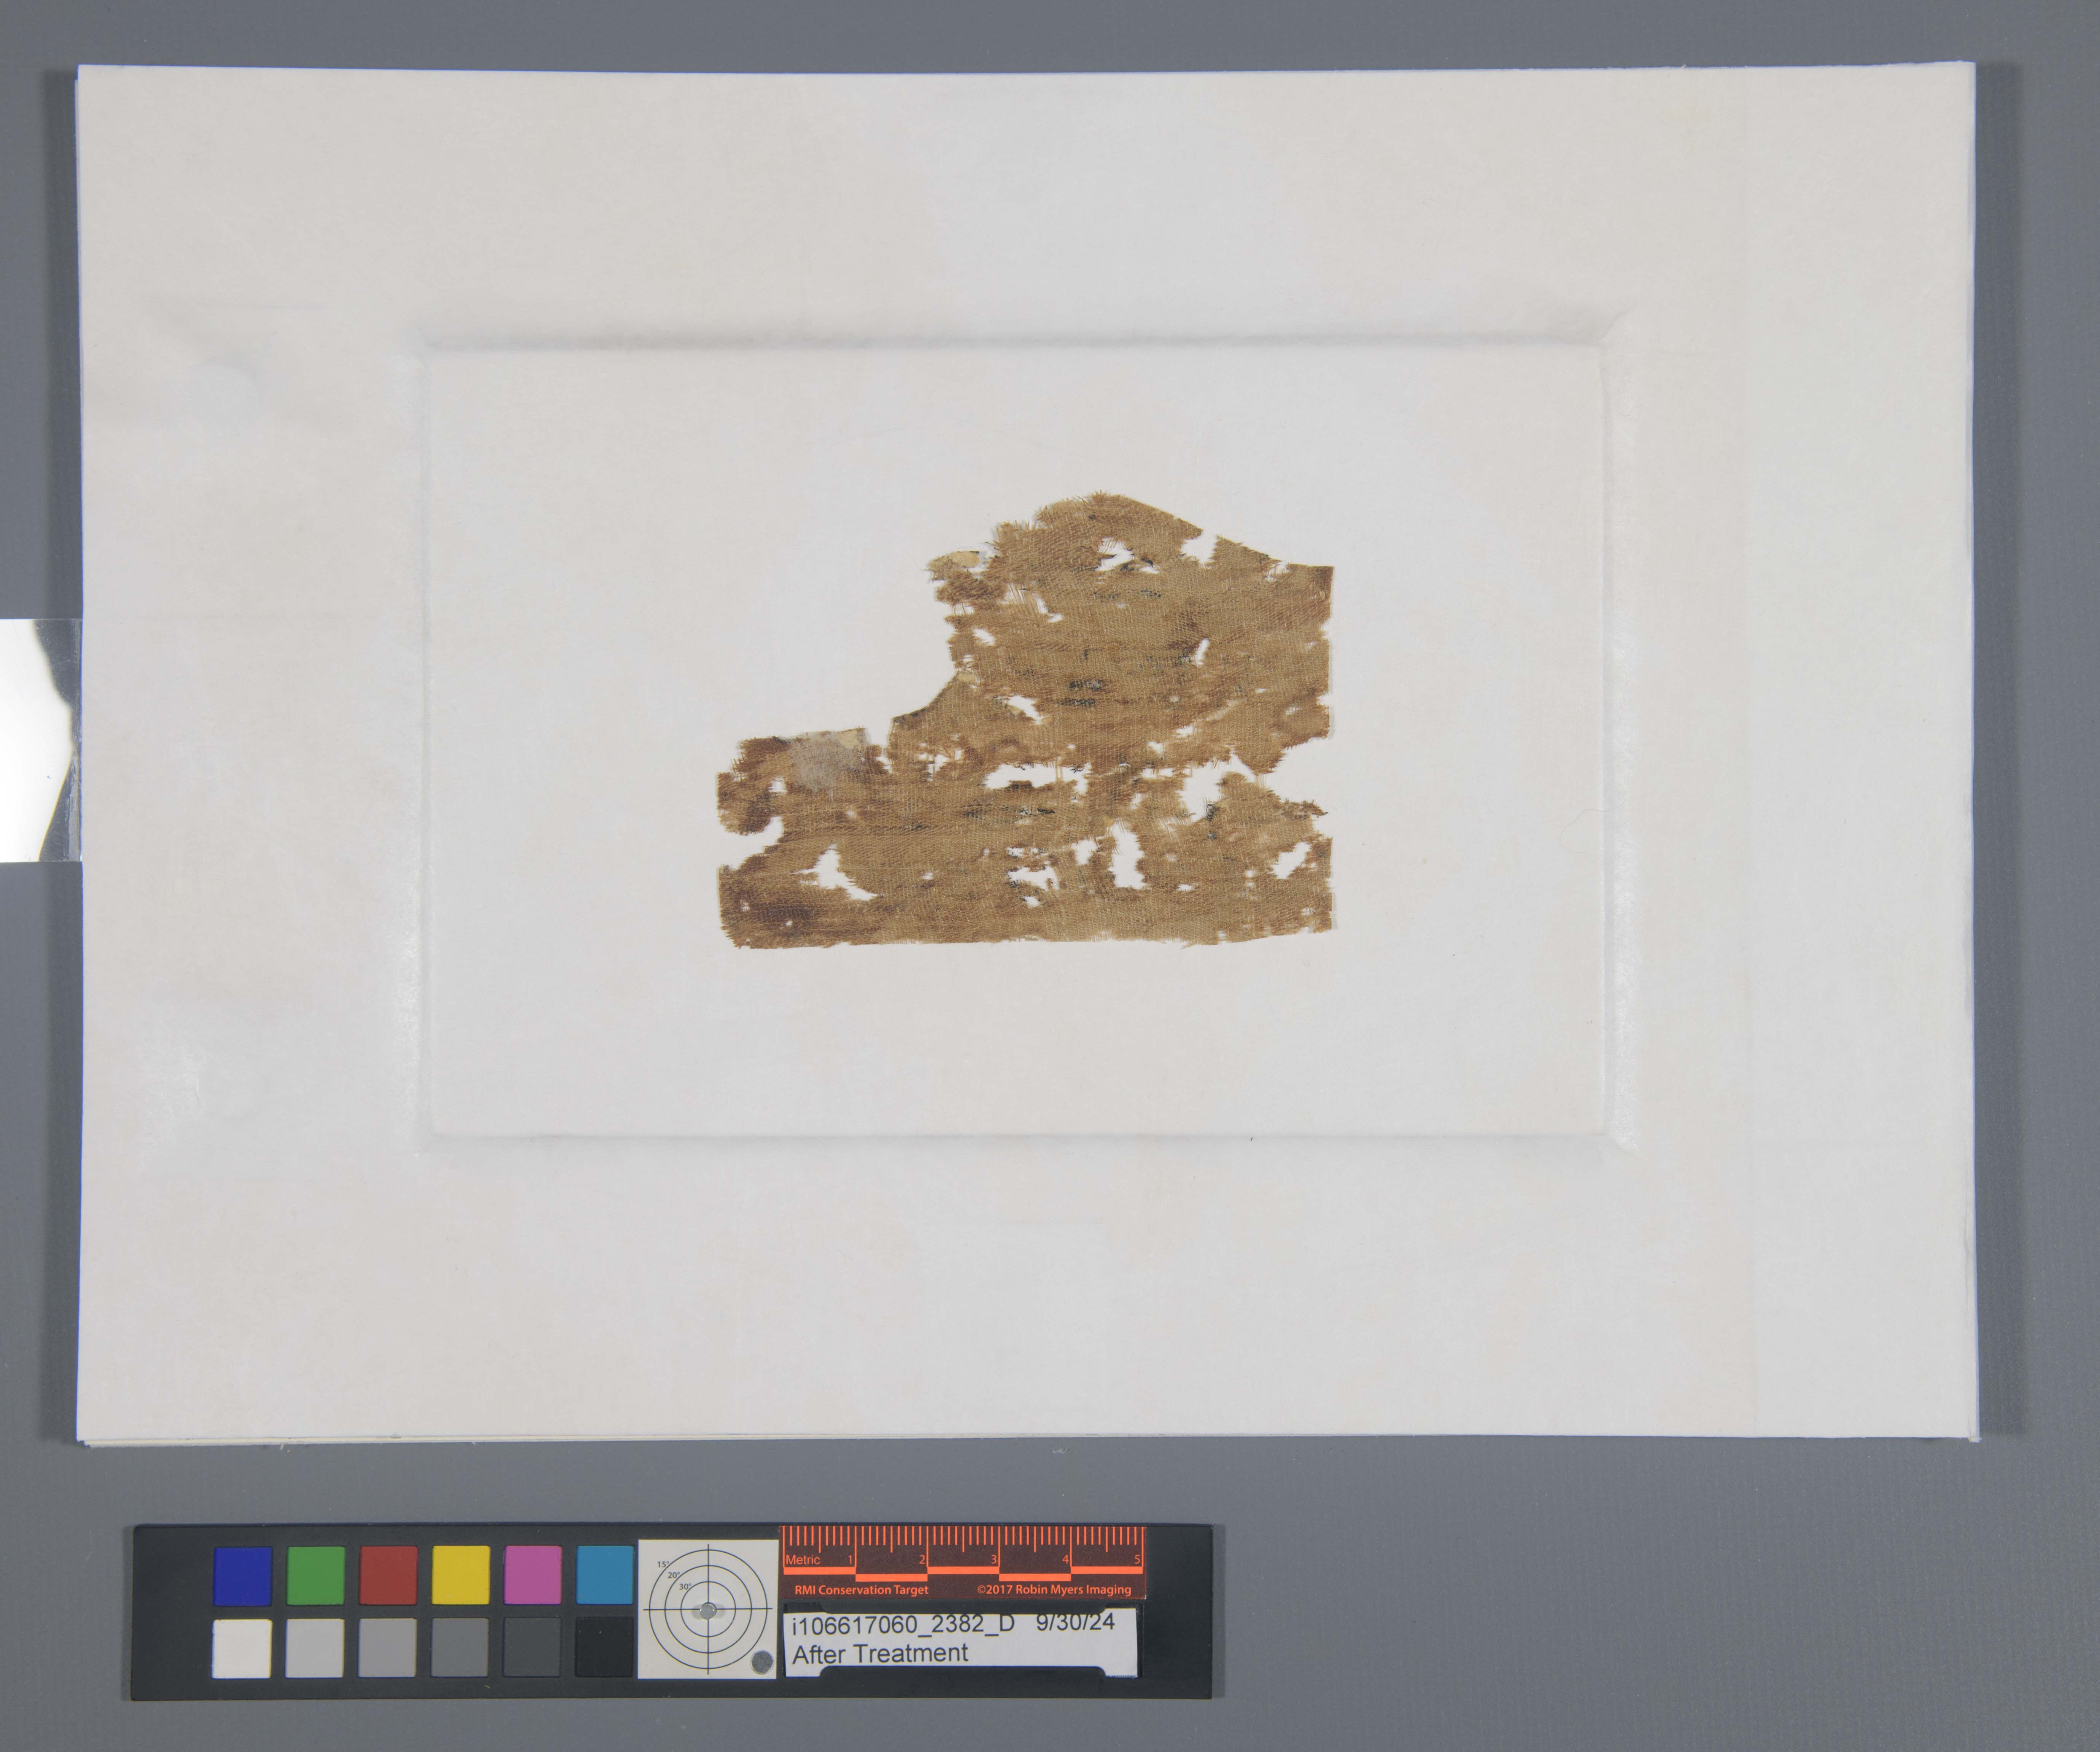
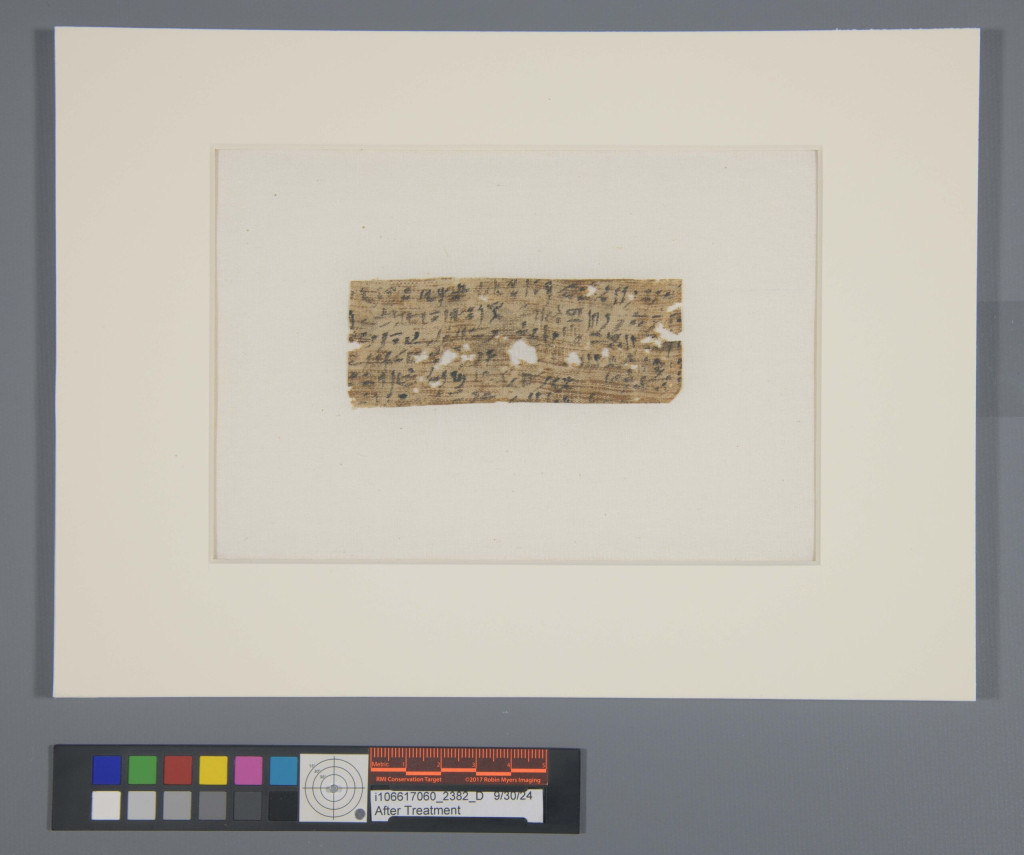
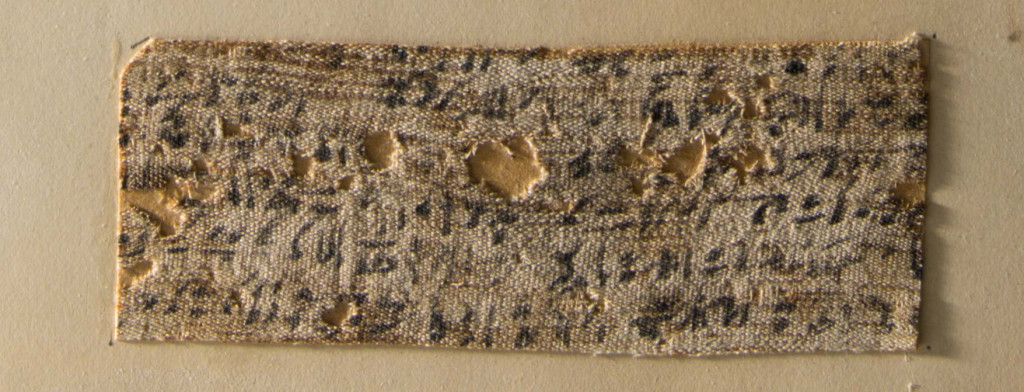
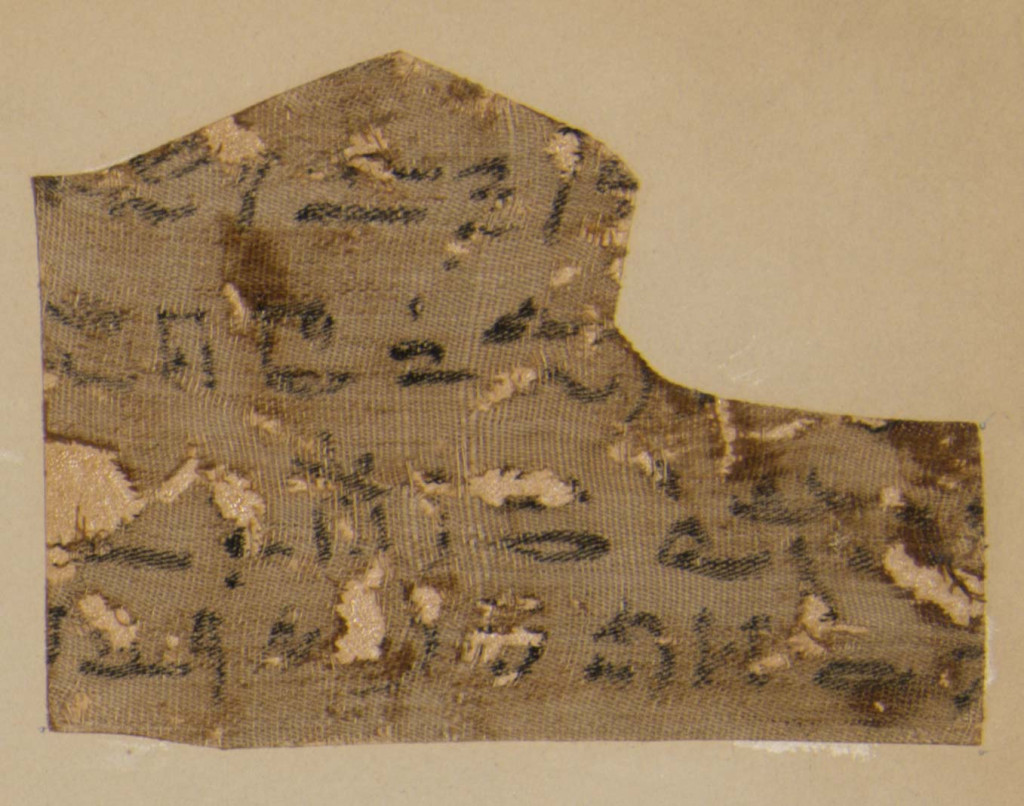
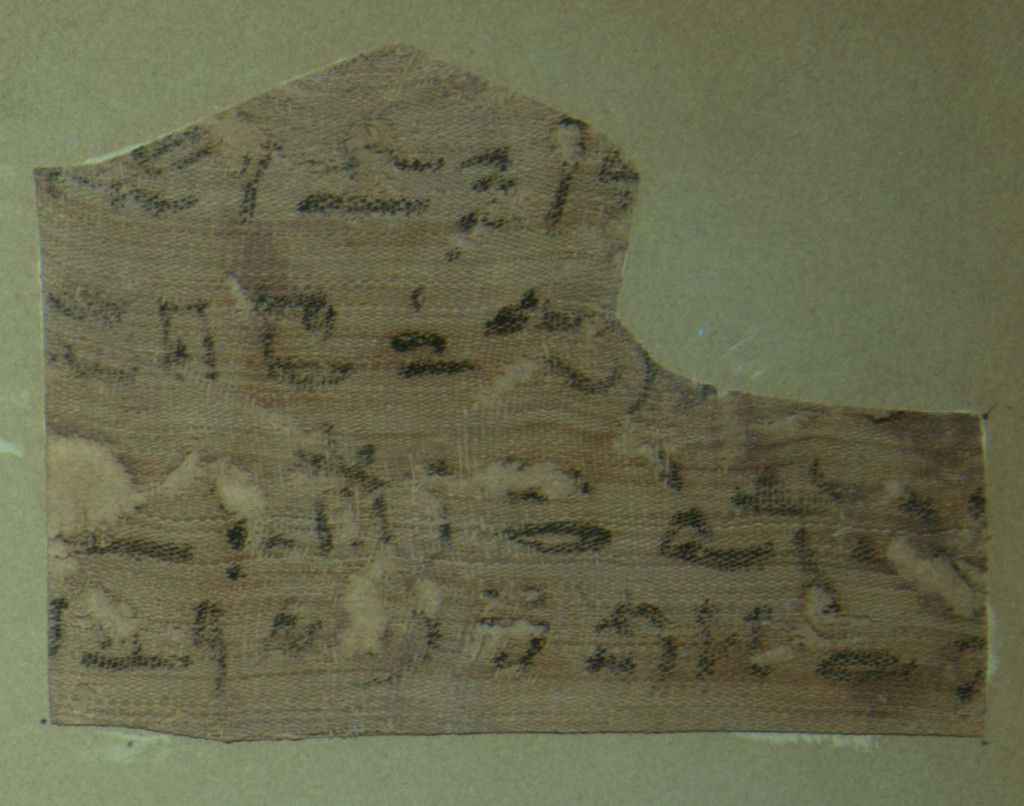
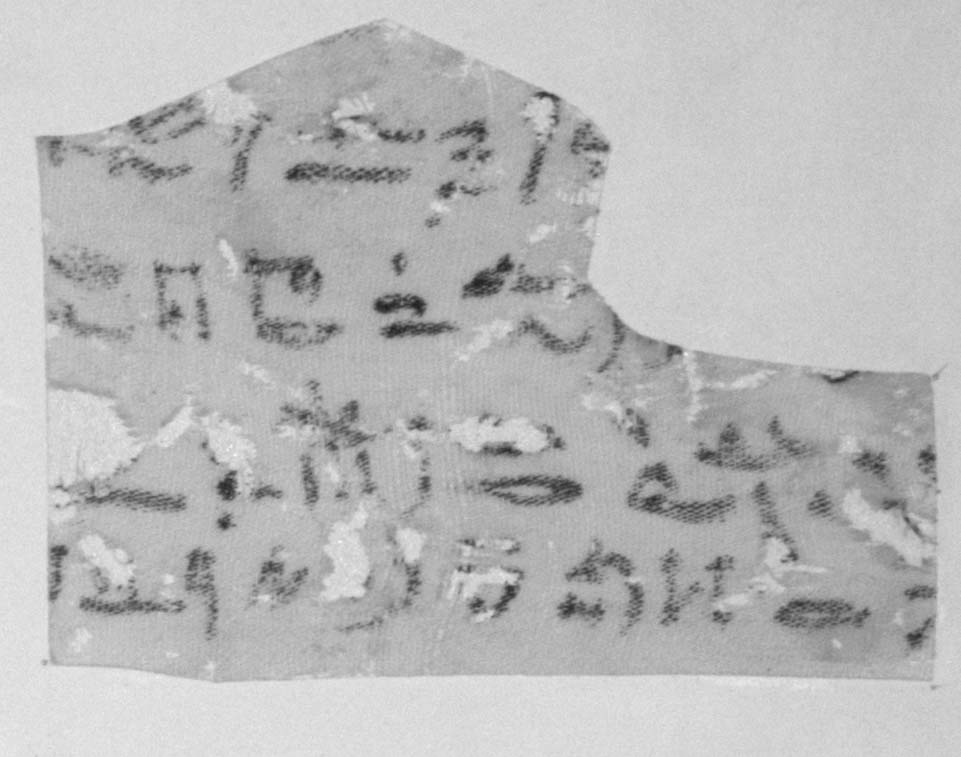
This is the upper right hieratic fragment with Hieratic script. It measures approximately 9 x 7 cm. There is no owner’s name preserved.
Normal Illumination
Raking Illumination
Ultraviolet Fluorescence
Infrared Illumination
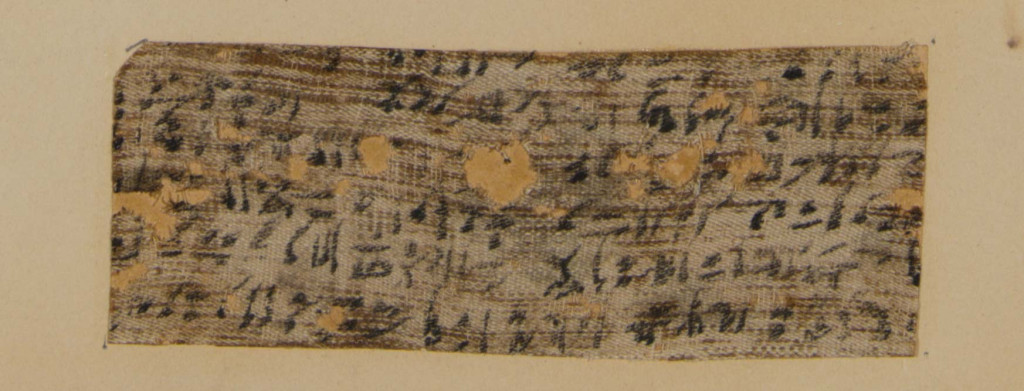
This is the bottom center hieratic fragment measuring 4 x 10 cm, also with no owner’s name preserved and oriented upside down.
Further Reading
Check out this essayfor Glencairn Museum News by Dr. Jennifer Houser Wegner to learn more about burial practices and in particular, funerary texts, such as the Book of the Dead.
To learn about how the fragments were treated in preparation for long-term storage, check out the third post of the four-part series: The Treatment
If you missed the earlier installment, you can jump to previous post using the links below (or even skip to the final post on storage):
The Preservation Lab, after 13 years of collaboration between the University of Cincinnati and the Cincinnati & Hamilton County Public Library, is embarking on an expanded mission to provide our expertise and services to the larger cultural heritage community.
Beginning in 2025, The Preservation Lab is transitioning to a regional lab model that is entirely managed, staffed and equipped by the University of Cincinnati. The Preservation Lab’s current staffing and location will remain the same during this transition.
The Preservation Lab provides the full suite of preservation services to the University of Cincinnati Libraries and, for a fee, to other cultural heritage institutions. The Preservation Lab’s expertise is in book and paper conservation, with services available in general circulating materials repair, single-item conservation treatment, housing, exhibition prep, and preservation consulting.Please visit The Preservation Lab’s new website at https://libraries.uc.edu/thepreservationlab.html for updates and more information.
Holly Prochaska, Head, Preservation Services & Lab at the University of Cincinnati
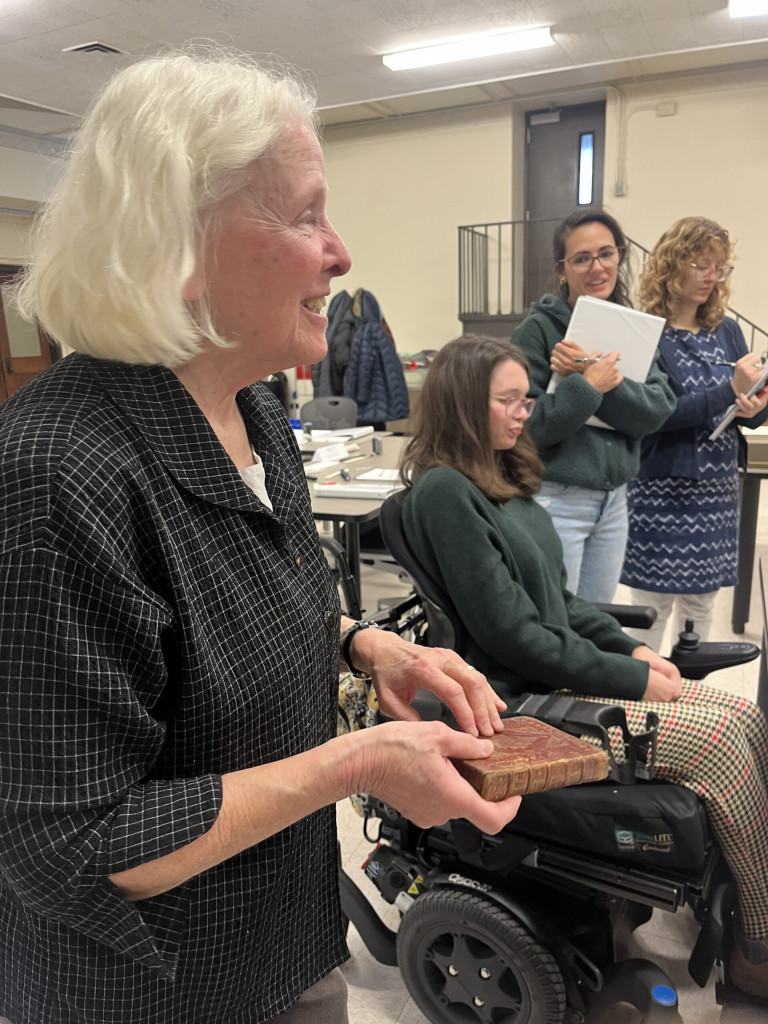
This week the Preservation Lab and the Archives and Rare Books Library hosted a 2-day workshop with the conservator and book historian Julia Miller. The workshop, Identifying and Describing Historical Binding Structure: A Stacks Appraisal Workshop, provided the Preservation Lab staff, University of Cincinnati Libraries’ (UCL) special collections catalogers, and UCL special collections stewards an opportunity to strengthen their skills of historical binding identification and description. We honed our descriptive skills by examining collections from the Archives and Rare Books Library and models/exemplars from Julia’s personal teaching collection.
Julia Miller presenting to the Historical Binding Structures class.
Thanks to Julia Miller, one of the most knowledgeable and giving people that we have had the privilege to learn from.
Thanks to Chris Harter for providing access to so many Archives and Rare Book treasures and a wonderful space to learn and collaborate.
Thanks to Catarina Figueirinhas for suggesting the course and being the on-site coordinator and organizer.
Lastly, thanks to University of Cincinnati Libraries for their continued support of staff professional development!
This set of Japanese side-sewn, crepe paper bindings, or Chirimen-bon, came to the Preservation Lab housed in their damaged traditional Japanese wraparound case, known as a maru chitsu. The set belongs to the Cincinnati and Hamilton County Public Library, which has an extensive Lafcadio Hearn collection. This collection of volumes was printed by Hasegawa Takejirō, a Japanese publisher who specialized in books written in European languages on Japanese subjects. The Japanese Fairy Tale Series was one of the more popular series, beginning with six volumes in 1885; though this later collection only has five volumes of fairy tales. Lacadio Hearn was one of the foreign translators employed by T. Hasegawa.
Original enclosureFive volumes withing the original enclosure (pictured after treatment)
Due to the high profile nature of Lafcadio Hearn for the library and the beauty of the bindings, the collection is often shown during tours and used for display, however, the crepe paper volumes, while in excellent condition, are extremely floppy, and they are also side-sewn, both factors make them difficult to handle and display. The original enclosure is also very fragile and damaged, and susceptible to further damage if used as an enclosure moving forward. For all these reasons, the curators wanted an enclosure that would not only store the collection long-term, but could also be used for display.
This proved to be a challenge, but a fun one. I started by making a couple of sketches and then a couple of models…
Models – two types of collapsible cradles and one model of the display tray/stand
For the models, I had two main focuses: 1) a collapsible cradle that would house and display one of the volumes, and 2) a display component that would act as a tray or level within the enclosure and house the remaining four volumes, in two stacks of two, side by side.
I will always advocate for making a model if you are trying to work through a new enclosure or adjust an existing enclosure or display piece, like a cradle. For example, I knew that a normal collapsible cradle wasn’t going to fit the bill for these volumes. Instead, I was going to need a stiff, squared off spine piece built into the cradle to help support the bindings’ spines.
One of the main areas I had to troubleshoot was the display tray, which would house the four remaining volumes. I knew I wanted to create a stand that would basically replicate one side of a collapsible cradle and have a 1/2 inch Plastazote foam insert, which happened to nestle the thickness of two volumes perfectly, that was covered in Tyvek. But I had concerns about gravity and reliability of PVA to hold the foam insert in place overtime. And I wasn’t happy with my initial ideas of how to remove the volumes (and also the original enclosure and collapsible cradle) from the insert(s), which consisted of a tab underneath the volume. It created friction that would ultimately cause damage to the actual volumes.
Ultimately, I am extremely happy with what I came up with. I think it functions very well, and checks all the boxes it needed to check. Safe, secure storage. Elegant display. User-friendly.
Display stand openDisplay stand closed. A lip was added to support the foam insert overtimeDisplay stand closed with one set of volumes removedPolyester slings were created as a solution for removing items safely and easily from the enclosure
The display stand includes a cloth tape inserted into the boards to keep it from opening too far, a foam insert covered in Tyvek, a lip to support the foam insert overtime, and two polyester film slings to aid in removing the volumes from the foam insert. The polyester slings proved to be an excellent solution for removing all the elements from the enclosure safely and easily.
For those interested in how some of the components were constructed, here are some in-progress images…
Detail of the turn-in for the display stand lip; cut similarly to how we cut our clamshell enclosure tray turn-insDetail of the turn-in for the display stand lip; cut similarly to how we cut our clamshell enclosure tray turn-insFoam insert, vertical panels covered in Tyvek firstTyvek sheet cut in preparation for attaching to foamTyvek sheet cut in preparation for attaching to foamTyvek attached to the front of the foam pieceTyvek turn-ins cut
Because of the way the trays/components of the enclosure are constructed, they are actually interchangeable. So if the “lower tray” with the original enclosure and collapsible cradle ends up on top of the display tray/stand, that’s not an issue at all. And there is a 1/4 inch Volara foam piece adhered to the outer tray of the clamshell enclosure, so whatever items are on top will be cushioned by soft foam in the enclosure.
Get a full tour of the enclosure by watching our reel on Instagram:
One of my favorite aspects of working for the Preservation Lab is the problem solving required to reach our clients’ goals. Whether performing treatments, building housings, or installing displays, we frequently find ourselves thinking outside the box to come up with custom solutions to unique problems.
FotoFocus
The problem solving aspect of the job was in full force with a recent display request from Art and Special Collections Reference Librarian, Sara Williams, for CHPL’s (Cincinnati and Hamilton County Public Library’s) participation in FotoFocus 2024 this Fall.
For those unfamiliar, FotoFocus is a biennial “month-long celebration of photography and lens-based art that unites artists, curators, and educators from around the world” (as described by the FotoFocus website). This year’s event was FotoFocus’ seventh iteration and encompassed 107 projects at 86 participating venues across Greater Cincinnati, Dayton, Columbus, and Northern Kentucky.
The Display Request
The theme for FotoFocus 2024 was Backstories, which focused on hidden stories within photographs that are not initially obvious. With this theme in mind, Sara Williams came up with the idea of highlighting stories hidden within one of CHPL’s most highly prized collection items: the 1848 Fontayne and Porter Panorama Daguerreotype. (For more information about this historic photograph, its preservation, and daguerreotypes in general, an earlier blog post I wrote on the subject can be foundhere.)
1848 Fontayne and Porter 8 full-plate panorama daguerreotype
To convey this idea, Sara requested that the exhibit contain surrogate images attached to the back of the display cases, with images popping out at varying degrees of depth, highlighting the idea that each subsequent image is zoomed in closer, just as the story within the images become more in-depth.
Constructing a Prototype
I am still relatively new to the world of conservation, and even newer to that of display installation. When confronted with a task I am unfamiliar with such as this request, I like to think about what needs to be achieved, and then brainstorm how it can be achieved practically using stock materials we have in the lab. I did not yet have the specs on the display cases or the sizes of the specific images, but Sara gave me several printed foam board images like what would be used in the display to run tests with. Most importantly, I knew the two following bits of information:
The display needed images attached to a cloth-covered wall within the display case.
The images needed the ability to be mounted at custom depths from the cloth-covered wall.
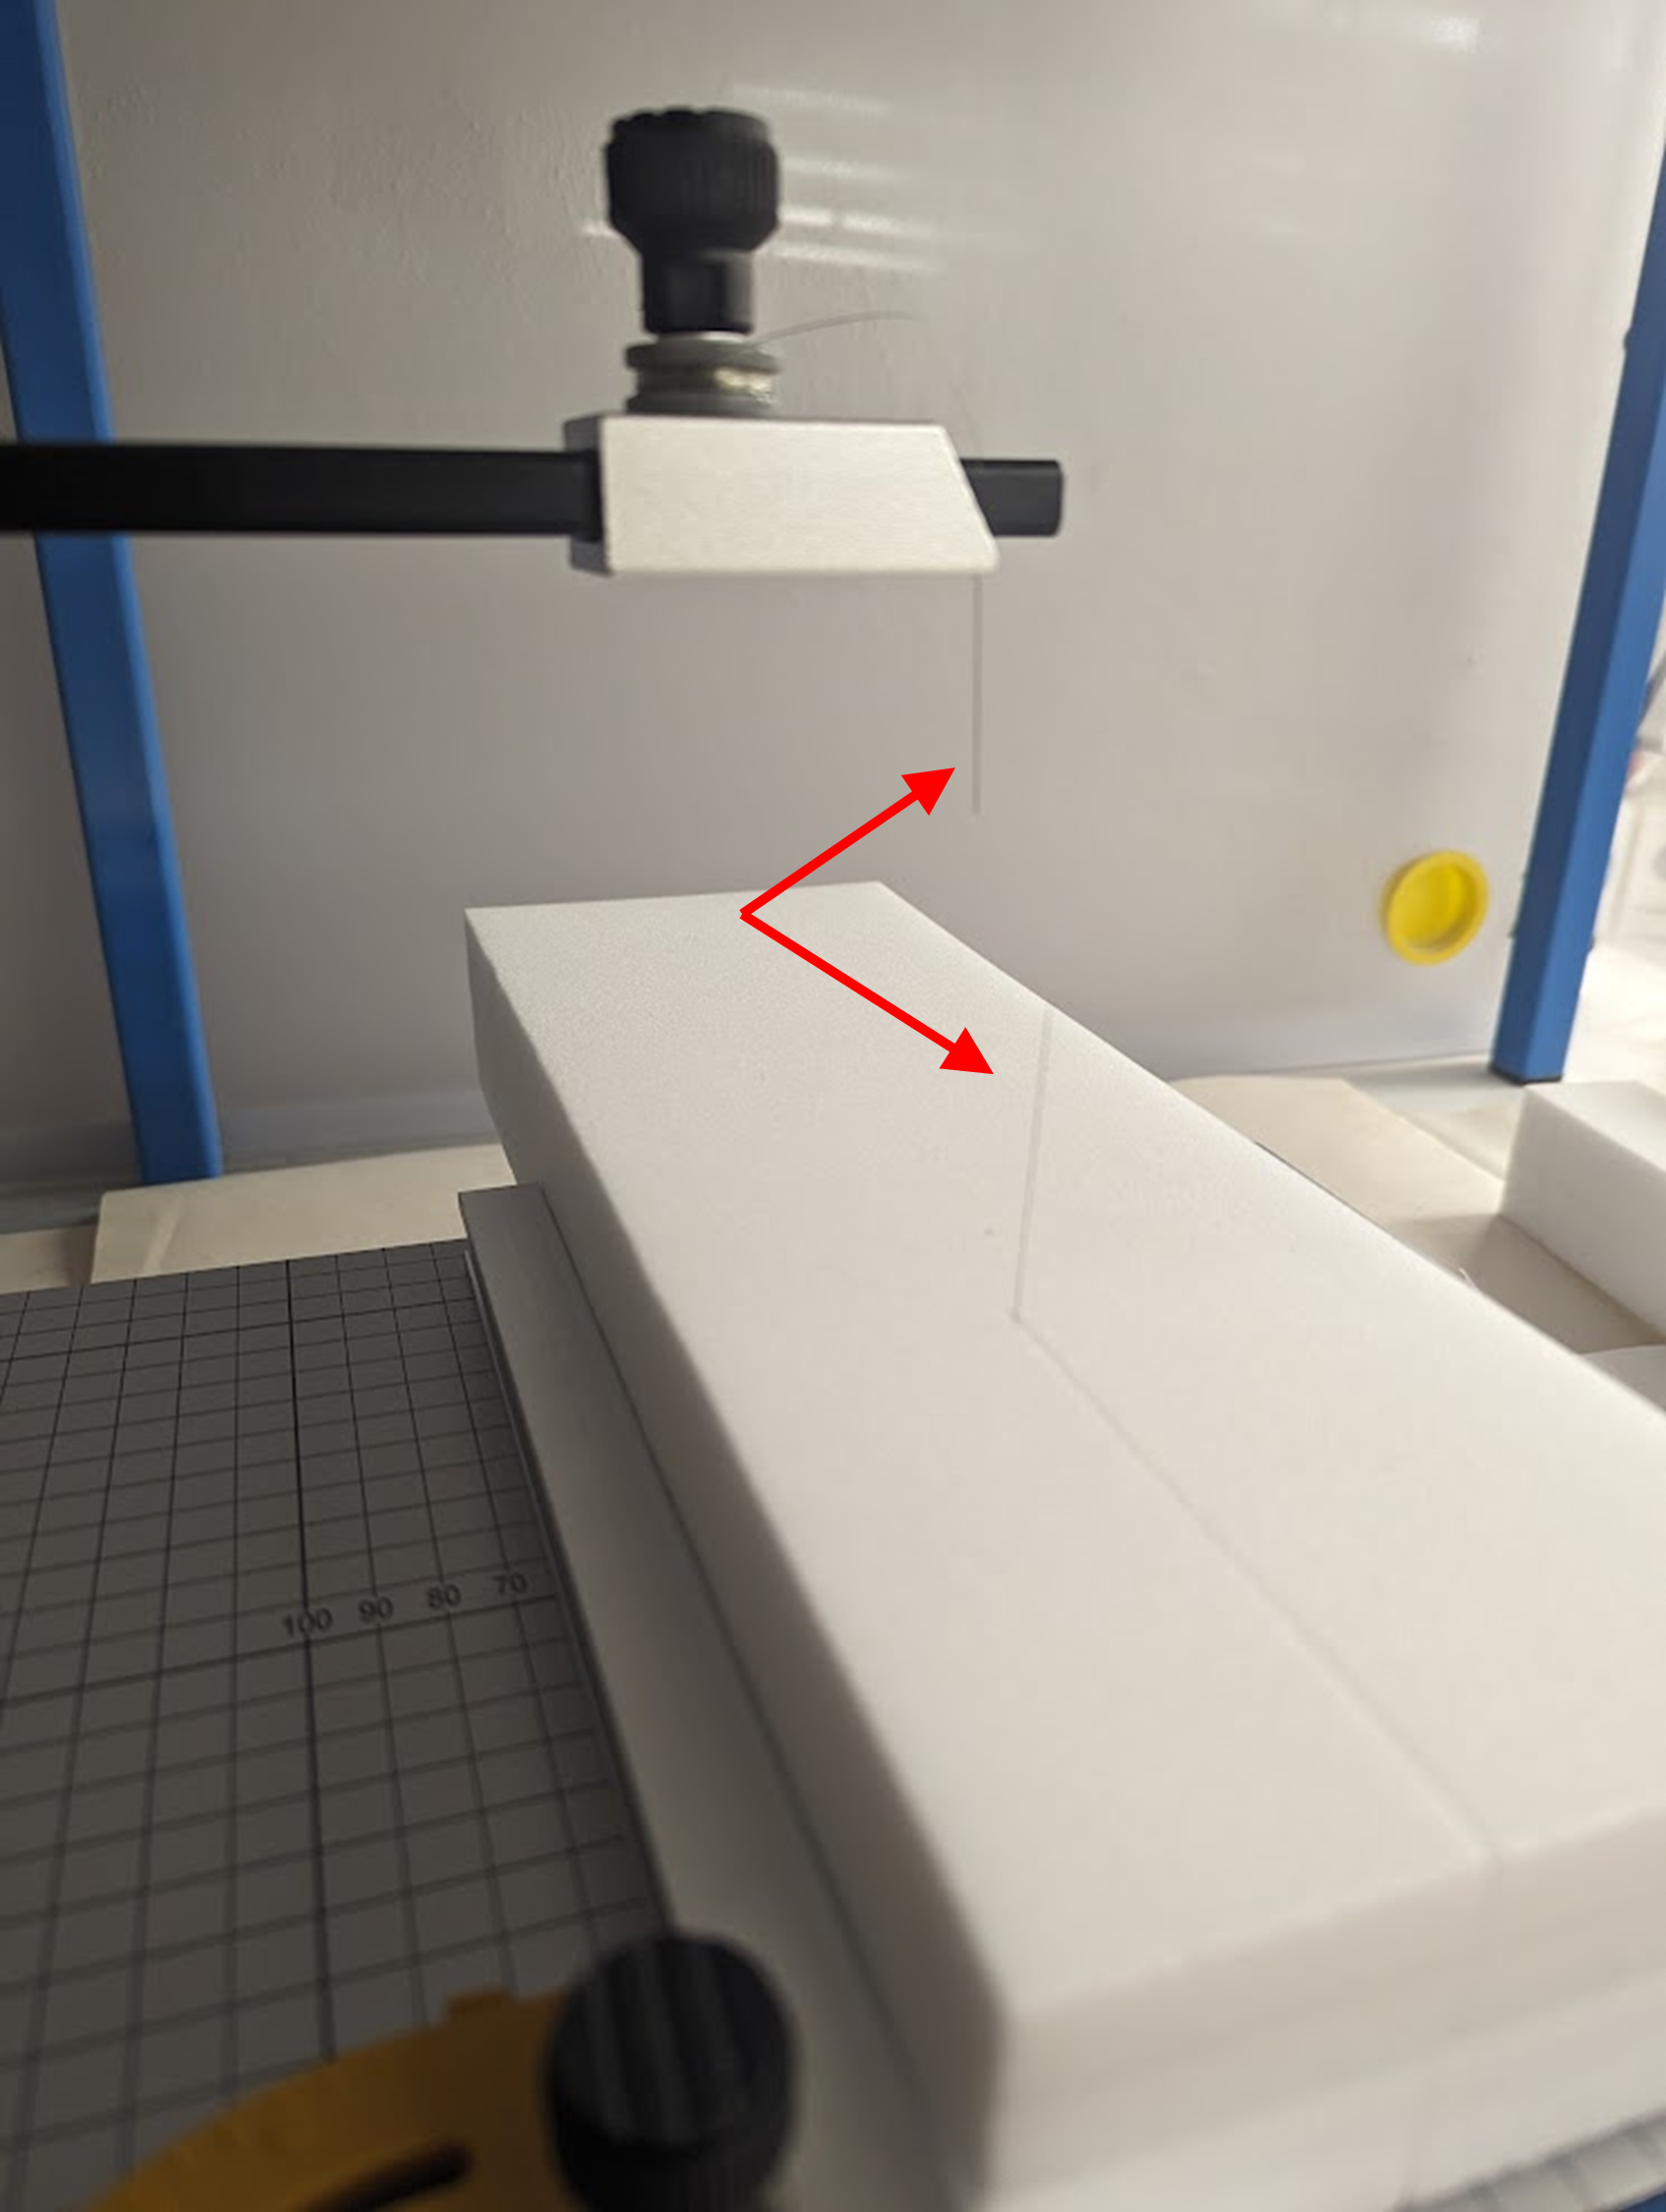
After some brainstorming with our head conservator, Ashleigh Ferguson Schieszer, we decided to try using Vivak to “pop out” the images at various depths.
Vivak is a copolyester plastic that can be easily bent into various shapes, yet retains its shape once creased. It is also clear, making it useful for displays due to its ability to blend into backgrounds and not detract from the featured objects.
We also decided to use our cubicle walls as a test site until we could get our hands on the actual cases, since attaching a support mount to a cloth covered wall was a unique challenge for us.
First Prototype
First Vivak Support prototype
Attached to wall with two pins along top
I constructed the first prototype by creasing a small sheet of Vivak twice into a “J” shape. I poked two holes in the smaller lip of the “J” so that I could use pins to secure it to the cloth-covered wall, with the image adhered to the larger lip.
This was moderately successful. These would be easy to construct and the pins held the support’s weight. But I was concerned about the Vivak bowing under the weight of the images, especially for the ones that were to be at the furthest depth from the cloth-covered wall, as it was already wanting to sag without an attached image under its own weight.
Second Prototype
I made the second prototype into a “C” shape, so that there were two lips that could be pinned to the cloth-covered wall. My hope was that this would add more stability and reduce the potential sagging. This was certainly an improvement, but it still felt unstable, and I felt the Vivak pieces that needed to be longer still might sag.
Support with added base to combat sagging
“C” shape with added backing strip
I next added an additional support piece of Vivak along the back of this prototype so that the pins would penetrate it as well as the two lips, adding even more stability. This yielded the most favorable result so far, yet I felt like the process could be streamlined.
I wanted the “pop-outs” to be contained to one piece of Vivak, so for the final prototype so I extended the two lips of the “C” so that they overlapped each other making a square shape.
Final Prototype
Final prototype with overlapping Vivak strips
Attached to wall with Vivak folds at top and bottom – still showed propensity to sag
Attached to wall with folds along sides – this eliminated the tendency to sag!
The final prototype gave the stability of the second prototype but was easier to produce as only one piece of Vivak needed to be cut. After constructing this successful variation, I had the idea to rotate the “pop-out” 90 degrees so that the creased section of the Vivak would be vertical rather than horizontal, eliminating any tendency for it to sag from these creases outward.
Installation
Sara had also requested that both the cloth-covered wall and base of the display be covered in black velvet to give the display a cleaner look, as the existing cloth had seen better days. This was accomplished by removing the boards, cutting enough velvet so they could be wrapped and completely covered on its exposed side, and then secured on their hidden underside using a staple gun.
The case before modifications, during deconstruction
The walls and base of the case were recovered with black polyester velvet
The case reconstructed after recovering
I had initially planned on using large “T”-shaped pins to fix the “pop-outs” to the cloth-covered wall, as they were abundant in the lab, and I felt the length of them would yield a stronger hold. However, upon attempting to test the prototype on the actual display case, it was discovered that the wall I assumed was cloth-covered foam was cloth-covered wood. As the “T”-shaped pins were long and not very sturdy, they would be extremely difficult to hammer into the wood.
I ended up using small ½” brass escutcheon pins. They are low profile and would be relatively easy to hammer into cloth-covered wood. I punctured 4 pilot holes through the overlapping “C” lips so the pins could hold the Vivak together, and then individual pins were hammered through the holes into the cloth-covered wood.
Long T-pins compared to the shorter escutcheon pins
The shorter pins were the perfect length to nail into the thin display case wall
Once the velvet was installed and the “pop-outs” were secured to the freshly velvet-covered boards, the images could be adhered directly to the Vivak using double stick tape, as they were surrogate images printed onto foam board.
Nailing the Vivak support to the display case wall
3M 415 double stick tape was used to adhere the surrogate images to the Vivak supports
The Display During Installation
Once the cases were modified with the black velvet polyester and the Vivak supports were nailed into place, the bases were ready for Sara to add additional components underneath.
View at an angle showing the varying depths of field
Three cases ready for final touches by Sara Williams
After Installation
The completed display, entitled Depth of Field: The Universe of the Daguerreotypewent live on September 24, and was located on the 2nd floor of the South building at the Downtown Main branch of CHPL through November 1st. Sara Williams curated a wonderful series of images, featuring supplemental newspaper articles, city directories, images shot through a microscopic lens, and more to highlight both the scientific and human stories that are contained within this iconic Daguerreotype.
Captions describe:
The astonishing achievement of how the photographic images were captured outdoors when normally, daguerreotypes are produced indoors to control the complicated process.
How moisture and dust caused deterioration specks which are shown under 100x magnification and routinely monitored.
The panorama’s unique anoxic custom enclosure, where the absence of oxygen prevents further degradation.
Although the display is no longer viewable, its primary subject still is. The 1848 Fontayne and Porter Panorama Daguerreotype can currently be viewed in the Cincinnati Room of CHPL’s Downtown Main branch along with other fantastic displays curated by Sara. Be sure to check them out and be on the lookout for the return of FotoFocus in 2026!
View of the exhibit after installation next to the Story Center
With Halloween creeping up, it’s either a chance for you to unleash your spooky side or to totally panic and obsess over costumes until the last second. Ghost? Meh. Mummy? Boring. Werewolf? Too hairy. But if you work in a conservation lab, fear not. We have you covered!
This year, we’ve scoured the lab to create costumes that mix chilling creativity with eccentric conservation tools! Each costume has a difficulty rating, so you’ll know if it takes professional skill or just a wildly spooky imagination.
So, grab some supplies, get haunting, and remember: Conservation may be reversible, but goofy Halloween memories are forever!
Edward Scissorhands Difficulty level – Easy Materials and tools needed:
Scissors, tons of scissors
Black clothing
Strong hands (those old scissors may refuse to work properly)
Note –Not recommended for the long-haired among us…so remember, safety first! Keep a safe distance, and beware of those “accidental” snips, unless your colleagues think that you desperately need “just a little trim off the top”.
Crime Scene Tech Difficulty level – Medium Materials and tools needed:
Masking tape
Caution tape
Gloves
Lab coat
Tweezers
Scalpel
Thread (to mimic hair samples)
Binder’s board to create a body/chalk outline (create a tri-fold for easy travel)
Golden gloss/matte media (or anything that fluoresces) to create “blood” splatters
Polyethylene bags (to collect evidence)
UV lamp
Protective UV goggles
Fluorescent scale (optional)
Camera (optional)
Tripod (optional)
A strong stomach, not for the faint of heart
Note – For the body outline, just kindly convince a colleague to lie on the binder’s board. Nothing says “team building” like creating a fake crime scene!
The following costumes can be done as a group effort or a solo act – dealer’s choice!
Vigo the Carpathian (Painting) Difficulty level – Hard Materials and tools needed:
Print out of Vigo the Carpathian – our Lab recently switched to a 17″ wide Epson printer, so we are unable to print large scale items, so Jessica skillfully created the painting with two printouts pieced together.
Corrugated board
Cloth tapes (to create handles on the back of the painting)
Gold spray paint
Double-sided tape
Black/dark clothing
Strong arms and captivating eyes
Note – For that eerie stare DON’T FORGET to remove the eyes from the print out…the creepier, the better!
Happy haunting to you all! May the ghost tyrant and sorcerer Vigo (also known as Prince Vigo von Homburg Deutschendorf, Scourge of Carpathia, Sorrow of Moldavia, Vigo the Carpathian, Vigo the Cruel, Vigo the Torturer, Vigo the Despised, Vigo the Unholy1) protect you in all your spooky endeavors!